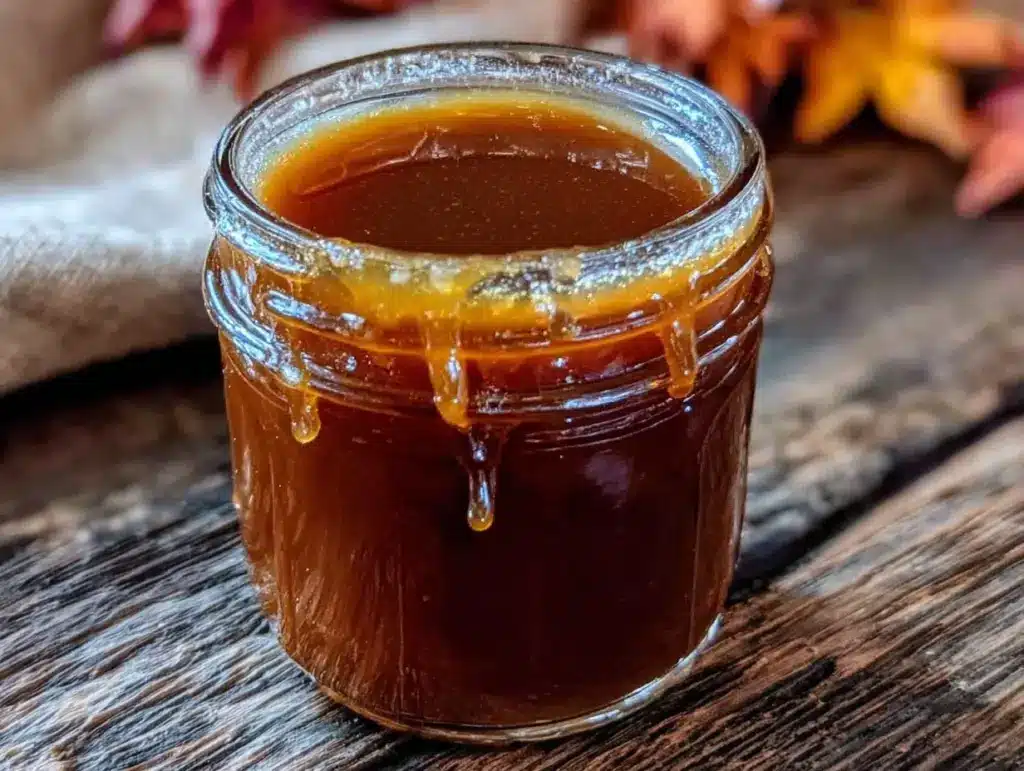
It started with a jar. You know the kind—the one sitting in the back of your pantry, half-empty, labeled in fading marker from three Octobers ago. I found mine while digging for coffee filters this morning. It was thick, almost solid, and smelled like burnt sugar and regret. I’d made a batch of pumpkin caramel syrup last year, rushed through it because I wanted to be ready for guests, and it turned out grainy and weirdly stiff. I threw the rest out, told myself I’d never do it again, and bought the store-bought stuff instead.
But here’s the thing about store-bought syrup: it tastes like high-fructose corn syrup with a drop of artificial flavoring. It’s sweet, sure. It’s pumpkin-colored, definitely. But it lacks soul. It lacks that deep, smoky warmth that makes autumn feel like a hug.
So yesterday, I tried again. And this time, I did it differently. I used real pumpkin puree (not pie filling, never pie filling), browned my butter first, and let the caramel develop that deep amber color that smells like a campfire. I whisked in the spices slowly, tasted as I went, and waited. The result? Liquid gold. It’s thick enough to drizzle over pancakes but fluid enough to swirl into your morning latte without clogging the straw. It’s the kind of syrup that makes your guests ask what secret ingredient you’re hiding. (There isn’t one. Just patience and good butter.)
This pumpkin caramel syrup has completely changed my morning routine. It’s not just about the coffee bar anymore—it’s about that five minutes of peace before the chaos starts, with the smell of pumpkin and vanilla filling the kitchen. I’ve made this at least seven times in the last month. Some batches are perfect. One was too salty (my bad). But even the “mistakes” tasted better than any bottle from the grocery store.
If you’ve ever felt like your fall coffee routine is stale, or if you’re tired of paying $6 for a flavored drink at a coffee shop, you need to try this. It’s easier than you think, takes about 10 minutes of active time, and makes your house smell like a bakery. Let me show you how to make it right.
Why You’ll Love This Pumpkin Caramel Syrup
I know what you’re thinking. “Another syrup? I have enough jars.” But hear me out. This isn’t just a sweetener; it’s a flavor bomb. Here’s why this recipe has earned a permanent spot on my counter:
- Real Flavor, No Artificial Stuff — I’m talking about real pumpkin puree, real brown sugar, and real butter. No weird chemicals that linger on your tongue. It tastes like actual fall. My kids, who usually turn their noses up at “healthy” things, ask for this on their toast every weekend.
- Lightning Fast — Seriously, if you can boil water and stir a spoon, you can make this. It takes about 10-12 minutes from start to finish. I make this on Sunday mornings while the rest of the family is still asleep. By the time they wake up, the syrup is cooling and the kitchen smells amazing.
- Super Versatile — Yes, it’s great in coffee. But it’s also amazing in oatmeal, drizzled over the fall sweet potato pie bars, stirred into yogurt, or even used as a glaze for roasted vegetables. It’s a multitasker.
- Customizable Sweetness — Store-bought syrup is always too sweet. With this, you control the sugar. I like it rich and caramel-y, but if you prefer less sweet, just reduce the brown sugar by a quarter cup. It’s your kitchen, your rules.
- Cost-Effective — Making a batch costs about $3-4 in ingredients. A single bottle of name-brand pumpkin syrup at the store? That’s $8-10. This pays for itself in two uses.
This syrup has saved my mornings. It’s my answer to “I need a little treat but don’t want to order takeout.” It’s reliable, delicious, and makes everyone in the house happy. Plus, giving a jar of homemade syrup as a gift? Priceless.
Ingredients You’ll Need
Here’s the best part: you probably have most of this already. It’s a pantry-friendly recipe. I’m particular about three ingredients here, and I’ll tell you exactly why.
For the Base
Unsalted butter (½ cup / 113g) — Use good quality butter here. I like European-style butter because it has a higher fat content, which gives a richer flavor. If you use salted butter, reduce the added salt in the recipe by half. Don’t skimp on the butter; it’s what gives the caramel its silkiness.
Heavy cream (1 cup / 240ml) — Full-fat only. Half-and-half will make the syrup too thin and it won’t thicken properly as it cools. I keep a carton of heavy cream in the fridge just for moments like this. If you’re out, coconut cream works for a dairy-free version, but the flavor profile changes slightly.
Pumpkin puree (½ cup / 120g) — Check the label. It should say “100% pure pumpkin,” not “pumpkin pie filling.” Pie filling has sugar and spices already, which will throw off the balance. I usually buy the canned kind, but if you have leftover puree from making the creamy roasted butternut squash soup, that works too (just make sure it’s strained well so it’s not watery).
For the Caramel
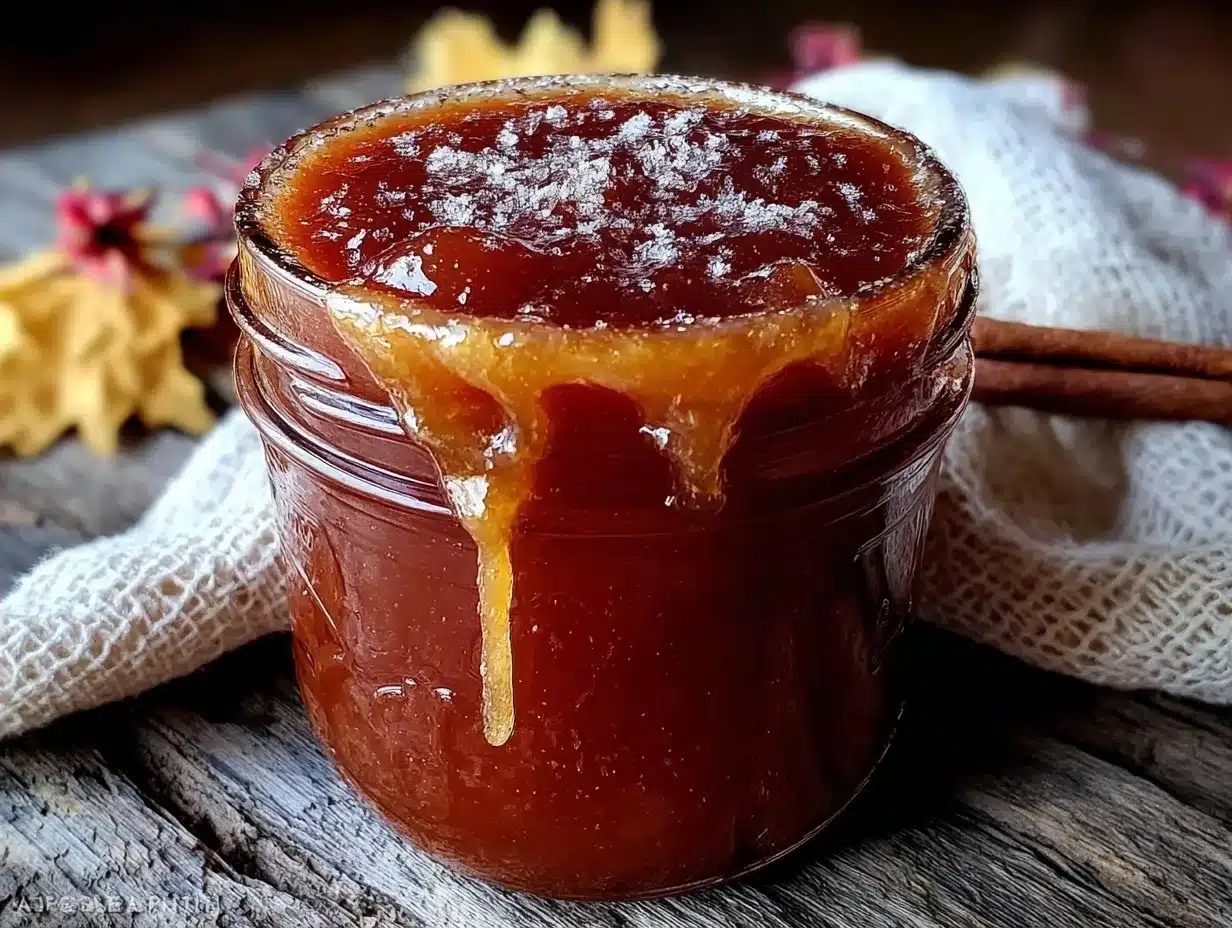
Brown sugar (1 cup / 200g) — Light or dark? I use dark brown sugar for a deeper, molasses-like flavor. If you prefer a lighter taste, light brown sugar works fine. Pack it down into the cup. Don’t just spoon it in loosely.
White sugar (½ cup / 100g) — This helps with the texture and prevents the syrup from becoming too sticky. It balances the molasses flavor from the brown sugar.
For the Flavor
Vanilla extract (1 teaspoon) — Pure vanilla, please. The artificial stuff tastes harsh when mixed with caramel. If you have vanilla bean paste, use that instead for beautiful speckles.
Pumpkin pie spice (1 teaspoon) — Or make your own mix: ½ tsp cinnamon, ¼ tsp ginger, ¼ tsp nutmeg, and a pinch of cloves. I always keep a jar of pumpkin pie spice on hand because it’s just too convenient. But homemade is better if you have the spices.
Salt (½ teaspoon) — Flaky sea salt is nice for garnish, but use kosher salt in the syrup. It balances the sweetness and brings out the pumpkin flavor. Don’t skip this. Sweet without salt is just… sweet. Sweet with salt is complex.
Water (2 tablespoons) — Just enough to help dissolve the sugar initially. It evaporates mostly, but it prevents burning.
Equipment Needed
You don’t need fancy equipment for this. Here’s what I actually use:
- Medium saucepan — I use a 2-quart stainless steel pot. It needs to have a thick bottom to prevent the sugar from burning. My cheapest pot from the dollar store works fine, as long as it’s not thin aluminum.
- Whisk — Essential. You need to whisk constantly when adding the cream and pumpkin. A wooden spoon works, but a whisk incorporates air better and breaks up lumps.
- Measuring cups and spoons — Standard stuff. Dollar store versions work fine.
- Silicone spatula — For scraping the sides of the pot. Sugar sticks, and you don’t want burnt bits in your syrup.
- Heatproof jar or bottle — For storage. I use an old mason jar cleaned out from pickles, but a glass syrup dispenser is prettier for gifts.
Tool Tips: Don’t have a whisk? A fork works in a pinch. And make sure your heavy cream is room temperature if possible. Adding cold cream to hot caramel can cause it to seize up. I usually take it out of the fridge 15 minutes before I start.
How to Make It: Step-by-Step
Alright, let’s make this! I’m walking you through exactly how I do it, including the little tricks I’ve picked up. This method is foolproof if you pay attention to the colors.
Step 1: Prep Your Ingredients (2 minutes)
Before you turn on the heat, measure out your cream, pumpkin puree, spices, and vanilla. Have everything ready in small bowls. Once you start cooking, things move fast. I know it seems fussy, but it makes the actual cooking way less stressful. Grate your nutmeg fresh if you have a microplane—it makes a huge difference.
Step 2: Melt the Butter and Sugars (3-4 minutes)
Place your medium saucepan over medium heat. Add the butter and let it melt. Once melted, add the brown sugar and white sugar. Stir constantly with your whisk. The sugar will clump at first, but keep stirring. It will dissolve into a thick, bubbling paste. This is where you create the caramel base. Don’t walk away. Watch the color.
Step 3: Cook the Caramel (2-3 minutes)
Keep stirring. The mixture will turn from a light amber to a deeper, golden-brown color. This is the crucial moment. If it gets too dark, it will taste bitter. If it’s too light, it won’t have that caramel depth. Aim for the color of a copper penny. You’ll smell a nutty, toasty aroma. This takes about 2-3 minutes of constant stirring. If it starts to smoke, you’ve gone too far. Start over—don’t risk ruining the batch.
Step 4: Add the Cream (Carefully!)
Remove the pan from the heat. This is important. Standing back, slowly pour in the heavy cream while whisking vigorously. The mixture will bubble up violently and steam. Don’t panic. Just keep whisking until it’s smooth. If you add the cream while the pan is on high heat, it can seize. Off the heat is safer. The caramel will look separated at first, but keep whisking.
Step 5: Return to Heat and Thicken (3-4 minutes)
Place the pan back on medium-low heat. Add the pumpkin puree and whisk until fully incorporated. The mixture will look a bit curdled initially—this is normal. Keep whisking gently. Let it simmer for 3-4 minutes. You’ll see bubbles form and pop. The syrup will start to thicken slightly. It’s ready when it coats the back of a spoon and leaves a clear path when you run your finger through it.
Step 6: Season and Finish (1 minute)
Remove from heat again. Stir in the vanilla extract, pumpkin pie spice, and salt. Whisk well. The vanilla will release its aroma immediately. Taste it now. Is it too sweet? Add a pinch more salt. Too bland? Add a splash more vanilla. This is your chance to adjust.
Step 7: Cool and Store
Let the syrup cool in the pan for 10 minutes. It will thicken as it cools. Then, pour it into your glass jar or bottle. It will keep in the fridge for up to 2 weeks. If it gets too thick in the fridge, just microwave it for 15 seconds or stir in a teaspoon of warm water.
Pro Tip: If you want a smoother texture, you can strain the syrup through a fine-mesh sieve before bottling. I usually skip this because I like the tiny bits of pumpkin, but if you’re using it for a fancy coffee bar, straining gives it a silky, professional look.
Expert Tips & Tricks
Here’s everything I’ve learned from making this dozens of times. These tips will save you from my mistakes.
Watch the Color, Not the Clock — Every stove is different. Your caramel might take 2 minutes or 5. Trust your eyes and your nose. The nutty smell is your best indicator.
Room Temperature Cream — If your cream is ice cold, it can shock the hot caramel and cause it to harden into lumps. If you forget, warm the cream in the microwave for 20 seconds. It should be warm to the touch, not hot.
Don’t Overcook the Pumpkin — Pumpkin puree has water content. If you boil the syrup too long after adding the pumpkin, it can become watery. Keep the heat low and gentle once the pumpkin is in. You’re just heating it through and letting it thicken slightly.
Use a Thermometer (Optional but Helpful) — If you’re nervous about burning the sugar, use a candy thermometer. You want the sugar mixture to reach 220°F (soft ball stage) before adding the cream. But honestly, my eyes have been reliable enough.
Storage Hack — If you’re gifting this, tie a ribbon around the neck of the jar and add a tag that says “Warm before using.” It’s a nice touch and helps people know how to handle it.
Variations & Substitutions
Once you’ve nailed the basic version, here’s how you can mix it up. I’ve tried all of these.
Spicy Pumpkin Caramel — Add a pinch of cayenne pepper or a dash of hot sauce when you add the spices. It adds a kick that pairs amazingly with dark roast coffee. My husband loves this version.
Maple Pumpkin — Swap half the brown sugar for pure maple syrup. It adds a woodsy flavor that complements the pumpkin. Just reduce the cream by 2 tablespoons to keep the consistency.
Dairy-Free Version — Use coconut butter instead of regular butter, and full-fat coconut cream instead of heavy cream. It’s richer and has a coconut flavor, which works surprisingly well with pumpkin. It’s similar to the vibe of the vegan pumpkin spice latte recipe I share.
Less Sweet — Reduce the brown sugar to ¾ cup and the white sugar to ¼ cup. It will be less thick, but still flavorful. Good for those watching sugar intake.
Gluten-Free — This recipe is naturally gluten-free! Just make sure your vanilla extract and pumpkin pie spice are certified gluten-free (some blends have anti-caking agents). I’ve used it on the pumpkin spice rice krispie treats with great results.
Serving & Storage
How to Serve: I usually serve this straight from the bottle at the coffee bar. Drizzle a tablespoon into your mug, then pour your hot coffee over it. Stir well. It’s also amazing in hot chocolate, like the pumpkin spice white hot chocolate, or stirred into oatmeal.
Side Dishes: Pair this syrup with the fall sweet potato sausage breakfast hash for a complete fall breakfast. The savory hash and sweet syrup are a perfect contrast.
Refrigerator: Store in an airtight container for up to 2 weeks. The syrup will thicken in the fridge—totally normal. To thin it back out, just warm it gently.
Reheating: Best method: Microwave for 15-20 seconds and stir. Or place the jar in a bowl of warm water. Never boil it on the stove unless you’re making a larger batch; it can burn easily.
Freezing: You can freeze this syrup! Pour it into ice cube trays, freeze, then transfer the cubes to a freezer bag. Thaw a cube in your coffee cup and add hot coffee. It’s a great way to have it ready for busy mornings.
Nutrition Information
I’m not a nutritionist, but here’s the breakdown if you’re tracking. This is a treat, so enjoy it mindfully.
Per Serving (based on 1 tablespoon, makes approx. 16 servings):
- Calories: 80
- Carbs: 12g
- Sugar: 11g
- Fat: 4g
- Saturated Fat: 2.5g
- Protein: 0g
- Sodium: 45mg
It’s higher in sugar and fat because of the butter and cream, but it’s also lower in calories than most store-bought syrups because you control the sugar. A little goes a long way.
Final Thoughts
So that’s my go-to pumpkin caramel syrup! I’ve probably talked your ear off at this point, but when you make a recipe this often, you have a lot to say about it.
This has saved my mornings more times than I can count. It’s my answer to “I need a little treat but don’t want to order takeout.” It’s reliable, delicious, and makes everyone in the house happy. Plus, it smells incredible while you’re making it.
Make it yours! Try different spices, adjust the sweetness, or add a splash of bourbon for an adult twist. The best recipes are the ones you adapt to your family’s tastes.
If you make this, drop a comment and let me know what you think! I love hearing how recipes turn out in your kitchen. And if something doesn’t work, tell me that too—I’m here to help troubleshoot.
Happy brewing! And I hope your kitchen smells half as good as mine does right now.
Frequently Asked Questions
Can I use pumpkin pie filling instead of puree?
No, please don’t. Pumpkin pie filling already has sugar, spices, and thickeners. It will throw off the sweetness and texture of your syrup. Use 100% pure pumpkin puree. If you only have pie filling, you’d need to drastically reduce the sugar and spices, which is complicated. Just stick to puree.
Why did my syrup turn out grainy?
Usually, this happens if the sugar didn’t dissolve completely before you added the cream, or if you stirred it too much while the caramel was cooking. Sugar crystals can form if you get moisture on the sides of the pan. To fix it, gently reheat the syrup with a splash of water and stir until smooth. Next time, brush the sides of the pan with a wet pastry brush to dissolve any crystals.
How long does this syrup last?
In the fridge, it lasts about 2 weeks. If you see any mold or it smells off, throw it out. Because it has fresh pumpkin in it, it doesn’t last as long as plain caramel syrup. If you want it to last longer, you can freeze it in ice cube trays for up to 3 months.
Can I make this ahead of time?
Yes! This is actually better if made a day ahead. The flavors meld together overnight. Make it on Sunday, store it in the fridge, and it’ll be ready for your weekday mornings. Just warm it up slightly before using.
Is this syrup safe for diabetics?
No, this syrup is high in sugar and carbs. It’s not suitable for diabetics or those on a low-carb diet. If you’re looking for a sugar-free alternative, you can use a sugar substitute like erythritol, but the texture and flavor will be different. Check out my diabetic-friendly baked salmon recipe for some low-carb inspiration!
Can I double this recipe?
Absolutely! Double everything and use a larger saucepan. The cooking times stay roughly the same, but keep a closer eye on the caramel color since a larger volume might take a minute longer to reach the right stage. I often make a double batch when I have guests coming over.
Pin This Recipe!
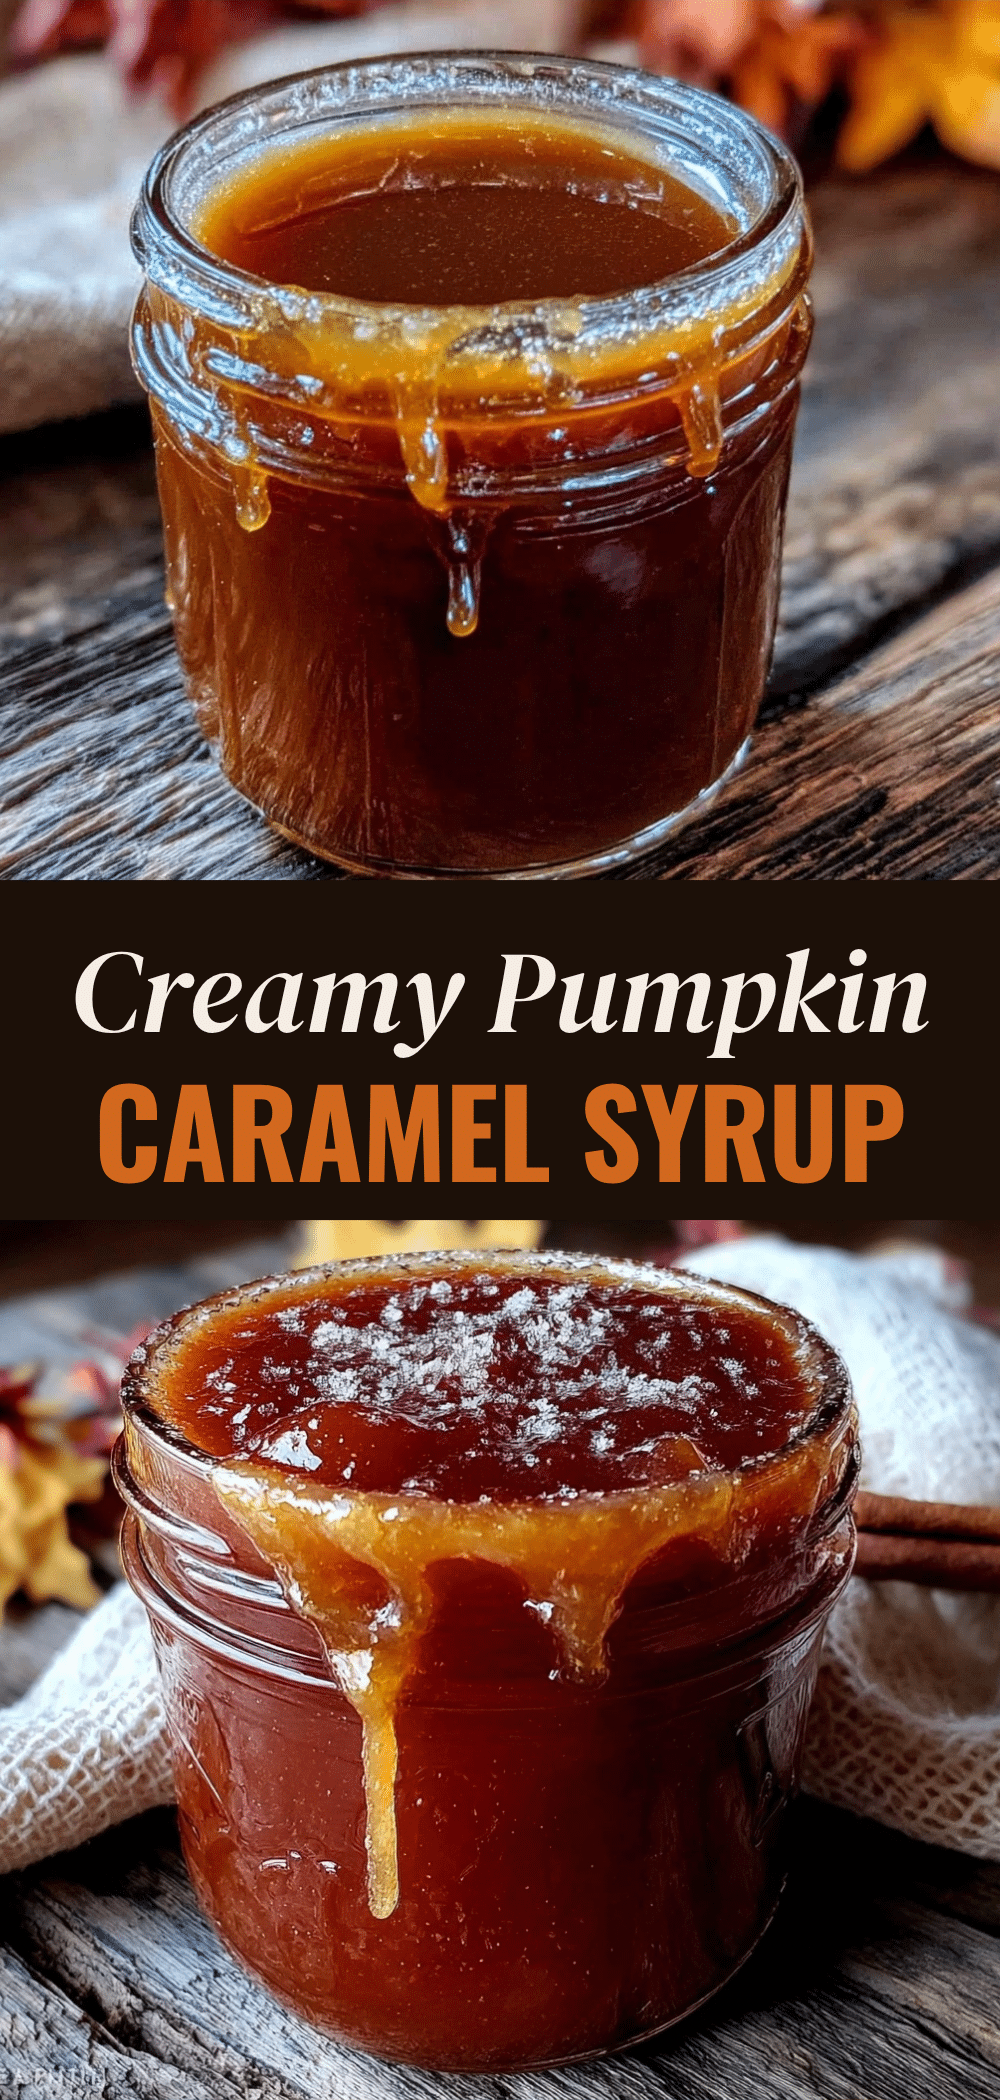
Pumpkin Caramel Syrup: 5-Min Coffee Bar Upgrade
- Total Time: 12 minutes
- Yield: 16 servings 1x
Description
A rich, homemade pumpkin caramel syrup made with real pumpkin puree, browned butter, and warm spices. It takes about 10-12 minutes to make and is perfect for coffee, oatmeal, or drizzling over desserts.
Ingredients
- 1/2 cup (113g) unsalted butter
- 1 cup (200g) dark brown sugar, packed
- 1/2 cup (100g) white sugar
- 1 cup (240ml) heavy cream, room temperature
- 1/2 cup (120g) 100% pure pumpkin puree
- 1 teaspoon vanilla extract
- 1 teaspoon pumpkin pie spice
- 1/2 teaspoon kosher salt
- 2 tablespoons water
Instructions
- Prep ingredients: Measure out cream, pumpkin puree, spices, and vanilla. Have everything ready in small bowls.
- Melt butter and sugars: Place a medium saucepan over medium heat. Add butter and melt. Add brown sugar and white sugar, stirring constantly with a whisk until dissolved into a thick, bubbling paste.
- Cook the caramel: Continue stirring constantly until the mixture turns a deep golden-brown (copper penny color) and smells nutty, about 2-3 minutes. Do not let it smoke.
- Add cream: Remove the pan from heat. Slowly pour in the heavy cream while whisking vigorously. The mixture will bubble up; keep whisking until smooth.
- Return to heat and thicken: Place the pan back on medium-low heat. Add pumpkin puree and whisk until incorporated. Simmer for 3-4 minutes until the syrup coats the back of a spoon.
- Season and finish: Remove from heat. Stir in vanilla extract, pumpkin pie spice, and salt. Taste and adjust if necessary.
- Cool and store: Let the syrup cool in the pan for 10 minutes. Pour into a heatproof jar or bottle. Store in the refrigerator for up to 2 weeks.
Notes
Use room temperature cream to prevent the caramel from seizing. If the syrup becomes too thick in the fridge, microwave for 15 seconds or stir in warm water. For a smoother texture, strain through a fine-mesh sieve before bottling. Ensure pumpkin puree is 100% pure, not pie filling.
- Prep Time: 2 minutes
- Cook Time: 8-10 minutes
- Category: Condiments
- Cuisine: American
Nutrition
- Serving Size: 1 tablespoon
- Calories: 80
- Sugar: 11
- Sodium: 45
- Fat: 4
- Saturated Fat: 2.5
- Carbohydrates: 12
Keywords: pumpkin caramel syrup, homemade syrup, coffee bar, fall recipes, pumpkin spice, easy syrup, dairy-free option, gluten-free



