Last Tuesday, I was standing in my kitchen at 7:45 PM, staring at a clock that seemed to be ticking backward. Dinner was done, the dishes were done, and my kids were in that specific state of “hangry” exhaustion where the word “no” is their favorite sentence. I wanted to make dessert. Not because I’m a saint, and definitely not because I had time to bake. But because I knew if I didn’t offer something sweet, we’d be ordering pizza at midnight, and my wallet (and waistline) would be furious.
So I did what any sleep-deprived parent does: I raided the pantry. I had a can of sweet potato (leftover from last week’s roasted wedges), a bag of marshmallows that had been hiding in the back of the cupboard since Halloween, and a box of graham crackers that were slightly stale but still edible. I threw them together in a 9×13 pan, hoping for a miracle. I got one.
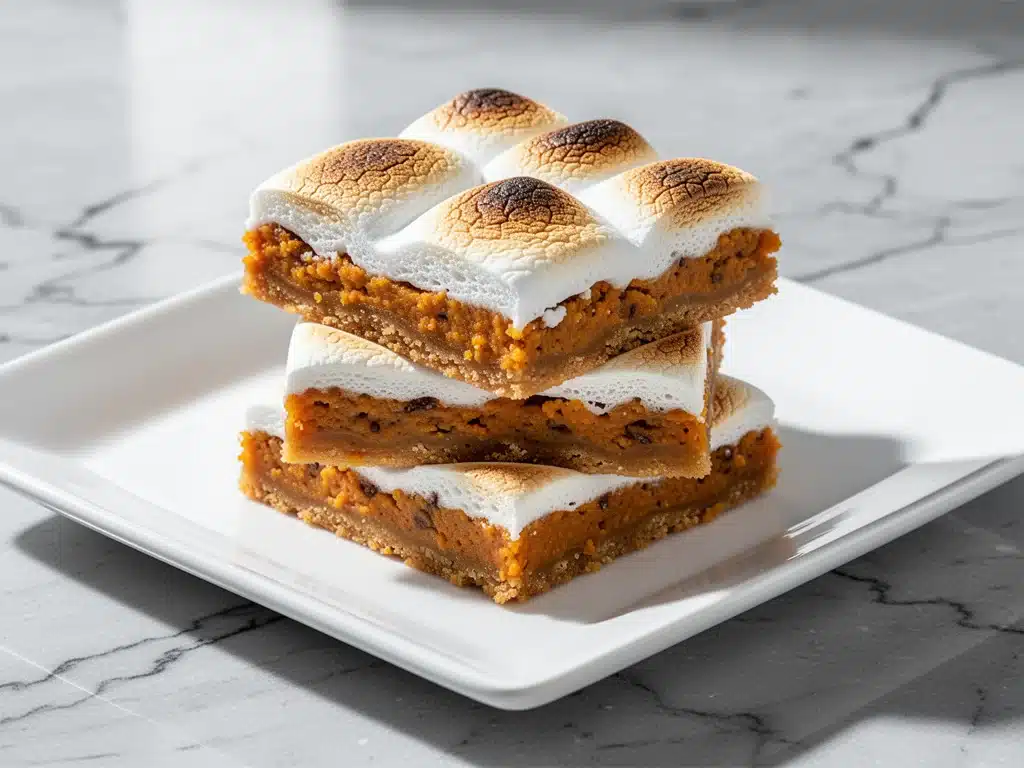
These fall sweet potato pie bars are that miracle. They are creamy, spiced, and topped with a layer of toasted marshmallow that tastes like a campfire memory but takes about 30 minutes to make. They’re essentially the flavor profile of a traditional sweet potato pie but stripped of all the pretension and time. They’re perfect for busy weeknights, potlucks where you need to look like you tried, or just when you need a hug in edible form.
I’ve made this batch at least a dozen times since that Tuesday. Sometimes I add extra cinnamon. Sometimes I use mini marshmallows because they melt faster. But the core recipe stays the same because it works. It’s the kind of dessert that feels like a cheat code for your evening routine—better than store-bought, easier than a cake, and infinitely more comforting than a cookie. If you’ve ever struggled with soft batch snickerdoodle cookies for being too fussy, these bars are the answer. They’re simple, forgiving, and delicious.
Why You’ll Love This Recipe
There are about ten reasons I keep making these fall sweet potato pie bars, but here are the big ones that actually matter when you’re tired and hungry.
It’s Actually Five Ingredients — Seriously. I’m not exaggerating. You need sweet potatoes, marshmallows, graham crackers, butter, and spices. That’s it. If you can count to five, you can make this dessert. I’ve walked my teenage son through it over FaceTime while he was at college, and he nailed it on the first try.
Lightning Fast Prep — From start to finish, this takes about 30-35 minutes. That’s including the time to mash the potatoes (if you’re using canned) and toast the marshmallows. I make this on weeknights when I get home at 7 PM, and it’s still on the table before the evening news starts. No overnight chilling, no complex tempering, no waiting.
Pantry-Friendly — You probably have 80% of these ingredients already. Canned sweet potatoes are cheap and shelf-stable. Graham crackers are in every house. Marshmallows? Everyone has a bag of them somewhere. This is my go-to dessert when I need to bake something but don’t want to go to the grocery store.
Crowd-Pleaser — I’ve served these to my vegetarian sister, my gluten-free neighbor (with a GF crust), and my dad who thinks dessert is “too sweet.” Everyone loved it. The sweetness is balanced by the savory spice and the crunchy crust. It’s a flavor profile that works for everyone.
Makes Amazing Leftovers — These actually taste better the next day. The flavors meld together, and the texture becomes even more fudgy. I deliberately make extra for lunch throughout the week. It’s like eating a sweet potato pie bar for breakfast? Yes, please.
Budget-Smart — Feeds 12 people for under $10. That’s less than one meal at a fast-food place. I use canned sweet potatoes because they’re cheaper and consistent. Fresh sweet potatoes work too, but you need to bake and peel them first, which adds time. For a weeknight, canned is the way to go.
This is my go-to when I need dinner to just work. No complicated techniques, no weird ingredients, just reliable, delicious food that makes everyone happy. It’s the dessert equivalent of brown butter salted caramel blondies but with a fall twist and way less effort.
Ingredients You’ll Need
Here’s the best part: you probably have most of this already. I’m particular about three ingredients here, and I’ll tell you exactly why.
For the Crust:
Graham crackers (2 cups / 200g, crushed) — I use standard honey graham crackers. Don’t try to substitute with chocolate graham crackers unless you want a chocolate-sweet potato pie (which is also good, but different). Crush them finely. I use a food processor, but you can put them in a bag and smash them with a rolling pin. It’s therapeutic.
Unsalted butter (1/2 cup / 113g, melted) — Use real butter. Margarine doesn’t give the same rich, crumbly texture. Melt it completely. If you’re using salted butter, reduce the added salt in the crust by half.
Sugar (1/4 cup / 50g, granulated) — Just a little bit to help the crust bind and add a hint of sweetness. Brown sugar works too, but it makes the crust darker. I stick to white for a classic look.
For the Filling:
Canned sweet potatoes (1 can / 15oz / 425g) — I use the canned variety that says “plain” or “no sugar added.” Do not use sweet potato casserole mix with marshmallows already in it. You want plain, mashed sweet potatoes. Drain them well if they’re watery. I’ve used fresh roasted sweet potatoes before, but you need to mash them until they’re completely smooth, which takes more effort. Canned is easier.
Heavy cream (1/2 cup / 120ml) — Full-fat only. Half-and-half makes it too thin. Trust me on this. The cream gives the filling that custard-like texture. If you’re out of cream, milk works, but it’ll be less rich.
Large egg (1 large) — Just one egg. It binds the filling together. Room temperature is best, but cold works too. Whisk it lightly before adding.
Pie spice (1 teaspoon) — Or use a mix of 1/2 tsp cinnamon, 1/4 tsp nutmeg, and 1/4 tsp ginger. Pie spice is convenient, but making your own blend gives you more control over the flavor. I always have cinnamon and nutmeg, so I usually just use those.
Salt (1/4 teaspoon) — Crucial. Sweet potatoes are sweet, and salt balances it. Don’t skip it.
For the Topping:
Marshmallows (1 bag / 10oz / 280g) — I use regular large marshmallows. Mini marshmallows melt faster and create a more even layer, but they’re harder to toast evenly. I prefer the large ones for that classic “toasted” look with the charred edges. If you can’t find a bag, use about 3 cups.
Optional Add-ins:
Walnuts or pecans (1/2 cup, chopped) — Sprinkle them on top of the crust before baking for added crunch. I love the nutty flavor with the sweet potato. If you’re allergic, skip it.
Extra cinnamon (1/2 teaspoon) — Sprinkle on top of the filling before adding the marshmallows for extra spice.
Pro Tips:
– Brand recommendations: I always use Nabisco graham crackers—they hold together well. For sweet potatoes, Libby’s is the standard, but any brand works.
– Shopping shortcuts: If you’re feeling lazy, buy pre-crushed graham cracker crumbs. But honestly, crushing them yourself is faster than waiting for the package to open.
– Substitutions: No heavy cream? Mix 1/4 cup milk with 1/4 cup cream cheese. It’s not the same, but it works. For the crust, use oat crackers if you’re avoiding gluten, but the texture will be different.
– Storage: Graham crackers go stale fast. Keep them in an airtight container. Marshmallows harden if exposed to air, so keep them sealed.
Equipment Needed
You don’t need fancy equipment for this. Here’s what I actually use.
9×13 inch baking pan — I use a glass Pyrex pan. It heats evenly and makes cleanup easy. Metal pans work too, but they might brown the edges faster. Glass is my go-to.
Food processor or zip-top bag — For crushing the graham crackers. A food processor takes 10 seconds. A zip-top bag and a rolling pin takes 2 minutes and is fun for kids to help with.
Mixing bowls — Two medium bowls. One for the crust, one for the filling. I use plastic bowls because they’re lightweight and easy to wash.
Electric mixer or whisk — For beating the sweet potato mixture. An electric mixer makes it fluffy and smooth. A whisk works, but you’ll need some arm strength. I use a hand mixer when I’m lazy.
Oven — Obviously. Preheat it to 350°F (175°C). Make sure it’s actually at that temperature. Oven thermometers are cheap and worth it.
Broiler — For toasting the marshmallows. Most ovens have this setting. If yours doesn’t, you can use a kitchen torch, but that’s risky if you’re not experienced. Broiler is safer and easier.
Offset spatula — For spreading the filling evenly. Or just use a regular spoon. I use a spoon because it’s faster and I don’t want to wash another tool.
Optional but nice:
– Kitchen torch — If you want perfect, even toasting without burning the edges. But the broiler works fine.
– Parchment paper — Line the pan for easy removal. I don’t always bother, but it makes cleanup easier. Just grease the pan well if you skip it.
Tool Tips:
– Don’t have a food processor? Put the crackers in a bag and smash them with a rolling pin or a heavy pan. It’s a workout, but it works.
– I’m obsessed with my Pyrex pan — It’s been in my family for years. It doesn’t rust and it’s easy to clean.
How to Make It: Step-by-Step
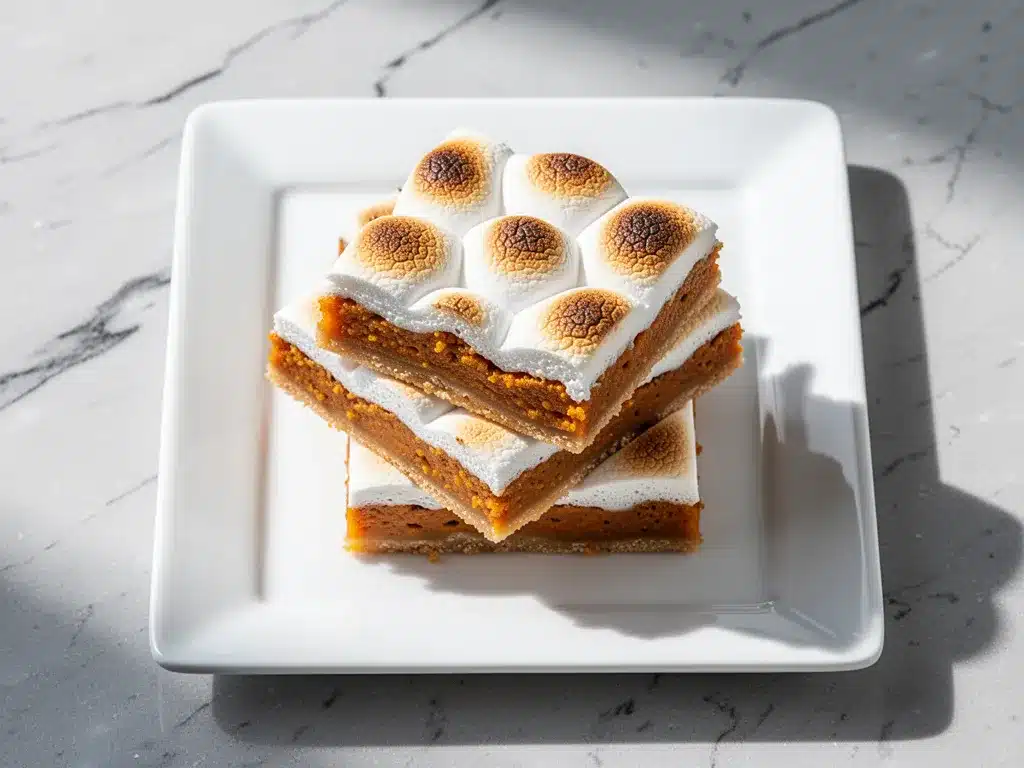
Alright, let’s make these fall sweet potato pie bars! I’m walking you through exactly how I do it, including the little tricks I’ve picked up.
Step 1: Prep Your Oven and Pan (5 minutes)
Preheat your oven to 350°F (175°C). Grease your 9×13 inch baking pan with butter or non-stick spray. If you’re using parchment paper, line it now. This step is crucial because these bars are sticky. Trust me, you don’t want to fight for every piece later.
Step 2: Make the Crust (5 minutes)
Crush your graham crackers into fine crumbs. If you’re using a food processor, pulse until they’re sandy. If you’re using a bag, smash them until there are no big chunks. In a mixing bowl, combine the crumbs, melted butter, and sugar. Mix until it looks like wet sand. Press this mixture firmly into the bottom of your prepared pan. Use the bottom of a measuring cup to pack it down tight. You want a solid base. If it’s loose, the bars will fall apart.
Step 3: Make the Filling (10 minutes)
In a large bowl, combine the mashed sweet potatoes, heavy cream, egg, pie spice, and salt. Beat this mixture with an electric mixer on medium speed until it’s completely smooth and creamy. This is the most important step. If there are lumps of sweet potato, the texture will be grainy. Take your time here. I usually beat it for 2-3 minutes. It should look like a thick, smooth batter. Pour this over the crust and spread it evenly. Use an offset spatula or a spoon. Smooth the top.
Step 4: Bake the Base (20 minutes)
Place the pan in the preheated oven. Bake for 20 minutes. The crust should be set, and the filling should be just starting to firm up. It won’t be fully cooked yet, but it’ll be hot and bubbly around the edges. This step sets the structure so the marshmallows don’t sink in.
Step 5: Add the Marshmallows (5 minutes)
Remove the pan from the oven. Immediately scatter the marshmallows evenly over the hot filling. The heat from the filling will start to melt them. Don’t worry if they don’t all stick at first. Just cover the surface as best you can. If you have gaps, fill them in. You want a complete layer.
Step 6: Toast the Topping (2-3 minutes)
Switch your oven to broil. Place the pan back in the oven, but move it to the top rack, close to the broiler element. Watch it like a hawk. Broil for 2-3 minutes, until the marshmallows are golden brown and puffy. They will expand and then collapse slightly. You want them toasted, not burnt. If they start to smoke, take them out immediately. Every oven is different, so check after 2 minutes.
Step 7: Cool and Slice (15 minutes)
Remove the pan from the oven. Let it cool on a wire rack for at least 15 minutes. The filling will be very hot and liquidy. If you cut it immediately, it’ll be a mess. Let it set up. Once it’s cool enough to touch, slice into squares. I cut them into 12 squares. Serve warm or at room temperature.
Total Time: About 35 minutes (10 minutes active, 25 minutes mostly hands-off)
Built-in Troubleshooting:
– Crust is too loose: Press it down harder in Step 2. Add more butter if it’s crumbly.
– Filling is lumpy: Beat it longer in Step 3. Or strain it through a sieve.
– Marshmallows burnt: Your broiler is too hot. Check after 1 minute next time.
– Bars are sticky: Let them cool longer. Or chill them in the fridge for 30 minutes before slicing.
Expert Tips & Tricks
Here’s everything I’ve learned from making these bars dozens of times. These tips will save you from my mistakes.
Don’t Skip the Pre-Bake
Baking the crust and filling for 20 minutes before adding the marshmallows is non-negotiable. If you add the marshmallows to raw filling, they’ll sink in and get gummy. The pre-bake sets the structure. I learned this the hard way with a gooey, sad mess that looked like a sweet potato swamp.
Smooth is Key
The texture of the filling depends on how well you mash the sweet potatoes. If you’re using canned, it’s usually smooth. If you’re using fresh, roast them until they’re fork-tender, then mash them with a potato masher or blend them in a food processor. Lumps are the enemy of creamy bars.
Watch the Broiler Like a Hawk
Marshmallows go from “perfectly toasted” to “charcoal” in seconds. Stand by the oven. Use the timer. If your oven runs hot, check at 1 minute. It’s better to under-toast than to burn. A little browning is good; black is bad.
Room Temperature Egg
Cold egg can seize the filling. Take your egg out of the fridge 15 minutes before cooking. If you forget, microwave it for 10 seconds. It helps the filling mix more evenly.
Cool Completely for Clean Slices
I know you want to eat these immediately. But if you cut them hot, they’ll fall apart. Let them cool for at least 15 minutes. For cleaner slices, chill them in the fridge for 30 minutes. The cold helps them hold their shape.
Common Mistakes (and how to avoid them):
Mistake: Crust is soggy
Fix: Make sure you press it down tight. And don’t skip the pre-bake. The moisture from the filling can make the crust soggy if it’s not set first.
Mistake: Filling is too sweet
Fix: Use plain sweet potatoes, not the pre-sweetened kind. And reduce the sugar in the crust if you’re using sweet marshmallows. Taste your sweet potatoes first.
Mistake: Marshmallows stuck to pan
Fix: Line the pan with parchment paper. It makes removal and cleanup so much easier. I always do this now.
Pro Tricks I’ve Learned:
For Extra Flavor
Add a pinch of cardamom or allspice to the filling. It adds depth and complexity. I love the hint of cardamom with the cinnamon.
For Better Texture
Sprinkle a little chopped pecans on top of the crust before adding the filling. It adds crunch and prevents the crust from getting too soft.
Make-Ahead Strategy
Make the bars up to 2 days ahead. Store them in the fridge. They taste even better the next day. Bring them to room temperature before serving. Or warm individual slices in the microwave for 15 seconds.
Variations & Substitutions
Once you’ve nailed the basic version, here’s how you can mix it up. I’ve tried all of these.
Pumpkin Spice Version
Swap the sweet potatoes for canned pumpkin puree. Add 1/2 teaspoon of pumpkin pie spice. It’s basically pumpkin pie bars. My kids love this version because it’s less earthy.
Chocolate Chip Twist
Sprinkle 1/2 cup of chocolate chips on top of the filling before adding the marshmallows. The chocolate melts into the sweet potato. It’s like a sweet potato chocolate chip cookie bar. I won’t lie—it’s decadent.
Marshmallow Fluff Topping
Instead of whole marshmallows, spread a layer of marshmallow fluff (or homemade marshmallow cream) over the filling. Broil for 1 minute until golden. It’s smoother and more uniform. Great for parties.
Lighter Version
Use reduced-fat marshmallows and skim milk in the filling. It’s thinner but still good. I make this when I’m trying to be “healthy.” It’s not the same, but it works.
Gluten-Free
Use gluten-free graham crackers. Everything else is naturally gluten-free. I’ve used Kinnikinnick and they work great. Just make sure the sweet potatoes are certified GF.
Dairy-Free
Replace butter with coconut oil and heavy cream with coconut cream. Use vegan marshmallows (like Dandies). It’s different but still tasty. My lactose-intolerant friend requests this version.
Different Toppings:
– Caramel drizzle — Drizzle salted caramel sauce over the top after broiling.
– Whipped cream — Serve with a dollop of whipped cream for extra richness.
– Butterscotch chips — Swap marshmallows for butterscotch chips. Melted and gooey.
Serving & Storage
How to Serve:
“I usually serve these straight from the pan at the dinner table—it looks rustic and stays warm. But here are other ways I’ve enjoyed them:”
Side Dishes:
– Vanilla ice cream — The classic pairing. Cold ice cream with warm bars is heaven.
– Cool whip — Lighter than ice cream, but still creamy.
– Coffee or tea — Perfect with a cup of coffee or chai tea. It’s a cozy combo.
Toppings Bar:
When I have guests, I put out: chopped pecans, extra cinnamon, whipped cream, caramel sauce. Everyone customizes their square.
Storage Instructions:
Refrigerator:
Store in an airtight container for up to 5 days. The marshmallows will harden slightly in the fridge. Bring to room temperature or microwave for 15 seconds to soften.
Reheating:
Best method: Microwave individual slices for 15-20 seconds. The marshmallows will melt and become gooey again.
Oven method: Warm the whole pan at 300°F for 10 minutes. It won’t re-toast the marshmallows, but it’ll warm the filling.
Freezing:
Honestly, these don’t freeze well because of the marshmallows. They get chewy and weird when thawed. Make them fresh or store in the fridge for up to 5 days.
Meal Prep:
Make the bars on Sunday, store in the fridge. Cut them into squares and store in a container. Grab one for dessert during the week. Takes seconds and tastes way better than nothing.
Nutrition Information
I’m not a nutritionist, but here’s the breakdown if you’re tracking.
Per Serving (based on 12 servings):
– Calories: 280
– Protein: 3g
– Carbs: 42g
– Fiber: 2g
– Sugar: 28g
– Fat: 12g
– Saturated Fat: 6g
– Cholesterol: 25mg
– Sodium: 150mg
– Calcium: 40mg
What’s Good:
– Sweet potatoes provide vitamin A and fiber
– Decent carbs for energy
– Can add nuts for protein and healthy fats
– More filling than it looks
What to Know:
– Higher in sugar from marshmallows and graham crackers
– Contains dairy and gluten
– Moderate sodium (use low-sodium crackers if needed)
My Take:
“Look, this is dessert with marshmallows and sugar. It’s not a diet recipe. But it’s way better than store-bought, costs less, and I know exactly what’s in it. When I want to make it lighter, I use fewer marshmallows and add more nuts. But usually? I just eat one square and enjoy it.”
Dietary Notes:
– Contains: gluten, dairy
– Can be made: vegetarian, gluten-free
– Not suitable for: vegan (without modifications), dairy-free (without modifications)
Final Thoughts
So that’s my go-to fall sweet potato pie bars! I’ve probably talked your ear off at this point, but when you make a recipe this often, you have a lot to say about it.
This has saved weeknight desserts more times than I can count. It’s my answer to “what’s for dessert” when I’m tired, don’t want to bake a cake, and still want something that tastes really good. My kids are happy, my husband’s happy, and I’m happy because I’m not stressed about cooking.
Make it yours! Try different add-ins, swap in your favorite spices, adjust the marshmallow layer. The best recipes are the ones you adapt to your family’s tastes. If you want to try another easy dessert, check out my gluten-free lemon blueberry bundt cake—it’s also five ingredients and perfect for busy nights.
If you make these, drop a comment and let me know what you think! I love hearing how recipes turn out in your kitchen. And if something doesn’t work, tell me that too—I’m here to help troubleshoot.
Happy cooking! And I hope your kitchen smells half as good as mine does right now.
Frequently Asked Questions
Q: Can I use fresh sweet potatoes instead of canned?
A: Yes, but you need to roast them first. Peel and cube 2 medium sweet potatoes, roast at 400°F for 25-30 minutes until tender, then mash them until smooth. Let them cool before using. Canned is easier, but fresh tastes more “real.” I’ve used both, and both work.
Q: Why did my marshmallows burn?
A: Your broiler was too hot, or you left it in too long. Marshmallows toast in seconds. Check them after 1 minute. If your oven runs hot, use a lower rack or check every 30 seconds. It’s better to under-toast than to burn.
Q: Can I make this ahead for a dinner party?
A: Absolutely! Make the bars up to 2 days ahead. Store them in the fridge. Bring them to room temperature before serving, or warm individual slices in the microwave. They taste even better the next day. I do this all the time.
Q: Can I use mini marshmallows?
A: Yes, but they melt faster and create a more even layer. You’ll need about 3 cups. Broil for less time—check after 1 minute. They’re easier to distribute evenly, but harder to get that classic “toasted” look.
Q: Can I use graham cracker crumbs instead of crushing my own?
A: Yes, absolutely. Use 2 cups of crumbs. It saves time and works just as well. I sometimes buy pre-crushed crumbs when I’m being lazy. Just make sure they’re fine, not chunky.
Q: How do I reheat leftovers without them getting dry?
A: Microwave for 15-20 seconds. The heat melts the marshmallows and warms the filling. Don’t overheat, or the marshmallows will get chewy. Or let them come to room temperature. They’re good cold, too.
Q: Can I double this recipe?
A: Absolutely! Double everything and use a 9×13 pan (or two 8×8 pans). The cooking times stay the same. I do this when I’m feeding a crowd. Just make sure your oven can fit the pan, or bake in batches.
Pin This Recipe!
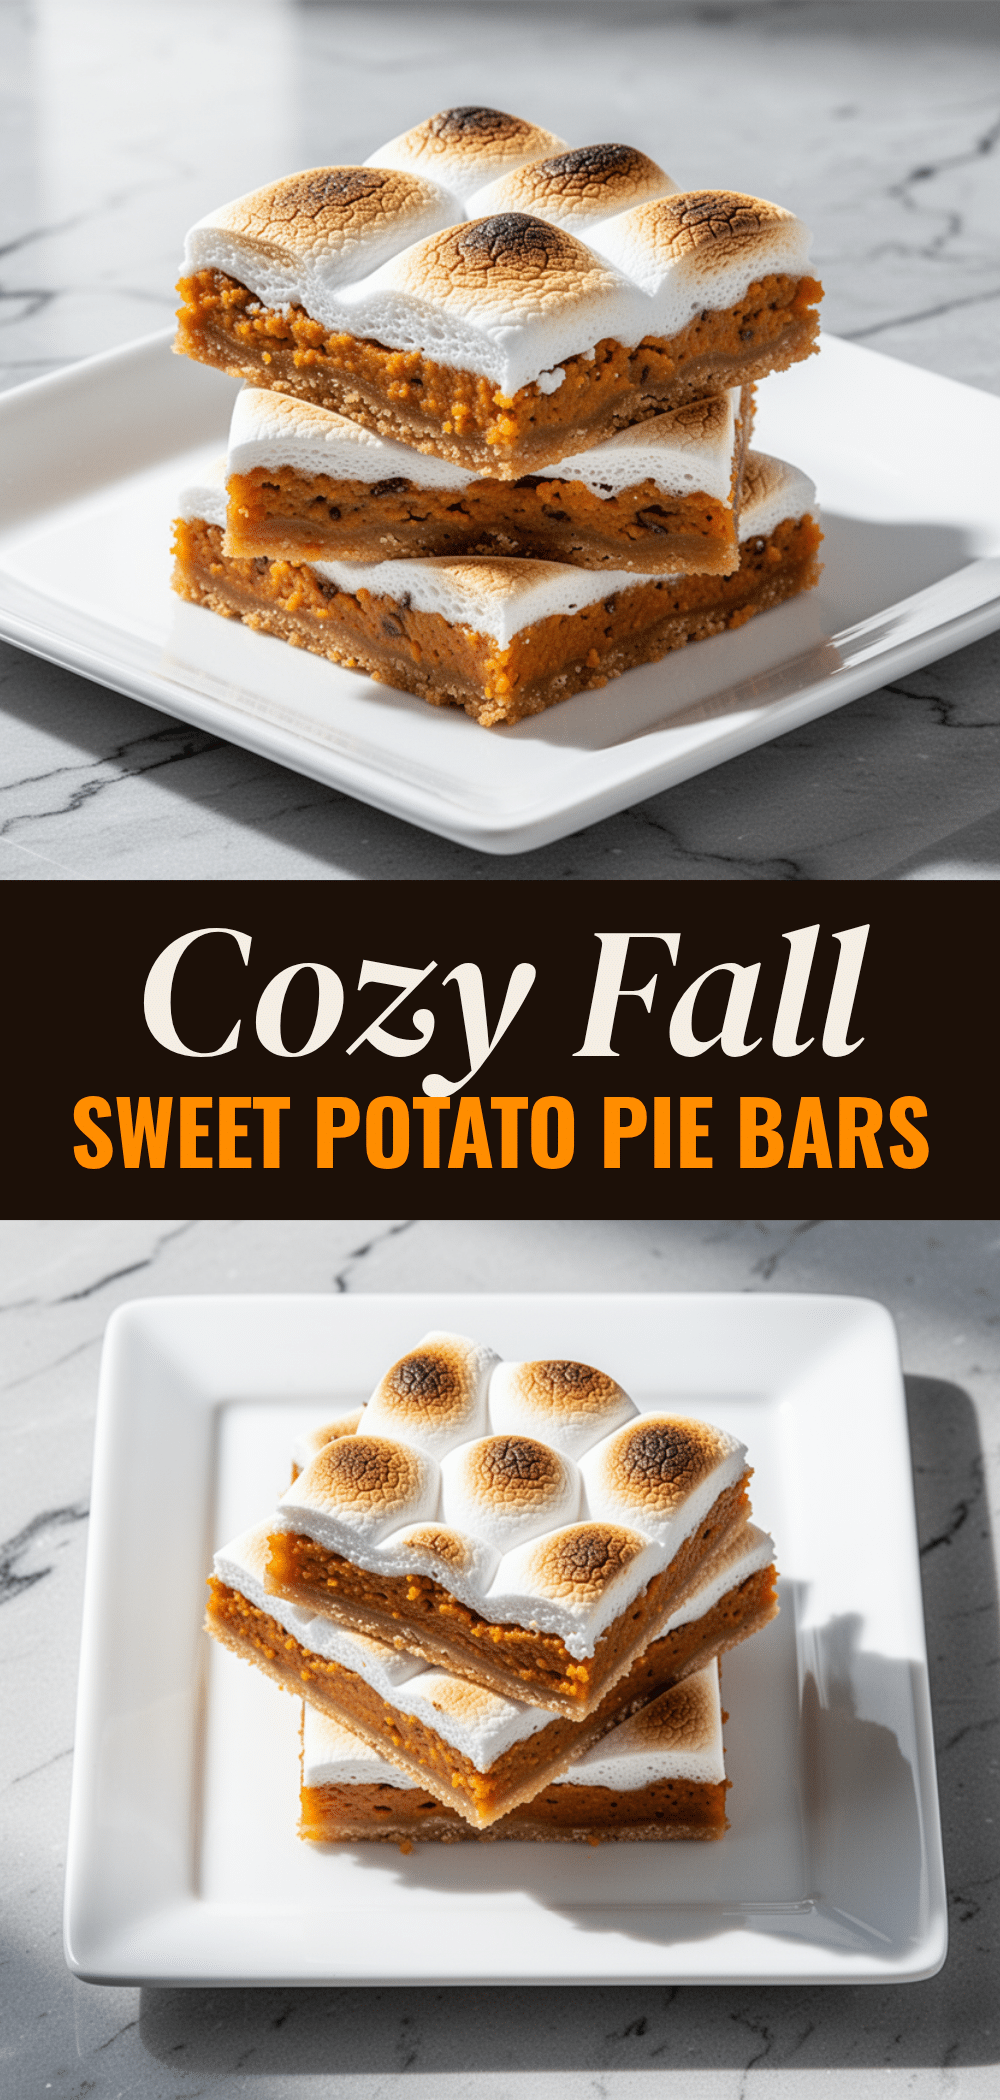
Fall Sweet Potato Pie Bars: Easy 5-Ingredient Weeknight Dessert
- Total Time: 35 minutes
- Yield: 12 servings 1x
Description
Creamy, spiced sweet potato bars with a graham cracker crust and toasted marshmallow topping. This easy weeknight dessert takes about 30-35 minutes and uses pantry-friendly ingredients.
Ingredients
- 2 cups (200g) graham crackers, crushed
- 1/2 cup (113g) unsalted butter, melted
- 1/4 cup (50g) granulated sugar
- 1 can (15oz / 425g) plain canned sweet potatoes, mashed
- 1/2 cup (120ml) heavy cream
- 1 large egg
- 1 teaspoon pie spice (or 1/2 tsp cinnamon, 1/4 tsp nutmeg, 1/4 tsp ginger)
- 1/4 teaspoon salt
- 1 bag (10oz / 280g) marshmallows
Instructions
- Preheat oven to 350°F (175°C). Grease a 9×13 inch baking pan.
- Crush graham crackers into fine crumbs. In a bowl, combine crumbs, melted butter, and sugar until it resembles wet sand.
- Press the crust mixture firmly into the bottom of the prepared pan.
- In a large bowl, combine mashed sweet potatoes, heavy cream, egg, pie spice, and salt. Beat with an electric mixer until completely smooth and creamy.
- Pour the filling over the crust and spread evenly.
- Bake the base for 20 minutes until the crust is set and filling is hot.
- Remove from oven and immediately scatter marshmallows evenly over the hot filling.
- Switch oven to broil. Place pan on the top rack and broil for 2-3 minutes until marshmallows are golden brown and puffy. Watch closely to prevent burning.
- Let cool on a wire rack for at least 15 minutes before slicing into 12 squares.
Notes
For cleaner slices, chill bars in the fridge for 30 minutes before cutting. If using fresh sweet potatoes, roast and mash until smooth. Store in an airtight container in the refrigerator for up to 5 days. Do not freeze as marshmallows become chewy.
- Prep Time: 10 minutes
- Cook Time: 25 minutes
- Category: Dessert
- Cuisine: American
Nutrition
- Serving Size: 1 bar
- Calories: 280
- Sugar: 28
- Sodium: 150
- Fat: 12
- Saturated Fat: 6
- Carbohydrates: 42
- Fiber: 2
- Protein: 3
Keywords: sweet potato pie bars, weeknight dessert, easy dessert, marshmallow topping, graham cracker crust, fall baking, 5-ingredient recipe



