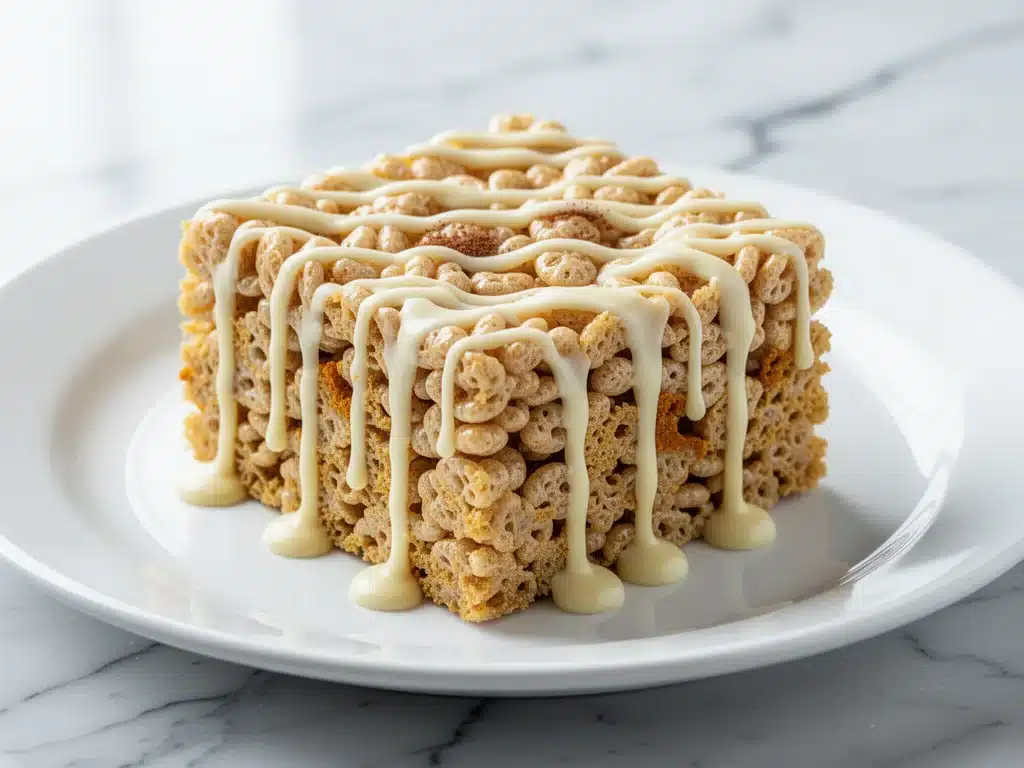
Last Thursday, I was standing in my kitchen at 9 PM, staring into the pantry like it was a magic 8-ball that might spit out dinner. My kids were demanding snacks, my husband wanted something sweet to go with his coffee, and I had exactly zero motivation to bake a proper cake. I didn’t want to heat up the oven. I didn’t want to wash a dozen bowls. I just wanted that cozy, nostalgic comfort of a Rice Krispie treat, but, you know, seasonal.
So I did what I always do when I’m lazy but want to look like a hero: I improvised. I grabbed the marshmallows, the cereal, and a jar of pumpkin spice I’d bought three months ago and forgotten about. I tossed in a little butter, some white chocolate chips I had lying around, and drizzled it all over. I expected a mediocre, overly sweet snack. Instead? I got the best thing I’ve made all autumn.
These pumpkin spice Rice Krispie treats with white chocolate drizzle are hands-down the easiest fall dessert you will ever make. They’re not just “okay” for a no-bake recipe. They are genuinely delicious, rich, and smell like a pumpkin patch in your house. I’ve made them three times in the last two weeks. Three times. My kids think they’ve struck gold. My husband asks if I bought them from the bakery (I haven’t, and I’m not telling).
If you’re looking for a dessert that takes 10 minutes, uses five ingredients, and tastes like fall without the fuss, you need to make these. Seriously. Put down the phone and grab a pot. You’re welcome.
Why You’ll Love This Recipe
I know what you’re thinking. “Rice Krispie treats? Again?” But hear me out. This isn’t your standard square of sugary goodness. This is elevated nostalgia. Here’s why this pumpkin spice Rice Krispie treats recipe has earned a permanent spot in my fall rotation:
- Zero Baking Required — If you can melt butter and stir, you can make this. No oven, no mess, no waiting for things to cool. It’s ready in the time it takes to boil water for tea.
- Five Ingredients Only — I’m serious. Butter, marshmallows, cereal, pumpkin spice, and white chocolate. That’s it. No weird flours, no xanthan gum, no hunting for specialty items. If you can buy it at any grocery store, you can make this.
- Smells Like Autumn — The second the pumpkin spice hits the warm marshmallows, your whole kitchen transforms. It’s not cloying or artificial; it’s warm, spiced, and inviting. It’s the kind of smell that makes people walk into your house and ask, “What are you making?”
- Kid-Approved (Even the Picky Ones) — My toddler loves the chewiness. My teenager loves the white chocolate. My picky eater (who usually refuses anything orange) ate two squares and didn’t even complain. It’s a win-win-win.
- Perfect for Gifting or Parties — Cut them into small squares, put them in a cellophane bag, tie with a ribbon, and you’ve got a cheap, homemade gift for teachers, neighbors, or coworkers. They travel well too, so pack them for a picnic or a potluck.
This is my go-to when I need a dessert to just work. No complicated techniques, no weird ingredients, just reliable, delicious food that makes everyone happy. It’s better than those store-bought pumpkin bars and costs a fraction of the price.
Ingredients You’ll Need
Here’s the best part: you probably have most of this already. I’m particular about a couple of things here, but for the most part, this is pantry-friendly comfort food.
For the Base
Unsalted butter (3 tablespoons / 42g) — I use butter, not margarine. It adds that rich, creamy flavor that ties the pumpkin spice together. If you’re out, stick with unsalted so you can control the salt level.
Marshmallows (10 ounces / 280g) — That’s one standard 10-ounce bag. Don’t use the jumbo bag unless you want to double the recipe. Regular white marshmallows are best here. You want them to melt into a smooth, glossy mass.
Rice Krispies cereal (6 cups / 170g) — Yes, six cups. The ratio is key. You want plenty of crunch to balance the chew. Kellogg’s is the classic choice, but any crispy rice cereal works. Just make sure it’s fresh—stale cereal won’t get that nice snap.
Pumpkin spice blend (1 to 1½ teaspoons) — This is the star. I use a standard store-bought blend (like McCormick or Simply Organic). If you want it more intense, go with 1½ teaspoons. If you’re sensitive to cinnamon, start with 1 teaspoon. It’s your call.
For the Drizzle
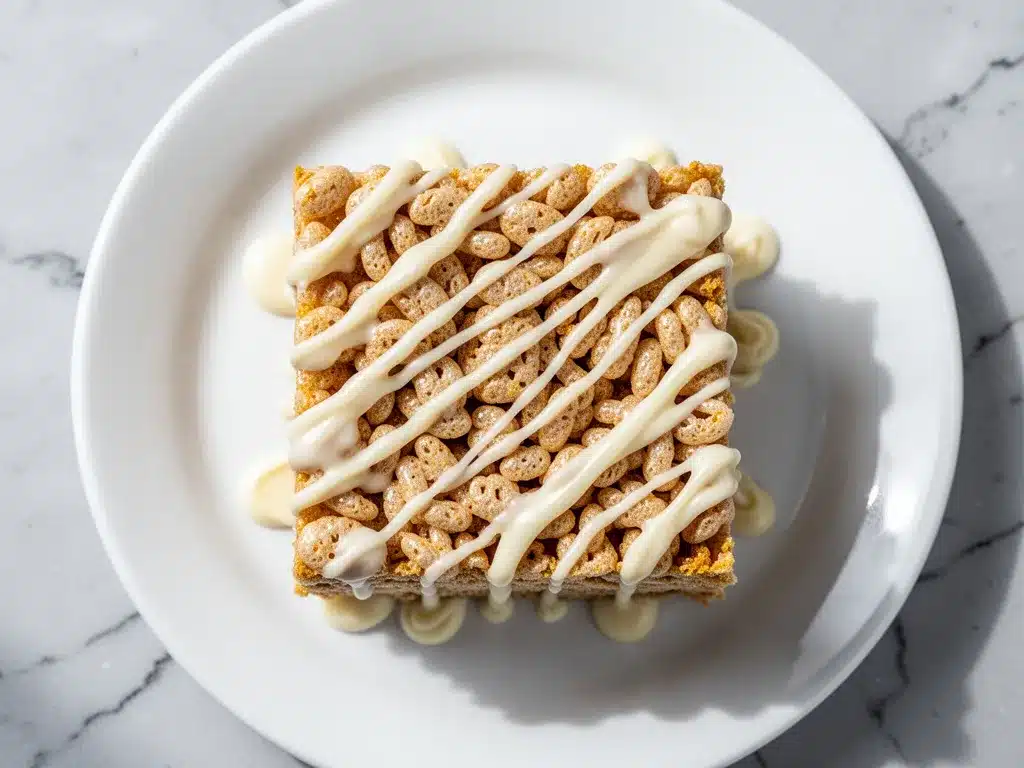
White chocolate chips (½ cup / 85g) — I use Ghirardelli or Toll House. Avoid the baking bar unless you’re experienced with tempering chocolate. Chips are easier to melt and hold their shape better. Almond bark works too if you want it to set harder, but chips taste better.
Milk or cream (1 teaspoon) — Just a tiny splash to help the chocolate melt smoothly. Don’t skip it, or you’ll end up with a clumpy mess.
Optional Add-ins
Salt flakes — A tiny pinch of flaky sea salt on top after the drizzle sets. The salt cuts the sweetness and makes the pumpkin flavor pop. It’s a restaurant trick, but it works.
Mini marshmallows — If you’re feeling fancy, press a few mini marshmallows into the top before the chocolate sets. It looks adorable and adds extra chew.
Pro Tip: I always buy the large bag of marshmallows when they’re on sale in summer. They last forever in the pantry, and I’m always ready for a last-minute dessert like this. Also, measure your cereal out before you start melting the marshmallows. Things move fast once that butter is hot.
Equipment Needed
You don’t need fancy equipment for this. Here’s what I actually use:
Large saucepan — I use a 3-quart pot. It needs to be big enough to stir the marshmallows without spilling. Non-stick is best here because melted marshmallows are sticky nightmares.
Wooden spoon or silicone spatula — For stirring. Silicone is great because it scrapes the sides. Wooden works too, but it can get stuck if you’re not diligent.
9×13-inch baking pan — Standard size. Grease it well with butter or non-stick spray. I also line it with parchment paper for easy removal, but greasing is fine if you’re lazy.
Microwave-safe bowl — For melting the white chocolate. A glass or ceramic bowl works best. Or you can use a small saucepan on low heat if you prefer stovetop melting.
Ziplock bag — I snip the corner off this bag and use it as a makeshift piping bag for the drizzle. It’s way easier than dipping a spoon.
Knife — For cutting. I use a sharp chef’s knife. Dull knives will squish the treats instead of cutting them cleanly.
Tool Tip: Don’t have a 9×13 pan? An 8×8 pan will work, but the treats will be thicker. Just adjust the cutting size accordingly. I’m obsessed with my silicone spatula from OXO—it’s like $5 and makes life so much easier.
How to Make It: Step-by-Step
Alright, let’s make this! I’m walking you through exactly how I do it, including the little tricks I’ve picked up so you don’t end up with a sticky mess.
Step 1: Prep Your Pan (2 minutes)
Grease your 9×13-inch baking pan with butter or non-stick spray. If you want easy cleanup, line it with parchment paper, leaving a little overhang on the sides so you can lift the treats out later. I usually just grease it because I’m lazy, but the parchment is nice for neat edges.
Step 2: Melt the Butter and Marshmallows (5 minutes)
Melt the butter in your large saucepan over low heat. Once it’s foamy, add the marshmallows. Stir constantly. This is the most important step. Do not walk away. Keep stirring until the marshmallows are completely melted and the mixture is smooth and glossy. This usually takes about 3-4 minutes. If the heat is too high, the marshmallows will burn and get chewy in a bad way. Low and slow is the key.
Step 3: Add the Pumpkin Spice (1 minute)
Remove the pan from the heat. Stir in the pumpkin spice blend. The mixture will smell amazing. If you want a stronger pumpkin flavor, add a teaspoon of pure pumpkin puree here, but be careful—it can make the mixture too wet. For this recipe, I stick with just the spice for that classic flavor without changing the texture.
Step 4: Mix in the Cereal (3 minutes)
Add the Rice Krispies cereal to the marshmallow mixture. Use your spatula to fold it in. You want every piece coated. It’s going to look like a giant, sticky cloud. Press it into your prepared pan. I wet my hands slightly with water to press the mixture down evenly. It sticks less to wet hands. Don’t press too hard, or they’ll be dense. Just flatten them out to the edges.
Step 5: Let It Cool (15 minutes)
Let the treats sit at room temperature until they’re firm enough to handle. This takes about 15 minutes. Don’t rush this step, or they’ll be a sticky mess when you try to cut them.
Step 6: Melt the White Chocolate (2 minutes)
While the treats cool, melt the white chocolate chips with the teaspoon of milk in a microwave-safe bowl. Heat in 30-second intervals, stirring in between, until smooth. Or melt it in a small saucepan over low heat. Stir until it’s a smooth, drizzle-able consistency.
Step 7: Drizzle and Set (10 minutes)
Snip the corner off a Ziplock bag and fill it with the melted chocolate. Drizzle it over the cooled treats in a zigzag pattern. It doesn’t have to be perfect. Messy is charming. If you’re adding salt flakes, do it now while the chocolate is wet. Let the chocolate set for about 10 minutes. You can put them in the fridge to speed this up, but room temp works fine.
Step 8: Cut and Serve
Once the chocolate is set, lift the treats out of the pan (if you used parchment) or cut them directly in the pan. Use a sharp knife to cut into squares or rectangles. I usually cut them into 24 squares. Serve immediately or store in an airtight container.
Total Time: About 25 minutes (5 minutes active, 20 minutes mostly hands-off)
Expert Tips & Tricks
Here’s everything I’ve learned from making this dozens of times. These tips will save you from my mistakes.
Don’t Burn the Marshmallows
This is the #1 mistake. Low heat. If the marshmallows brown, they taste bitter. I keep the burner on low and stir constantly. If you see the bottom starting to look dark, take it off the heat immediately.
Wet Your Hands
Melted marshmallows stick to everything. Wet your hands with cold water before pressing the mixture into the pan. It prevents sticking and makes cleanup easier. Seriously, this is a game-changer.
Use Fresh Cereal
Old, stale Rice Krispies won’t get that nice crunch. They’ll just get soggy. Check the expiration date. If it’s been sitting in the back of the pantry for six months, toss it and get a fresh box.
Thin the Chocolate Right
If your white chocolate is too thick to drizzle, add another half-teaspoon of milk or cream. It should flow off the spoon like honey. If it’s too thin, it’ll run off the treats. Aim for that honey consistency.
Cool Completely Before Cutting
I know it’s tempting to cut them while they’re warm. Don’t. They’ll stick to the knife and look messy. Wait until they’re fully firm. Patience pays off.
Common Mistakes (and how to avoid them):
- Mistake: Treats are too sticky — Fix: You didn’t let them cool long enough, or you pressed them too hard. Let them sit longer and press lightly.
- Mistake: Chocolate is clumpy — Fix: You heated it too fast. Microwave in 15-second intervals and stir well. Or add a bit more milk.
- Mistake: Flavor is bland — Fix: You didn’t use enough pumpkin spice. Taste the marshmallow mixture before adding cereal. It should taste strongly of pumpkin. Adjust then.
Pro Tricks I’ve Learned:
- For a Richer Flavor — Add a pinch of salt to the marshmallow mixture before adding the cereal. It balances the sweetness.
- For Extra Crunch — Add ½ cup of crushed pumpkin pie spice cookies or graham crackers to the mix. It adds texture and more spice flavor.
- For Better Presentation — Use a toothpick to swirl the chocolate drizzle after you’re done. It looks professional and fancy.
Variations & Substitutions
Once you’ve nailed the basic version, here’s how you can mix it up. I’ve tried all of these.
Classic Pumpkin Spice
Just add a teaspoon of pumpkin puree to the marshmallow mixture. It adds moisture and a deeper pumpkin flavor. Reduce the milk in the chocolate drizzle by half to compensate.
Butterscotch Drizzle
Swap the white chocolate for butterscotch chips. It pairs perfectly with pumpkin spice and tastes like a candy bar.
Chocolate Chip Version
Add ½ cup of mini chocolate chips to the marshmallow mixture. It’s like a pumpkin spice cookie. My kids love this one.
Peanut Butter Cup Style
Swirl 2 tablespoons of peanut butter into the marshmallow mixture. Top with white chocolate drizzle. It’s like a Reese’s cup in treat form.
Dietary Modifications:
- Gluten-Free — Use gluten-free crispy rice cereal (like Nature’s Path). Everything else is naturally gluten-free.
- Dairy-Free — Use vegan butter and vegan marshmallows (like Dandies). Use dairy-free white chocolate chips. It’s surprisingly good.
- Lower Sugar — Use sugar-free marshmallows and sugar-free white chocolate. It’s not as sweet, but it works.
Pro Tip: I make the dairy-free version for my friend who’s lactose intolerant. She says it’s indistinguishable from the real thing. Don’t tell her I said that.
Serving & Storage
How to Serve:
I usually serve these straight from the pan at the dinner table. They’re great with a glass of cold milk or a cup of coffee. They’re also perfect for fall parties, potlucks, or Halloween treats. I cut them into small squares for parties and larger rectangles for home snacking.
Side Dishes:
These are a dessert, so they don’t need sides. But they pair well with:
- Hot apple cider
- Vanilla ice cream (if you want a warm treat)
- Pumpkin spice latte
Toppings Bar:
When I have guests, I put out: extra white chocolate chips, crushed peppermint candies, and a little extra pumpkin spice. Everyone customizes their square.
Storage Instructions:
Refrigerator: Store in an airtight container for up to 5 days. They stay soft and chewy. I keep them in the fridge to prevent the chocolate from melting if my house gets warm.
Freezer: Yes, you can freeze them! Layer them between parchment paper in an airtight container. They’ll last for up to 2 months. Thaw at room temperature before eating. The texture stays great.
Room Temp: They’re fine at room temp for 3-4 days, but in the summer, the chocolate might get soft. I recommend fridge storage in hot weather.
Pro Tip: If leftovers are drying out, put a slice of bread in the container with them. The treats will absorb the moisture and stay soft. I learned this from my soft batch snickerdoodle cookies days—it works for everything.
Nutrition Information
I’m not a nutritionist, but here’s the breakdown if you’re tracking. Keep in mind, these are estimates based on 24 squares.
Per Serving (1 square):
- Calories: 110
- Protein: 1g
- Carbs: 16g
- Fiber: 0g
- Sugar: 12g
- Fat: 5g
- Saturated Fat: 3g
- Cholesterol: 10mg
- Sodium: 45mg
What’s Good:
- Low in protein, but that’s expected for a cereal treat.
- Small portion size helps control sugar intake.
- Gluten-free option available.
What to Know:
- High in sugar and carbs.
- Contains dairy (unless modified).
- Not suitable for low-sugar diets without modifications.
My Take:
Look, this is a treat. It’s sugar, butter, and cereal. It’s not a health food. But it’s way better than store-bought candy, and you know exactly what’s in it. When I want to make it lighter, I use vegan marshmallows and dark chocolate. But usually? I just eat one square and enjoy it. Moderation is key.
Final Thoughts
So that’s my go-to pumpkin spice Rice Krispie treats with white chocolate drizzle! I’ve probably talked your ear off at this point, but when you make a recipe this often, you have a lot to say about it.
This has saved dessert time more times than I can count. It’s my answer to “what’s for dessert” when I’m tired, don’t want to bake, and still want something that tastes really good. My kids are happy, my husband’s happy, and I’m happy because I’m not stressed about cooking.
Make it yours! Try different add-ins, swap in your favorite chocolate, adjust the pumpkin spice. The best recipes are the ones you adapt to your family’s tastes. And if you’re looking for more easy, budget-friendly treats, check out my brown butter salted caramel blondies or my gluten-free lemon blueberry bundt cake.
If you make this, drop a comment and let me know what you think! I love hearing how recipes turn out in your kitchen. And if something doesn’t work, tell me that too—I’m here to help troubleshoot.
Happy cooking! And I hope your kitchen smells half as good as mine does right now.
Frequently Asked Questions
Q: Can I use mini marshmallows?
A: Yes! Mini marshmallows melt faster and more evenly. I actually prefer them because there are fewer big clumps. Use the same weight (10 ounces), not volume, because mini marshmallows are lighter.
Q: My chocolate seized and got clumpy—what happened?
A: Water is the enemy of chocolate. Even a drop of water can make it seize. Make sure your bowl and spoon are completely dry. If it’s already seized, add a teaspoon of warm cream or milk and stir vigorously. Sometimes you can save it, but it might not be as smooth.
Q: Can I make these ahead for a party?
A: Absolutely. Make them 1-2 days ahead and store in the fridge. They actually taste better after a day because the flavors meld together. Just let them come to room temperature before serving for the best texture.
Q: Why did my treats fall apart when I cut them?
A: They probably weren’t cool enough, or you pressed them too hard in the pan. Let them cool for a full 20 minutes. Also, use a sharp knife and saw gently instead of pressing down. A dull knife will squish them.
Q: Can I add nuts?
A: Sure! Toasted pecans or walnuts pair beautifully with pumpkin spice. Add ½ cup chopped nuts to the marshmallow mixture before adding the cereal. It adds crunch and richness.
Q: How do I reheat leftovers without melting the chocolate?
A: You don’t need to reheat them. They’re best at room temperature. If you want them warm, eat them without the chocolate drizzle first, warm the base, then add the drizzle. But honestly, they’re fine cold.
Q: Can I double this recipe?
A: Yes, but you’ll need a bigger pot. Double the ingredients and use a 6-quart pot. The cooking time might be slightly longer. I usually make the single batch because it’s easier to manage, but double is fine for parties.
Pin This Recipe!
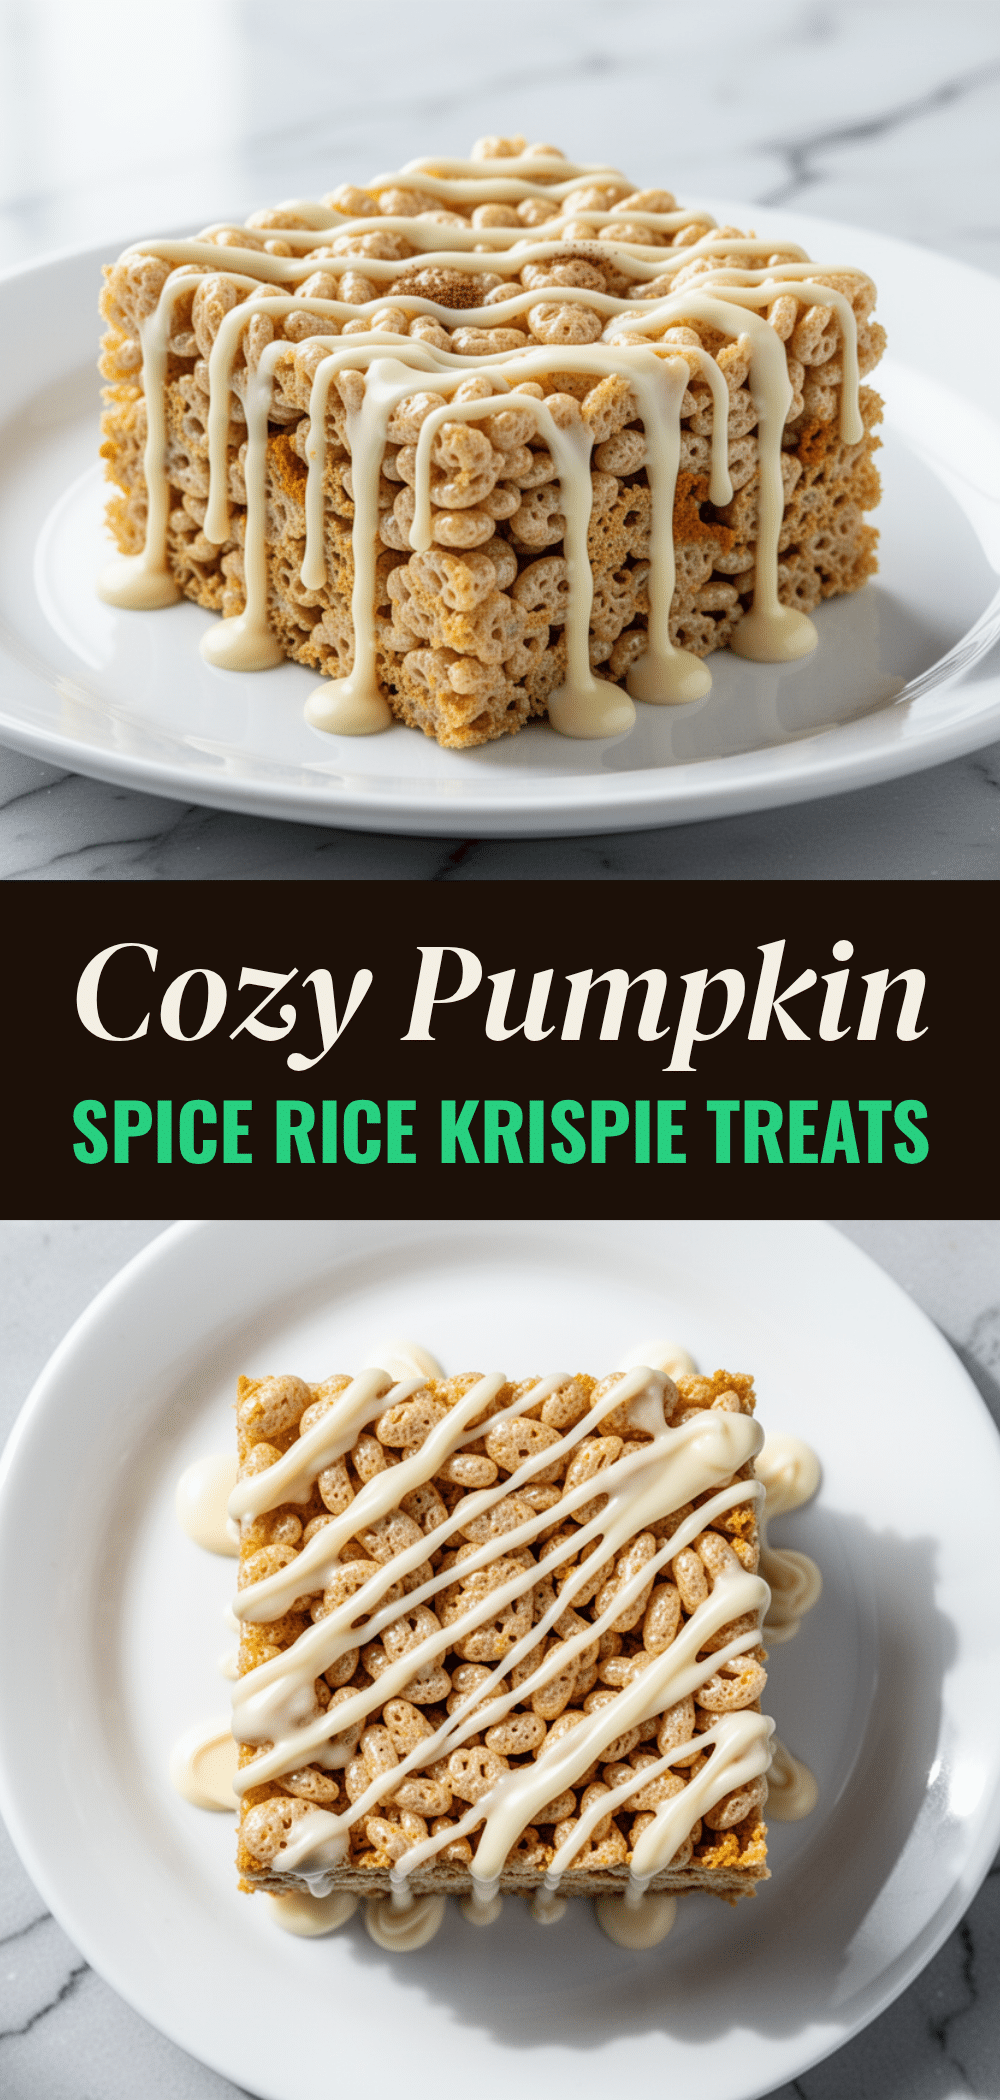
Pumpkin Spice Rice Krispie Treats: 5-Ingredient Easy Fall Dessert
- Total Time: 25 minutes
- Yield: 24 servings 1x
Description
These pumpkin spice Rice Krispie treats with white chocolate drizzle are the easiest fall dessert you will ever make. They are no-bake, kid-approved, and ready in just 10 minutes of active time.
Ingredients
- 3 tablespoons unsalted butter
- 10 ounces marshmallows (1 standard bag)
- 6 cups Rice Krispies cereal
- 1 to 1½ teaspoons pumpkin spice blend
- ½ cup white chocolate chips
- 1 teaspoon milk or cream
- Flaky sea salt (optional)
Instructions
- Grease a 9×13-inch baking pan with butter or non-stick spray. Optionally line with parchment paper for easy removal.
- Melt the butter in a large saucepan over low heat. Once foamy, add the marshmallows and stir constantly until completely melted and smooth (about 3-4 minutes). Do not let them burn.
- Remove the pan from heat and stir in the pumpkin spice blend.
- Add the Rice Krispies cereal to the marshmallow mixture and fold until every piece is coated.
- Press the mixture into the prepared pan. Wet your hands slightly with water to prevent sticking and press down lightly to flatten.
- Let the treats cool at room temperature for about 15 minutes until firm enough to handle.
- While the treats cool, melt the white chocolate chips with the teaspoon of milk in a microwave-safe bowl in 30-second intervals, stirring until smooth.
- Snip the corner off a Ziplock bag, fill with melted chocolate, and drizzle over the cooled treats.
- Add salt flakes if desired, then let the chocolate set for about 10 minutes.
- Lift out of the pan or cut directly in the pan into 24 squares using a sharp knife.
Notes
Use low heat to melt marshmallows to prevent burning. Wet your hands before pressing the mixture into the pan to prevent sticking. Ensure cereal is fresh for best crunch. If chocolate is too thick, add more milk; if too thin, it will run off the treats. Treats can be stored in the fridge for up to 5 days or frozen for 2 months.
- Prep Time: 5 minutes
- Cook Time: 20 minutes
- Category: Dessert
- Cuisine: American
Nutrition
- Serving Size: 1 square
- Calories: 110
- Sugar: 12
- Sodium: 45
- Fat: 5
- Saturated Fat: 3
- Carbohydrates: 16
- Protein: 1
Keywords: pumpkin spice, rice krispie treats, fall dessert, no bake, easy dessert, white chocolate drizzle, kid friendly, autumn treats



