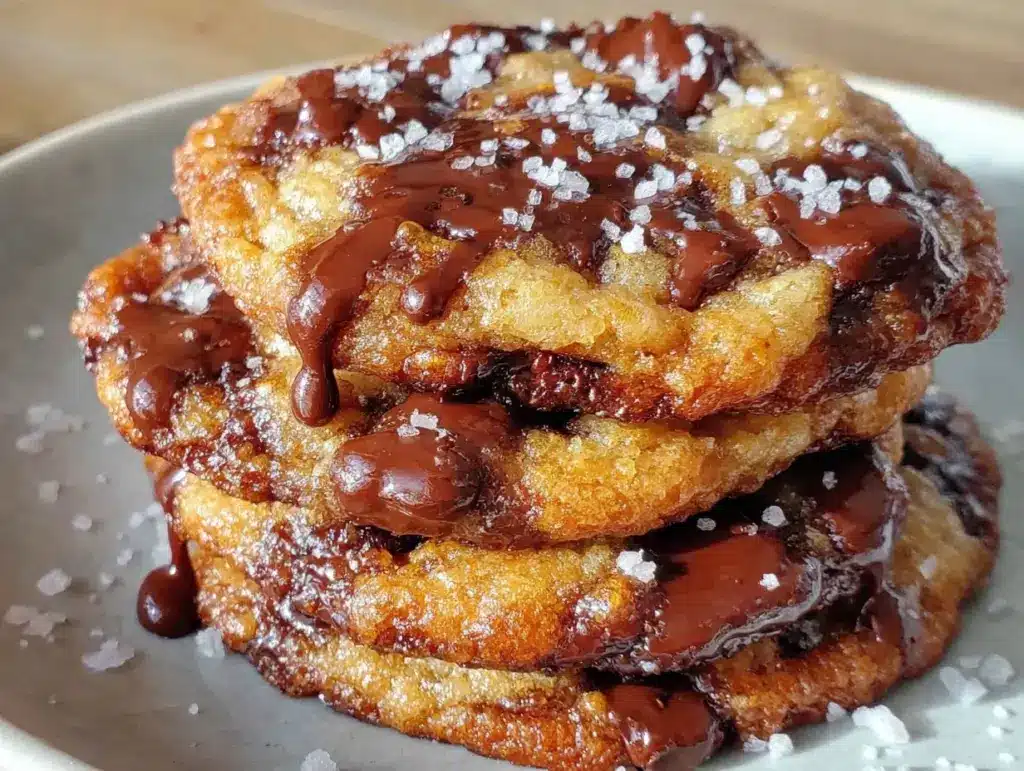
I still remember the first time I made these cookies. It was a rainy Tuesday in November, the kind of day where the light turns gray by 4 PM and you just want something warm and sweet to hold onto. I had a bag of chocolate chips, some butter, and a sudden craving for something that felt like a bakery treat but didn’t require driving through town. I decided to brown the butter. I’d heard it was the secret to those deep, nutty, complex cookies you see in fancy patisseries, but I was terrified of burning it.
So there I was, standing over a saucepan watching butter foam and crackle, holding my breath, wondering if I was about to ruin dinner. But then—bam. That smell. Toasted hazelnuts. Warmth. Deep caramel. I pulled it off the heat at the exact right second, mixed in the dough, and waited. When the first batch came out of the oven, golden-brown and slightly underdone in the center, I knew I was in trouble. My husband took one bite and actually stopped talking mid-sentence. That’s the good kind of silence.
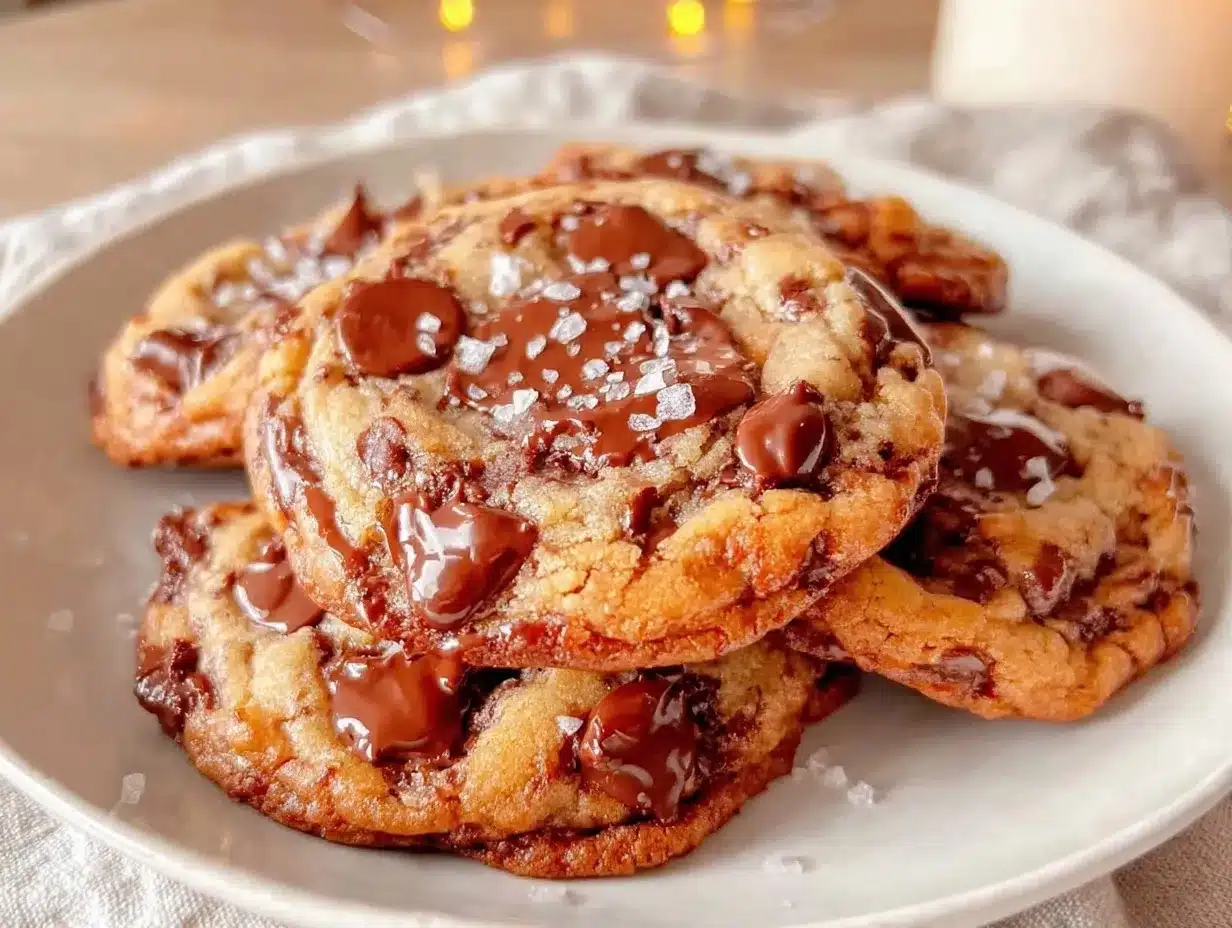
These chewy brown butter chocolate chip cookies have become my go-to comfort dessert. They’re crisp on the edges, gooey in the middle, and have that incredible nutty depth that makes you close your eyes when you bite into them. And the best part? They’re naturally gluten-free, so everyone at the table gets to enjoy them without worry. I’ve made this gluten-free chocolate chip cookie recipe at least twenty times in the last six months, tweaking the flour blend and the baking time until it was perfect. I’ve also made them for my celiac friend, my gluten-sensitive sister, and my kids who have zero dietary restrictions but still beg for these over any other cookie. The truth is, the gluten-free version is often *better* because the texture stays chewier longer.
If you’ve tried gluten-free cookies before and they tasted like sandpaper or crumbled into dust, this recipe is your redemption arc. It’s proof that you don’t need wheat to get that perfect bakery-style structure. In fact, the brown butter technique combined with the right flour blend creates a cookie that’s richer, more flavorful, and infinitely more satisfying than the standard all-purpose version.
Why You’ll Love This Recipe
There are a lot of cookie recipes out there, but this one has earned a permanent spot in my weekly rotation. Here’s why it’s different from the rest:
Deep, Complex Flavor — Browning the butter changes everything. It adds a nutty, toasty dimension that regular melted butter just can’t match. It tastes like you spent hours in the kitchen, but it only takes minutes.
Perfectly Chewy Texture — The secret is in the flour blend and the resting time. These cookies stay soft and chewy for days. I’ve eaten leftovers on day three, and they still had that gooey center. No dry, crumbly disasters here.
Gluten-Free Without the Guilt — I use a simple 1:1 gluten-free flour blend that behaves just like wheat flour. No weird aftertaste, no gritty texture. It’s seamless. If you’re looking for other easy gluten-free baked goods, this method works similarly.
Flaky Sea Salt Finish — This is non-negotiable. The contrast between the sweet, rich dough and the sharp, crunchy salt crystals elevates the whole cookie. It’s the professional touch that makes people ask for the recipe.
Easy to Customize — Want to add nuts? Go for it. Want to swap the chocolate for white chocolate chips? Done. This dough is forgiving and versatile. I’ve even made mini versions for small-batch treats when I just want one or two.
Make-Ahead Friendly — I often scoop the dough into balls and freeze them. When I want fresh cookies on a busy weeknight, I just pop a few in the oven. It’s like having homemade cookies on demand.
This recipe has saved me more times than I can count. It’s my answer to “what’s for dessert?” when I want something special but don’t want to order takeout. My family loves them, my friends beg for the recipe, and honestly? They’re just really, really good.
Ingredients You’ll Need
Before we dive in, let’s talk ingredients. This recipe relies on high-quality basics. You don’t need fancy specialty items, but you do need to pay attention to a few key things. I’m particular about my butter and my chocolate, and I’ll tell you why.
For the Dough
Unsalted Butter (1 cup / 226g) — You’ll be browning this, so use good quality. I prefer European-style butter like Plugrá or Kerrygold because they have a higher fat content, which gives a richer flavor. Salted butter can work, but you’ll need to reduce the added salt in the recipe.
Granulated Sugar (¾ cup / 150g) — This helps create those crisp edges. Don’t substitute with brown sugar here; we want that crunch on the outside.
Light Brown Sugar (1 cup / 200g, packed) — This is the chewy factor. It adds moisture and a deep caramel flavor. Pack it tightly into the measuring cup for accuracy.
Eggs (2 large, room temperature) — Room temperature eggs emulsify better into the dough. If you forget, just run them under warm water for a minute.
Vanilla Extract (2 teaspoons) — Use real vanilla, not imitation. It makes a noticeable difference in flavor. I keep a bottle of Nielsen-Massey on hand.
For the Dry Ingredients
Gluten-Free 1:1 Baking Flour (2 cups / 250g) — I use King Arthur Measure for Measure or Bob’s Red Mill 1-to-1. These blends already contain xanthan gum, which is crucial for structure. If your blend doesn’t have xanthan gum, add ½ teaspoon.
Baking Soda (1 teaspoon) — Fresh is best. If your baking soda is more than six months old, it might not leaven properly. Test it by dropping a bit in vinegar—it should fizz vigorously.
Salt (1 teaspoon fine sea salt) — This balances the sweetness. Don’t skip it.
For the Mix-Ins and Finish
Dark Chocolate Chips (1 ½ cups / 250g) — I use Ghirardelli 60% Cacao or Toll House Semi-Sweet. Chopped chocolate bars are even better because you get chunks of chocolate in every bite. If you want a slightly healthier option, you can use dark chocolate chunks with less sugar.
Flaky Sea Salt (Maldon is best) — For sprinkling on top. This is the finishing touch that makes these cookies feel gourmet.
Optional: Toasted Pecans or Walnuts (½ cup) — If you like nutty cookies, toast them lightly and fold them in. It pairs beautifully with the brown butter.
Quick Tip: I always measure my flour by weight if I have a scale. It’s the most accurate way to ensure consistent results. If you’re using cups, spoon the flour into the cup and level it off—don’t scoop directly from the bag, which packs it down and leads to dry cookies.
Equipment Needed
You don’t need fancy gadgets for this. Here’s what I actually use:
Saucepan — Medium-sized, light-colored stainless steel or aluminum. You need to see the butter changing color. Dark pans hide the browning process.
Whisk — For beating the butter and sugars until fluffy.
Mixing Bowls — One large bowl for the wet ingredients, one medium for the dry.
Cookie Scoop — A 2-tablespoon scoop ensures uniform cookies. Uniformity means even baking. I use a medium ice cream scoop.
Parchment Paper — Line your baking sheets. No sticking, no cleanup. Worth every penny.
Baking Sheets — Heavy-gauge aluminum sheets. Thin sheets burn the bottoms. If you only have thin sheets, use a double-layer method.
Cooling Rack — Essential for stopping the cooking process.
Maldon Sea Salt — Or any flaky salt. It’s not just for garnish; it’s a texture element.
How to Make It: Step-by-Step
Alright, let’s make these cookies! I’m walking you through exactly how I do it, including the little tricks I’ve picked up over time.
Step 1: Brown the Butter (5-7 minutes)
Melt the butter in a saucepan over medium heat. Stir constantly. It will foam up, then subside. Watch closely. Once it stops foaming, you’ll see little brown specks at the bottom and smell that nutty aroma. Immediately pour it into a heat-proof bowl to stop the cooking. Let it cool for 10 minutes. It should be warm, not hot.
Step 2: Mix the Sugars and Butter (2 minutes)
In a large bowl, whisk the cooled brown butter, granulated sugar, and brown sugar together until smooth and slightly fluffy. This incorporates air, which helps with texture.
Step 3: Add Eggs and Vanilla (1 minute)
Whisk in the eggs one at a time, then add the vanilla. Mix until just combined. Don’t overmix here.
Step 4: Combine Dry Ingredients (1 minute)
In a separate bowl, whisk the gluten-free flour, baking soda, and salt. Then, gently fold this into the wet mixture until no dry streaks remain. The dough will be thick.
Step 5: Fold in Chocolate (1 minute)
Stir in the chocolate chips (and nuts, if using). Be generous. You want chocolate in every bite.
Step 6: Chill the Dough (30 minutes – 24 hours)
This is the most important step. Chill the dough in the fridge for at least 30 minutes, or up to 24 hours. This prevents spreading and concentrates the flavors. I often make the dough the night before.
Step 7: Scoop and Bake (10-12 minutes)
Preheat oven to 350°F (175°C). Line baking sheets with parchment. Scoop dough balls, about 2 tablespoons each, spacing them 2 inches apart. Bake for 10-12 minutes. The edges should be golden, but the centers should still look slightly soft and underdone. They will firm up as they cool.
Step 8: Add Salt and Cool (5 minutes)
Immediately upon removing from the oven, sprinkle with flaky sea salt. Let them cool on the pan for 5 minutes, then transfer to a wire rack. Eat warm for the best experience.
Expert Tips & Tricks
Here’s everything I’ve learned from making these dozens of times. These tips will save you from my mistakes.
Don’t Skip the Chill
I know it’s tempting to bake immediately, but chilled dough spreads less and tastes better. The flavors meld and intensify. If you’re in a hurry, freeze the scoops for 15 minutes.
Watch the Butter Closely
Brown butter goes from perfect to burnt in seconds. If you smell smoke, you’ve gone too far. Start with a light-colored pan so you can see the color change.
Underbake Slightly
These cookies continue to cook on the hot pan after you take them out. Pull them when they look just barely done in the center. Overbaking is the enemy of chewiness.
Use a Scale
If you have a kitchen scale, use it. Gluten-free flours can vary in density. Weighing ensures consistency.
Flaky Salt is Key
Don’t use table salt or kosher salt on top. The flakes provide a crunch and a burst of flavor that complements the sweet dough. It’s a textural contrast that elevates the whole cookie.
Variations & Substitutions
Once you’ve nailed the basic version, here’s how you can mix it up. I’ve tried all of these.
White Chocolate Macadamia
Swap the dark chocolate chips for white chocolate chips and macadamia nuts. Add a teaspoon of lemon zest for brightness.
Peanut Butter Cup
Add ½ cup of peanut butter chips and a drizzle of peanut butter on top before baking.
Double Chocolate
Add ¼ cup of cocoa powder to the dry ingredients and use dark chocolate chunks. It’s intense and fudgy.
Vegan Version
Use vegan butter (like Miyoko’s) and flax eggs (1 tablespoon ground flaxseed + 3 tablespoons water per egg). The texture will be slightly different but still delicious.
Dairy-Free
Use dairy-free chocolate chips and vegan butter. Many people ask if this works with vegan fall recipes, and yes, this method translates well.
Serving & Storage
These cookies are best enjoyed warm, fresh out of the oven, with a glass of cold milk or a cup of coffee. They’re also great for gifting or bringing to parties.
Storage:
Store in an airtight container at room temperature for up to 5 days. They actually stay chewier after day 2 as the moisture redistributes.
Freezing:
You can freeze the baked cookies for up to 3 months. Thaw at room temperature. Or, freeze the dough balls on a baking sheet, then transfer to a bag. Bake from frozen, adding 1-2 minutes to the bake time.
Reheating:
Warm in the microwave for 10-15 seconds to restore that gooey texture.
Nutrition Information
I’m not a nutritionist, but here’s the breakdown if you’re tracking. Per cookie (makes approx. 24 cookies):
- Calories: 180
- Protein: 3g
- Carbs: 24g
- Fiber: 1g
- Sugar: 16g
- Fat: 10g
These are treat cookies, so enjoy them in moderation. They’re made with real ingredients, no artificial additives, and are naturally gluten-free.
Final Thoughts
So that’s my go-to chewy brown butter chocolate chip cookie! I’ve probably talked your ear off at this point, but when you make a recipe this often, you have a lot to say about it.
This recipe has saved me more times than I can count. It’s my answer to “what’s for dessert?” when I want something special but don’t want to order takeout. My family loves them, my friends beg for the recipe, and honestly? They’re just really, really good.
Make it yours! Try different chocolates, add nuts, or adjust the salt. The best recipes are the ones you adapt to your family’s tastes.
If you make this, drop a comment and let me know what you think! I love hearing how recipes turn out in your kitchen. And if something doesn’t work, tell me that too—I’m here to help troubleshoot.
Happy baking! And I hope your kitchen smells half as good as mine does right now.
Frequently Asked Questions
Can I use all-purpose flour instead of gluten-free flour?
Yes, but the texture will be different. All-purpose flour will make a crispier, more traditional cookie. The gluten-free version stays chewier longer. If you use all-purpose, reduce the flour by ¼ cup to account for density differences.
Why did my cookies spread too much?
Usually, this means the butter was too warm when you mixed it, or you didn’t chill the dough. Make sure your brown butter is cooled to room temperature before mixing, and chill the dough for at least 30 minutes.
Can I make these vegan?
Yes! Use vegan butter and flax eggs. The texture will be slightly denser, but still delicious. I’ve made this for my vegan friends, and they loved them.
How do I store leftovers?
Store in an airtight container at room temperature for up to 5 days. They stay chewy for days. For longer storage, freeze the baked cookies or the dough balls.
Can I freeze the dough?
Absolutely! Scoop the dough into balls, freeze on a baking sheet, then transfer to a bag. Bake from frozen, adding 1-2 minutes to the bake time. This is my favorite way to have fresh cookies on demand.
What kind of chocolate chips work best?
I prefer dark chocolate chips or chunks for their balance of sweetness and bitterness. Semi-sweet works too. Avoid milk chocolate chips as they can make the cookies too sweet.
Is the gluten-free flour blend important?
Yes, use a 1:1 blend with xanthan gum. If you use a blend without xanthan gum, add ½ teaspoon. This ensures the cookies hold together and don’t crumble.
Pin This Recipe!
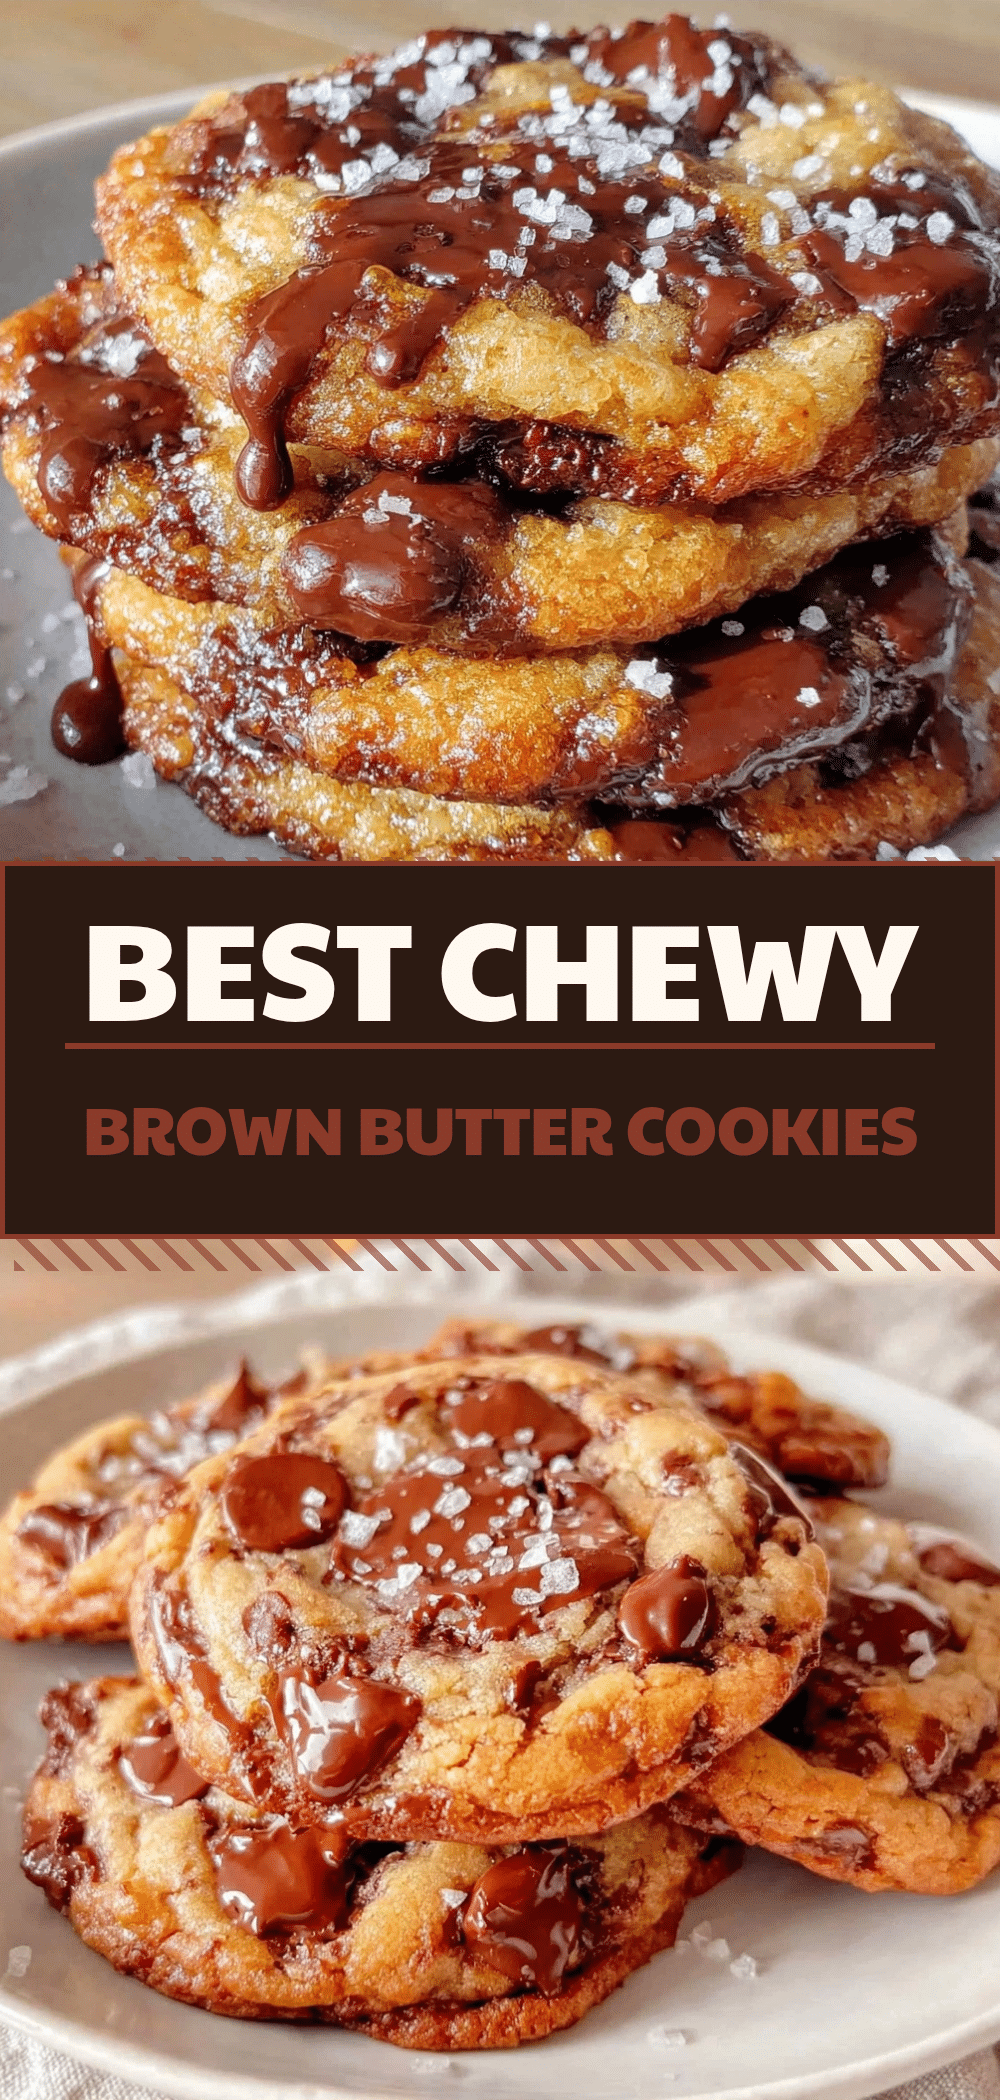
Chewy Brown Butter Chocolate Chip Cookies: Easy Gluten-Free
- Total Time: 50 minutes
- Yield: 24 cookies 1x
Description
These chewy brown butter chocolate chip cookies are naturally gluten-free, featuring crisp edges, a gooey center, and deep nutty flavor from browning the butter. They are easy to make, customizable, and stay soft for days.
Ingredients
- 1 cup (226g) unsalted butter
- ¾ cup (150g) granulated sugar
- 1 cup (200g) light brown sugar, packed
- 2 large eggs, room temperature
- 2 teaspoons vanilla extract
- 2 cups (250g) gluten-free 1:1 baking flour (with xanthan gum)
- 1 teaspoon baking soda
- 1 teaspoon fine sea salt
- 1 ½ cups (250g) dark chocolate chips
- Flaky sea salt (for topping)
- Optional: ½ cup toasted pecans or walnuts
Instructions
- Melt butter in a medium saucepan over medium heat, stirring constantly until it foams, subsides, and develops brown specks and a nutty aroma (5-7 minutes). Pour into a heat-proof bowl and cool for 10 minutes.
- In a large bowl, whisk the cooled brown butter, granulated sugar, and brown sugar until smooth and slightly fluffy.
- Whisk in the eggs one at a time, then add the vanilla extract. Mix until just combined.
- In a separate medium bowl, whisk the gluten-free flour, baking soda, and fine sea salt.
- Gently fold the dry ingredients into the wet mixture until no dry streaks remain.
- Stir in the chocolate chips and optional nuts.
- Chill the dough in the refrigerator for at least 30 minutes (or up to 24 hours).
- Preheat oven to 350°F (175°C). Line baking sheets with parchment paper.
- Scoop dough balls (about 2 tablespoons each) onto the baking sheets, spacing them 2 inches apart.
- Bake for 10-12 minutes until edges are golden but centers look slightly soft.
- Immediately sprinkle with flaky sea salt upon removing from the oven.
- Let cookies cool on the pan for 5 minutes, then transfer to a wire rack to cool completely.
Notes
Ensure brown butter is cooled to room temperature before mixing to prevent the dough from melting. Do not skip the chilling step as it prevents spreading and enhances flavor. For best results, measure flour by weight. If using a gluten-free flour blend without xanthan gum, add ½ teaspoon.
- Prep Time: 20 minutes
- Cook Time: 12 minutes
- Category: Dessert
- Cuisine: American
Nutrition
- Serving Size: 1 cookie
- Calories: 180
- Sugar: 16
- Sodium: 150
- Fat: 10
- Saturated Fat: 6
- Carbohydrates: 24
- Fiber: 1
- Protein: 3
Keywords: gluten-free cookies, brown butter cookies, chocolate chip cookies, chewy cookies, gluten-free baking, easy dessert, dairy-free option



