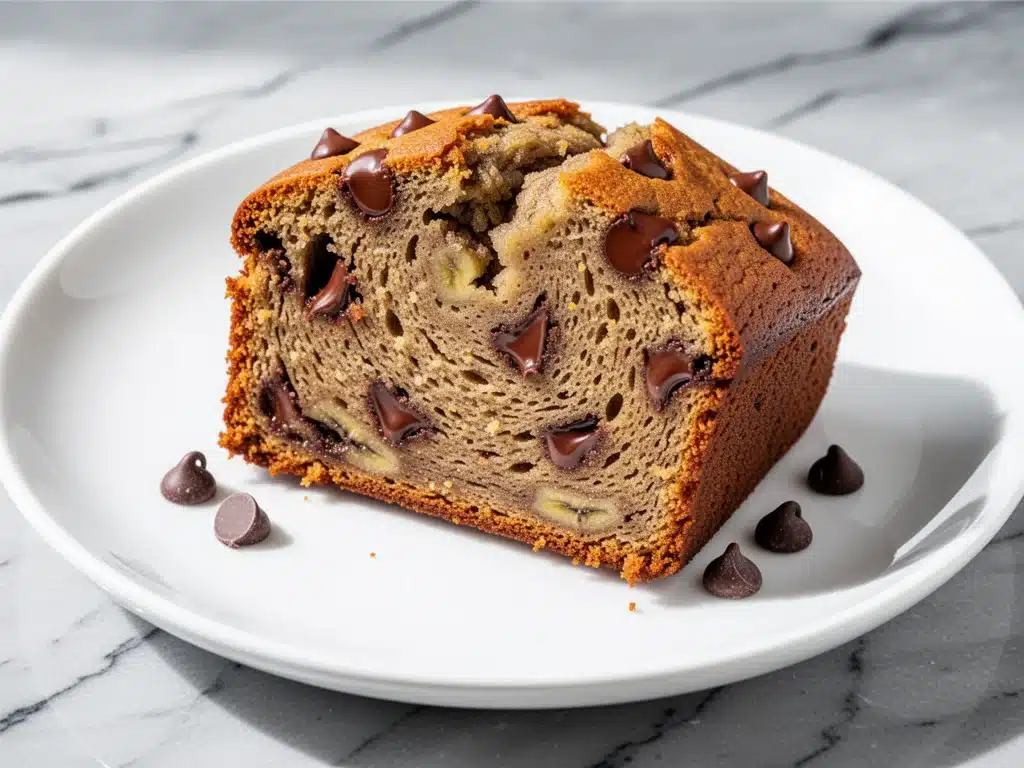
There was a Tuesday last month when I was running on three hours of sleep, the kids were fighting over the last slice of pizza, and I was staring into the fridge with that specific panic that only comes at 6:45 PM. I needed a dessert. Not a complicated one. Not something that required a stand mixer or twelve ingredients I didn’t have. I just needed something sweet, fast, and comforting.
That’s when I saw them: four brown, squishy bananas hiding in the back of the crisper drawer. Usually, I ignore them until they turn into black mush, but that night, I decided to embrace the chaos. I dumped them into a single bowl, added the pantry staples, and whisked. Ten minutes later, the whole house smelled like warm cinnamon and caramelized sugar. My kids devoured it before it even cooled. That night, this ultra-moist one-bowl banana bread went from a desperate scramble to a permanent fixture in our weekly rotation.
I’ve made this banana bread recipe at least fifteen times since then. I’ve tested it with overripe bananas that were basically liquid, I’ve tested it with bananas that were just starting to yellow, and I’ve tested it with different flours. It always works. It’s forgiving. It’s ridiculously easy. And the texture? It’s not dry or crumbly like some store-bought loaves. It’s dense, moist, and practically melts in your mouth. If you’ve ever felt guilty about letting bananas go to waste, this is your redemption arc. It’s the ultimate weeknight treat that proves you don’t need to be a pro baker to make something amazing.
Why You’ll Love This Ultra-Moist One-Bowl Banana Bread
Let’s be real: most banana bread recipes are either too complicated for a tired parent or too dry for anyone with a sense of taste. This one hits the sweet spot. Here’s why I keep coming back to this single bowl:
- Zero Cleanup Stress — Seriously, one bowl. One whisk. One loaf pan. I don’t even use a separate bowl for the dry ingredients. If you can mix batter for pancakes, you can make this. I’ve made this while helping my youngest with homework, and the only mess was a flour dusting on the counter.
- Uses Rotten Bananas — This is the best part. You want those black-spotted bananas? Perfect. The riper they are, the sweeter and more flavorful the bread becomes. This recipe is basically a genius way to stop throwing food away. It’s budget-friendly and zero-waste cooking at its finest.
- Lightning Fast Prep — You’re looking at about 10 minutes of active time. That’s it. While it bakes, you can shower, help with homework, or actually sit down for five minutes. The house fills with that incredible smell, and you feel like a hero without lifting a finger.
- Consistently Moist Texture — I’ve tried recipes that leave you chewing through sandpaper. This one stays moist for days. I’ve had leftovers on day four, and they were still soft. The secret? I use yogurt (or sour cream) and don’t overmix the batter. Trust me on this.
- Kid-Approved Flavor — My picky eater, who usually turns his nose up at “healthy” baked goods, asks for this on his birthday. It’s sweet enough to satisfy a sugar craving but uses real fruit. It’s the perfect bridge between a treat and something that’s “okay” for breakfast.
It’s my go-to when I need to impress guests quickly, when I need a snack for the kids’ after-school hunger, or when I just need a little warmth in a chaotic day. It’s reliable, delicious, and honestly, it’s just easier than ordering takeout.
Ingredients You’ll Need
Here’s the best part: you probably have 90% of these ingredients already. This isn’t a recipe that requires a special trip to the grocery store. It’s pantry-friendly and forgiving.
The Wet Stuff
Ripe Bananas (3 large / about 1 ½ cups mashed) — This is the star. Look for bananas with lots of brown spots on the peel. If they’re black, even better. Peel them and mash them with a fork until smooth. I like a few small lumps for texture, but no big chunks.
Melted Butter (½ cup / 115g) — I use unsalted butter because I like to control the salt. Melt it in the microwave (30-second bursts) or on the stove. Let it cool for a minute so it doesn’t cook the eggs if you add them too fast. You can substitute with neutral oil like canola or vegetable oil if you want dairy-free, but butter adds that rich, bakery-style flavor.
Eggs (2 large) — Room temperature eggs mix better, but I rarely plan ahead. Cold eggs are fine here; the batter is mixed quickly. Just whisk them well before adding.
Vanilla Extract (1 teaspoon) — Don’t skip this. It rounds out the banana flavor and makes it smell incredible. Use real vanilla, not imitation, if you can. It makes a noticeable difference in the aroma.
The Sweet & Dry Stuff
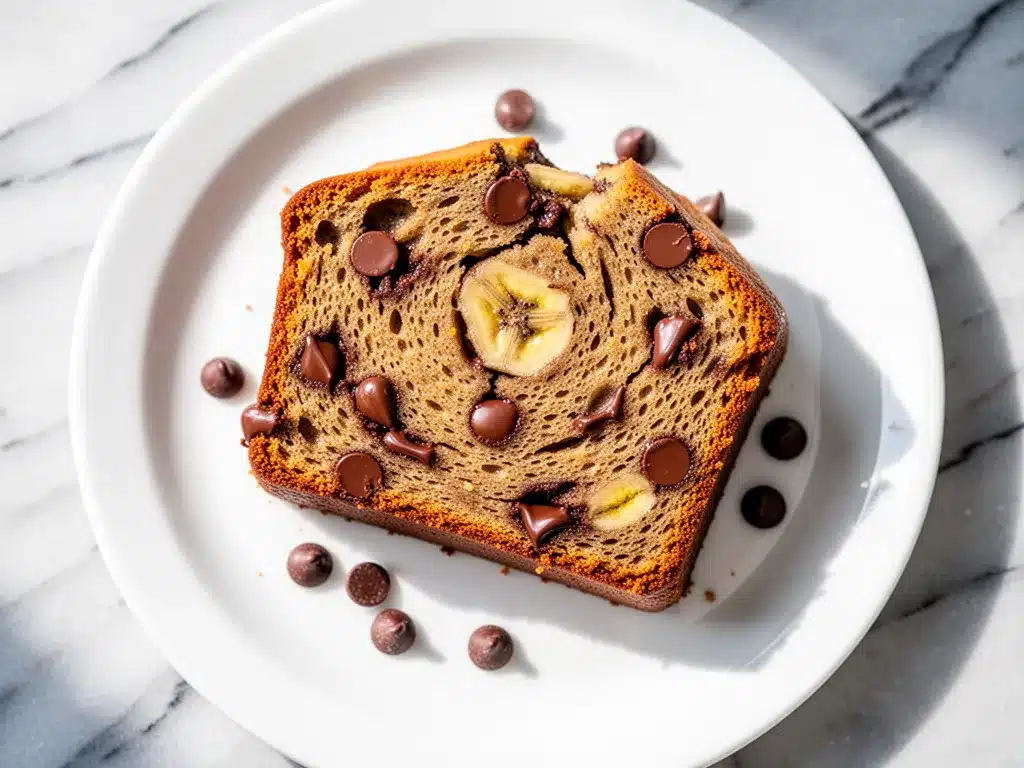
Granulated Sugar (¾ cup / 150g) — I use white sugar for that slight crunch on the crust and moist interior. You can use brown sugar for a deeper, molasses flavor, but it makes the bread denser. I stick to white for that classic look.
All-Purpose Flour (1 ½ cups / 190g) — Standard flour works perfectly. Don’t try to swap this for almond flour unless you want to change the whole recipe ratio. If you need gluten-free, use a 1-to-1 gluten-free flour blend, but the texture will be slightly different.
Baking Soda (1 teaspoon) — This is what makes it rise. Make sure it’s not expired! I keep mine in the fridge to test freshness (drop a little in vinegar; if it fizzes, it’s good).
Salt (½ teaspoon) — Essential. It balances the sweetness and enhances the banana flavor. Don’t skip it.
Yogurt or Sour Cream (½ cup / 120g) — This is the secret weapon for moisture. Plain yogurt (Greek or regular) or sour cream adds tang and keeps the crumb tender. I usually use plain Greek yogurt because I always have it. It also adds a bit of protein.
Optional Add-Ins
Chocolate Chips (½ cup) — Because chocolate and banana are best friends. I add semi-sweet chips for contrast.
Walnuts or Pecans (½ cup, chopped) — For crunch. I toast them in a dry pan for 2 minutes before adding for extra flavor. If you’re allergic or just hate nuts, skip them. The bread is still delicious without them.
Cinnamon (½ teaspoon) — I love a hint of warmth. It pairs beautifully with the banana and makes the kitchen smell like a bakery.
Equipment Needed
You don’t need fancy gadgets for this. Here’s what I actually use:
Large Mixing Bowl — I use a 4-quart bowl. It needs to be big enough to hold all the ingredients without splattering. I prefer a bowl with a pour spout for easy cleanup.
Whisk — A standard balloon whisk works great. I use it to mash the bananas initially, then to mix everything. No electric mixer needed.
Loaf Pan — A standard 9×5 inch loaf pan. I use metal pans, not glass or dark non-stick, because they conduct heat evenly. If you use glass, lower the oven temperature by 25 degrees.
Parchment Paper — I line the pan with parchment. It makes removing the bread so much easier and means zero scrubbing. I just lift it out and eat right from the paper.
Knife or Toothpick — For testing doneness. Insert it into the center; if it comes out clean or with a few moist crumbs, it’s done.
How to Make It: Step-by-Step
Alright, let’s make this! I’m walking you through exactly how I do it, including the little tricks I’ve picked up over the years.
Step 1: Prep the Oven and Pan
Preheat your oven to 350°F (175°C). While it heats, line your 9×5 loaf pan with parchment paper. Leave an overhang on the long sides so you can lift the bread out later. Spray it lightly with cooking spray if you want extra insurance, though the parchment usually does the job.
Step 2: Mash the Bananas
Peel your ripe bananas and dump them into the large mixing bowl. Use a fork to mash them until they’re mostly smooth. I like to leave a few small lumps for texture, but don’t leave huge chunks. You want about 1 ½ cups of mashed banana. If your bananas aren’t very ripe, you can microwave them for 30 seconds to soften them up.
Step 3: Mix the Wet Ingredients
Add the melted butter to the mashed bananas. Whisk them together until combined. Then add the eggs, sugar, vanilla extract, and yogurt (or sour cream). Whisk vigorously for about a minute. The mixture should look smooth and slightly glossy. This step is important because it emulsifies the fats and sugars, which helps with the moist texture.
Step 4: Add the Dry Ingredients
Add the flour, baking soda, salt, and cinnamon (if using) to the wet mixture. Here’s the crucial part: stir gently. Just until the flour disappears. Do not overmix! If you mix too much, the gluten develops, and your bread will be tough and dense. It’s okay if there are a few small streaks of flour left. Fold in any chocolate chips or nuts now.
Step 5: Bake
Pour the batter into the prepared loaf pan. Smooth the top with a spatula. Bake for 55-65 minutes. At 55 minutes, check it with a toothpick. If it comes out clean or with a few moist crumbs, it’s done. If there’s wet batter, give it another 5-10 minutes. The top should be golden brown and may crack slightly down the center—that’s normal and delicious.
Step 6: Cool
Let the bread cool in the pan for 10 minutes. Then, lift it out using the parchment paper and place it on a wire rack to cool completely. This is the hardest part, I know. Cutting into warm banana bread is tempting, but it’s often gummy inside. Letting it cool sets the crumb.
Expert Tips & Tricks
Here’s everything I’ve learned from making this dozens of times. These tips will save you from my mistakes.
Don’t Skimp on Ripe Bananas
The riper the banana, the sweeter the bread. Green bananas have no flavor. Yellow bananas have mild flavor. Brown/black spotted bananas have intense sweetness and moisture. If your bananas are still yellow, put them in a 300°F oven for 15-20 minutes until they turn black. It speeds up the ripening process and concentrates the sugar.
Measure Flour Correctly
Too much flour is the #1 reason banana bread turns out dry. Don’t scoop the flour directly from the bag into the cup. That packs it down. Instead, fluff the flour with a spoon, then scoop it gently and level it off with a knife. Or better yet, use a kitchen scale for 100% accuracy.
The Toothpick Test
Don’t trust the timer alone. Ovens vary. Start checking at 50 minutes. The toothpick should come out with moist crumbs attached, not completely wet batter. If it’s clean, you might be overbaking. A few moist crumbs mean it’s perfectly done.
Storage is Key
Once cooled, wrap the loaf tightly in plastic wrap or foil. It keeps fresh at room temperature for 3 days. For longer storage, refrigerate for up to a week or freeze for up to 3 months. I usually freeze half the loaf for later. It thaws perfectly at room temperature.
Variations & Substitutions
Once you’ve nailed the basic version, here’s how you can mix it up. I’ve tried all of these.
Gluten-Free Version
Use a 1-to-1 gluten-free flour blend. The texture might be slightly more tender, but it works great. I’ve used Bob’s Red Mill and King Arthur, and both perform well.
Dairy-Free Option
Swap the butter for coconut oil or vegetable oil. Use dairy-free yogurt or applesauce instead of sour cream. It’s still moist and delicious, just slightly less rich.
Lower Sugar
Reduce the sugar to ½ cup. The bananas provide plenty of sweetness on their own. It’s less sweet, but still tasty. Good for those watching sugar intake.
Flavor Twists
Add 1 teaspoon of cardamom for a Scandinavian twist. Mix in ½ cup of blueberries for a fruity variation. Or add ½ cup of shredded coconut for a tropical vibe. The base recipe is so versatile.
Serving & Storage
How to Serve:
I serve this warm, sliced thick. It’s perfect with a cup of coffee or tea. For a treat, add a pat of butter on top or a dollop of cream cheese. It’s great for breakfast, snacks, or dessert.
Side Dishes:
Pair it with a simple fruit salad or a bowl of yogurt. It’s also amazing alongside a glass of cold milk. For a more substantial snack, add some crispy baked zucchini fries on the side for a savory contrast.
Reheating:
Microwave a slice for 15-20 seconds to warm it up. It brings back that fresh-baked softness. Avoid the oven unless you’re reheating the whole loaf.
Freezing:
Wrap the cooled loaf tightly in plastic wrap, then in foil. Freeze for up to 3 months. Thaw at room temperature or in the fridge overnight. It tastes almost as good as fresh.
Nutrition Information
I’m not a nutritionist, but here’s the breakdown if you’re tracking. This is per slice (assuming 10 slices).
| Nutrient | Amount |
|---|---|
| Calories | 220 |
| Fat | 8g |
| Carbs | 35g |
| Fiber | 2g |
| Sugar | 20g |
| Protein | 3g |
It’s a treat, so enjoy it in moderation. The bananas add potassium and fiber, but the sugar and butter keep it indulgent. It’s better than most store-bought options because you control the ingredients.
Final Thoughts
So that’s my go-to ultra-moist one-bowl banana bread! It’s simple, it’s forgiving, and it tastes incredible. I’ve made this recipe so many times that I can do it with my eyes closed. It’s saved me on busy weeknights, rainy afternoons, and lazy weekends.
Make it yours! Add your favorite mix-ins, adjust the sweetness, or just enjoy it plain. The beauty of this recipe is its simplicity. If you make it, I’d love to hear how it turns out. Drop a comment below and let me know your favorite add-in. And if you need more easy weeknight treats, check out this fall apple cider donut cake for a seasonal twist, or these ultra-fudgy one-bowl chocolate chip cookies for another quick bake.
Happy baking! And I hope your kitchen smells half as good as mine does right now.
Frequently Asked Questions
Can I use frozen bananas?
Yes! Frozen bananas are actually great for baking. Just thaw them completely, drain any excess liquid, and mash. They’re usually very ripe, so the flavor is intense. I often freeze bananas specifically for this recipe.
Why is my banana bread dry?
Usually, this happens because of overmixing the batter or overbaking. Make sure you stir the dry ingredients just until combined. Also, check your bread early. If the toothpick comes out clean, it’s done. Overbaking dries it out. Another cause is using unripe bananas, which have less sugar and moisture.
Can I use whole wheat flour?
You can, but it will make the bread denser and heavier. I recommend swapping only half the all-purpose flour for whole wheat to keep it light. If you use 100% whole wheat, the texture will be more like a dense muffin.
How do I store leftovers?
Wrap the cooled loaf tightly in plastic wrap or foil. It keeps at room temperature for 3 days. For longer storage, refrigerate for up to a week or freeze for up to 3 months. Always let it cool completely before wrapping to prevent condensation.
Can I make this in a mini loaf pan?
Yes! You’ll need about 2 mini loaf pans. Reduce the baking time to 30-35 minutes. Check with a toothpick at 30 minutes. The smaller loaves bake faster, so keep an eye on them.
Pin This Recipe!
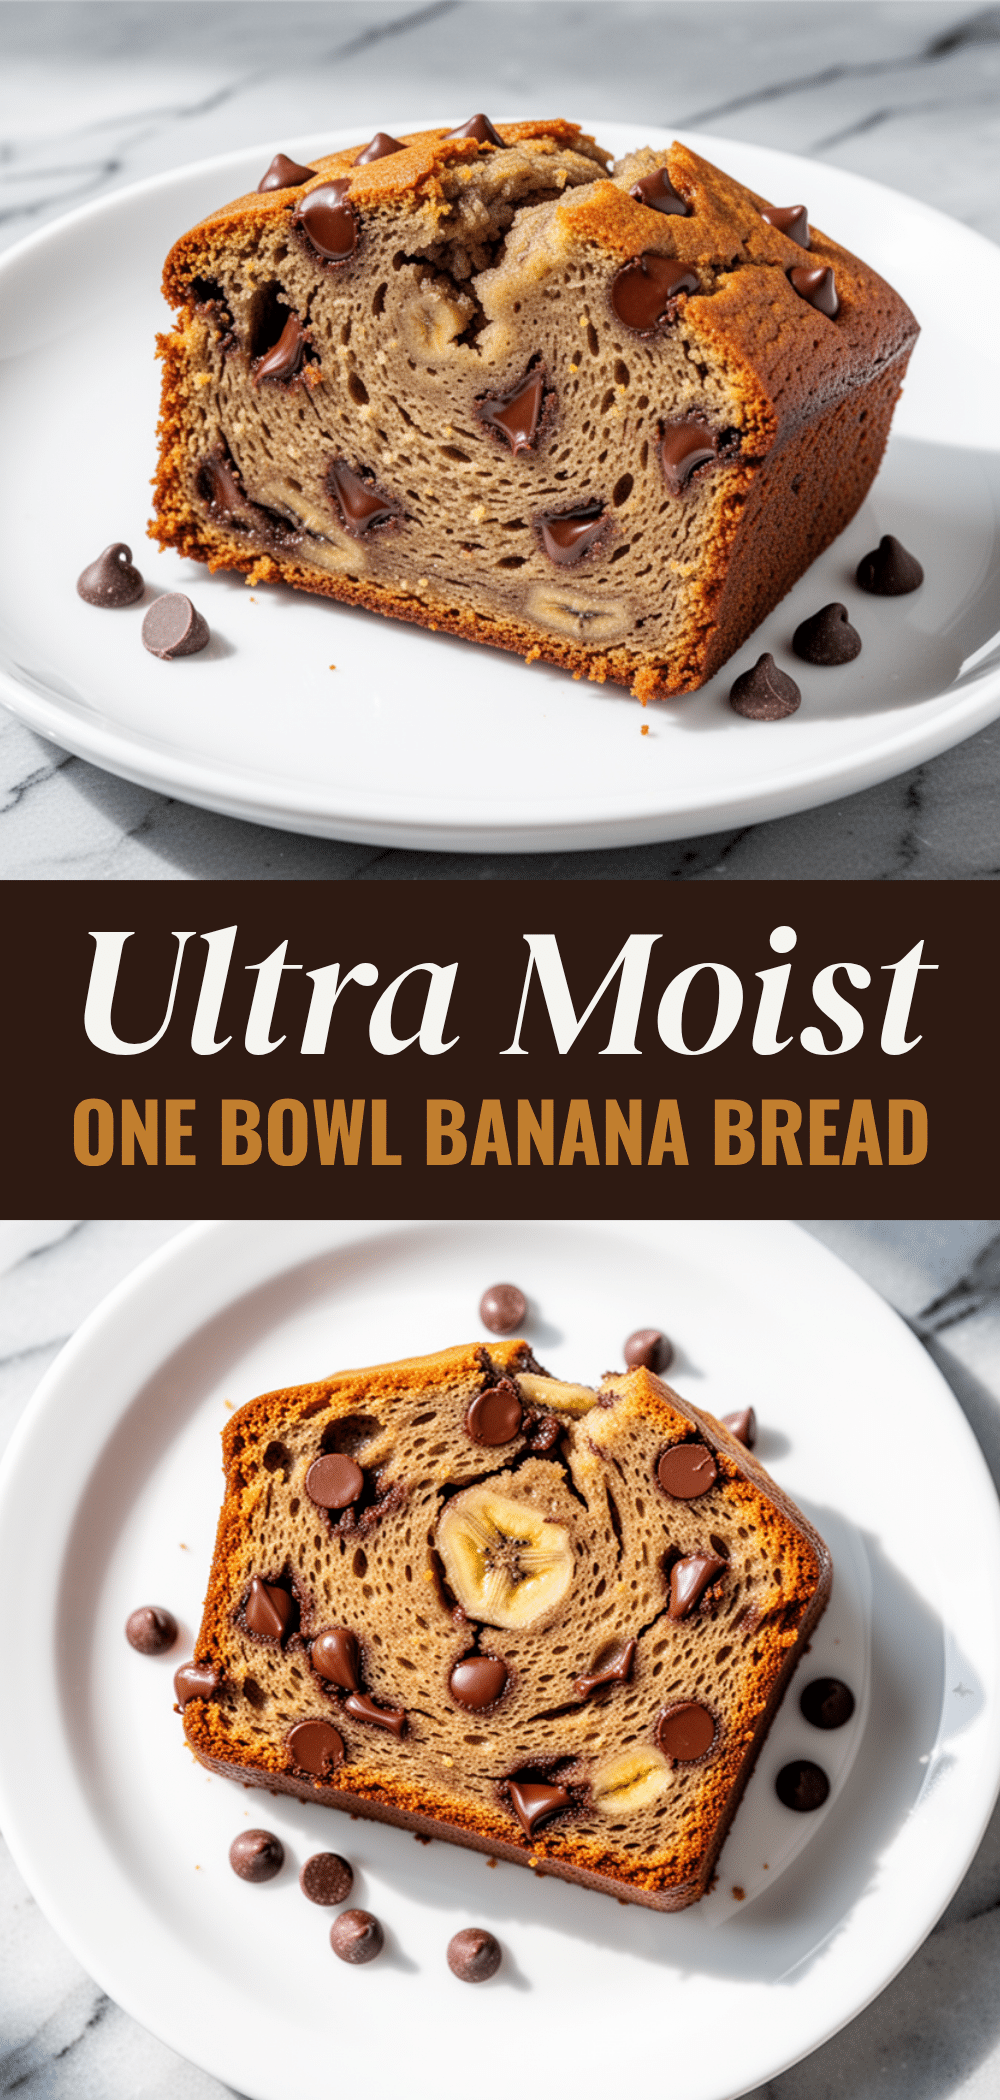
Ultra-Moist One-Bowl Banana Bread: Easy Weeknight Treat
- Total Time: 1 hour 15 minutes
- Yield: 10 servings 1x
Description
A forgiving, ultra-moist banana bread made in a single bowl with pantry staples. Perfect for using up ripe bananas, this recipe requires only 10 minutes of prep and delivers a dense, sweet loaf that stays moist for days.
Ingredients
- 3 large ripe bananas (about 1 ½ cups mashed)
- ½ cup melted unsalted butter (115g)
- 2 large eggs
- 1 teaspoon vanilla extract
- ¾ cup granulated sugar (150g)
- 1 ½ cups all-purpose flour (190g)
- 1 teaspoon baking soda
- ½ teaspoon salt
- ½ cup plain yogurt or sour cream (120g)
- Optional: ½ cup chocolate chips
- Optional: ½ cup chopped walnuts or pecans
- Optional: ½ teaspoon cinnamon
Instructions
- Preheat oven to 350°F (175°C). Line a 9×5 inch loaf pan with parchment paper, leaving an overhang on the long sides.
- Peel ripe bananas and mash them in a large mixing bowl with a fork until mostly smooth, leaving a few small lumps for texture.
- Add melted butter to the mashed bananas and whisk to combine.
- Add eggs, sugar, vanilla extract, and yogurt (or sour cream) to the bowl. Whisk vigorously for about a minute until the mixture is smooth and glossy.
- Add flour, baking soda, salt, and cinnamon (if using) to the wet ingredients. Stir gently just until the flour disappears; do not overmix. Fold in chocolate chips or nuts if using.
- Pour batter into the prepared loaf pan and smooth the top with a spatula.
- Bake for 55-65 minutes. Check at 55 minutes with a toothpick; it should come out clean or with a few moist crumbs.
- Let the bread cool in the pan for 10 minutes, then lift it out using the parchment paper and place on a wire rack to cool completely before slicing.
Notes
Ensure bananas are very ripe (brown/black spots) for maximum sweetness and moisture. Do not overmix the batter to avoid a tough texture. Measure flour by spooning it into the cup and leveling it off, or use a kitchen scale for accuracy. The bread can be stored at room temperature for 3 days, refrigerated for a week, or frozen for 3 months.
- Prep Time: 10 minutes
- Cook Time: 55-65 minutes
- Category: Dessert
- Cuisine: American
Nutrition
- Serving Size: 1 slice
- Calories: 220
- Sugar: 20
- Sodium: 150
- Fat: 8
- Saturated Fat: 5
- Carbohydrates: 35
- Fiber: 2
- Protein: 3
Keywords: banana bread, one bowl recipe, easy baking, weeknight treat, moist banana bread, ripe bananas, gluten-free option, dairy-free option



