Last Tuesday, I was standing in my kitchen at 8:30 PM, staring into the fridge like it owed me money. My kids had just finished their homework, the house was finally quiet, and I was exhausted. I didn’t have the energy for a complicated dinner, let alone a dessert that required a stand mixer, three bowls, and a level of precision I just couldn’t muster after a twelve-hour day.
I needed something sweet. Something quick. Something that wouldn’t require a trip to the grocery store because I already knew the pantry was half-empty except for flour, sugar, and that sad-looking bag of chocolate chips in the back of the cupboard.
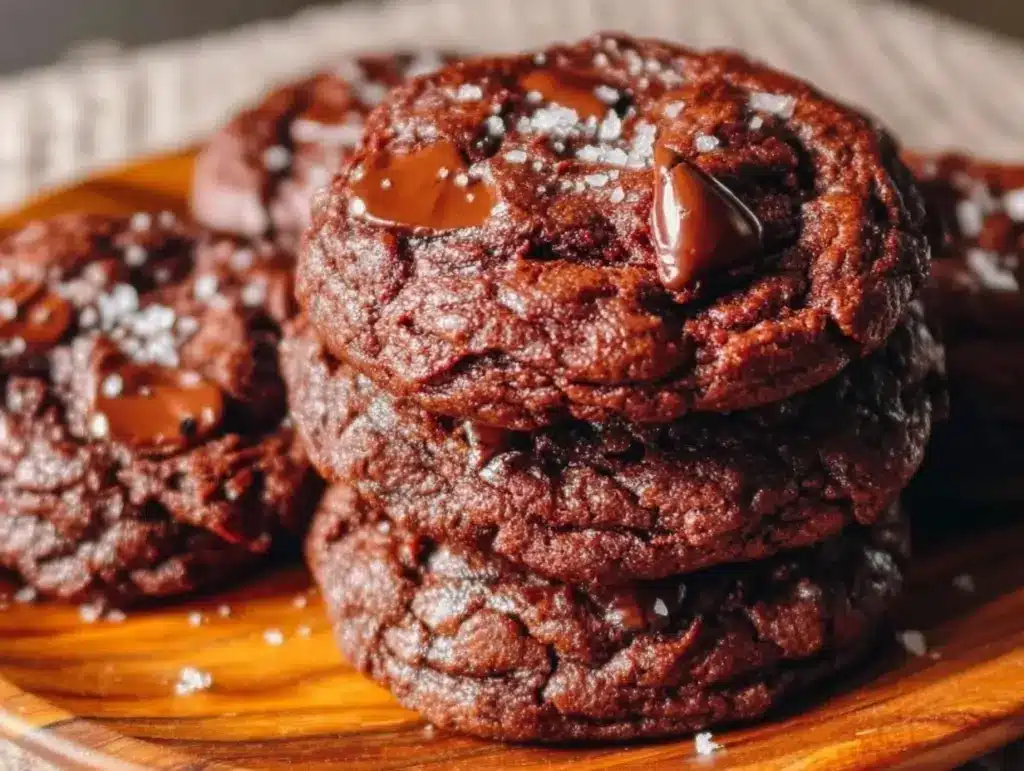
So I made ultra fudgy one-bowl chocolate chip cookies. Just one bowl. No creaming butter and sugar for twenty minutes. No resting the dough overnight. I threw everything in a mixing bowl, stirred it with a spoon until my arm hurt a little, scooped them onto a baking sheet, and popped them in the oven. Fifteen minutes later, my kitchen smelled like a bakery, and my kids declared it the best thing they’d ever eaten.
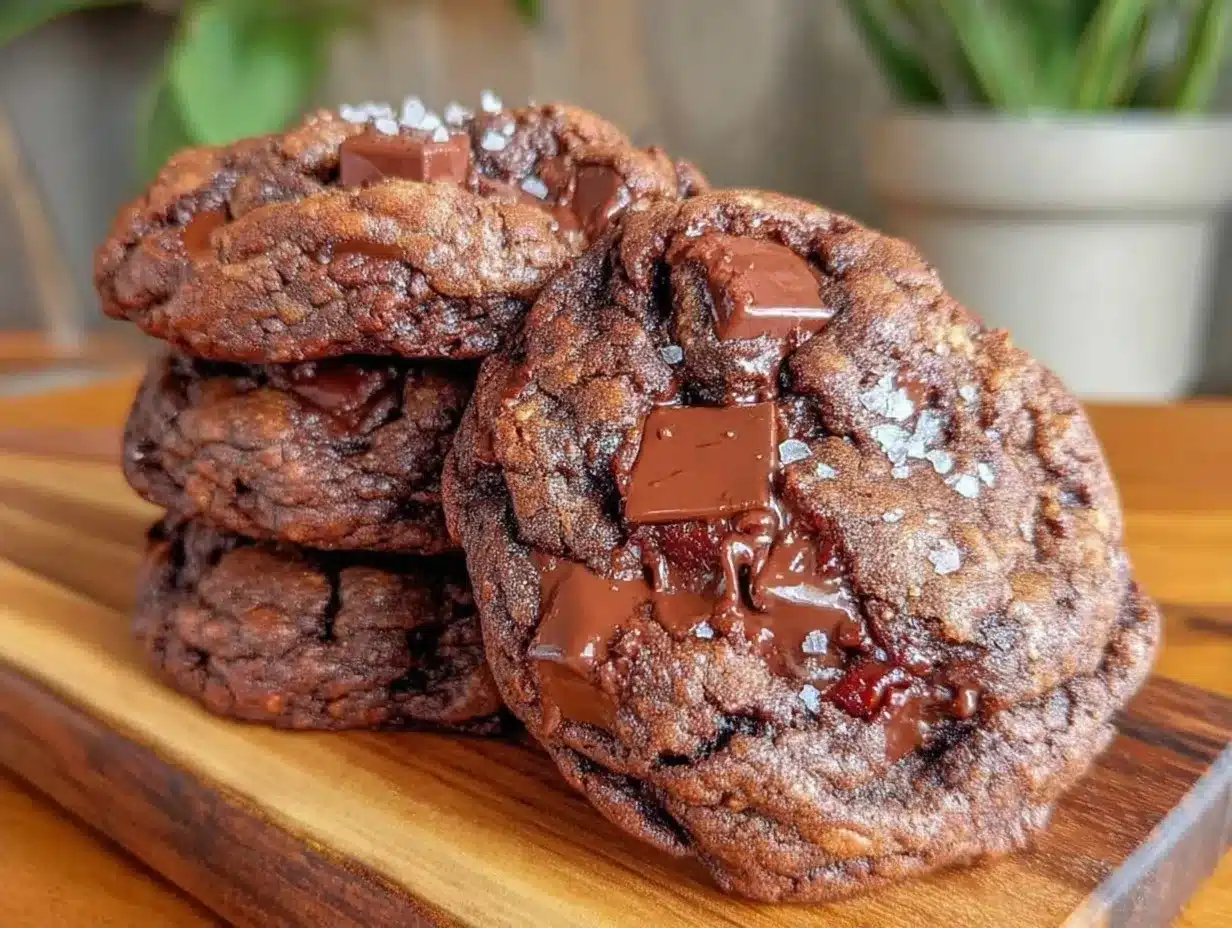
These aren’t just “okay” cookies. They’re dense, chewy, and impossibly fudgy. They’re the kind of cookie that leaves a smear of chocolate on your chin and makes you forget you’re eating them straight out of the oven while waiting for dinner to finish cooking. I’ve made this one-bowl chocolate chip cookie recipe at least a dozen times since that Tuesday. It’s become my secret weapon for weeknight cravings, last-minute playdates, and whenever I need a win in the kitchen without the stress.
If you’re tired of dry, crumbly cookies that taste like cardboard, or if you’re like me and just want to make dessert without turning your kitchen into a flour bomb zone, this is your recipe. It’s simple, it’s affordable, and it tastes incredible. Let’s get baking.
Why You’ll Love This One-Bowl Chocolate Chip Cookie Recipe
Look, I’m a practical parent. I don’t have time for fancy techniques or ingredients I can’t pronounce. This recipe works because it’s built for real life. Here’s why it’s going to become your new favorite:
- One Bowl, Zero Mess — Seriously. You mix everything in one bowl. One bowl. That means one dish to wash instead of a sink full of mixing bowls, spatulas, and measuring cups. My kids can even help with this one without creating a disaster.
- Stupid Simple Ingredients — You probably have everything you need right now. Butter, sugar, eggs, flour, baking soda, salt, and chocolate chips. No weird flours, no exotic extracts, no expensive gadgets. It’s pantry-friendly cooking at its best.
- Lightning Fast — From start to finish, these cookies take about 20 minutes. No chilling time. No waiting. You’re eating warm cookies before your main course is even done. This is the definition of a weeknight savior.
- Actually Fudgy, Not Cakey — I’ve tried so many “easy” cookie recipes that ended up tasting like sweet bread. This one uses a higher ratio of brown sugar and a touch of cornstarch to guarantee that chewy, fudgy center we all crave. It’s the texture of a premium bakery cookie, not a store-bought snack.
- Budget-Friendly — This recipe makes about 24 cookies for under $4. That’s less than a single box of store-bought premium cookies, and it tastes a hundred times better. Plus, you can use whatever chocolate chips you have on hand—semi-sweet, milk chocolate, or even chopped-up chocolate bars.
- Kid-Approved — My picky eater, who usually turns his nose up at anything that isn’t chicken nuggets, asks for these every single week. If you’re looking for a way to get your kids involved in the kitchen without the mess, this is it. They can stir the dough, scoop the balls, and watch them bake.
This is my go-to when I need a treat that feels special but requires zero effort. It’s reliable, delicious, and makes everyone happy. No complicated techniques, no weird ingredients, just reliable, delicious food that makes your home smell amazing.
Ingredients You’ll Need
Here’s the best part: you probably have most of this already. I’m not asking you to buy anything fancy. Here’s exactly what you need and why each item matters.
The Base
Unsalted butter (½ cup / 113g, softened) — This is your fat source. Softened means it should be cool to the touch but leave a slight indent when you poke it. Don’t melt it! Melted butter makes flat, greasy cookies. Softened butter makes them chewy. If you’re in a rush, cut it into cubes and microwave for 10-second bursts.
Granulated sugar (½ cup / 100g) — This adds sweetness and helps create those crispy edges. I use regular white sugar. Don’t skip it or swap it all for brown sugar, or they’ll spread too much.
Brown sugar (1 cup / 200g, packed) — This is the star of the show. Brown sugar has molasses in it, which keeps the cookies moist and fudgy. Dark brown sugar is even better if you like a deeper, caramel-like flavor, but light brown works fine too. Pack it tightly into the measuring cup!
Egg (1 large) — This binds everything together. Room temperature eggs mix better, but honestly, if I’m tired, I just use cold ones. They mix in fine.
Vanilla extract (1 teaspoon) — Don’t cheap out here. Real vanilla makes a huge difference. If you don’t have vanilla, you can skip it, but your cookies will taste a bit flat. I keep a bottle of Nielsen-Massey in my pantry because it lasts forever and tastes incredible.
The Dry Stuff
All-purpose flour (1 ¾ cups / 220g) — This is standard flour. Don’t use cake flour or self-rising flour. If you’re measuring by volume, fluff the flour up first, then spoon it into the cup and level it off. Don’t scoop directly from the bag, or you’ll pack it too tight and get dry cookies.
Baking soda (½ teaspoon) — This helps the cookies spread and brown. Make sure it’s not old! If your baking soda is more than six months old, it might not work. Test it by dropping a little in vinegar—if it fizzes, you’re good.
Cornstarch (1 teaspoon) — This is my secret weapon. It tenderizes the cookies, giving them that soft, fudgy interior. It’s cheap and easy to find. Don’t skip it if you want that specific texture.
Salt (½ teaspoon) — Salt balances the sweetness. Even though these are sweet cookies, the salt makes the chocolate taste more chocolatey. I use kosher salt. If you use table salt, maybe use a tiny bit less.
The Good Stuff
Chocolate chips (1 ½ cups / 270g) — I use semi-sweet chocolate chips. They’re not too sweet and hold their shape well. But honestly? Chop up a chocolate bar if you have one. Chopped chocolate creates pockets of gooey chocolate that are irresistible. I also love adding a handful of white chocolate chips for variety.
Optional: Flaky sea salt — For sprinkling on top after baking. It adds a nice crunch and makes them look fancy, even though they’re super simple.
Equipment Needed
You don’t need fancy equipment for this. Here’s what I actually use:
One large mixing bowl — A glass or ceramic bowl works best. It’s sturdy and easy to clean. I use a 4-quart bowl. If you don’t have one big enough, use a big salad bowl. Just make sure it’s deep enough so the flour doesn’t fly everywhere.
Wooden spoon or sturdy spatula — For mixing. A wooden spoon is classic, but a silicone spatula works too. You need something sturdy enough to mix thick dough.
Baking sheets — I use two half-sheet pans. If you only have one, you’ll bake in batches. Make sure your pans are cool before adding new dough. Hot pans will melt the butter before the cookies even start to bake.
Parchment paper — Line your baking sheets with parchment. This is non-negotiable for me. It prevents sticking and makes cleanup a breeze. If you’re out of parchment, you can use a silicone baking mat, but don’t bake directly on the metal pan unless you want to scrub burnt-on cookies later.
Cooling rack — Optional but recommended. It lets air circulate under the cookies so they don’t get soggy from steam. If you don’t have one, just leave them on the pan for 5 minutes, then move them to a plate.
Ice cream scoop or tablespoon — For portioning the dough. An ice cream scoop makes uniform cookies that bake evenly. If you don’t have one, just use two tablespoons and eyeball it. They don’t need to be perfect.
How to Make It: Step-by-Step
Alright, let’s make this! I’m walking you through exactly how I do it, including the little tricks I’ve picked up over the years.
Step 1: Prep Your Bowl and Oven (2 minutes)
Preheat your oven to 350°F (175°C). Line your baking sheets with parchment paper. While the oven heats up, grab your large mixing bowl. This is the only bowl you’ll need, so make sure it’s clean and dry.
Step 2: Mix the Wet Ingredients (3 minutes)
Add the softened butter, granulated sugar, and brown sugar to the bowl. Use your wooden spoon or a hand mixer to mix them together. You want to combine them until they’re smooth and creamy. This doesn’t take long—maybe 2-3 minutes of stirring by hand. If you’re using a hand mixer, go for 1 minute on medium speed.
Once the sugars are mixed in, add the egg and vanilla extract. Mix again until everything is fully combined. The mixture might look a bit curdled at first—that’s okay. It will come together once you add the flour.
Step 3: Add the Dry Ingredients (2 minutes)
Now, add the flour, baking soda, cornstarch, and salt. Stir gently. Don’t overmix! You just want to mix until the flour streaks disappear. Overmixing develops gluten, which makes cookies tough instead of tender. Stop as soon as the dough looks uniform.
Step 4: Fold in the Chocolate Chips (1 minute)
Pour in your chocolate chips. Use your spoon to fold them into the dough. Make sure they’re evenly distributed. If you’re using chopped chocolate, be gentle so you don’t break the pieces too much.
Step 5: Scoop and Bake (15 minutes)
Scoop balls of dough onto your prepared baking sheets. I like to make them about 2 inches wide, leaving about 2 inches of space between them because they will spread. You should get about 24 cookies from this batch.
Bake for 10-12 minutes. You’ll know they’re done when the edges are lightly golden but the centers still look slightly soft and underbaked. This is crucial! If you wait until they look fully set in the oven, they’ll be dry by the time they cool. They continue to cook on the hot pan after you take them out.
Step 6: Cool and Enjoy
Let the cookies sit on the baking sheet for 5 minutes. This lets them set up. Then, transfer them to a cooling rack (or just eat them straight off the pan—I won’t tell). If you’re using flaky sea salt, sprinkle it on top while they’re still warm.
Total Time: About 20 minutes (5 minutes prep, 15 minutes bake).
Expert Tips & Tricks
Here’s everything I’ve learned from making these dozens of times. These tips will save you from my mistakes.
Butter Temperature is Key
This is the #1 mistake people make. If your butter is too soft (melted), your cookies will spread into flat discs. If it’s too hard (cold), they won’t spread at all. Aim for “softened.” If you press your finger into it, it should leave an indent but not squish through. Pro tip: Cut the butter into cubes and let it sit on the counter for 30 minutes before you start.
Don’t Skip the Cornstarch
I know it seems weird in cookies, but it’s the secret to that fudgy texture. It inhibits gluten formation and keeps the cookies soft. If you don’t have cornstarch, you can use 1 teaspoon of all-purpose flour as a substitute, but the texture won’t be quite as good.
Underbake Slightly
I cannot stress this enough. Pull the cookies out when they look slightly underdone in the middle. They will firm up as they cool. If you bake them until they look fully set, they will be dry. I aim for a soft, puffy center with just a hint of golden on the edges.
Chill the Dough (Optional but Recommended)
If you have time, chill the dough in the fridge for 30 minutes before baking. This solidifies the butter, which helps the cookies hold their shape and develop deeper flavor. But if you’re in a rush? Skip it. They still taste amazing.
Double the Batch
This recipe doubles easily. I often make two batches and freeze the extra dough balls. Just scoop them onto a baking sheet, freeze them solid, then transfer to a bag. You can bake them straight from the freezer—just add 1-2 minutes to the bake time. Perfect for having fresh cookies ready anytime.
Variations & Substitutions
Once you’ve nailed the basic version, here’s how you can mix it up. I’ve tried all of these.
Double Chocolate
Add ¼ cup of cocoa powder to the dry ingredients. Use chocolate chips and a handful of chopped dark chocolate. It’s rich, intense, and perfect for chocolate lovers.
White Chocolate Macadamia
Swap the semi-sweet chips for white chocolate chips and add 1 cup of chopped macadamia nuts. It’s like a tropical treat. My kids go crazy for this version.
Peanut Butter Chip
Use peanut butter chips instead of chocolate. Or swirl 2 tablespoons of peanut butter into the dough before scooping. It adds a nice salty-sweet contrast.
Gluten-Free
Use a 1:1 gluten-free flour blend (like Bob’s Red Mill or King Arthur). Make sure it contains xanthan gum, or add ½ teaspoon yourself. The texture is surprisingly similar to regular flour.
Vegan
Replace the butter with vegan butter sticks (not tub margarine). Use a flax egg (1 tablespoon ground flaxseed mixed with 3 tablespoons water, let sit for 5 minutes). Use dairy-free chocolate chips. They hold up well!
Mini Chip Version
Use mini chocolate chips for a higher chocolate-to-cookie ratio. You’ll need about 2 cups. Great for when you want every bite to be chocolatey.
Serving & Storage
How to serve these cookies? Honestly, straight from the baking sheet is best. But here are some ideas:
With Milk
Obviously. Cold milk is the perfect companion. I also like dipping them in my creamy iced brown sugar oat milk latte for a cozy afternoon treat.
With Ice Cream
A warm cookie with a scoop of vanilla ice cream is classic. If you want to get fancy, try it with my salted caramel no-churn ice cream. The saltiness pairs perfectly with the fudgy chocolate.
For Gift Giving
These cookies travel well. Store them in an airtight container with a slice of bread (the bread keeps them soft). They make great gifts for neighbors, teachers, or friends.
Storage Instructions
Room Temperature: Store in an airtight container for up to 5 days. Add a piece of bread to keep them soft.
Freezing: Freeze baked cookies for up to 3 months. Thaw at room temperature.
Dough: Freeze dough balls for up to 3 months. Bake from frozen.
Nutrition Information
I’m not a nutritionist, but here’s the breakdown if you’re tracking. Per cookie (based on 24 cookies):
- Calories: 140
- Fat: 7g
- Carbs: 18g
- Sugar: 12g
- Protein: 2g
Look, this is a treat. It’s not a health food. But it’s way better than store-bought cookies, which are often full of preservatives and weird ingredients. When I make these, I know exactly what’s in them. And honestly, one or two cookies is plenty for most people. Enjoy them as part of a balanced day.
Final Thoughts
So that’s my ultra fudgy one-bowl chocolate chip cookie recipe! I’ve probably talked your ear off at this point, but when you make a recipe this often, you have a lot to say about it.
This has saved my weeknight sanity more times than I can count. It’s my answer to “what’s for dessert” when I’m tired, don’t want to order takeout, and still want something that tastes really good. My kids are happy, I’m happy, and I’m happy because I’m not stressed about cooking.
Make it yours! Try different chips, add nuts, or sprinkle sea salt on top. The best recipes are the ones you adapt to your family’s tastes. If you make this, drop a comment and let me know what you think! I love hearing how recipes turn out in your kitchen. And if something doesn’t work, tell me that too—I’m here to help troubleshoot.
Happy baking! And I hope your kitchen smells half as good as mine does right now.
Frequently Asked Questions
Can I use melted butter instead of softened butter?
You can, but the texture will be different. Melted butter makes cookies that are crispier and flatter. If you want fudgy, chewy cookies, softened butter is the way to go. If you’re in a rush and only have melted butter, chill the dough in the fridge for 30 minutes before baking to help it hold its shape.
Why did my cookies spread too much?
This usually happens for three reasons: the butter was too soft or melted, the oven wasn’t hot enough, or the baking sheet was too hot. Make sure your butter is softened, not melted. Preheat your oven fully. And if you’re baking multiple batches, let the pan cool down between batches.
Can I double this recipe?
Absolutely! Double everything and use a larger bowl. The cooking times stay the same. I do this when I’m meal-prepping or feeding a crowd. Just make sure your bowl is big enough to mix everything comfortably.
How do I store leftover cookies?
Store them in an airtight container at room temperature for up to 5 days. If you want them to stay soft, add a slice of white bread to the container. The cookies will absorb moisture from the bread and stay soft.
Can I freeze the cookie dough?
Yes! Scoop the dough into balls, freeze them on a baking sheet until solid, then transfer to a freezer bag. They’ll keep for up to 3 months. Bake from frozen, adding 1-2 minutes to the bake time. This is my favorite way to have fresh cookies ready anytime.
Can I use mini chocolate chips?
Yes! Mini chips distribute more evenly and give you more chocolate in every bite. You’ll need about 2 cups instead of 1 ½ cups. They’re great for when you want a higher chocolate-to-cookie ratio.
My cookies are too dry—what happened?
You probably overbaked them. Pull them out when the edges are golden but the centers still look soft. They will continue to cook on the hot pan. Also, check your flour measurement—too much flour can make cookies dry. Spoon and level your flour, don’t scoop it.
Pin This Recipe!
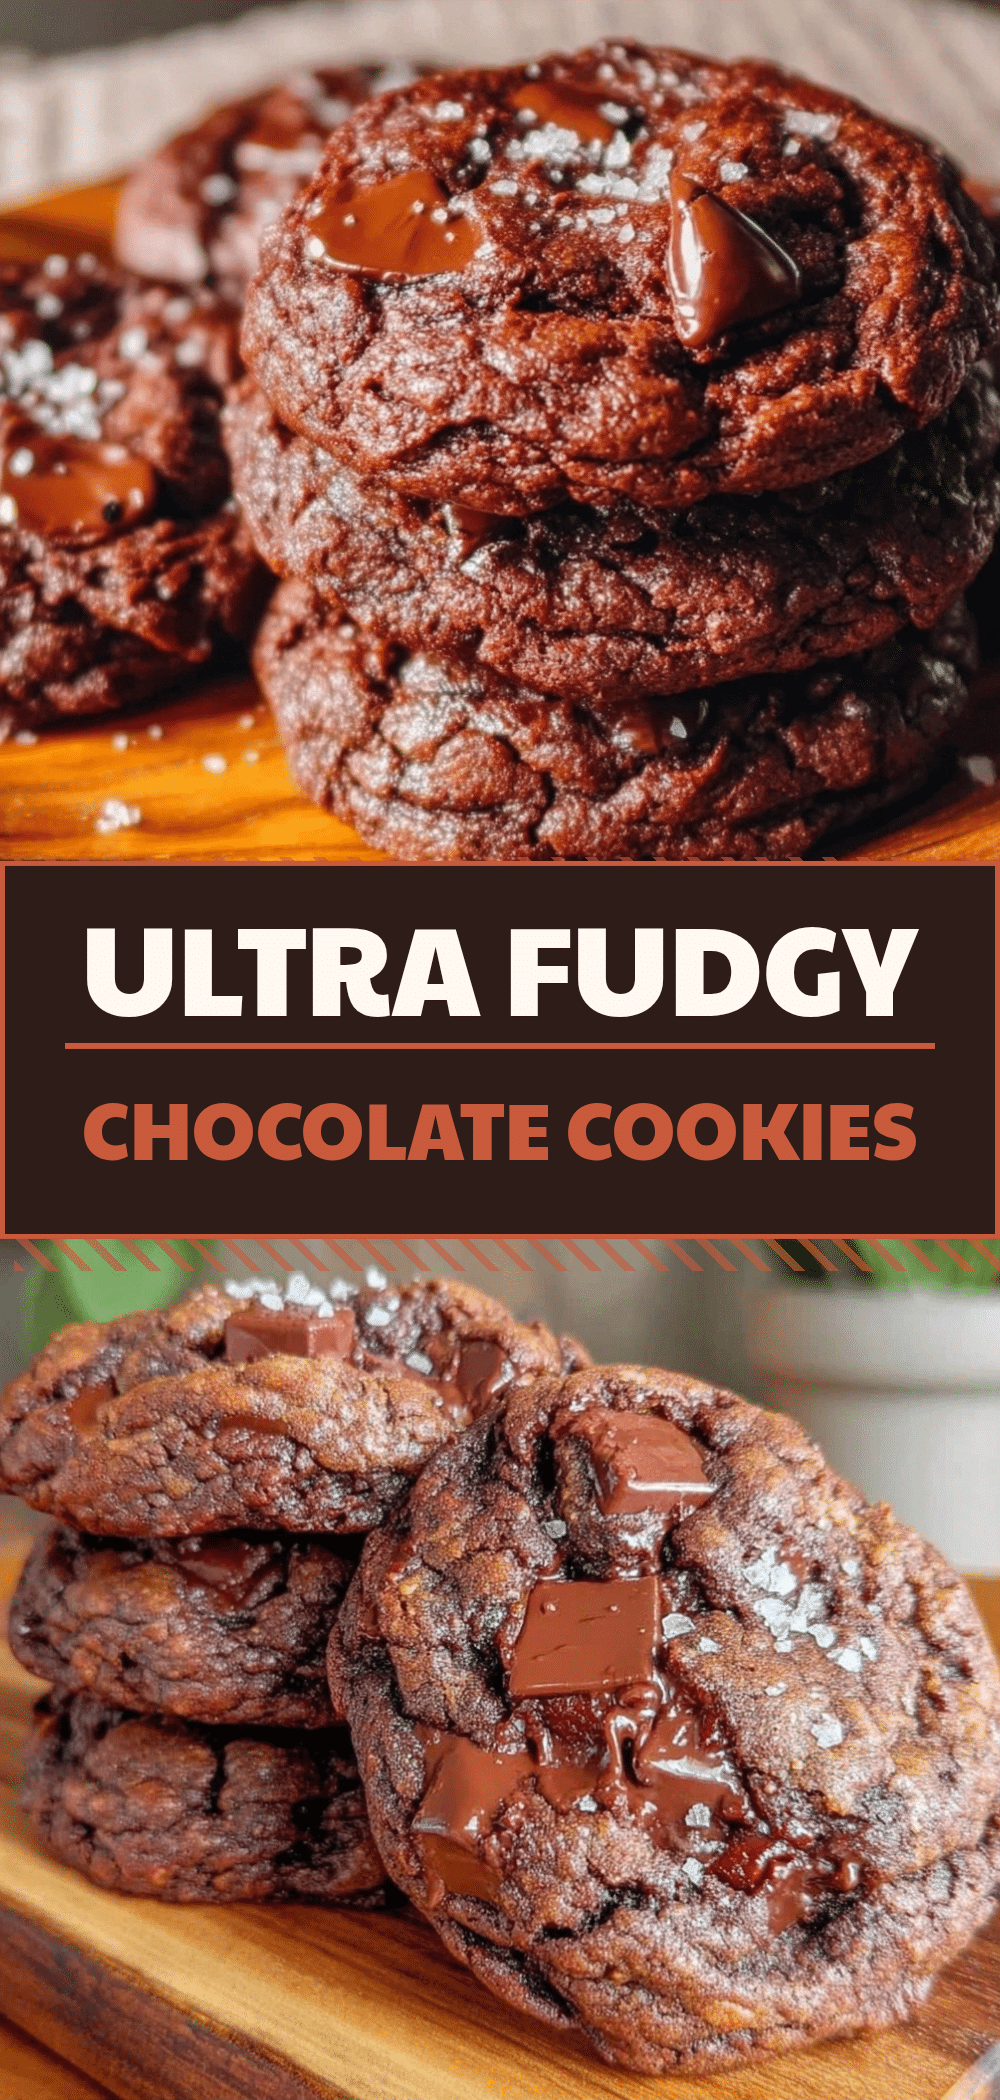
Ultra Fudgy One-Bowl Chocolate Chip Cookies
- Total Time: 20 minutes
- Yield: 24 servings 1x
Description
These ultra fudgy one-bowl chocolate chip cookies are dense, chewy, and impossibly fudgy. Made with simple pantry ingredients in just one bowl, they require no chilling time and are ready in about 20 minutes, making them the perfect weeknight dessert.
Ingredients
- 1/2 cup (113g) unsalted butter, softened
- 1/2 cup (100g) granulated sugar
- 1 cup (200g) packed brown sugar
- 1 large egg
- 1 teaspoon vanilla extract
- 1 3/4 cups (220g) all-purpose flour
- 1/2 teaspoon baking soda
- 1 teaspoon cornstarch
- 1/2 teaspoon salt
- 1 1/2 cups (270g) semi-sweet chocolate chips
- Flaky sea salt, optional for topping
Instructions
- Preheat oven to 350°F (175°C) and line baking sheets with parchment paper.
- In a large mixing bowl, combine softened butter, granulated sugar, and brown sugar. Mix until smooth and creamy (about 2-3 minutes by hand or 1 minute with a hand mixer).
- Add the egg and vanilla extract to the butter mixture and mix until fully combined.
- Add the flour, baking soda, cornstarch, and salt. Stir gently until the flour streaks disappear, being careful not to overmix.
- Fold in the chocolate chips until evenly distributed.
- Scoop dough balls onto prepared baking sheets, leaving about 2 inches of space between them.
- Bake for 10-12 minutes, or until edges are lightly golden but centers still look slightly soft.
- Let cookies sit on the baking sheet for 5 minutes to set, then transfer to a cooling rack.
- Sprinkle with flaky sea salt if desired while still warm.
Notes
Ensure butter is softened, not melted, for the best texture. Do not overmix the dough to avoid tough cookies. Underbake slightly for a fudgy center as cookies continue to cook on the hot pan. For best results, spoon and level flour rather than scooping directly from the bag. Cookies can be stored in an airtight container with a slice of bread to keep them soft.
- Prep Time: 5 minutes
- Cook Time: 15 minutes
- Category: Dessert
- Cuisine: American
Nutrition
- Serving Size: 1 cookie
- Calories: 140
- Sugar: 12
- Sodium: 120
- Fat: 7
- Saturated Fat: 4
- Carbohydrates: 18
- Fiber: 1
- Protein: 2
Keywords: chocolate chip cookies, one bowl cookies, easy dessert, fudgy cookies, weeknight baking, kid-friendly cookies, quick cookies



