I still remember the panic of my first Thanksgiving as a newlywed. I was watching a 14-pound turkey in the oven, sweating through my apron, convinced it was going to be dry as a brick. My mother-in-law had gently suggested that a whole bird might be “too much” for our small family of four, but I was too proud to admit I didn’t know how to handle one. That turkey was tough, the skin was pale, and we ended up ordering pizza anyway. It was a disaster I swore never to repeat.
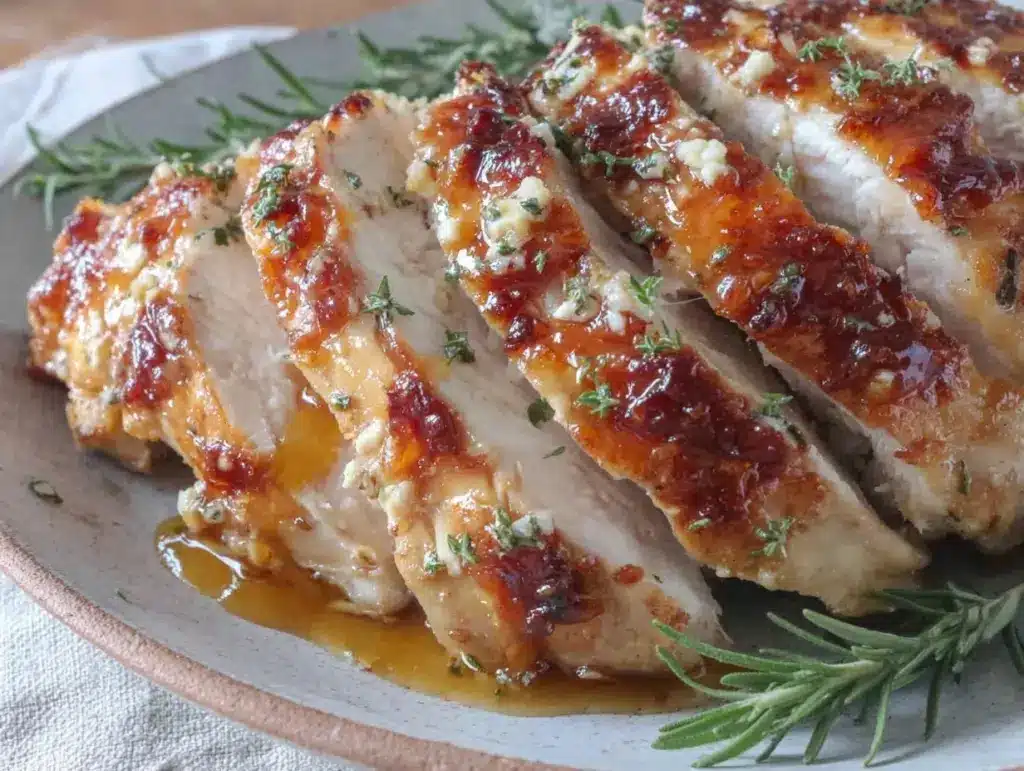
Fast forward to today, and I’ve learned that the secret to a juicy, flavorful holiday meal isn’t roasting a massive bird—it’s roasting a turkey breast. And not just any turkey breast. One that’s been kissed by a sticky, sweet, savory maple glaze. This Maple Glazed Turkey Breast for Thanksgiving Family Dinner has saved me so much stress, money, and sanity. It’s the kind of dish that looks impressive enough for your aunt’s Instagram feed but is simple enough to make on a Tuesday night if you just really want turkey for dinner.
After testing this recipe about seven times (yes, seven—my freezer is full of turkey breasts from my mistakes), I’ve nailed down the method. It’s tender, it’s moist, and that glaze? It caramelizes into this incredible little crust that sticks to your fingers. Plus, it’s significantly cheaper than buying a whole turkey. You’re only cooking what you’ll actually eat, which means less waste and more happy faces at the table. If you’re worried about dry meat, don’t be. I’ve got the tricks to keep it juicy, and I’ll share them with you right here.
Why You’ll Love This Maple Glazed Turkey Breast
Look, I know turkey gets a bad rap for being dry and boring. But this maple glazed turkey breast changes the game completely. Here’s why it’s become my go-to for holiday gatherings (and random weeknight feasts):
- It’s Actually Budget-Friendly — A whole turkey can cost $30-$50 or more, plus you’re paying for all that bone and skin you don’t really want. A bone-in turkey breast is usually half the price and fits perfectly in a standard roasting pan. I’m talking feeding 6-8 people for under $20 if you shop around.
- It’s Never Dry — The biggest fear with turkey is dry meat. By brining it briefly in a simple saltwater bath and using a glaze that locks in moisture, this turkey stays juicy every single time. I’ve served this to my skeptical brother-in-law who claims he “hates turkey,” and he asked for the recipe.
- Minimal Active Time — You spend about 20 minutes prepping, and then you just let the oven do the work. That’s it. You can hang out, watch the football game, or even make my fall sweet potato sausage hash while this roasts. No standing over the stove stirring constantly.
- Leftovers That Actually Taste Good — Turkey sandwiches the next day? Legendary. But honestly, the leftovers are so good you’ll eat them cold for lunch. I also freeze half the breast for a quick weeknight dinner later, which is perfect for making my creamy white chicken chili (just swap chicken for turkey).
- Gluten-Free Friendly — If you have guests with gluten sensitivities, this recipe is naturally gluten-free (just check your maple syrup label). No extra work needed.
This isn’t just a recipe; it’s a peacekeeper. It’s the dish that keeps everyone happy, fed, and full without turning your kitchen into a war zone. And the best part? It’s easy enough for a beginner but fancy enough for a dinner party.
Ingredients You’ll Need
Here’s the good news: you probably have most of these ingredients in your pantry already. This isn’t a recipe that requires a trip to three different specialty stores. I’m using simple, affordable staples to create a complex, delicious flavor.
For the Turkey
Bone-in Turkey Breast (3-4 pounds / 1.4-1.8 kg) — This is the star. Make sure it’s bone-in and skin-on. The bone adds flavor, and the skin crisps up beautifully. I usually buy this from the frozen section if it’s on sale, then thaw it in the fridge for two days. It’s much cheaper than buying fresh.
Salt (2 tablespoons) — For the brine. Don’t skip this. It’s the #1 reason this turkey stays juicy. Kosher salt works best, but table salt works in a pinch (use 1 tablespoon instead).
Water (4 cups / 1 liter) — For the brine. Cold water is key.
For the Maple Glaze
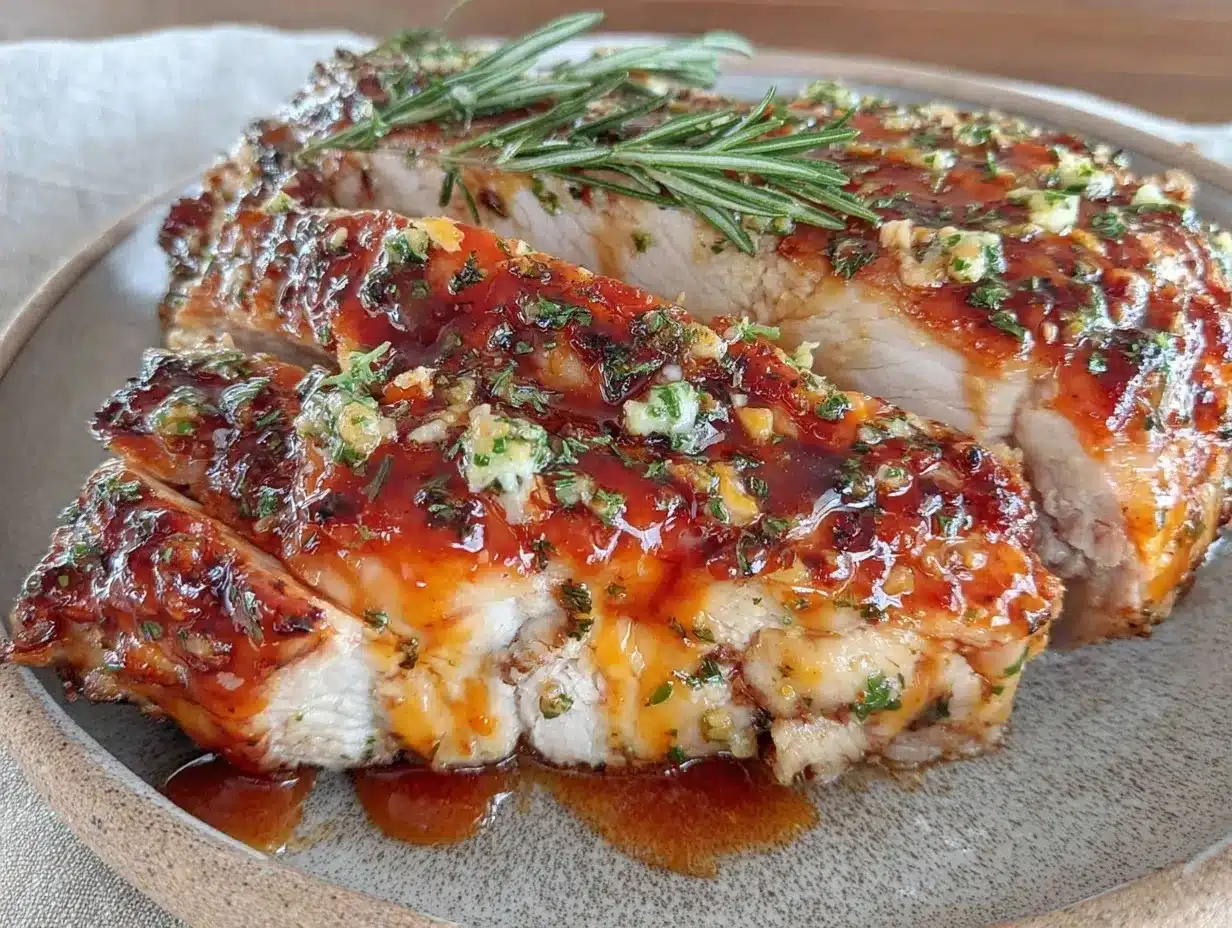
Real Maple Syrup (½ cup / 120ml) — I know it’s pricey, but please don’t use pancake syrup. It’s just corn syrup with flavoring. Real maple syrup has the depth and complexity you need. I buy the large bottle when it’s on sale at the grocery store.
Butter (¼ cup / 55g) — Unsalted is best so you control the saltiness. Melted. If you’re out of butter, you can use olive oil, but butter adds that rich, roasted flavor.
Dijon Mustard (1 tablespoon) — This sounds weird, but it adds a tangy depth that cuts through the sweetness. You won’t taste the mustard; I promise. It just makes the maple flavor pop.
Garlic (3 cloves, minced) — Fresh garlic only. Jarred garlic has a weird metallic taste that doesn’t work here. If you’re lazy, you can use a garlic press, but mincing it finely helps it stick to the turkey.
Dried Sage (1 teaspoon) — Sage is the classic Thanksgiving herb. It pairs perfectly with maple. If you don’t have dried sage, dried thyme works too.
Black Pepper (½ teaspoon) — Freshly cracked is nice, but pre-ground is fine here.
Salt (½ teaspoon) — To balance the sweet glaze.
Equipment Needed
You don’t need fancy gadgets for this. Here’s what I actually use in my kitchen:
Roasting Pan — A standard 13×9-inch pan works perfectly. I use a glass Pyrex one because it’s easy to clean and I can see the bottom. Metal pans work too, but glass heats more evenly.
Measuring Cups and Spoons — Standard stuff. Dollar store versions work fine.
Whisk — For mixing the glaze. A small balloon whisk is perfect.
Basting Brush — Silicone brushes are great because they don’t shed bristles. I use an old pastry brush from the dollar store.
Instant-Read Thermometer — This is non-negotiable. I learned the hard way that guessing doneness leads to dry turkey. A $10 thermometer from the grocery store saves you from ruining the meal. Look for 165°F (74°C) in the thickest part.
Aluminum Foil — For tenting the turkey if it browns too fast.
How to Make It: Step-by-Step
Alright, let’s make this! It’s simpler than you think. I’m walking you through exactly how I do it, including the little tricks I’ve picked up over the years.
Step 1: Brine the Turkey (Optional but Recommended)
At least 4 hours before cooking (or overnight), mix the salt and water in a large bowl or plastic bag until the salt dissolves. Submerge the turkey breast in the brine. Make sure it’s fully covered. If it’s floating, weigh it down with a plate. This step pulls moisture into the meat, ensuring it stays juicy. If you’re short on time, you can skip this, but the texture won’t be as tender.
Step 2: Prep the Turkey
Remove the turkey from the brine and pat it completely dry with paper towels. This is crucial—wet skin doesn’t crisp up. Place it on a cutting board and let it sit at room temperature for 30 minutes while you preheat the oven to 350°F (175°C). Dry the skin again if any moisture has returned.
Step 3: Make the Glaze
In a small saucepan over low heat, combine the maple syrup, melted butter, Dijon mustard, minced garlic, sage, pepper, and salt. Stir until smooth and combined. It should look like a glossy, golden sauce. Don’t boil it; just heat it until the butter melts. Set aside.
Step 4: Season and Roast
Place the turkey breast in your roasting pan, skin-side up. Pour half of the glaze over the turkey, rubbing it gently into the skin and under the skin if you can. Put it in the oven and roast for 45 minutes.
Step 5: Baste and Finish
After 45 minutes, pull the turkey out. Brush the remaining glaze all over the top. Return it to the oven and roast for another 30-45 minutes. The exact time depends on the size of your breast. You’re looking for an internal temperature of 165°F (74°C) in the thickest part of the meat. If the skin is getting too dark, tent it loosely with foil.
Step 6: Rest the Meat
Once it hits 165°F, remove the turkey from the oven. Transfer it to a cutting board and tent it loosely with foil. Let it rest for at least 15 minutes. This allows the juices to redistribute. If you cut into it immediately, all the juice runs out, and you’re left with dry meat. Trust me on this. While it rests, you can warm up your creamy roasted butternut squash soup as a side dish.
Step 7: Slice and Serve
Slice the turkey against the grain. Serve with the pan drippings spooned over the top. It’s that simple.
Expert Tips & Tricks
Here’s everything I’ve learned from making this dozens of times. These tips will save you from my mistakes.
Don’t Skip the Rest
I know it’s hard to wait, but resting is non-negotiable. The meat continues to cook slightly after you take it out of the oven (carryover cooking), and the fibers relax to hold in the juices. 15 minutes is the minimum. 20 is better.
Check Temperature Early
Start checking the temperature 10 minutes before you think it’s done. Turkey breast cooks fast, and it’s easy to overcook it by 5 degrees. 160°F is actually safe because the temp will rise to 165°F while resting. Pull it at 160°F to be safe.
Save the Pan Drippings
After you remove the turkey, pour the liquid from the roasting pan into a fat separator or a measuring cup. Let the fat rise to the top, then spoon it off. You can use that flavorful liquid to make a quick gravy or just drizzle it over the slices.
Double the Glaze
I always make a little extra glaze. It’s delicious brushed on the skin right before serving, and it’s great for dipping leftover turkey slices. Think of it like a dipping sauce for your protein.
Room Temperature Matters
Cold turkey straight from the fridge takes longer to cook and can cook unevenly. Letting it sit out for 30 minutes helps it cook more evenly. It’s a small step that makes a big difference.
Variations & Substitutions
Once you’ve nailed the basic version, here’s how you can mix it up. I’ve tried all of these.
Honey Glazed
Swap half the maple syrup for honey. It’s slightly less sweet and has a floral note. Great if you prefer a less “fall” flavor profile.
Herb-Crusted
Add 1 teaspoon of dried rosemary and 1 teaspoon of thyme to the glaze. It makes the turkey taste more like a traditional roast chicken.
Spicy Maple
Add ½ teaspoon of cayenne pepper or a dash of hot sauce to the glaze. It adds a nice kick that balances the sweetness. My kids love this version with a side of football Sunday sheet pan nachos for a fun twist.
Dairy-Free
Swap the butter for olive oil or coconut oil. The flavor will be slightly different, but it still works well.
Gluten-Free
This recipe is naturally gluten-free, but always check your maple syrup and mustard labels to ensure they’re certified GF.
Serving & Storage
How to Serve:
I usually slice the turkey and arrange it on a platter with the glaze drizzled over the top. It looks rustic and inviting. Pair it with simple sides like roasted potatoes, green beans, or my fall harvest charcuterie board for a lighter option.
Storage:
Store leftovers in an airtight container in the fridge for up to 4 days. The turkey stays moist for days if stored properly.
Reheating:
To reheat, slice the turkey and place it in a baking dish. Add a splash of chicken broth or water to the dish, cover with foil, and warm in a 325°F oven for 15-20 minutes. This prevents it from drying out. Microwave reheating tends to dry it out, so avoid that if possible.
Freezing:
You can freeze cooked turkey breast for up to 3 months. Slice it first, then freeze in freezer bags with as much air removed as possible. Thaw in the fridge overnight before reheating.
Pro Tip:
If you have a lot of leftovers, shred the turkey and freeze it in bags. It’s perfect for adding to soups, salads, or sandwiches later. I always freeze half the breast for a quick weeknight dinner.
Nutrition Information
I’m not a nutritionist, but here’s the breakdown if you’re tracking. This is per serving (based on 8 servings).
| Nutrient | Amount |
|---|---|
| Calories | 280 |
| Protein | 35g |
| Carbs | 12g |
| Fat | 10g |
| Fiber | 0g |
| Sugar | 10g |
Look, this is comfort food with maple syrup. It’s not a diet recipe, but it’s high in protein and relatively low in fat compared to a whole turkey with skin. When I want to make it lighter, I remove the skin before eating. But usually? I just eat a reasonable portion and enjoy it.
Final Thoughts
So that’s my maple glazed turkey breast! It’s become my favorite way to serve turkey because it’s manageable, delicious, and budget-friendly. I’ve made this for Thanksgiving, Christmas, and random Sundays when I just crave something warm and comforting. It’s the kind of dish that brings people together around the table.
If you make this, drop a comment and let me know how it turned out! I love hearing how recipes work in your kitchen. And if you need side dish ideas, check out my fall sweet potato pie bars for a sweet treat to finish the meal.
Happy cooking! And I hope your kitchen smells half as good as mine does right now.
Frequently Asked Questions
Can I use a turkey breast that’s already cooked?
You can, but it’s not ideal. A pre-cooked turkey breast is usually just reheating, which can dry it out. If you must use one, heat it gently at 300°F just until warmed through, and be very careful not to overcook it. Fresh or thawed frozen turkey breast is always better.
Why did my turkey come out dry?
This usually happens if you overcooked it or didn’t let it rest. Turkey breast has very little fat, so it’s easy to dry out. Use a meat thermometer! Pull it at 160°F and let it rest for 15 minutes. The residual heat will bring it to 165°F without drying it out.
Can I make this ahead of time?
You can prep the glaze and brine the turkey a day ahead. Store the brined turkey in the fridge in a covered container. Then, when you’re ready to cook, just let it come to room temperature for 30 minutes and roast as directed. This saves you time on the day of the meal.
Is this recipe good for leftovers?
Yes! Turkey sandwiches made with leftover maple glazed turkey are incredible. The glaze adds a sweet-savory flavor that pairs well with cranberry sauce and mustard. I also love using shredded turkey in salads or soups.
Can I substitute chicken breast for turkey breast?
You can, but chicken breast is leaner and cooks faster. Use a boneless, skinless chicken breast and reduce the cooking time by about 20-30 minutes. Check the temperature at 155°F and let it rest. The glaze works great with chicken too.
What sides go well with this turkey?
Classic Thanksgiving sides like mashed potatoes, green bean casserole, and cranberry sauce work perfectly. If you want something lighter, try a roasted vegetable medley or my keto fall bacon brussels sprouts for a low-carb option.
Pin This Recipe!
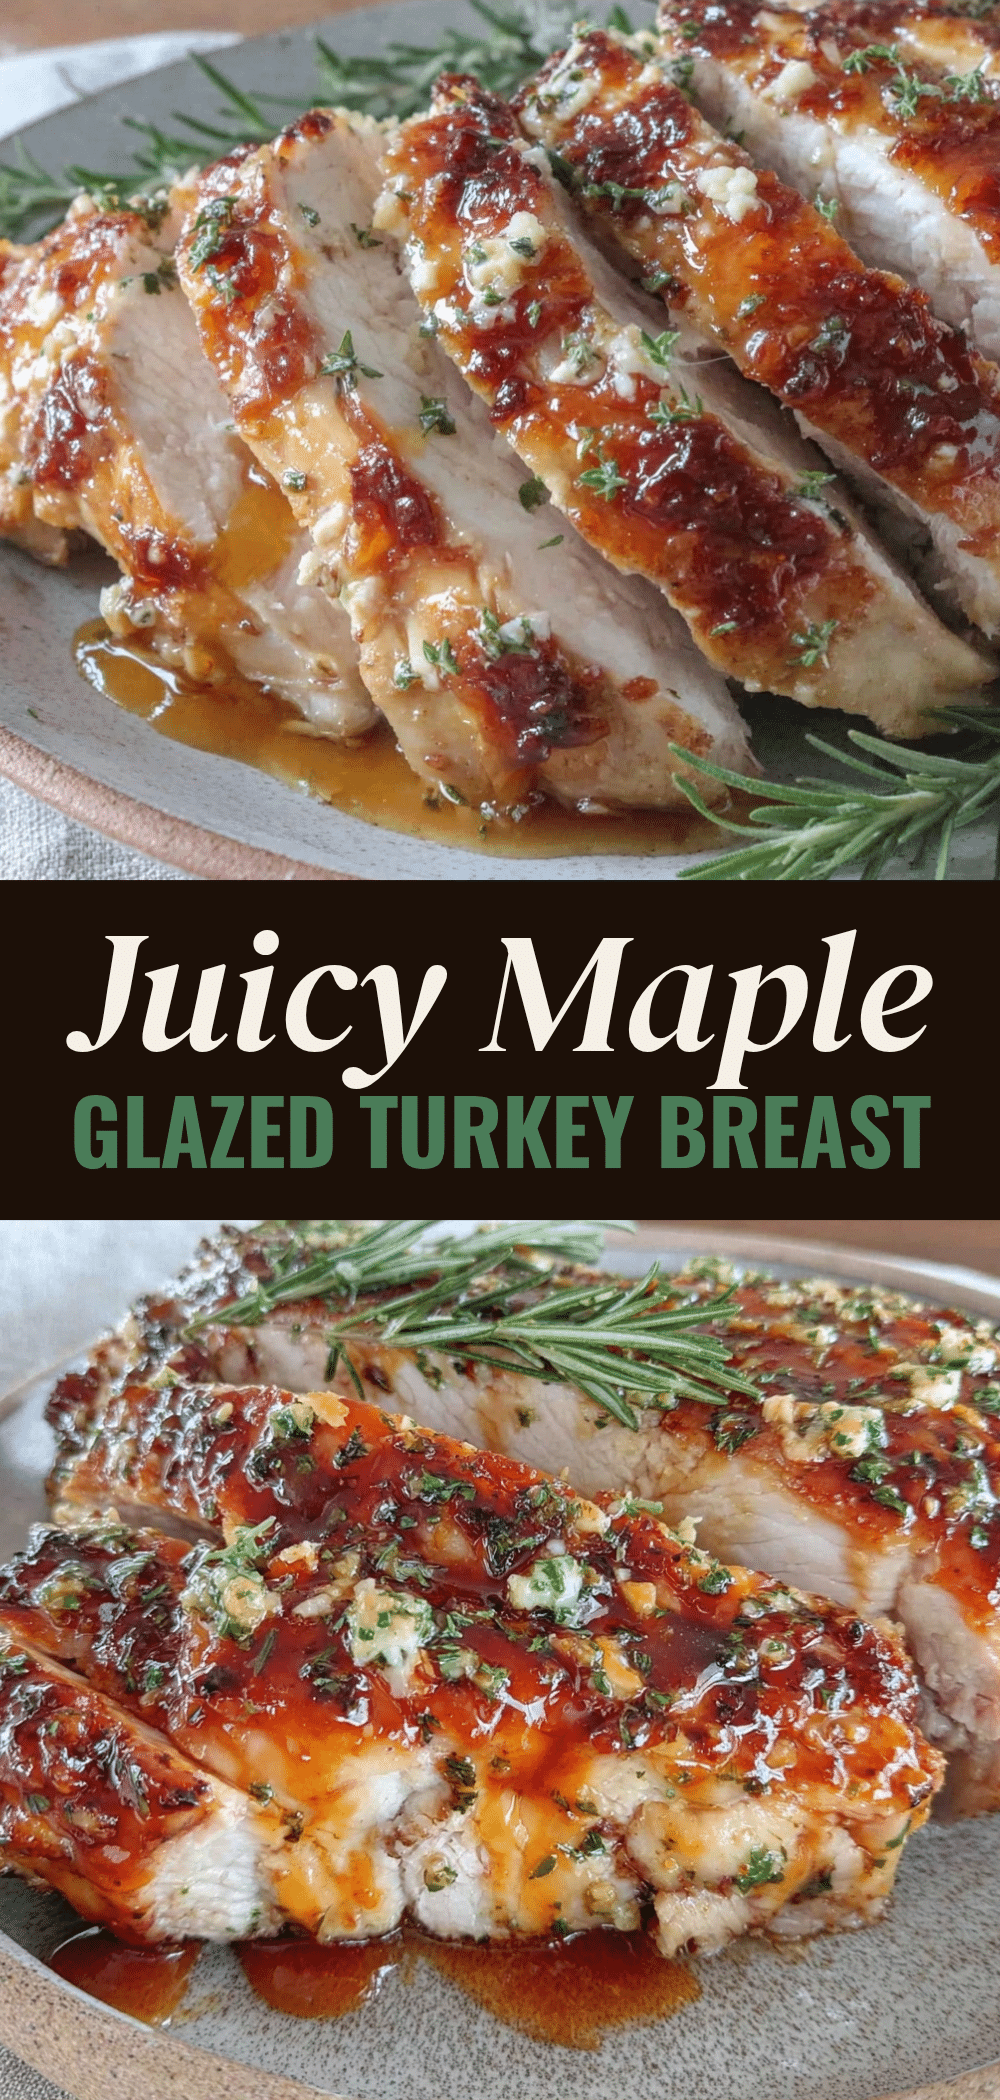
Easy Maple Glazed Turkey Breast: Budget-Family Dinner
- Total Time: 1 hour 35 minutes
- Yield: 8 servings 1x
Description
A juicy, budget-friendly bone-in turkey breast roasted with a sticky, sweet, and savory maple glaze. This recipe ensures moist meat through brining and proper temperature control, making it perfect for holidays or weeknight dinners.
Ingredients
- 3–4 pounds bone-in, skin-on turkey breast
- 2 tablespoons kosher salt (for brine)
- 4 cups cold water (for brine)
- 1/2 cup real maple syrup
- 1/4 cup unsalted butter, melted
- 1 tablespoon Dijon mustard
- 3 cloves garlic, minced
- 1 teaspoon dried sage
- 1/2 teaspoon black pepper
- 1/2 teaspoon salt (for glaze)
Instructions
- Brine the turkey: Mix salt and water until dissolved. Submerge turkey breast in the brine for at least 4 hours or overnight. Remove and pat completely dry with paper towels.
- Preheat oven to 350°F (175°C). Let the dried turkey breast sit at room temperature for 30 minutes.
- Make the glaze: In a small saucepan over low heat, combine maple syrup, melted butter, Dijon mustard, minced garlic, sage, pepper, and salt. Stir until smooth and combined. Do not boil.
- Season and roast: Place turkey skin-side up in a roasting pan. Pour half the glaze over the turkey, rubbing it into the skin. Roast for 45 minutes.
- Baste and finish: Remove turkey from oven. Brush remaining glaze over the top. Return to oven and roast for another 30-45 minutes, or until internal temperature reaches 160°F (74°C). Tent with foil if browning too quickly.
- Rest the meat: Remove turkey from oven and transfer to a cutting board. Tent loosely with foil and rest for at least 15 minutes before slicing.
- Slice against the grain and serve with pan drippings.
Notes
Do not skip the resting step; it allows juices to redistribute. Check temperature early, pulling at 160°F as it will rise to 165°F during resting. For a dairy-free version, swap butter for olive oil. Ensure maple syrup is real, not pancake syrup.
- Prep Time: 20 minutes
- Cook Time: 75-90 minutes
- Category: Main Course
- Cuisine: American
Nutrition
- Serving Size: Approximately 1/8 of
- Calories: 280
- Sugar: 10
- Sodium: 800
- Fat: 10
- Saturated Fat: 4
- Carbohydrates: 12
- Protein: 35
Keywords: maple glazed turkey breast, budget turkey dinner, easy turkey recipe, gluten-free turkey, holiday dinner, juicy turkey breast, family dinner



