Last Tuesday, around 9:30 PM, I found myself standing in my kitchen in my pajamas, staring into the dark refrigerator like it was going to magically offer me a solution to my soul. It was one of those late-night cravings that hits different. Not hungry, just… wanting something. Something chocolate. Something warm. Something that didn’t involve digging out a mixing bowl, measuring cups, or preheating an oven that would take twenty minutes just to get hot.
I had two options: order a $15 slice of cake from that place downtown or make the single-serve microwave chocolate mug brownie. I chose the latter. I figured, how hard could it be? Mix flour, sugar, cocoa, oil, and a splash of milk in a mug, zap it for a minute, and call it a night.
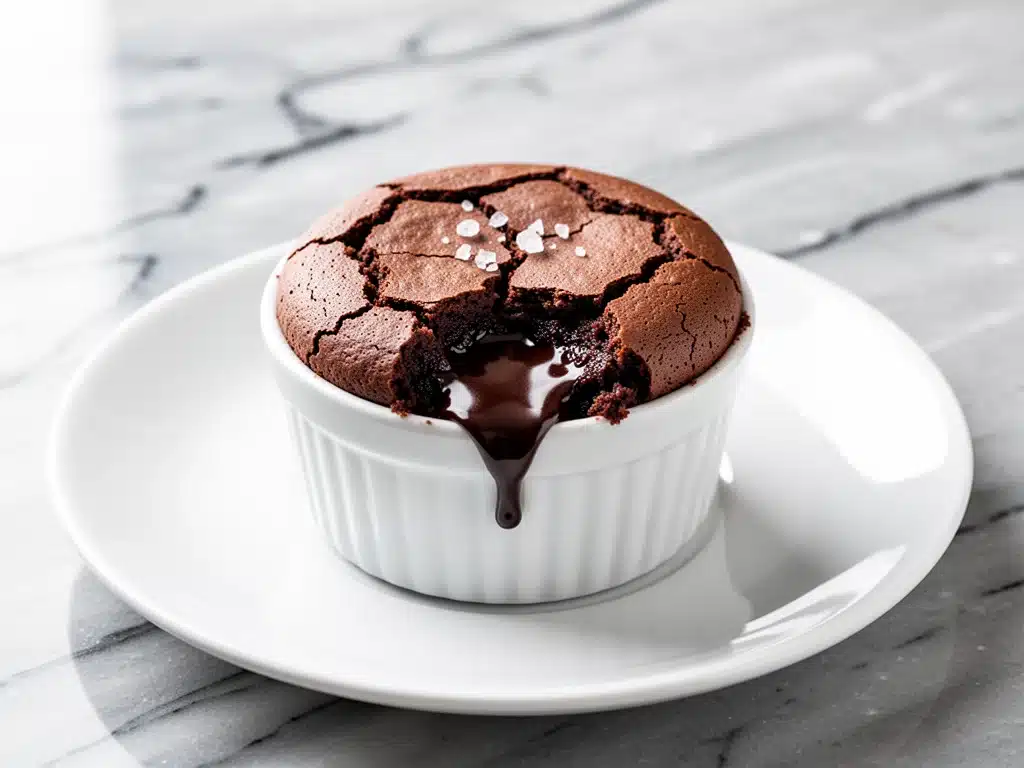
I was wrong. My first attempt looked like a burnt rock. My second attempt tasted like raw egg and sadness. But by the fourth attempt? I had struck gold. A fudgy, gooey, warm chocolate brownie that tastes like you spent hours at a bakery, but actually took sixty seconds to make.
This single-serve microwave chocolate mug brownie has become my secret weapon. It’s my go-to when I want dessert but don’t want the guilt of eating a whole pan. It’s perfect for when I’m hosting a dinner party and need a quick finish (shoutout to the apple harvest salted caramel skillet crisp for when I have more time, but this mug version is the MVP when I’m tired). If you’ve ever felt stuck in a dessert rut, this is your escape hatch. Let’s get into it.
Why You’ll Love This Recipe
Look, I’m not going to lie to you. Not all mug cakes are created equal. Some are dry. Some are rubbery. Some taste like they were microwaved in a plastic container (spoiler: they were). But this single-serve microwave chocolate mug brownie is different. It’s dense. It’s fudgy. It’s the kind of dessert that makes you close your eyes and just… breathe.
Here’s why this recipe has earned a permanent spot in my rotation:
- Zero Cleanup — Seriously. One mug, one spoon, one microwave. That’s it. I’ve made this after dirty dishes were piled high, and I didn’t even have to wash anything until the next morning. It’s the ultimate lazy-chef win.
- Instant Gratification — You’re not waiting for an oven to preheat. You’re not waiting for a cake to cool. You’re not waiting for brownies to set. You mix, you zap, you eat. It takes less time than it takes to scroll through social media. 60 seconds. Done.
- Pantry Staples Only — You don’t need fancy ingredients. No dark chocolate chunks, no espresso powder, no exotic flours. Just flour, sugar, cocoa, oil, milk, and chocolate chips. If you have a kitchen, you have this recipe.
- Portion Control (Sort Of) — I know, I know. It’s brownies. You’re not going to eat one bite. But because it’s in a mug, you can’t accidentally eat the whole pan. It’s a psychological trick that actually works. Unless you’re me, in which case, I just make two mugs. No judgment.
- Customizable Chaos — Want to add peanut butter? Go for it. Sprinkle on some crushed nuts? Sure. Drizzle with caramel? Why not. It’s your mug, your rules. I’ve added everything from chocolate peanut butter buckeye flavors to crushed cookies, and it always works.
This recipe has saved me more times than I can count. It’s my answer to “what’s for dessert?” when I’m tired, broke, or just don’t feel like cooking. It’s reliable, it’s delicious, and it’s ridiculously easy.
Ingredients You’ll Need
Here’s the best part: you probably have 90% of these ingredients already. This isn’t a recipe that requires a special trip to the grocery store. It’s built for convenience.
For the Batter
All-purpose flour (4 tablespoons / 30g) — This is your base. Don’t try to get fancy with almond flour or coconut flour here; we want that classic brownie texture. If you’re gluten-free, use a 1:1 gluten-free blend, but honestly, the texture is slightly different. Stick to AP for the real deal.
Granulated sugar (3 tablespoons / 38g) — Sugar isn’t just for sweetness; it adds moisture and chew. I use white sugar because it dissolves easily in the microwave. Brown sugar works too, but it can make the brownie slightly cakier. If you want fudgy, stick with white.
Unsweetened cocoa powder (2 tablespoons / 10g) — This is the star. Use good quality cocoa. Hershey’s Special Dark is my go-to because it has that deep, rich chocolate flavor. Avoid Dutch-processed cocoa unless you know what you’re doing; it can react weirdly with the baking powder and make the texture gummy.
Baking powder (1/4 teaspoon) — Just a pinch. We want a little lift, but not a cake. Too much baking powder and you’ll end up with a fluffy sponge instead of a dense brownie. I measure this carefully because it makes a difference.
Salt (1/4 teaspoon) — Don’t skip this. Salt enhances the chocolate flavor. It’s the secret ingredient that makes it taste like a bakery brownie instead of a kid’s snack.
Vegetable oil (2 tablespoons / 30ml) — Oil keeps the brownie moist. Butter works too, but you’d need to melt it first, and then you’re dealing with more dishes. I use vegetable oil or canola oil. Olive oil? No. It tastes too strong and clashes with the chocolate.
Milk (2 tablespoons / 30ml) — Whole milk is best for richness. Skim milk will make it dry. If you’re out of milk, water works, but it’s less creamy. Almond milk is okay, but again, it’s thinner. Stick to dairy if you can.
Vanilla extract (1/4 teaspoon) — Just a splash to round out the flavors. Not mandatory, but it adds that “bakery” smell.
For the Mix-Ins (Optional but Recommended)
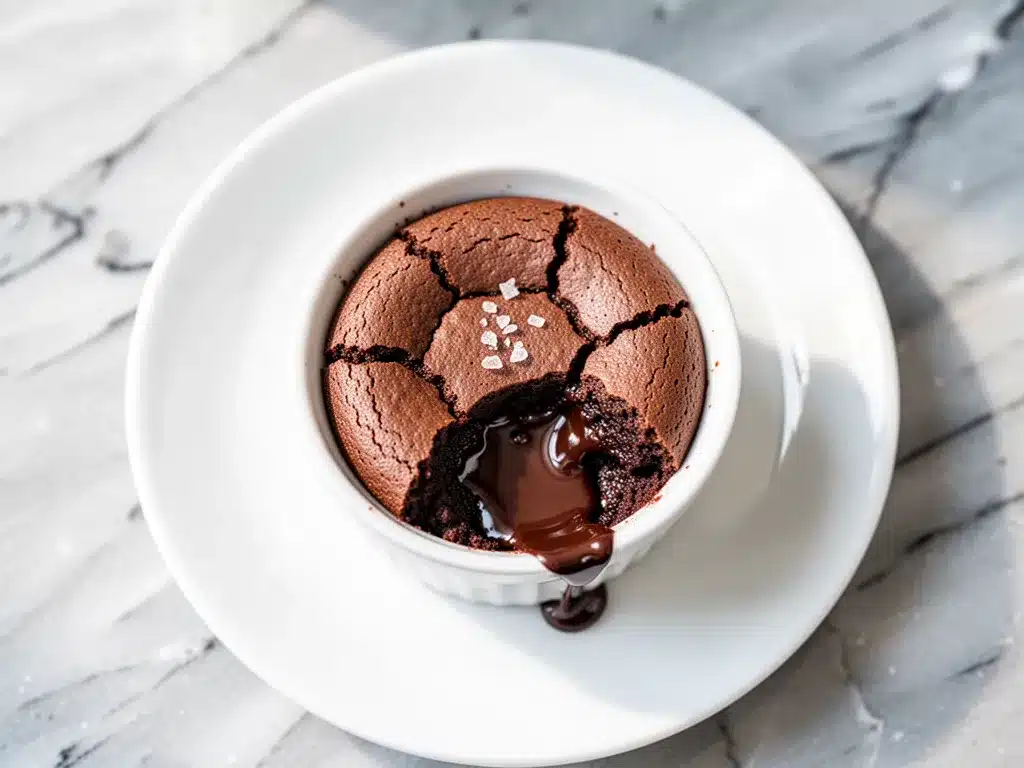
Chocolate chips (1 tablespoon) — I throw these in for those gooey pockets of chocolate. Semi-sweet is my preference. If you’re feeling fancy, use chopped chocolate bar chunks. If you’re lazy, use whatever chips you have lying around.
Whipped cream — For serving. Cold whipped cream on a hot brownie? Yes. Please. If you don’t have whipped cream, a scoop of vanilla ice cream works too. Or just eat it plain. I won’t judge.
Equipment Needed
You don’t need fancy gadgets for this. Here’s what you actually need:
Microwave-safe mug — This is crucial. Use a 12-ounce mug. If your mug is too small, the brownie will overflow and make a mess in your microwave. I use a standard ceramic coffee mug. Avoid mugs with metal trim or gold rims—those will spark and ruin your morning.
Small bowl or directly in the mug — I mix directly in the mug to save a dish. But if you’re worried about uneven mixing, use a small bowl first, then transfer to the mug.
Fork or small spoon — For mixing. You need to get the flour completely incorporated. No lumps allowed.
Measuring spoons — Accuracy matters here. Too much flour and it’s dry. Too much cocoa and it’s bitter. I use a standard set of measuring spoons. If you’re eyeballing it, be careful.
Microwave — Duh. But seriously, make sure it’s working properly. If your microwave heats unevenly, you might get a rubbery edge. I rotate my mug halfway through just to be safe.
How to Make It: Step-by-Step
Alright, let’s make this! I’m walking you through exactly how I do it, including the little tricks I’ve picked up over dozens of attempts.
Step 1: Dry Ingredients (1 minute)
Grab your 12-ounce mug. Add the flour, sugar, cocoa powder, baking powder, and salt. Use a fork to whisk them together directly in the mug. You want to make sure there are no white streaks of flour. This step is important because if you don’t mix the dry ingredients well, you’ll get pockets of raw flour in your brownie. I know, it’s tedious, but it’s worth it.
Step 2: Wet Ingredients (1 minute)
Add the oil, milk, and vanilla extract to the dry ingredients. Stir vigorously with your fork. The batter will look thick and paste-like at first. Keep stirring until it’s smooth and glossy. If there are still lumps, keep going. The batter should be thick enough to hold its shape but smooth enough to spread.
Step 3: Add Mix-Ins (30 seconds)
If you’re adding chocolate chips, stir them in now. Press them down slightly into the batter so they’re submerged. This prevents them from floating to the top and burning. I like to leave a few chips on top for presentation, though.
Step 4: Microwave (60-90 seconds)
This is the critical step. Place your mug in the microwave. Cook on high for 60 seconds. Then, check it. The top should look set, but the center might still look slightly undercooked. This is good. It will continue to cook from residual heat. If it looks very liquidy, microwave for another 15-30 seconds. Do not overcook it! A dry mug brownie is a sad mug brownie. I usually go with 60 seconds for my microwave, but every microwave is different. Start with 60, check, and add time only if needed.
Step 5: Cool and Serve (2 minutes)
Remove the mug from the microwave. Let it sit for 2 minutes. This allows the brownie to finish setting and become fudgy. If you eat it immediately, it’s molten lava, which is delicious but messy. Letting it cool for just 2 minutes makes it scoopable and fudgy. Top with whipped cream, a sprinkle of sea salt, or just eat it straight from the mug with a spoon. No shame in that game.
Expert Tips & Tricks
Here’s everything I’ve learned from making this dozens of times. These tips will save you from my mistakes.
Mug Size Matters
I cannot stress this enough. Use a 12-ounce mug. If you use a 8-ounce mug, the brownie will rise and overflow. You’ll have chocolate all over your microwave, and you’ll be angry. A 12-ounce mug gives it room to expand without making a mess. If you only have smaller mugs, halve the recipe. Don’t risk it.
Don’t Overmix
Once you add the wet ingredients, mix until just combined. Overmixing develops gluten, which makes the brownie tough. You want it tender and fudgy, not chewy like bread. Stir until smooth, then stop.
The Power of Salt
Flaky sea salt on top after cooking? Game changer. It contrasts with the sweetness and makes the chocolate taste more intense. I keep a small jar of flaky salt specifically for desserts. If you don’t have it, just a pinch of table salt works, but flaky salt is prettier and tastier.
Chocolate Chip Placement
Press the chocolate chips into the batter. If you just drop them on top, they’ll float and burn. Pressing them in ensures they melt evenly throughout the brownie. I also like to add a few chips on top after microwaving for that “freshly baked” look.
Cooling is Key
I know you want to eat it now. But wait 2 minutes. The residual heat finishes cooking the center and makes it fudgy. If you eat it hot, it’s soupy. If you wait, it’s perfect. Patience pays off.
Variations & Substitutions
Once you’ve nailed the basic version, here’s how you can mix it up. I’ve tried all of these, and they’re all winners.
Peanut Butter Mug Brownie
Add a tablespoon of peanut butter to the batter before microwaving. Swirl it in with a toothpick for a marbled effect. Or, add a dollop of peanut butter on top after cooking. If you love chocolate peanut butter buckeye flavors, this is your mug version. It’s rich, salty, and sweet.
Coffee Mug Brownie
Add a teaspoon of instant espresso powder to the dry ingredients. It enhances the chocolate flavor without making it taste like coffee. Perfect for when you want a little caffeine kick with your dessert.
Marshmallow Mug Brownie
Top the batter with a few marshmallows before microwaving. They’ll puff up and get gooey. It’s like a s’mores brownie in a mug. Dip it in hot cocoa if you’re feeling extra cozy.
Gluten-Free Option
Use a 1:1 gluten-free flour blend. The texture will be slightly different, but it still works. I’ve used Bob’s Red Mill and King Arthur, and both work well. Just make sure the blend contains xanthan gum, or add a pinch yourself.
Vegan Option
Use plant-based milk and coconut oil instead of vegetable oil. Use vegan chocolate chips. The texture is slightly less fudgy, but it’s still delicious. I’ve made this for my vegan friends, and they love it.
Nutty Addition
Stir in 1 tablespoon of chopped walnuts or pecans. It adds crunch and richness. If you like maple pecan flavors, add a drizzle of maple syrup to the batter. It’s a great fall twist.
Serving & Storage
How to Serve
I usually serve this straight from the mug. It’s rustic and casual. But if I’m having guests, I’ll flip it onto a plate for a fancier presentation. Top with whipped cream, a dusting of powdered sugar, or a drizzle of chocolate sauce. It’s your canvas.
Pairing Ideas
This brownie pairs well with coffee, tea, or milk. I like it with a cold glass of milk or a hot cup of black coffee. If you’re hosting a dinner party, serve it alongside the pumpkin spice tiramisu for a themed dessert spread. Or, if you’re keeping it simple, just enjoy it as is.
Storage
Unfortunately, mug brownies don’t store well. They’re meant to be eaten fresh. If you have leftovers (unlikely), store them in the fridge for up to 2 days. Reheat in the microwave for 15 seconds before eating. But honestly, it’s best fresh. Make a new one if you want seconds.
Nutrition Information
I’m not a nutritionist, but here’s the breakdown if you’re tracking. Keep in mind, this is an estimate based on standard ingredients.
Per Serving (1 mug brownie):
- Calories: ~350-400
- Protein: 6g
- Carbs: 45g
- Fat: 18g
- Sugar: 25g
- Fiber: 2g
What’s Good: It’s a single serving, so you’re not overeating. It provides a quick energy boost from the sugar and carbs.
What to Know: It’s high in sugar and fat, which is expected for a brownie. If you’re watching your intake, consider reducing the sugar to 2 tablespoons or using sugar substitute. But honestly, this is a treat. Enjoy it without guilt.
Final Thoughts
So that’s my single-serve microwave chocolate mug brownie! I’ve probably talked your ear off at this point, but when you make a recipe this often, you have a lot to say about it.
This has saved late-night snack attacks more times than I can count. It’s my answer to “what’s for dessert?” when I’m tired, don’t want to cook, and still want something that tastes really good. My kids are happy, my husband’s happy, and I’m happy because I’m not stressed about cooking.
Make it yours! Try different mix-ins, swap in your favorite chocolate chips, adjust the sugar to your taste. The best recipes are the ones you adapt to your family’s tastes.
If you make this, drop a comment and let me know what you think! I love hearing how recipes turn out in your kitchen. And if something doesn’t work, tell me that too—I’m here to help troubleshoot.
Happy cooking! And I hope your kitchen smells half as good as mine does right now.
Frequently Asked Questions
Q: Can I use butter instead of oil?
A: Yes, you can! Melt the butter first and let it cool slightly before adding it to the dry ingredients. Butter will give you a richer flavor, but oil keeps the brownie moister. I prefer oil for convenience, but butter tastes amazing. Just don’t add solid butter; it won’t mix well.
Q: Why did my brownie turn out rubbery?
A: This usually means it was overcooked. Microwaves vary in power. Start with 60 seconds, check, and add time in 10-second increments. If it looks set but still slightly soft in the center, it’s done. It will continue to cook from residual heat. Also, make sure you’re not overmixing the batter, which develops gluten.
Q: Can I make this in the oven?
A: Technically, yes, but it’s not ideal. You’d need to bake it in a ramekin at 350°F for 10-12 minutes. But then you’re dirtying a ramekin and waiting for the oven to preheat. Just use the microwave. It’s faster and easier.
Q: Can I double the recipe?
A: Yes, but you’ll need a larger bowl or two mugs. If you double it in one mug, it might overflow. I usually make two separate mugs if I want to share. Just adjust the cooking time slightly—larger portions might need an extra 10-15 seconds.
Q: What if I don’t have baking powder?
A: You can skip it, but the brownie will be denser. Or, you can use a pinch of baking soda, but make sure you have an acid (like buttermilk) to activate it. Since this recipe uses milk, baking soda might not activate fully. Best to just skip it or buy a small box of baking powder.
Q: Can I use almond flour?
A: You can, but the texture will be different. Almond flour is denser and doesn’t absorb liquid the same way. You might need to add a little more milk. I haven’t tested this extensively, so start with half the amount of almond flour and adjust from there.
Q: Is this recipe gluten-free?
A: Not as written. But you can easily make it gluten-free by using a 1:1 gluten-free flour blend. Just make sure the blend contains xanthan gum, or add a pinch yourself. The rest of the ingredients are naturally gluten-free.
Pin This Recipe!
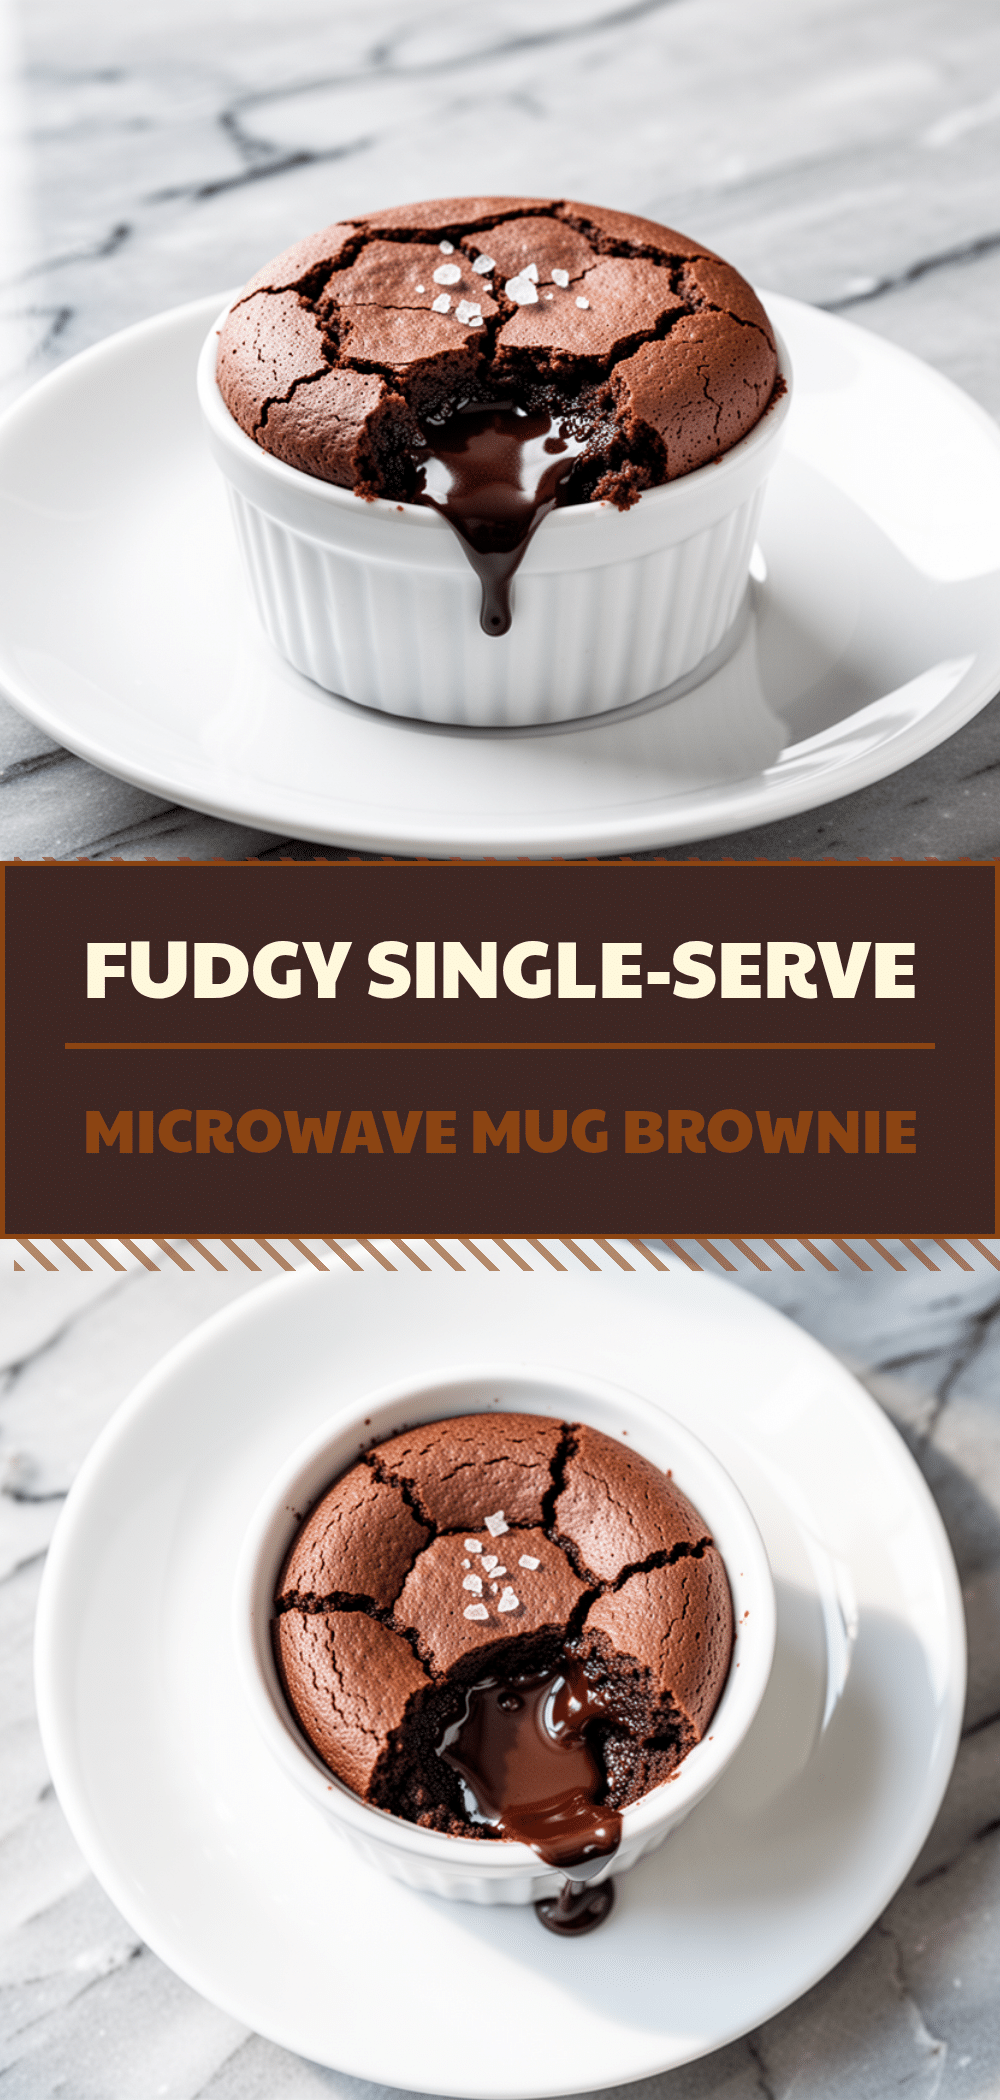
Single-Serve Microwave Chocolate Mug Brownie
- Total Time: 3 minutes
- Yield: 1 serving 1x
Description
A fudgy, gooey, single-serve chocolate brownie made in a mug in just 60 seconds. Perfect for late-night cravings with zero cleanup required.
Ingredients
- 4 tablespoons all-purpose flour
- 3 tablespoons granulated sugar
- 2 tablespoons unsweetened cocoa powder
- 1/4 teaspoon baking powder
- 1/4 teaspoon salt
- 2 tablespoons vegetable oil
- 2 tablespoons milk
- 1/4 teaspoon vanilla extract
- 1 tablespoon chocolate chips (optional)
Instructions
- Add flour, sugar, cocoa powder, baking powder, and salt to a 12-ounce microwave-safe mug. Whisk together with a fork until no white streaks remain.
- Add vegetable oil, milk, and vanilla extract to the dry ingredients. Stir vigorously until the batter is smooth and glossy.
- If using chocolate chips, stir them into the batter and press them down slightly to prevent burning.
- Microwave on high for 60 seconds. Check the center; it should look set but slightly soft. If liquidy, microwave for another 15-30 seconds. Do not overcook.
- Let the brownie sit in the mug for 2 minutes to finish setting and become fudgy before eating.
Notes
Use a 12-ounce mug to prevent overflow. Do not overmix the batter to avoid a tough texture. Let the brownie cool for 2 minutes to achieve a fudgy consistency. For gluten-free, use a 1:1 gluten-free flour blend. For vegan, use plant-based milk and coconut oil.
- Prep Time: 2 minutes
- Cook Time: 1 minute
- Category: Dessert
- Cuisine: American
Nutrition
- Serving Size: 1 mug brownie
- Calories: 375
- Sugar: 25
- Sodium: 150
- Fat: 18
- Saturated Fat: 3
- Carbohydrates: 45
- Fiber: 2
- Protein: 6
Keywords: microwave brownie, mug cake, single serve dessert, quick dessert, chocolate brownie, easy recipe, late night snack



