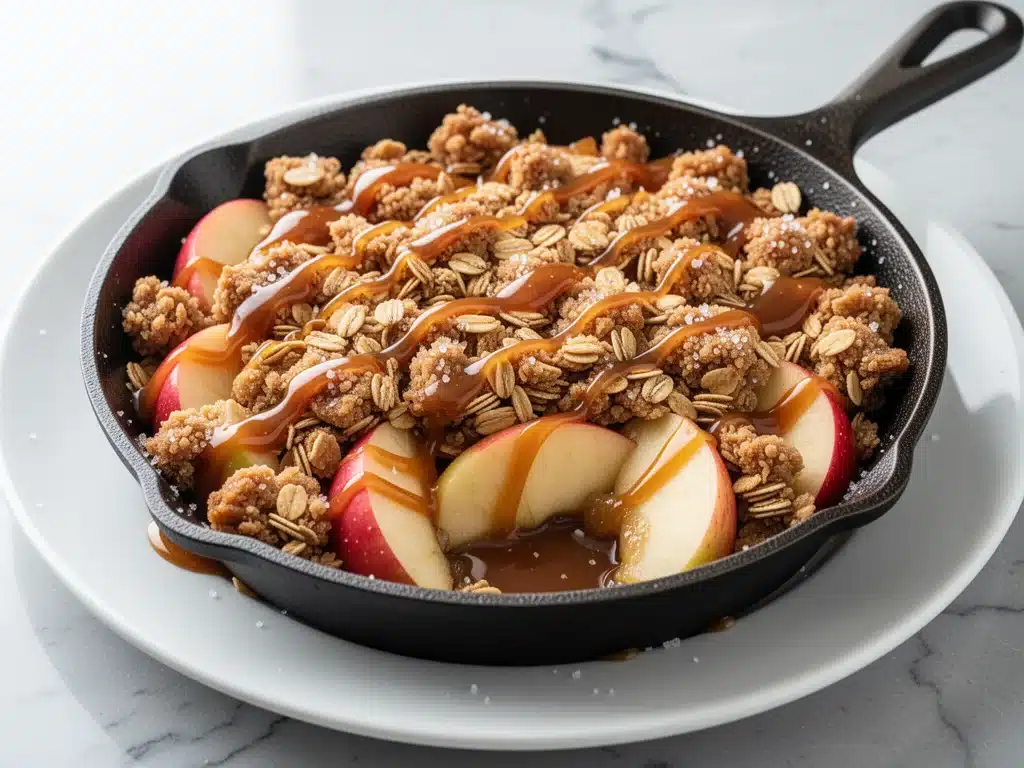
Last November, I had one of those nights where the kids had been home all day, the house was a disaster zone, and I was staring into the fridge like it held the secrets to the universe. All I found were three bruised apples, a stick of butter that had seen better days, and a jar of salted caramel sauce I’d bought on a whim three weeks prior. I didn’t have time to bake a pie. I didn’t have the energy to wash a mountain of dishes. And I definitely didn’t have the patience for a complicated dessert that required three bowls and a whisk.
So I did the only thing that made sense: I threw everything into a cast-iron skillet. I wasn’t aiming for restaurant-quality. I was aiming for edible before the kids lost their minds. What came out of the oven twenty minutes later was something else entirely. The apples were tender but not mushy, the topping was golden and crunchy, and that salted caramel? It bubbled through the cracks, creating these little pockets of salty-sweet goodness that my husband immediately declared “the best thing I’ve ever eaten.” (Okay, maybe he was just hungry, but I’ll take it.)
That accidental skillet crisp became our go-to dessert for months. It’s the Apple Harvest Salted Caramel Skillet Crisp you’re going to love because it’s honest, it’s fast, and it tastes like you spent hours in the kitchen, even though you didn’t. I’ve made it at least twenty times since that November night. Sometimes I use Granny Smiths for a tart punch, sometimes I use Honeycrisps for extra sweetness. Sometimes I skip the caramel because I’m trying to be “good” (I never skip the caramel). But the structure? It’s foolproof. It’s perfect for busy weeknights when you need a win, or for those lazy Sunday afternoons when you want something warm and comforting without the fuss.
This isn’t just another apple crisp recipe. It’s the one I pull out when I need to impress guests with zero effort, or when I need to comfort my kids after a bad day at school. It’s rustic, it’s messy in the best way possible, and it’s deeply, deeply satisfying. Let me show you how to make it.
Why You’ll Love This Recipe
I’ve tested a lot of fruit desserts over the years. Some are too sweet, some are too soggy, and some require ingredients I have to drive to three different stores to find. This skillet crisp is different. It’s my answer to “what’s for dessert?” when I’m running on empty. Here’s why it keeps earning a spot in our rotation:
- One Skillet, Zero Stress — Seriously, if you have a cast-iron skillet (or even a baking dish), you’re good. I use one pan for mixing, one for baking, and one for serving. Cleanup takes about two minutes. I’ve made this while helping my daughter with her homework, and it didn’t miss a beat.
- Lightning Fast — From peel to plate, this takes about 30 minutes. The prep is maybe 10 minutes, and the rest is just waiting for the oven to do its thing. That’s faster than ordering takeout, and it tastes way better.
- Pantry-Friendly Topping — The crumble topping uses basic staples: flour, oats, brown sugar, butter. You probably have all of this already. I don’t need to run to the store for a special ingredient.
- Flavor That Punches Above Its Weight — The salted caramel is the secret weapon. It adds this complex, rich depth that makes people ask, “What is in this?” It’s not just sweet; it’s savory-sweet, buttery, and addictive. It’s like the brown butter salted caramel blondies but in fruit form.
- Perfect for Leftovers — Actually, there are rarely leftovers. But if there are, this reheats beautifully. I eat it cold for breakfast sometimes (don’t judge me), and it’s still delicious. It’s also great for meal prep desserts if you’re that person.
- Feeds a Crowd (or Just You) — This recipe is flexible. Make the full skillet for a family, or halve it for a single-serving treat in a small oven-safe pan. It’s budget-friendly, too. Apples are cheap in the fall, and you don’t need fancy equipment.
This is my go-to when I need dessert to just work. No complicated techniques, no weird ingredients, just reliable, delicious food that makes everyone happy. It’s the kind of recipe that makes your kitchen smell like a bakery, and that’s half the fun.
Ingredients You’ll Need
Here’s the best part: you probably have most of this already. I’m particular about two things here—the apples and the caramel—but otherwise, it’s simple stuff. I don’t believe in overcomplicating dessert.
For the Apple Filling
Apples (6 medium, about 2.5 lbs / 1.1 kg) — This is the star. I use a mix of Granny Smith and Honeycrisp. Granny Smith holds its shape and adds tartness, while Honeycrisp adds sweetness and juiciness. If you only have one type, that’s fine. Just make sure they’re firm. Mealy apples turn to mush in the oven, and we don’t want that.
Granulated Sugar (½ cup / 100g) — Just a little bit to help the apples caramelize. Don’t skip it, but don’t add more unless you have an insatiable sweet tooth. The caramel sauce adds plenty of sweetness.
Apple Cider (2 tablespoons / 30ml) — This adds a nice boozy (non-alcoholic) depth. If you don’t have cider, apple juice works, or even water. It helps create the sauce around the apples.
Cinnamon (1 teaspoon) — Ground cinnamon is non-negotiable here. It’s the smell of fall. I use good quality cinnamon, not the dusty stuff from the back of the cabinet.
Nutmeg (¼ teaspoon) — Just a pinch. It adds warmth without being obvious. If you don’t have nutmeg, skip it. I won’t tell.
Vanilla Extract (1 teaspoon) — Pure vanilla, please. I’ve tried imitation, and it tastes chemical. Your dessert deserves better.
Lemon Juice (1 tablespoon) — This keeps the apples from browning too much before you bake them, and it brightens the flavor. It’s a small touch, but it makes a difference.
For the Crumble Topping
All-Purpose Flour (1 cup / 125g) — Standard stuff. No need for fancy pastry flour here.
Old-Fashioned Rolled Oats (1 cup / 90g) — This gives the topping its signature chew and crunch. Quick oats work in a pinch, but they’ll make it more cake-like. I prefer the texture of rolled oats.
Brown Sugar (½ cup / 100g, packed) — This adds moisture and a molasses flavor. Light or dark brown sugar both work. I usually use dark because I like the deeper flavor.
Cold Unsalted Butter (½ cup / 113g, cubed) — This is crucial. Cold butter creates those flaky, crumbly bits. If you melt the butter, you lose the texture. Cube it straight from the fridge.
Salt (¼ teaspoon) — To balance the sweetness. I use kosher salt.
For the Salted Caramel Drizzle
Store-Bought Salted Caramel Sauce (½ cup / 120ml) — I’m not going to lie: I buy the sauce. Making caramel from scratch is a pain, and it burns easily. I use brands like Smucker’s or Trader Joe’s. They’re consistent and delicious. If you want to make your own, go for it, but I won’t judge you for buying it. (Check out my blondies recipe if you want to see how I use caramel there!)
Flaky Sea Salt (optional, for garnish) — Just a sprinkle on top after baking. It looks pretty and adds a nice crunch.
Optional Add-ins
Chopped Pecans or Walnuts (½ cup) — I add these to the topping for extra crunch and nuttiness. It’s my favorite variation. If you have tree nut allergies, skip it.
Vanilla Ice Cream — For serving. I know it’s obvious, but warm crisp + cold ice cream is a match made in heaven. If you want to try something different, snickerdoodle cookies are also great with apple flavors, but ice cream is the classic choice.
Equipment Needed
You don’t need fancy equipment for this. Here’s what I actually use:
10-12 Inch Cast-Iron Skillet — This is ideal. It goes from prep to oven to table. I use my well-seasoned Lodge skillet. If you don’t have cast iron, a 9×13 inch baking dish works fine, but you won’t get that rustic, skillet presentation. A ceramic baking dish is also fine, just make sure it’s oven-safe.
Large Mixing Bowl — For tossing the apples. I use a big glass bowl so I can see everything.
Small Mixing Bowl — For the topping. A medium-sized bowl works.
Knife and Cutting Board — For peeling and slicing apples. A sharp knife makes this way easier. I use my chef’s knife.
Peeler — I peel my apples. Some people leave the skins on, but I think the texture is better peeled. If you want to keep the skins, just scrub them well.
Measuring Cups and Spoons — Standard stuff. I use the nested set for dry ingredients and the liquid measuring cup for the cider.
Spatula — For stirring the apples and scraping the caramel. Silicone works best.
Oven Mitts — Because cast iron gets HOT. I’ve burned myself enough times to know this is non-negotiable.
How to Make It: Step-by-Step
Alright, let’s make this! I’m walking you through exactly how I do it, including the little tricks I’ve picked up. This is easier than it looks, I promise.
Step 1: Prep Your Apples (10 minutes)
Preheat your oven to 375°F (190°C). While it heats, peel, core, and slice your apples. I cut them into ½-inch slices. They shouldn’t be too thin, or they’ll cook too fast, and not too thick, or they’ll be raw in the middle. Toss the slices in a large bowl with the granulated sugar, apple cider, cinnamon, nutmeg, vanilla, and lemon juice. Mix it well. The apples should be coated evenly. Let them sit for 5 minutes while you make the topping. This helps them release some juice.
Step 2: Make the Topping (5 minutes)
In a small bowl, whisk together the flour, oats, brown sugar, and salt. Add the cold, cubed butter. Use your fingers, a pastry cutter, or a fork to mix it in. You want the butter to be distributed evenly, and the mixture to look like coarse crumbs with some larger chunks. Don’t overmix it. Those big chunks are what make the topping crunchy. If you have nuts, add them now.
Step 3: Assemble (2 minutes)
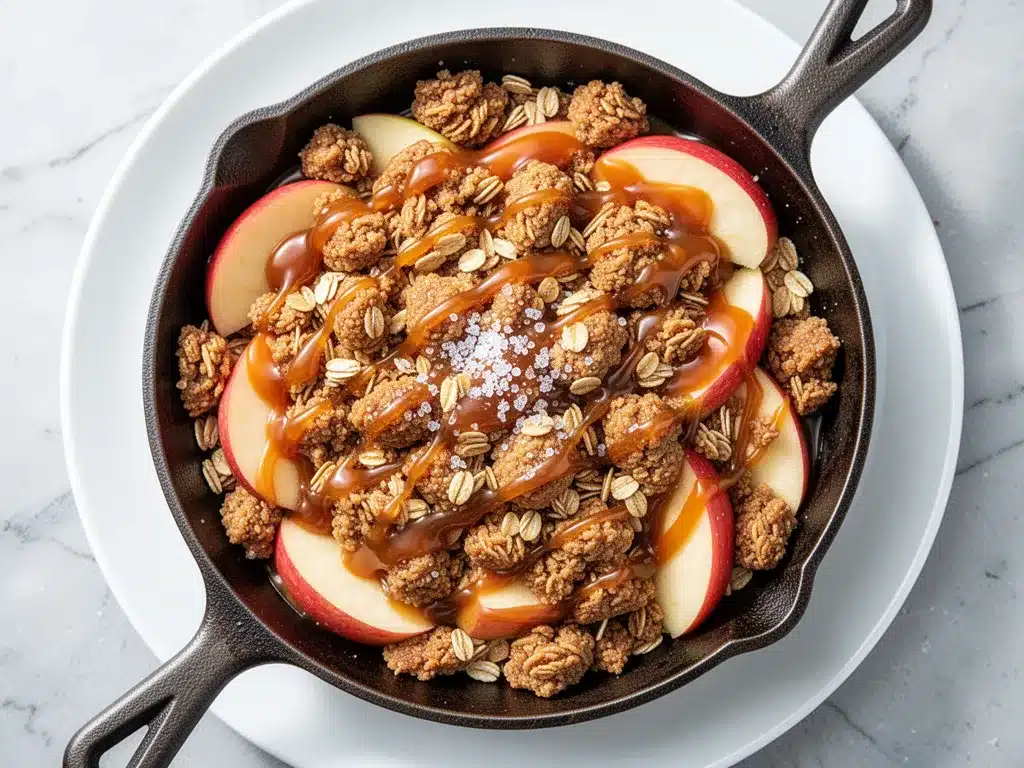
Transfer the apple mixture to your cast-iron skillet (or baking dish). Spread it out evenly. Pour any extra juice from the bowl over the apples. Sprinkle the crumble topping evenly over the apples. It doesn’t need to be perfect. I like to leave some gaps so the caramel can bubble through.
Step 4: Bake (25-30 minutes)
Place the skillet in the oven. Bake for 25-30 minutes. You’ll know it’s done when the topping is golden brown and the apples are tender (poke one with a fork; it should go through easily). The sauce should be bubbling around the edges. If the topping is browning too fast, cover it loosely with foil for the last 10 minutes.
Step 5: The Caramel Drizzle (2 minutes)
While the crisp is baking, warm up your salted caramel sauce in the microwave for 15-20 seconds. It should be pourable. Once the crisp comes out of the oven, drizzle the caramel over the top. I like to do a zig-zag pattern. If you’re using flaky sea salt, sprinkle it on now.
Step 6: Cool and Serve (5 minutes)
Let it cool for 5 minutes. It will be VERY hot. I know it’s tempting to dig in, but the filling is like lava. Let it sit just long enough so it doesn’t burn your tongue. Serve warm, ideally with a scoop of vanilla ice cream.
Total Time: About 30-35 minutes (10 minutes prep, 25 minutes bake).
Expert Tips & Tricks
Here’s everything I’ve learned from making this dozens of times. These tips will save you from my mistakes.
Use Cold Butter
This is the #1 tip for the topping. Cold butter creates steam when it hits the oven, which creates those flaky, crumbly bits. If you use warm butter, the topping will be more like a cake. Cube the butter and put it back in the fridge for 10 minutes if you forgot.
Don’t Skip the Lemon Juice
It sounds weird in a dessert, but the acid balances the sugar and keeps the apples from turning gray. It also brightens the flavor. I’ve made this without it once, and it tasted flat. Don’t make my mistake.
Warm the Caramel
Cold caramel sauce is thick and gloopy. Warm it up for 15 seconds in the microwave so it drizzles beautifully. If it’s too hot, it’ll melt the topping instantly. Just warm, not boiling.
Let It Cool
I know, I know. But if you cut into it immediately, the filling will run out. Letting it cool for 5 minutes allows the sauce to thicken slightly. It’s worth the wait.
Customize Your Apples
I’ve used Braeburn, Fuji, and Gala apples. Braeburn is great because it’s tart and firm. Gala is sweeter and softer. I like a mix, but any firm apple works. Avoid Red Delicious—they’re mealy and bland.
Make-Ahead Strategy
You can prep the apples and topping the night before. Store them in separate containers in the fridge. Assemble and bake in the morning. It saves time, and the flavors meld together.
Variations & Substitutions
Once you’ve nailed the basic version, here’s how you can mix it up. I’ve tried all of these.
Pear Crisp
Swap the apples for pears. Bosc or Anjou pears work best. They’re juicier, so you might need a little extra flour in the topping. It’s delicious and different.
Berry Crisp
Use mixed berries (blueberries, raspberries, blackberries) instead of apples. You’ll need less sugar because berries are sweeter. Add a tablespoon of cornstarch to the berries to thicken the sauce. It’s a great summer variation.
Pumpkin Spice
Add ½ teaspoon pumpkin pie spice to the topping. It’s perfect for fall. I sometimes add a can of pumpkin puree to the filling for extra moisture.
Gluten-Free
Use gluten-free flour and certified gluten-free oats. The texture is slightly different, but it still works. I’ve used Bob’s Red Mill 1-to-1 flour, and it’s fine.
Dairy-Free
Use vegan butter in the topping and dairy-free caramel sauce. It’s not as rich, but it’s still tasty. My lactose-intolerant friend loves this version.
Nut-Free
Simply omit the nuts. The topping is still crunchy without them.
Serving & Storage
I usually serve this straight from the skillet at the dinner table—it looks rustic and stays warm. But here are other ways I’ve enjoyed it:
Side Dishes
This is dessert, so it doesn’t need sides. But if you’re having a big meal, it pairs well with creamy sun-dried tomato tortellini or garlic parmesan crusted salmon for a full meal.
Toppings Bar
When I have guests, I put out: extra caramel sauce, flaky sea salt, chopped pecans, and vanilla ice cream. Everyone customizes their bowl.
Wine Pairing
Not a wine expert, but a crisp white wine like Pinot Grigio or a dry cider works great with this.
Storage Instructions
Refrigerator: Store in an airtight container for up to 3 days. The topping will soften, but it’s still good.
Reheating: Best method: Oven at 350°F for 10 minutes. This keeps the topping crunchy. Microwave works in a pinch, but it’ll be soggy. Add a splash of milk or cream if you want it extra moist.
Freezing: This doesn’t freeze well because the apples release water when thawed. It’s best made fresh. If you must freeze, freeze the topping and apples separately, then combine and bake when needed.
Nutrition Information
I’m not a nutritionist, but here’s the breakdown if you’re tracking. This is a rich dessert, so portion control is key.
Per Serving (based on 8 servings):
- Calories: 380
- Protein: 3g
- Carbs: 55g
- Fiber: 4g
- Sugar: 35g
- Fat: 16g
- Saturated Fat: 8g
- Cholesterol: 25mg
- Sodium: 120mg
What’s Good:
– Fiber from the oats and apples
– Antioxidants from the apples
– It’s a fruit-based dessert, so it’s (slightly) better than cake
What to Know:
– High in sugar from the caramel and brown sugar
– Contains dairy and gluten
– Moderate calories, but easy to overeat because it’s so good
My Take:
“Look, this is comfort food with caramel and butter. It’s not a diet recipe. But it’s way better than takeout, costs less, and I know exactly what’s in it. When I want to make it lighter, I use less caramel and add more apples. But usually? I just eat a reasonable portion and enjoy it.”
Final Thoughts
So that’s my go-to Apple Harvest Salted Caramel Skillet Crisp! I’ve probably talked your ear off at this point, but when you make a recipe this often, you have a lot to say about it.
This has saved weeknight dinners more times than I can count. It’s my answer to “what’s for dessert?” when I’m tired, don’t want takeout, and still want something that tastes really good. My kids are happy, my husband’s happy, and I’m happy because I’m not stressed about cooking.
Make it yours! Try different apples, swap in your favorite nuts, adjust the caramel (though more is always better in my opinion). The best recipes are the ones you adapt to your family’s tastes.
If you make this, drop a comment and let me know what you think! I love hearing how recipes turn out in your kitchen. And if something doesn’t work, tell me that too—I’m here to help troubleshoot.
Happy cooking! And I hope your kitchen smells half as good as mine does right now.
Frequently Asked Questions
Can I use frozen apples?
You can, but thaw them first and drain the excess liquid. Frozen apples release a lot of water, which can make the topping soggy. Pat them dry with a paper towel before adding the sugar and spices. Fresh apples are better for texture, but frozen works in a pinch.
Why did my topping turn out soggy?
This usually happens if the butter was too warm or if the apples released too much liquid. Make sure your butter is cold, and don’t skip the step of letting the crisp cool for 5 minutes before serving. Also, make sure your oven is fully preheated.
Can I make this in a muffin tin?
Yes! This is a great way to make individual portions. Use a standard muffin tin, fill each cup about ¾ full, and bake for 20-25 minutes. The topping will be crispier on the edges. It’s perfect for portion control or for kids.
What kind of caramel sauce should I use?
I recommend a thick, creamy salted caramel sauce. Avoid thin, runny sauces because they won’t drizzle well. Brands like Smucker’s, Trader Joe’s, or homemade caramel (if you’re brave) work well. If you can’t find salted caramel, use regular caramel and add a pinch of sea salt on top.
Can I make this ahead of time?
You can prep the apples and topping the night before. Store them in separate containers in the fridge. Assemble and bake in the morning. If you bake it ahead, the topping will lose some crunch. Reheat in the oven to restore it.
Is this recipe gluten-free?
Not by default, because of the flour and oats. But you can easily make it gluten-free by using gluten-free flour and certified gluten-free oats. The texture will be slightly different, but it’s still delicious.
Can I double this recipe?
Yes, but you’ll need a larger skillet or a 9×13 inch baking dish. The baking time might increase by 5-10 minutes. Keep an eye on it to make sure the topping doesn’t burn.
Pin This Recipe!
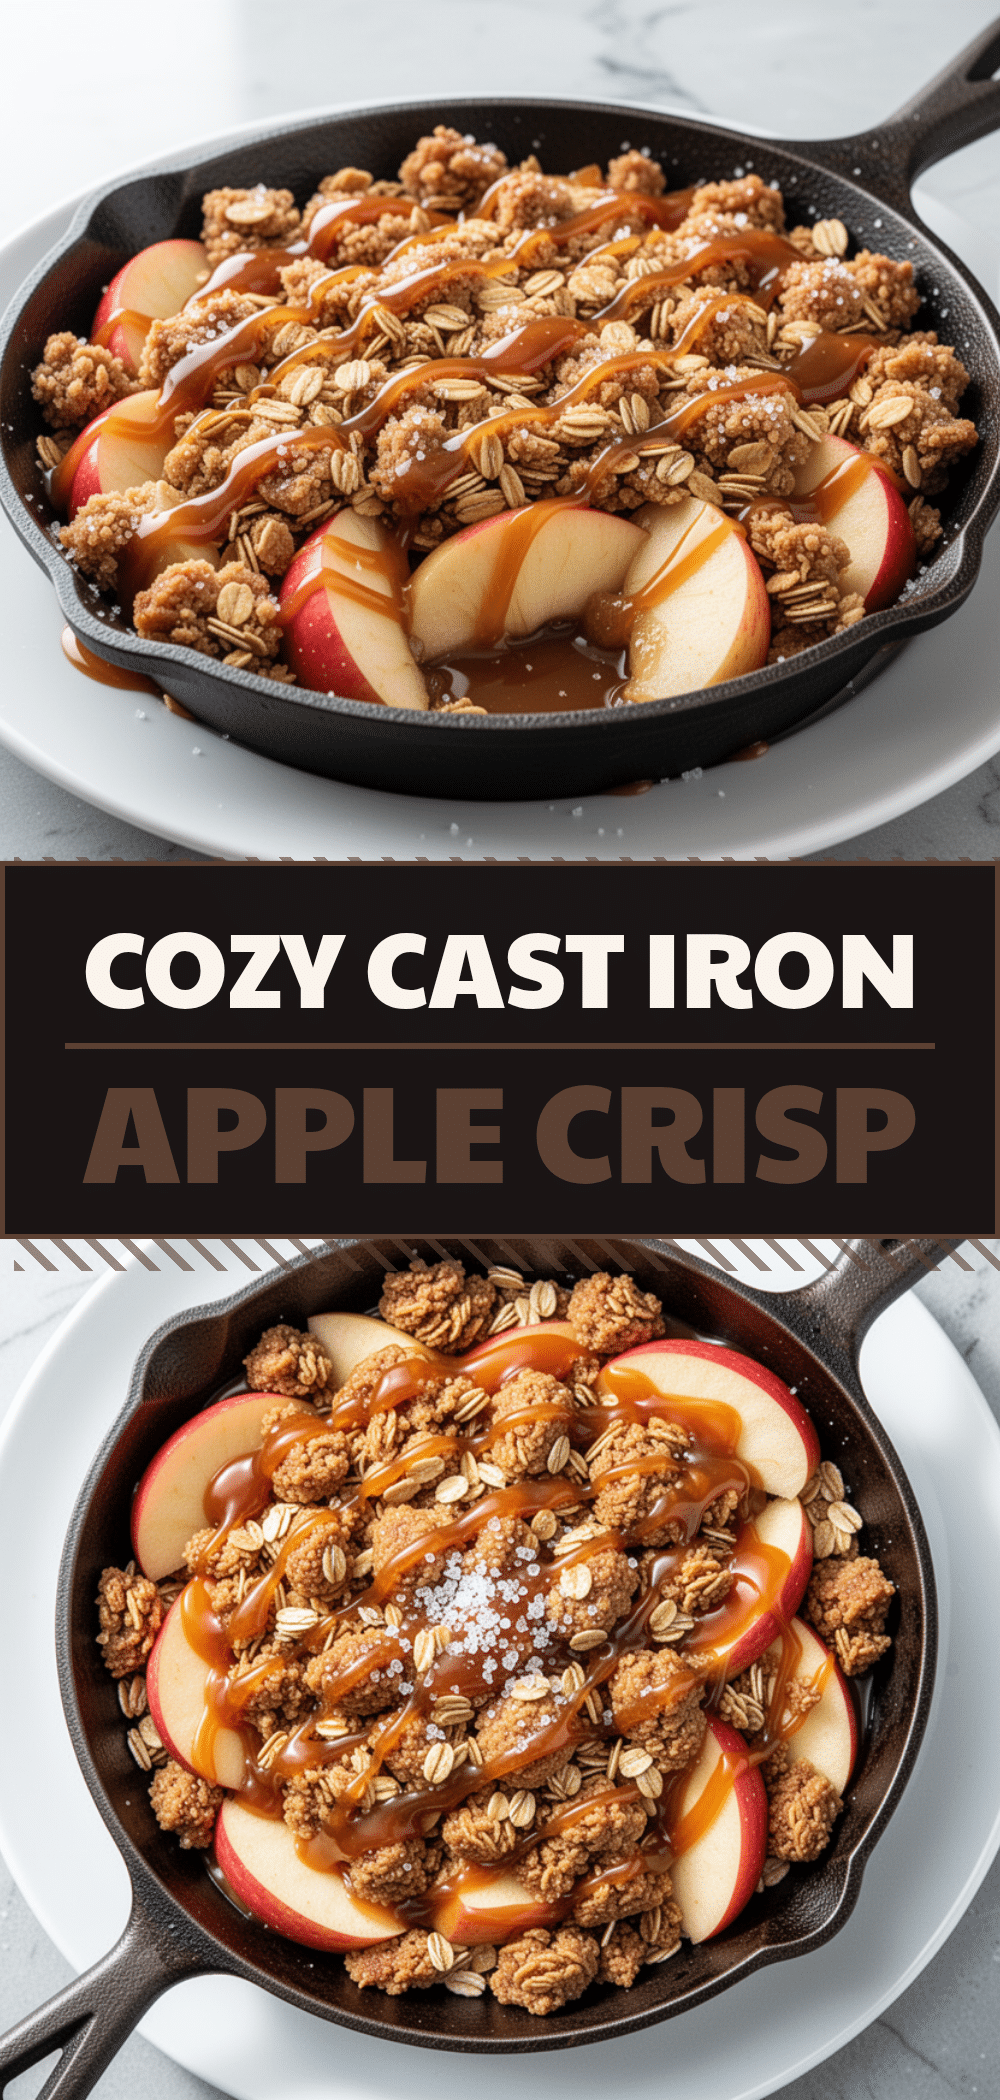

Apple Harvest Salted Caramel Skillet Crisp
- Total Time: 35 minutes
- Yield: 8 servings 1x
Description
A fast, one-skillet dessert featuring tender apples, a crunchy oat crumble topping, and a drizzle of salted caramel sauce. Perfect for busy weeknights and requiring minimal cleanup.
Ingredients
- 6 medium apples (about 2.5 lbs), peeled, cored, and sliced into ½-inch pieces (mix of Granny Smith and Honeycrisp recommended)
- ½ cup granulated sugar
- 2 tablespoons apple cider
- 1 teaspoon ground cinnamon
- ¼ teaspoon ground nutmeg
- 1 teaspoon pure vanilla extract
- 1 tablespoon lemon juice
- 1 cup all-purpose flour
- 1 cup old-fashioned rolled oats
- ½ cup packed brown sugar
- ½ cup cold unsalted butter, cubed
- ¼ teaspoon kosher salt
- ½ cup store-bought salted caramel sauce
- Flaky sea salt (optional, for garnish)
- ½ cup chopped pecans or walnuts (optional)
Instructions
- Preheat oven to 375°F (190°C).
- In a large mixing bowl, toss the sliced apples with granulated sugar, apple cider, cinnamon, nutmeg, vanilla extract, and lemon juice until evenly coated. Let sit for 5 minutes.
- In a separate small bowl, whisk together flour, rolled oats, brown sugar, and salt. Add the cold cubed butter and mix with your fingers or a pastry cutter until the mixture resembles coarse crumbs with some larger chunks. Stir in nuts if using.
- Transfer the apple mixture to a 10-12 inch cast-iron skillet or baking dish, spreading it out evenly. Pour any accumulated juices over the apples.
- Sprinkle the crumble topping evenly over the apples, leaving some gaps for the caramel to bubble through.
- Bake for 25-30 minutes, or until the topping is golden brown and the apples are tender. If the topping browns too quickly, cover loosely with foil for the last 10 minutes.
- While the crisp bakes, warm the salted caramel sauce in the microwave for 15-20 seconds until pourable.
- Remove the crisp from the oven and immediately drizzle the warm caramel over the top in a zig-zag pattern. Sprinkle with flaky sea salt if desired.
- Let cool for 5 minutes before serving to allow the filling to thicken. Serve warm with vanilla ice cream.
Notes
Use cold butter for the topping to ensure a crunchy texture. Do not skip the lemon juice as it balances the sweetness and prevents browning. Let the crisp cool for 5 minutes before serving to prevent the hot filling from burning your tongue. For a gluten-free version, use gluten-free flour and certified gluten-free oats. For a dairy-free version, use vegan butter and dairy-free caramel sauce.
- Prep Time: 10 minutes
- Cook Time: 25-30 minutes
- Category: Dessert
- Cuisine: American
Nutrition
- Serving Size: 1/8 of the skillet
- Calories: 380
- Sugar: 35
- Sodium: 120
- Fat: 16
- Saturated Fat: 8
- Carbohydrates: 55
- Fiber: 4
- Protein: 3
Keywords: apple crisp, skillet dessert, salted caramel, easy weeknight dessert, fall recipes, cast iron dessert, one pan dessert



