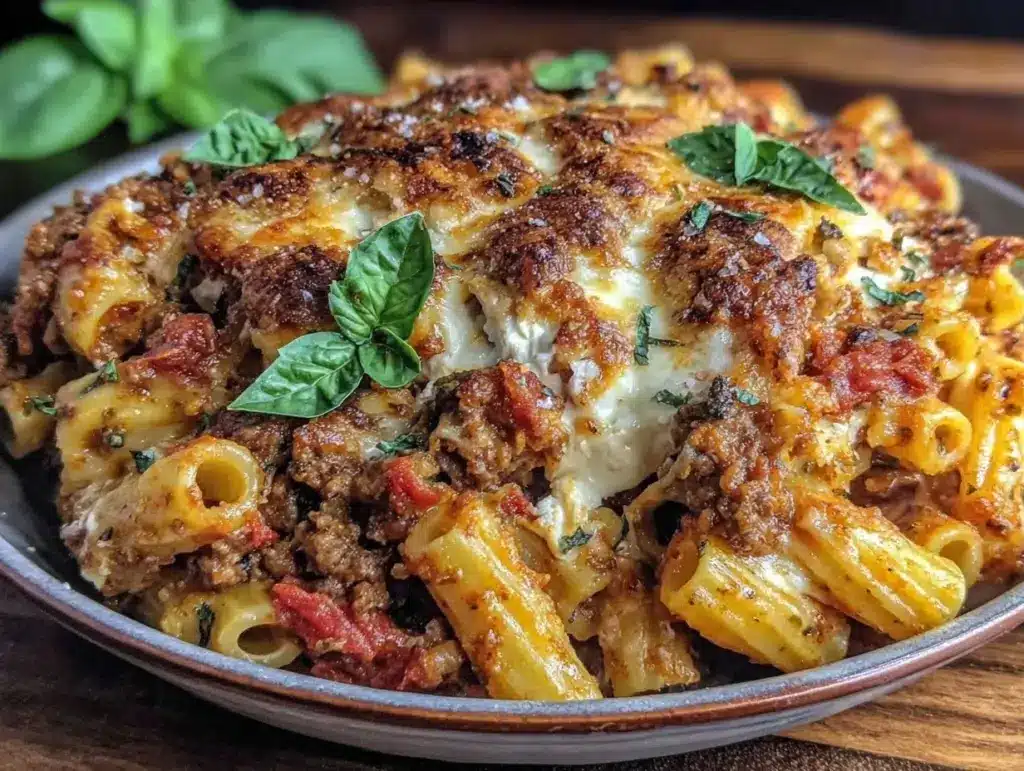
Three years ago, I was standing in my kitchen, staring at a box of gluten-free ziti that looked like it had been through a war zone. It was mushy. It was gummy. And when I pulled it out of the oven, the cheese had congealed into a rubbery sheet that I couldn’t even cut with a knife. My husband took one bite, politely set it down, and went to make a grilled cheese. That was the moment I realized: gluten-free baked ziti wasn’t just hard to make. It was impossible to make good—at least, not with the standard recipes floating around the internet.
I’ve spent the last three years obsessed with fixing this. I’ve tested over forty different brands of pasta. I’ve ruined dozens of pots of sauce. I’ve even tried swapping the cheese, the sauce, the cooking method, and the baking time. And I’m happy to report that I finally cracked the code. This gluten-free baked ziti recipe is the one that actually works. It’s creamy, it’s cheesy, it has that perfect crispy top, and best of all? It holds its structure. You can scoop it, serve it, and eat it without it collapsing into a starchy puddle.
But here’s the thing. The secret isn’t the pasta. It’s not even the cheese. The secret is what I call “The Sauce Thickening Trick.” It’s one small adjustment to your marinara that changes everything. It’s the difference between a watery mess and a rich, clinging comfort food that your whole family will fight over. If you’ve been giving up on baked ziti because of gluten sensitivity, or if you just want a lighter version of this classic, this is the recipe for you.
Why You’ll Love This Gluten-Free Baked Ziti
I’ve made this gluten-free baked ziti for everyone from my gluten-intolerant sister to my carb-obsessed college friends, and honestly? The gluten-free crowd loves it because it doesn’t taste like “diet” food. It tastes like dinner. Here’s why this recipe has earned a permanent spot in our weekly rotation:
It Actually Holds Together — Most gluten-free pasta turns to mush in the oven. Not this time. By using the sauce trick (more on that below), the pasta stays firm and distinct. You get that perfect scoopable texture, not a sticky blob.
Stupid Simple — You don’t need to boil the pasta first. You don’t need to make a bechamel. You just mix the sauce, the uncooked pasta, and the cheese in a dish and bake it. It’s a true one-dish wonder. I make this on Tuesday nights when I’m exhausted, and it still tastes like I spent all day in the kitchen.
Cheesy Without Being Heavy — Because the sauce is thicker and less watery, you don’t need as much cheese to get that rich, gooey pull. It’s indulgent without feeling like a dairy coma.
Meal Prep Friendly — This makes amazing leftovers. In fact, I often make it on Sunday, let it cool, and store it in the fridge. When I reheat a slice on Wednesday night, it tastes even better than fresh. It’s perfect for meal prep because it reheats beautifully in the microwave or oven.
Family-Approved — My kids are picky. They notice when food is “different.” But this? This tastes exactly like the baked ziti they used to eat before I knew about gluten issues. They ask for seconds. That’s the ultimate win.
So basically, if you want a dish that just works, feeds a crowd, and doesn’t require a degree in food science, this is it.
Ingredients You’ll Need
Here’s the best part: you probably have most of this already. I’m particular about three ingredients here, and I’ll tell you exactly why. The rest is pantry basics.
For the Pasta
Gluten-Free Ziti or Penne (12 oz / 340g) — I recommend a blend of brown rice and corn starch. Brands like Barilla or Tinkyada work well. Avoid the cheap, all-corn brands; they get too soft too fast. Look for a package that says “holds up well in baking.”
Water (6 cups / 1.4 liters) — You’ll need plenty of liquid for the sauce. This is where the “no-boil” magic happens.
For The Sauce (The Important Part)
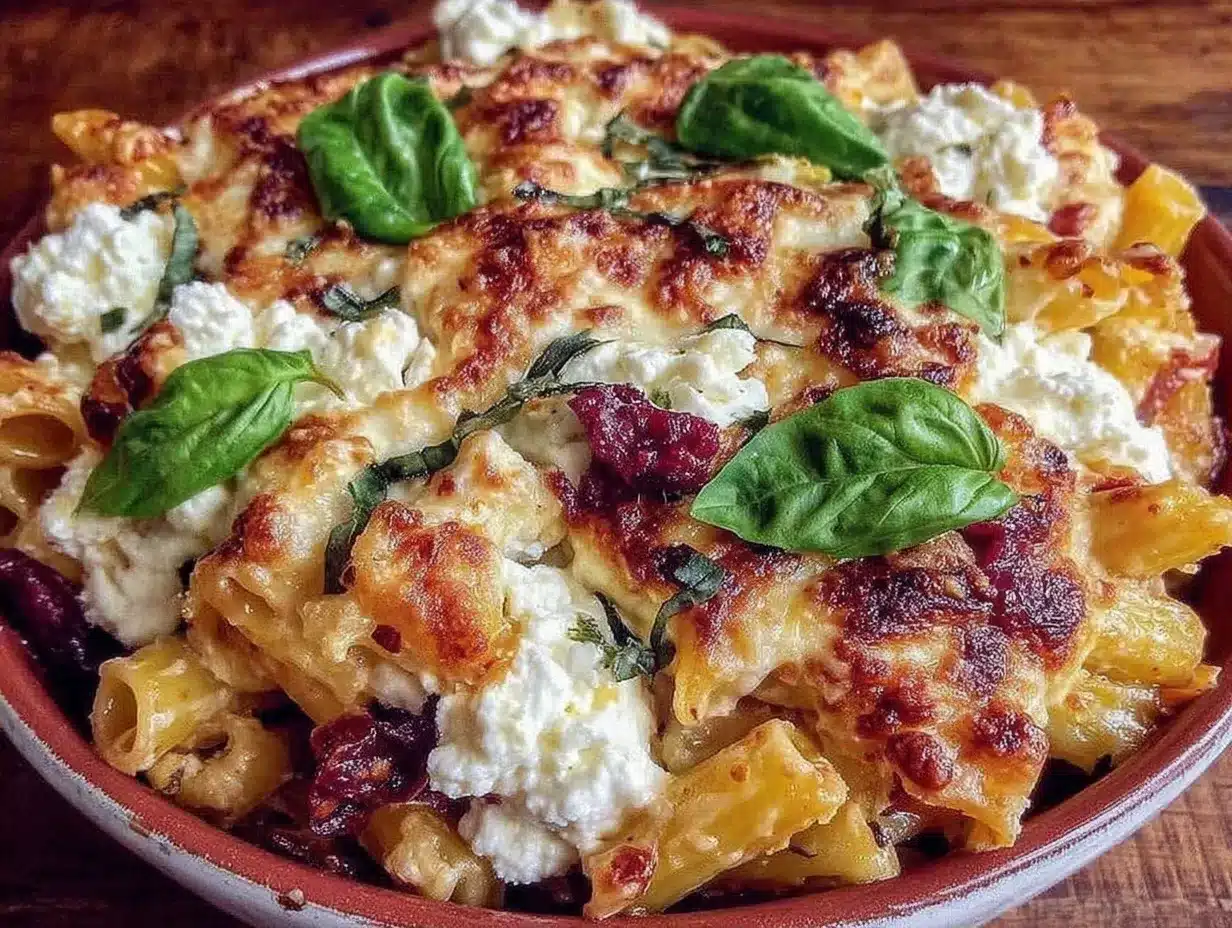
Marinara Sauce (24 oz / 680g) — Use a good quality jarred sauce or your favorite homemade one. I like Rao’s or Prego Robusto. Avoid the “light” versions; they’re too watery and thin. You want a sauce with some body.
Tomato Paste (2 tablespoons) — This is the secret weapon. It thickens the sauce and adds a deep, concentrated tomato flavor that balances the sweetness of the jarred sauce. It’s the key to preventing that watery mess.
Garlic (3 cloves, minced) — Fresh is non-negotiable here. Jarred garlic just doesn’t have the punch needed to cut through the richness.
Italian Seasoning (1 teaspoon) — Or use a mix of dried oregano and basil. It adds that classic herbal aroma.
Red Pepper Flakes (½ teaspoon) — Optional, but I love the little kick it adds. It wakes up the whole dish.
For the Cheese Topping
Mozzarella Cheese (2 cups / 225g, shredded) — Buy a block and shred it yourself. Pre-shredded mozzarella has cellulose in it to prevent clumping, and that stops it from melting smoothly. You want gooey, not grainy.
Parmesan Cheese (½ cup / 50g, grated) — Freshly grated Parmigiano-Reggiano adds a salty, nutty depth that cuts the richness. It’s worth the extra minute to grate it.
Fresh Basil (¼ cup, chopped) — Added at the end for brightness. Dried basil just doesn’t compare.
Equipment Needed
You don’t need fancy equipment for this. Here’s what I actually use:
9×13 Inch Baking Dish — A ceramic or glass dish works best. I use my trusty Pyrex. It needs to be deep enough to hold the pasta and sauce without spilling over.
Large Mixing Spoon — Something sturdy enough to stir the thick sauce and pasta together. A wooden spoon or silicone spatula works.
Box Grater — For the Parmesan. Microplane works too if you want it fine.
Measuring Cups and Spoons — Standard stuff. Dollar store versions work fine.
Aluminum Foil — To cover the dish while it bakes. This traps the steam and cooks the pasta evenly.
Optional but nice: A pizza cutter for slicing. It gives you cleaner squares than a knife.
How to Make It: Step-by-Step
Alright, let’s make this! I’m walking you through exactly how I do it, including the little tricks I’ve picked up. This is a one-dish wonder, so get ready to mix and bake.
Step 1: Preheat and Prep
Preheat your oven to 375°F (190°C). Grease your 9×13 inch baking dish with a little olive oil or non-stick spray. This prevents sticking and helps the bottom get slightly crispy.
Step 2: The Sauce Thickening Trick
This is the most important step. In a large bowl, combine the jarred marinara sauce, tomato paste, minced garlic, Italian seasoning, and red pepper flakes. Stir vigorously until the tomato paste is completely dissolved and the sauce is smooth and thick. Why this matters: The tomato paste absorbs excess moisture from the jarred sauce and the uncooked pasta, ensuring your final dish is creamy, not soupy. If you skip this, you’ll end up with a watery mess.
Step 3: Combine Pasta and Sauce
Add the dry, uncooked gluten-free ziti to the sauce. Pour in the 6 cups of water. Stir everything together until the pasta is fully submerged and coated in sauce. The mixture will look very liquidy at this point. Don’t panic. That’s supposed to happen.
Step 4: The First Bake (Covered)
Cover the baking dish tightly with aluminum foil. Make sure the foil is sealed well to trap the steam. Bake for 45 minutes. The steam will cook the pasta in the sauce. After 45 minutes, remove the dish from the oven and carefully peel back the foil (watch out for hot steam!). The pasta should be tender but still have a slight bite (al dente). If it’s still hard, bake for another 10 minutes.
Step 5: Add the Cheese
Remove the foil. Sprinkle the shredded mozzarella evenly over the top, followed by the grated Parmesan. You want a generous layer of cheese; this is the best part.
Step 6: The Second Bake (Uncovered)
Return the dish to the oven, uncovered, and bake for 15-20 minutes. You’re looking for the cheese to be bubbly and golden brown, with some crispy edges. If you want extra browning, you can broil for the last 2-3 minutes, but watch it closely so it doesn’t burn.
Step 7: Rest and Serve
Remove from the oven and let it rest for 10-15 minutes before slicing. This is crucial. It allows the sauce to thicken up and the pasta to set. If you cut into it immediately, it’ll be loose and messy. After resting, garnish with fresh basil and serve.
Expert Tips & Tricks
Here’s everything I’ve learned from making this dozens of times. These tips will save you from my mistakes.
The Sauce Trick is Non-Negotiable
I cannot stress this enough. The tomato paste is what makes the difference between a casserole and a soup. It’s a small ingredient, but it changes the texture completely. Don’t skip it.
Don’t Boil the Pasta
With gluten-free pasta, boiling it first often leads to mush. The “no-boil” method in the oven is gentler and more forgiving. The pasta cooks in the sauce, absorbing flavor as it goes.
Use Block Cheese
Pre-shredded cheese has anti-caking agents. These agents prevent the cheese from melting properly, leaving you with a greasy, grainy topping. Take the extra 2 minutes to shred your own mozzarella. Your taste buds will thank you.
Let It Rest
I know it’s tempting to dig in right away. But resting allows the sauce to reabsorb some of the liquid and thicken. It makes slicing much cleaner and the texture much better.
Common Mistakes
Mistake: Pasta is too hard. Fix: Bake covered for 10 more minutes. Ensure the foil is sealed tight.
Mistake: Sauce is too thick. Fix: Add a splash of water or broth before the final bake.
Mistake: Cheese is burnt. Fix: Lower the broil time or keep the dish further from the heating element.
Variations & Substitutions
Once you’ve nailed the basic version, here’s how you can mix it up. I’ve tried all of these.
Meat Lovers
Add 1 pound of ground Italian sausage or beef browned and drained before mixing with the sauce. It makes it heartier and more filling.
Veggie-Loaded
Sauté 1 cup of chopped spinach or zucchini and mix it into the sauce before adding the pasta. It adds nutrition without changing the flavor much.
Spicy Version
Add 1 teaspoon of crushed red pepper flakes and use spicy marinara sauce. Top with fresh jalapeños after baking.
Lighter Version
Use part-skim mozzarella and reduce the Parmesan to ¼ cup. It’s still good, just less rich.
Dietary Modifications
Gluten-Free: This recipe is already gluten-free as long as you use GF pasta and check your sauce label.
Dairy-Free: Use dairy-free mozzarella shreds and nutritional yeast instead of Parmesan. It’s not quite the same, but it works.
Vegan: Use vegan cheese shreds and tomato sauce without honey. Add nutritional yeast for flavor.
Serving & Storage
How to Serve:
I usually serve this straight from the baking dish at the dinner table. It looks rustic and stays warm. Pair it with a simple green salad and some garlic bread (gluten-free if needed) for a complete meal.
Storage:
Refrigerator: Store leftovers in an airtight container for up to 4 days. The sauce will thicken in the fridge, which is normal.
Reheating: Reheat in the microwave with a splash of water or milk to loosen the sauce. Or reheat in the oven at 350°F covered with foil for 20 minutes. It tastes great reheated.
Freezing: You can freeze this, but the texture of the pasta might change slightly. Thaw in the fridge overnight and reheat gently. It’s still good, just not quite as perfect as fresh.
Nutrition Information
I’m not a nutritionist, but here’s the breakdown if you’re tracking. Per serving (based on 8 servings):
| Nutrient | Amount |
|---|---|
| Calories | 380 |
| Protein | 18g |
| Carbs | 45g |
| Fiber | 3g |
| Fat | 15g |
| Sodium | 650mg |
Look, this is comfort food. It’s not a diet recipe. But it’s way better than takeout, costs less, and I know exactly what’s in it. When I want to make it lighter, I use the part-skim cheese version and load up on vegetables. But usually? I just eat a reasonable portion and enjoy it.
Final Thoughts
So that’s my go-to gluten-free baked ziti! I’ve probably talked your ear off at this point, but when you make a recipe this often, you have a lot to say about it. This has saved weeknight dinners more times than I can count. It’s my answer to “what’s for dinner” when I’m tired, don’t want takeout, and still want something that tastes really good. My kids are happy, my husband’s happy, and I’m happy because I’m not stressed about cooking.
Make it yours! Try different add-ins, swap in your favorite vegetables, adjust the garlic (though more is always better in my opinion). The best recipes are the ones you adapt to your family’s tastes. If you make this, drop a comment and let me know what you think! I love hearing how recipes turn out in your kitchen. And if something doesn’t work, tell me that too—I’m here to help troubleshoot.
Happy cooking! And I hope your kitchen smells half as good as mine does right now.
Frequently Asked Questions
Q: Can I use regular pasta instead of gluten-free?
A: Absolutely! If you use regular pasta, you’ll need to boil it first until al dente, then mix it with the sauce and cheese. The baking time will be shorter, about 20-25 minutes covered, then 10-15 uncovered. Gluten-free pasta needs more liquid and time to cook, which is why the no-boil method works best for it.
Q: Why did my sauce come out watery?
A: Usually means you skipped the tomato paste or used a “light” marinara sauce. The tomato paste is crucial for thickening. Also, make sure you let the dish rest for 10-15 minutes after baking. The sauce thickens as it cools.
Q: Can I make this ahead for a dinner party?
A: Yes! Assemble the dish up to 24 hours ahead, cover, and refrigerate. When ready to bake, add 10-15 minutes to the covered baking time since it’s starting cold. It’s a great way to reduce stress during parties.
Q: Why did my cheese separate or look greasy?
A: This usually happens if you use pre-shredded cheese. The anti-caking agents prevent proper melting. Shred your own cheese from a block, and make sure you don’t overbake it. High heat can cause cheese to break.
Q: Can I add meat to this?
A: Yes! Brown 1 pound of ground beef, turkey, or Italian sausage before mixing it into the sauce. Drain any excess fat first. It adds a nice savory depth to the dish.
Q: How do I reheat leftovers without it getting dry?
A: Add a splash of water or milk to the leftover portion before reheating. This helps loosen the sauce and keeps the pasta moist. Microwave in 30-second intervals, stirring in between.
Q: Can I freeze this?
A: You can, but the texture of the gluten-free pasta might change slightly. It’s best eaten fresh or refrigerated. If you do freeze it, thaw in the fridge overnight and reheat gently.
Pin This Recipe!
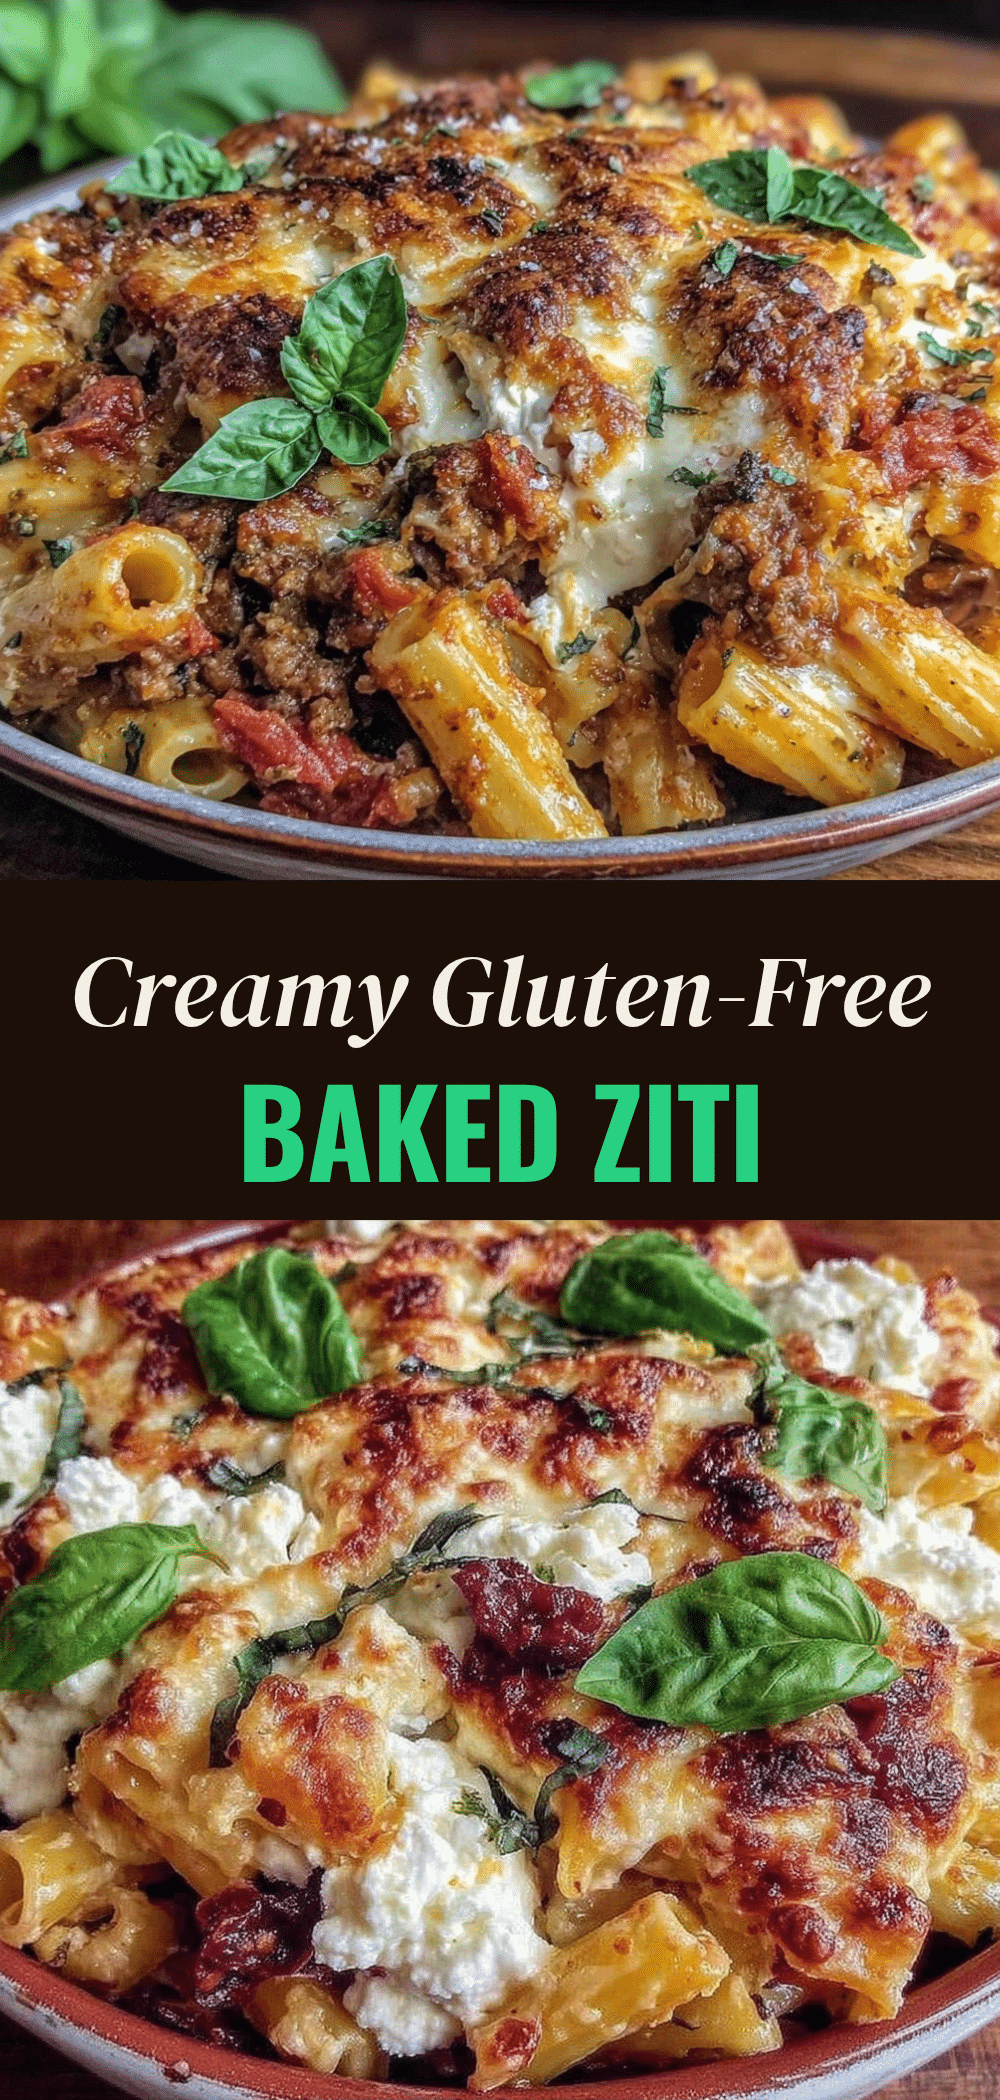
Gluten-Free Baked Ziti: One Sauce Trick
- Total Time: 75 minutes
- Yield: 8 servings 1x
Description
A creamy, cheesy, and structure-holding gluten-free baked ziti that uses a ‘sauce thickening trick’ with tomato paste to prevent mushiness. This no-boil method results in a perfect scoopable texture with a crispy top.
Ingredients
- 12 oz (340g) Gluten-Free Ziti or Penne (blend of brown rice and corn starch recommended)
- 6 cups (1.4 liters) Water
- 24 oz (680g) Marinara Sauce (good quality, not light versions)
- 2 tablespoons Tomato Paste
- 3 cloves Garlic, minced
- 1 teaspoon Italian Seasoning (or dried oregano and basil)
- 1/2 teaspoon Red Pepper Flakes (optional)
- 2 cups (225g) Mozzarella Cheese, shredded from a block
- 1/2 cup (50g) Parmesan Cheese, freshly grated
- 1/4 cup Fresh Basil, chopped
- Olive oil or non-stick spray for greasing dish
Instructions
- Preheat oven to 375°F (190°C). Grease a 9×13 inch baking dish with olive oil or non-stick spray.
- In a large bowl, combine marinara sauce, tomato paste, minced garlic, Italian seasoning, and red pepper flakes. Stir vigorously until the tomato paste is completely dissolved and the sauce is smooth and thick.
- Add the dry, uncooked gluten-free ziti to the sauce mixture. Pour in the 6 cups of water. Stir until the pasta is fully submerged and coated. The mixture will look liquidy.
- Cover the baking dish tightly with aluminum foil to trap steam. Bake covered for 45 minutes.
- Remove from oven and carefully peel back the foil. Check pasta tenderness; if still hard, bake covered for another 10 minutes.
- Sprinkle shredded mozzarella and grated Parmesan evenly over the top.
- Return to oven uncovered and bake for 15-20 minutes until cheese is bubbly and golden brown. Optionally broil for 2-3 minutes for extra browning.
- Remove from oven and let rest for 10-15 minutes before slicing to allow sauce to thicken.
- Garnish with fresh basil and serve.
Notes
The tomato paste is crucial for thickening the sauce and preventing a watery mess. Do not boil the gluten-free pasta beforehand as it can turn to mush. Always shred your own mozzarella from a block to avoid anti-caking agents that prevent smooth melting. Letting the dish rest for 10-15 minutes after baking is essential for clean slicing and proper texture.
- Prep Time: 15 minutes
- Cook Time: 60 minutes
- Category: Main Course
- Cuisine: Italian
Nutrition
- Serving Size: 1 slice
- Calories: 380
- Sodium: 650
- Fat: 15
- Carbohydrates: 45
- Fiber: 3
- Protein: 18
Keywords: gluten-free baked ziti, no-boil pasta, gluten-free dinner, one-dish meal, creamy baked ziti, family-friendly recipes



