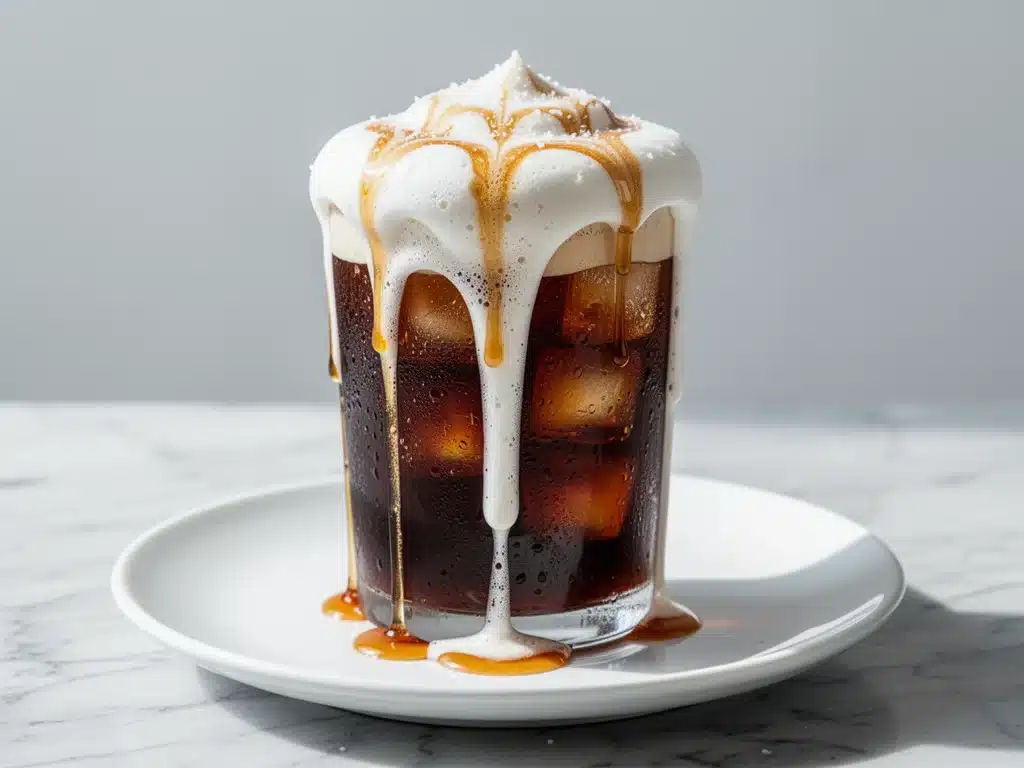
There is a specific kind of magic that happens when the air turns crisp and the leaves start to crunch underfoot. For me, that transition always means one thing: it’s time to trade my usual morning coffee ritual for something warmer, sweeter, and infinitely more comforting. Last October, I was standing in my kitchen while the wind rattled the windows, trying to decide if I wanted to brave the drive-thru line or actually make something that tasted like autumn. I didn’t want syrupy, cloying sweetness. I wanted something that tasted like the season itself—earthy, rich, and just a little bit salty.
That morning, I threw together what I thought would be a mediocre iced coffee with a splash of maple syrup. Ten minutes later, I added a dollop of what I’d jokingly called “salted cream foam” because I was out of whipped cream. The result was so good that I nearly spilled it on my white shirt in my excitement. I’ve been making this Fall Maple Brown Sugar Cold Brew with Salted Cream Foam every single week since. It’s become my new autumn anchor, the drink that signals the start of cozy sweaters, pumpkin spice lattes (the real deal, not the fake stuff), and slow mornings.
What I love most about this recipe is how simple it is, yet how impressive it tastes. You don’t need an espresso machine or a barista degree. You just need cold brew, a few pantry staples, and about five minutes of your time. It’s the kind of drink that makes you feel like you’re at a high-end café, but costs pennies and tastes infinitely better because it’s made with real ingredients. I’ve tested this with different types of coffee, different milks, and even different salts, and I’ve finally landed on the perfect balance. It’s sweet but not too sweet, creamy but not heavy, and absolutely perfect for sipping while watching the leaves fall.
Why You’ll Love This Recipe
This drink has completely changed my morning routine. I used to rush out the door with a gas station coffee or skip breakfast entirely because I didn’t have time for a proper meal. Now, I take five minutes to make this, and it feels like a genuine treat rather than a caffeine fix. Here’s why this cold brew recipe has earned a permanent spot in my kitchen:
Stupid Simple — Seriously, if you can boil water and stir, you can make this. I’ve made this for my teenage son over FaceTime while he was at college, and he nailed it on the first try. There are no complex techniques, just layering flavors.
Lightning Fast — Once your cold brew is ready (which you can make ahead), this drink takes exactly five minutes to assemble. I make this on busy weekday mornings when I’m running late but still want something special.
Pantry-Friendly — You probably have 80% of these ingredients already. Brown sugar, maple syrup, heavy cream, and salt are staples in my house. I keep them stocked specifically so I can make this on a whim.
Crowd-Pleaser — I’ve served this to my coffee-snob friend who usually only drinks black pour-over, and my tea-loving sister who claims she “doesn’t like coffee.” Both asked for the recipe. It’s that universally appealing.
Seasonal Comfort — There’s nothing quite like the taste of maple and brown sugar in the fall. It’s nostalgic and warm, even when it’s served ice cold. It feels like a hug in a glass.
Budget-Smart — Making this at home costs less than $1 per serving. That’s a fraction of what you’d pay at a coffee shop for a similar drink, and you control the sweetness and salt levels.
This is my go-to when I need a morning pick-me-up that doesn’t feel guilty. No complicated gadgets, no weird ingredients, just reliable, delicious flavor that starts your day right.
Ingredients You’ll Need
Here’s the best part: this recipe looks like it belongs in a specialty coffee shop, but the ingredients are incredibly basic. I’m particular about three things here—the coffee, the sweetener, and the cream—and I’ll tell you exactly why they matter.
For the Cold Brew Base
Cold brew coffee concentrate (2 cups / 480ml) — This is the foundation. You can buy it, but I make my own because it’s cheaper and tastes fresher. Use a medium or dark roast for the best flavor. If you don’t have cold brew concentrate, you can use strong brewed coffee that has been cooled to room temperature, but concentrate is smoother and less acidic.
Water (1 cup / 240ml, optional) — If your cold brew is very strong, you might want to dilute it slightly with cold water. Taste it first! I like it bold, but if you’re sensitive to caffeine, dilute it more.
For the Maple Brown Sugar Syrup
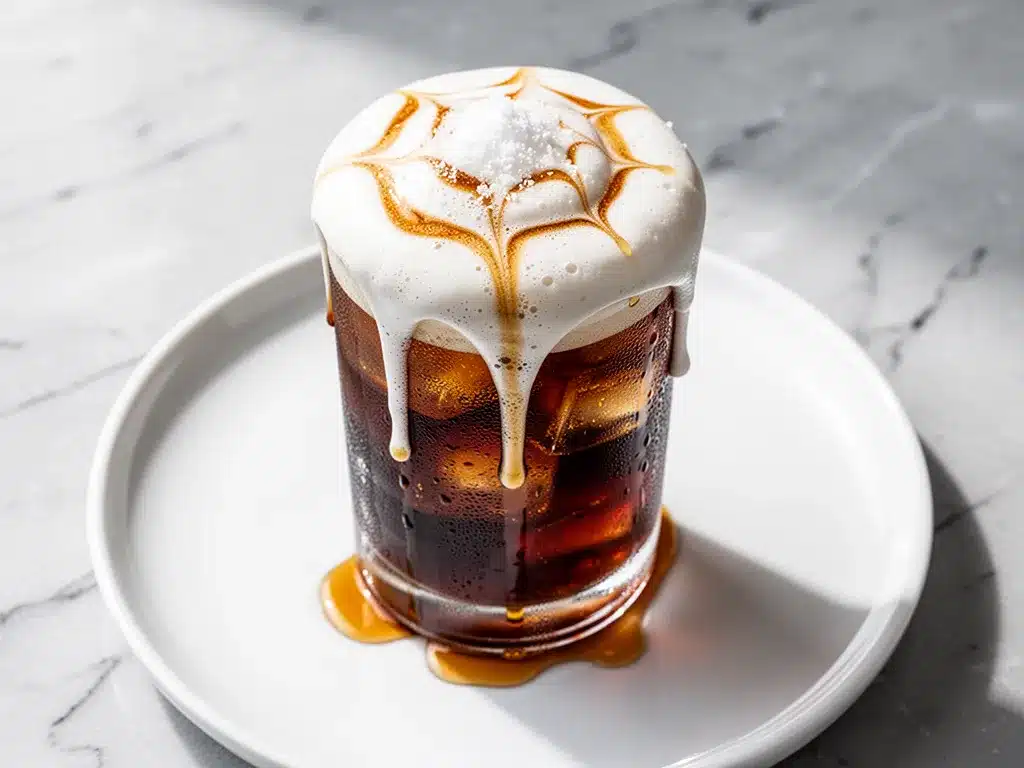
Dark brown sugar (3 tablespoons / 45g) — Don’t use light brown sugar here. Dark brown has more molasses, which gives that deep, caramel-like flavor that pairs perfectly with coffee. It’s the key to that rich autumn taste.
Maple syrup (2 tablespoons / 30ml) — Use real maple syrup, not pancake syrup. The grade doesn’t matter much, but Grade A Dark or Grade B has a stronger flavor that stands up to the coffee. This adds a floral, earthy sweetness that brown sugar alone can’t achieve.
Vanilla extract (1 teaspoon / 5ml) — Pure vanilla extract, not imitation. It rounds out the sweetness and adds a subtle aroma that makes the drink smell amazing.
For the Salted Cream Foam
Heavy cream (¼ cup / 60ml) — Full-fat is non-negotiable here. You need enough fat to create that thick, luxurious foam. Half-and-half won’t whip up properly. If you’re dairy-free, you can use full-fat coconut cream, but the flavor will be different.
Salted butter (1 teaspoon / 5g) — This is the secret ingredient. Melting a tiny bit of salted butter into the cream adds a richness that mimics the mouthfeel of a latte. It sounds weird, but trust me.
Flaky sea salt (¼ teaspoon) — Use Maldon or any flaky sea salt. It provides that crucial salty contrast to the sweet cream. If you only have table salt, use half the amount, as it’s much saltier.
Optional Add-ins
- Cinnamon (a pinch) — Dust it on top for extra aroma.
- Whipped cream — If you want it extra decadent, top with whipped cream before adding the salted foam.
Personal Tips: I always make a batch of cold brew on Sunday nights using a French press. It lasts in the fridge for up to two weeks, so I’m never without it. For the syrup, I mix it cold—no need to heat it unless you’re in a rush. Just whisk it vigorously until the sugar dissolves.
Equipment Needed
You don’t need fancy equipment for this. Here’s what I actually use, and what you can swap out.
Cold brew maker or French press — I use a French press because I already own one. It’s simple and effective. If you have a dedicated cold brew maker, great. Just ensure you have a fine mesh filter to catch the grounds.
Small mixing bowl — For whisking the brown sugar syrup. A ramekin works too.
Whisk — A small balloon whisk is perfect for dissolving the sugar. A fork works in a pinch, but it takes longer.
Handheld milk frother or small blender — To create the salted cream foam. I use a cheap handheld frother, but a small blender or even shaking the cream in a jar vigorously works too.
Large glass or mason jar — To serve. I love seeing the layers in a clear glass. It makes the drink look Instagram-worthy.
Measuring spoons — Pretty standard stuff. Dollar store versions work fine for this.
Ice cubes — You’ll need a good amount to keep the drink cold. Large ice cubes melt slower, which is nice, but standard cubes work too.
Optional but nice:
- Cinnamon grinder — Freshly ground cinnamon on top is amazing.
- Straw — Essential for getting all the layers in one sip.
How to Make It: Step-by-Step
Alright, let’s make this! I’m walking you through exactly how I do it, including the little tricks I’ve picked up to ensure that perfect balance of sweet and salty.
Step 1: Make the Maple Brown Sugar Syrup (2 minutes)
In a small bowl, combine the dark brown sugar, maple syrup, and vanilla extract. Whisk them together vigorously until the mixture is smooth and the sugar has mostly dissolved. It will be thick and pourable. If it’s too thick to stir, add a teaspoon of warm water and whisk again. Set it aside. You can make this ahead and store it in the fridge for up to two weeks.
Step 2: Prepare the Salted Cream Foam (3 minutes)
In a small bowl or jar, combine the heavy cream and the melted salted butter. Using a handheld frother, whisk until the cream thickens and forms soft peaks. It should be like a loose whipped cream—thick enough to float on top of the coffee, but fluid enough to pour. Sprinkle the flaky sea salt evenly over the top. Do not stir the salt in yet; you want those salty flecks on top.
Step 3: Assemble the Cold Brew (2 minutes)
Fill a large glass to the top with ice cubes. Pour in the cold brew concentrate until the glass is about ¾ full. If your concentrate is very strong, add a splash of cold water now. Drizzle the maple brown sugar syrup over the ice and coffee. Use a spoon to gently stir it, ensuring the sweetness is distributed throughout the drink. You’ll see the syrup swirl into the coffee, creating beautiful marbled patterns.
Step 4: Top with Foam and Serve
Slowly pour the salted cream foam over the back of a spoon onto the surface of the coffee. This helps it float on top rather than mixing in immediately. The foam should sit like a cloud on top of the dark coffee. Dust with a tiny pinch of cinnamon if you like. Serve immediately with a long straw so you can sip the layers together.
Total Time: About 5 minutes (assuming cold brew is ready).
Built-in Troubleshooting:
- Syrund too thick? Add a little more maple syrup or warm water.
- Foam too runny? Make sure your cream was very cold. Cold cream whips better.
- Too sweet? Reduce the brown sugar to 2 tablespoons.
Expert Tips & Tricks
Here’s everything I’ve learned from making this dozens of times. These tips will save you from my early mistakes.
Use Real Maple Syrup
This is the #1 tip. Fake maple syrup is just corn syrup with flavoring, and it tastes artificial. Real maple syrup has depth and complexity that complements the coffee. I always check the label to ensure it says “100% Pure Maple Syrup.”
Cold Cream is Key
For the best foam, keep your heavy cream in the fridge until the very last minute. Cold cream whips faster and holds its structure better. If you’re in a rush, you can chill your bowl in the freezer for 10 minutes before whipping.
Don’t Skip the Salt
The salt isn’t just for flavor; it cuts through the sweetness and enhances the coffee’s natural notes. It’s what makes this drink taste sophisticated rather than just like a dessert. Use flaky salt for the best texture and visual appeal.
Make Ahead Syrup
I often double or triple the syrup recipe and store it in a jar in the fridge. It keeps for weeks, so I can just grab a spoonful when I need a quick coffee. It saves me time on busy mornings.
Customize the Sweetness
Everyone’s taste is different. Start with the suggested amounts, taste, and adjust. I like it sweet, so I use a bit more syrup. If you prefer less sweet, reduce the brown sugar and rely more on the maple syrup for flavor.
Variations & Substitutions
Once you’ve nailed the basic version, here’s how you can mix it up. I’ve tried all of these.
Iced Latte Version
Replace half the cold brew with steamed milk (cooled) for a creamier, milkier drink. This is closer to a traditional iced latte but with the maple brown sugar twist.
Spicy Maple Version
Add a pinch of cayenne pepper or a dash of cinnamon to the syrup. The heat pairs surprisingly well with the maple and coffee, creating a cozy, warming effect even when cold.
Coconut Dairy-Free Version
Use full-fat coconut cream instead of heavy cream, and maple syrup instead of brown sugar (or keep the brown sugar, it’s vegan). Use coconut oil instead of butter. It’s rich and tropical, but still delicious.
Espresso Shot Boost
Add a shot of hot espresso to the cold brew for an extra caffeine kick. This is great for those days when you need a double boost. Let the espresso cool slightly before adding to avoid melting the ice too fast.
Decaf Option
Use decaf cold brew concentrate. All the flavor, none of the jitters. Perfect for afternoon sipping.
Serving & Storage
How to Serve:
I usually serve this in a tall glass with a reusable straw. It looks beautiful with the layers of dark coffee, amber syrup, and white foam. Garnish with a cinnamon stick or a few coffee beans for a fancy touch.
Side Dishes:
This drink pairs perfectly with breakfast pastries, like my soft batch snickerdoodle cookies or a slice of brown butter salted caramel blondies. It’s also great with a simple avocado toast or a bowl of granola.
Storage Instructions:
Store the cold brew concentrate in the fridge for up to two weeks. The maple brown sugar syrup keeps for up to two weeks in the fridge. The salted cream foam is best made fresh, but you can store it in an airtight container for a few hours if needed. Re-whip before serving.
Reheating:
This is a cold drink, so no reheating needed. But if you want a hot version, use hot coffee and warm the cream mixture slightly. It’s basically a hot latte with maple brown sugar foam.
Nutrition Information
I’m not a nutritionist, but here’s the breakdown if you’re tracking. This is a treat, so enjoy it mindfully.
Per Serving (based on 1 drink):
- Calories: 280
- Protein: 3g
- Carbs: 22g
- Fiber: 0g
- Sugar: 20g
- Fat: 18g
- Saturated Fat: 11g
- Cholesterol: 50mg
- Sodium: 150mg
What’s Good:
- Real ingredients with no artificial flavors.
- Provides a quick energy boost from caffeine and sugar.
- Can be adjusted for lower sugar by reducing syrup.
What to Know:
- Higher in calories due to heavy cream and sugar.
- Contains dairy.
- Moderate sodium from the salted butter and cream.
My Take:
Look, this is a coffee treat with cream and sugar. It’s not a diet drink. But it’s way better than store-bought versions, costs less, and you control the ingredients. When I want to make it lighter, I use less syrup and skim milk foam. But usually? I just enjoy it as a special morning ritual.
Final Thoughts
So that’s my Fall Maple Brown Sugar Cold Brew with Salted Cream Foam! I’ve probably talked your ear off at this point, but when you make a recipe this often, you have a lot to say about it.
This drink has saved my mornings more times than I can count. It’s my answer to “what do I want to drink” when I’m craving something sweet but also need caffeine. My kids love it, my husband loves it, and I love it because it makes me feel like I’m treating myself every day.
Make it yours! Try different coffees, adjust the sweetness, or add your favorite spices. The best recipes are the ones you adapt to your tastes. If you make this, drop a comment and let me know what you think! I love hearing how recipes turn out in your kitchen. And if something doesn’t work, tell me that too—I’m here to help troubleshoot.
Happy sipping! And I hope your kitchen smells half as good as mine does right now.
Frequently Asked Questions
Can I use regular coffee instead of cold brew?
You can, but the flavor will be different. Regular brewed coffee can be more acidic and bitter. If you use regular coffee, let it cool completely to room temperature before adding ice. Cold brew is smoother and less acidic, which pairs better with the sweet syrup and cream. If you must use regular coffee, consider using a dark roast for a richer flavor.
Why did my cream foam separate?
This usually happens if the cream was too warm or if you over-whipped it. Make sure your heavy cream is very cold. Also, don’t whip it into stiff peaks; you want soft, loose peaks that are still pourable. If it separates, try adding a splash of cold milk and whisking gently to bring it back together.
Can I make this ahead for a party?
Yes! You can make the cold brew and the syrup ahead of time. Store them in the fridge. When guests arrive, assemble the drinks by adding ice, coffee, syrup, and fresh foam. The foam is best made fresh, but you can make it up to an hour ahead and store it in the fridge. Just give it a gentle whisk before serving.
Is this recipe vegan?
The standard recipe uses dairy, but you can easily make it vegan. Use plant-based cold brew (most are naturally vegan), maple syrup (which is vegan), and full-fat coconut cream for the foam. Skip the butter or use a vegan butter alternative. The flavor will be slightly different but still delicious.
How long does cold brew last?
Cold brew concentrate lasts in the fridge for up to two weeks. After that, it may start to taste stale or develop off-flavors. If you’re making it in large batches, consider freezing it in ice cube trays for later use. The syrup lasts for two weeks in the fridge.
Can I use brown sugar instead of maple syrup?
You can, but the flavor will be different. Brown sugar alone is more molasses-heavy and less complex than maple syrup. If you use only brown sugar, you might want to add a teaspoon of vanilla extract to round out the flavor. But the combination of brown sugar and maple syrup is what gives this drink its unique taste.
What kind of salt works best?
Flaky sea salt, like Maldon, is best because it provides a nice crunch and visual appeal. If you only have table salt or kosher salt, use less, as they are saltier and don’t have the same texture. A little goes a long way, so start with a pinch and add more if needed.
Pin This Recipe!
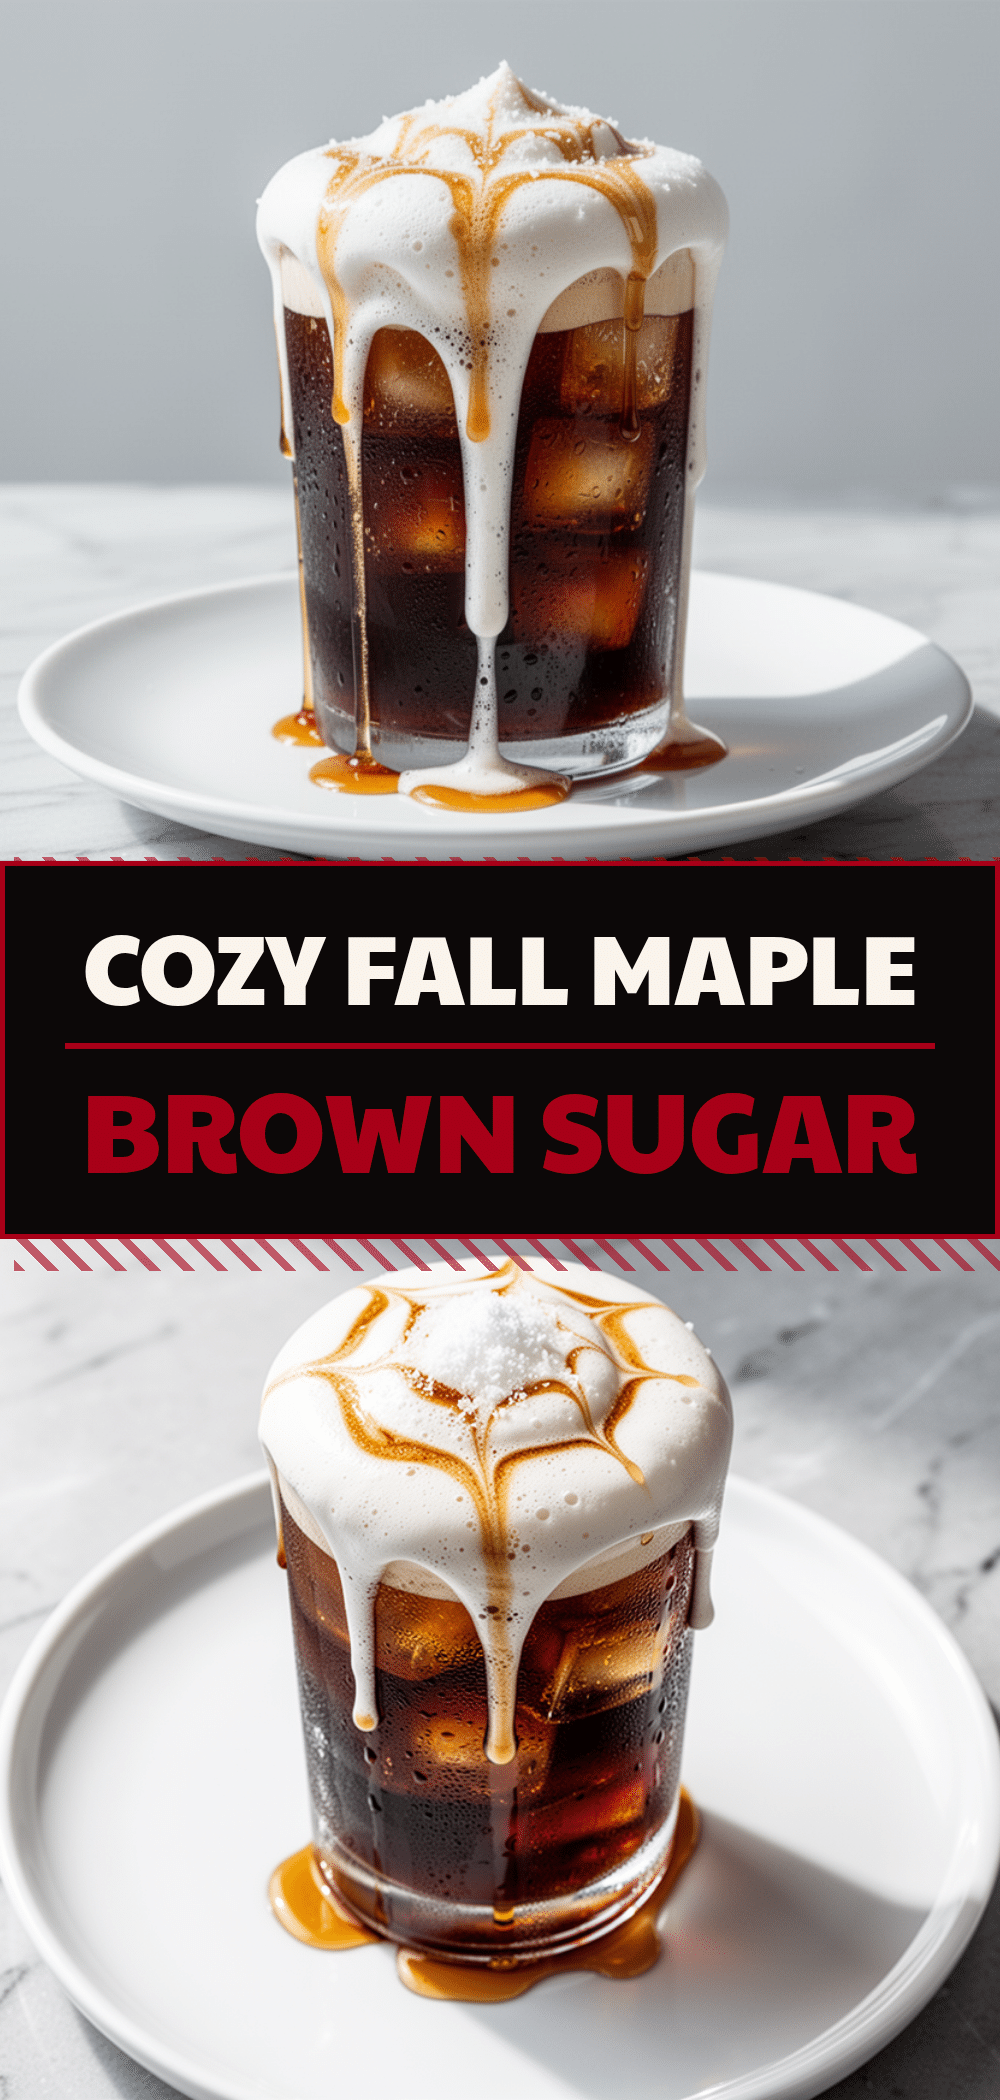
Fall Maple Brown Sugar Cold Brew with Salted Cream Foam
- Total Time: 5 minutes
- Yield: 1 serving 1x
Description
A simple, 5-minute autumn-inspired iced coffee drink featuring a rich cold brew base, homemade maple brown sugar syrup, and a luxurious salted cream foam topping.
Ingredients
- 2 cups (480ml) cold brew coffee concentrate
- 1 cup (240ml) water (optional, for dilution)
- 3 tablespoons (45g) dark brown sugar
- 2 tablespoons (30ml) pure maple syrup
- 1 teaspoon (5ml) pure vanilla extract
- 1/4 cup (60ml) heavy cream, very cold
- 1 teaspoon (5g) salted butter, melted
- 1/4 teaspoon flaky sea salt
- Ice cubes
- Pinch of cinnamon (optional, for garnish)
Instructions
- In a small bowl, combine the dark brown sugar, maple syrup, and vanilla extract. Whisk vigorously until the mixture is smooth and the sugar has mostly dissolved. Set aside.
- In a separate small bowl or jar, combine the cold heavy cream and melted salted butter. Using a handheld frother or whisk, beat until the cream thickens and forms soft, loose peaks. It should be pourable but thick enough to float.
- Sprinkle the flaky sea salt evenly over the top of the cream foam. Do not stir the salt in.
- Fill a large glass to the top with ice cubes.
- Pour the cold brew concentrate into the glass until it is about 3/4 full. Add water if the concentrate is too strong.
- Drizzle the maple brown sugar syrup over the ice and coffee. Gently stir to distribute the sweetness.
- Slowly pour the salted cream foam over the back of a spoon onto the surface of the coffee to create a layered effect.
- Dust with a pinch of cinnamon if desired. Serve immediately with a long straw.
Notes
Ensure heavy cream is very cold for best whipping results. The syrup can be made ahead and stored in the fridge for up to two weeks. For a dairy-free version, substitute heavy cream with full-fat coconut cream and butter with coconut oil. If the syrup is too thick, add a teaspoon of warm water.
- Prep Time: 5 minutes
- Cook Time: 0 minutes
- Category: Beverage
- Cuisine: American
Nutrition
- Serving Size: 1 tall glass
- Calories: 280
- Sugar: 20
- Sodium: 150
- Fat: 18
- Saturated Fat: 11
- Carbohydrates: 22
- Protein: 3
Keywords: fall drink, cold brew, maple syrup, brown sugar, salted cream foam, iced coffee, autumn recipe, easy drink, seasonal coffee



