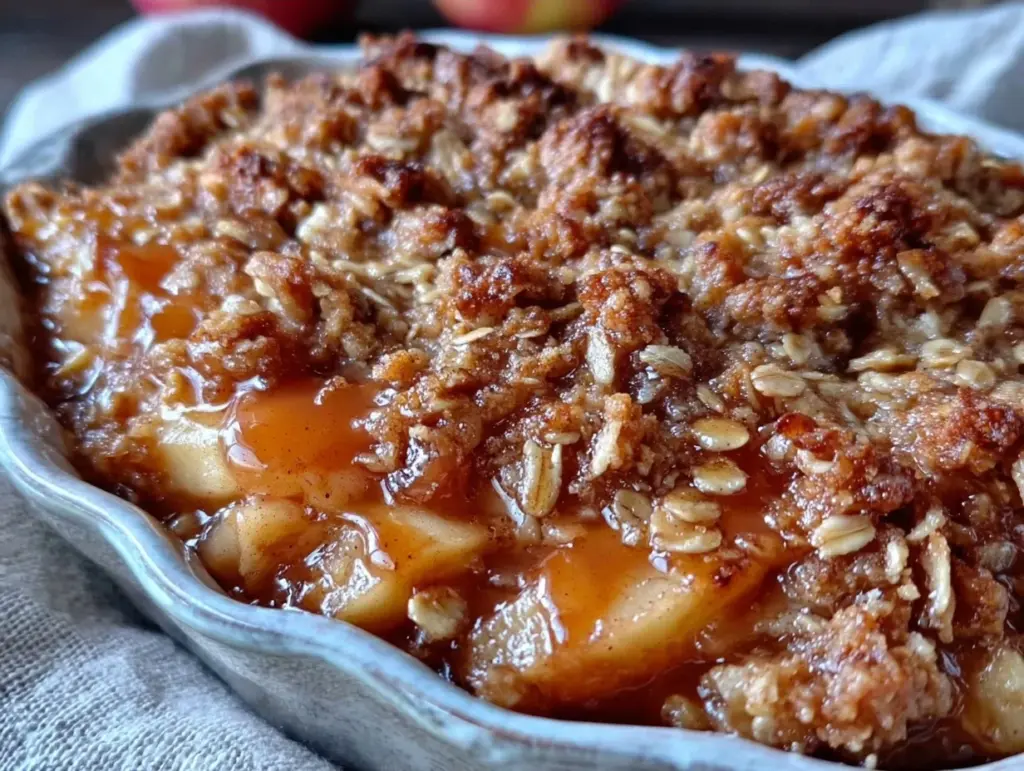
My grandmother’s kitchen in October had a specific smell. It wasn’t just cinnamon or apples. It was the smell of brown butter toasting in a heavy cast-iron skillet, mixed with the sharp, clean scent of Honeycrisp apples being peeled. She made this crisp every single weekend from late September through November. And honestly? She never changed the recipe. Not once.
I used to think I needed to add cardamom, or maybe throw in some dried cherries, or swap the oats for crushed graham crackers. I spent years trying to “improve” her version. But here’s the thing: her version was already perfect. The beauty of a good apple crisp isn’t in complexity. It’s in the ratio. It’s in having that one perfect topping that crunches when you dig in, while the apples underneath are soft, sweet, and barely spiced.
This Fall Honeycrisp Apple Crisp is exactly that. It’s the only apple dessert you need when the weather turns crisp and you want something that tastes like a hug. It’s forgiving. It’s simple. You really can’t mess this up. I’ve made this for potlucks, for date nights, and for quiet Sunday mornings when I just want to sit on the porch with a mug of cider. Every single time, it comes out golden, bubbly, and absolutely delicious.
If you’re looking for a show-stopping dessert with fifty steps, this isn’t it. But if you want a dessert that feels like home, tastes like autumn, and requires almost zero effort, keep reading. I’m going to walk you through the exact method that works every time, using ingredients you probably already have.
Why You’ll Love This Honeycrisp Apple Crisp
There are a hundred apple crisp recipes out there. Most of them are overcomplicated. This one strips away the fuss and focuses on what actually matters: flavor and texture. Here’s why this recipe has become my go-to when I want to bake something comforting without stressing.
It Uses One Bowl (Mostly) — Seriously. You mix the dry topping in one bowl. You toss the apples in a separate bowl or directly in the baking dish. That’s it. No fancy equipment, no stand mixer, no complicated techniques. If you can stir, you can make this.
Honeycrisps Are Non-Negotiable (But Easy to Find) — I’m picky about apples for crisps. Granny Smiths are too tart and hold their shape too much. Gala apples turn to mush. Honeycrisps are the Goldilocks of baking apples. They’re sweet, slightly tart, and they break down just enough to create that juicy sauce without disappearing completely. Plus, they’re everywhere in the fall.
The Topping Is Actually Crispy — So many crisps end up soggy. Not this one. The trick is the brown sugar and the butter ratio. It bakes up into little golden clusters that shatter when you hit them with a spoon. It’s the best part. I usually fight my family for the last crispy bit.
It’s Naturally Gluten-Free (If You Want) — The base is just apples. The topping uses oats. If you use certified gluten-free oats, this whole dessert is safe for gluten-sensitive friends. No need to buy expensive almond flour or xanthan gum. Just simple, clean ingredients.
It Tastes Better the Next Day — I know, I know, fresh-out-of-the-oven is best. But let’s be real: crisps are the ultimate leftovers. The flavors meld overnight. The sauce thickens. I often make this on Sunday night and eat it for breakfast with ice cream on Monday morning. Don’t judge me.
This recipe is for anyone who wants to feel like a good baker without the stress. It’s beginner-proof. It’s forgiving. And it tastes like you spent hours in the kitchen, even though you’ll be done in 45 minutes.
Ingredients You’ll Need
Here’s the best part: this recipe uses pantry staples and fresh fruit. You don’t need a special trip to the store. Here’s what you’ll need to make the perfect Fall Honeycrisp Apple Crisp.
For the Filling
Honeycrisp Apples (6 to 7 medium / about 2.5 lbs / 1.1 kg) — These are the stars. Peel them, core them, and slice them into ¼-inch wedges. Don’t go too thin, or they’ll vanish. Don’t go too thick, and they’ll stay crunchy. Honeycrisps are sweet and juicy. If you can’t find them, a mix of Gala and Granny Smith works, but Honeycrisps are my favorite for that balance.
Granulated Sugar (2 tablespoons / 25g) — Just a little bit. Honeycrisps are naturally sweet, so you don’t need much. This helps draw out the juices to create that sauce.
Lemon Juice (1 tablespoon / 15ml) — Fresh squeezed is best. It brightens the flavor and stops the apples from browning while you’re prepping. It’s a small detail that makes a big difference.
Cinnamon (1 teaspoon / 2g) — Ground cinnamon. Don’t use the stick unless you want to fish it out later. This is the classic fall flavor.
Nutmeg (¼ teaspoon / pinch) — Optional, but I love it. Just a pinch adds warmth. If you don’t have it, skip it. The cinnamon is strong enough on its own.
Cornstarch (1 tablespoon / 8g) — This is the secret weapon. It thickens the apple juices so you get a luscious sauce instead of watery apples. Don’t skip it.
For the Topping
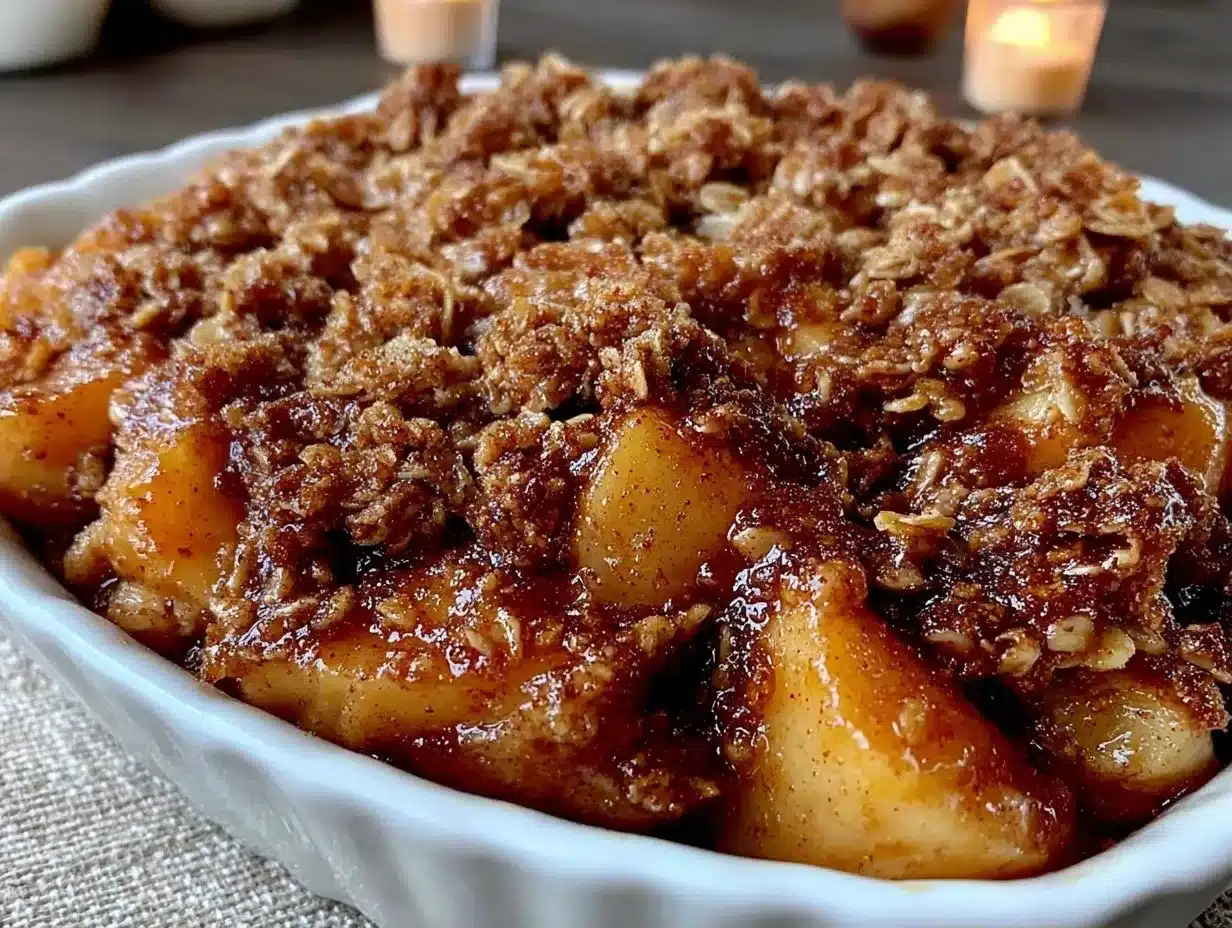
Old-Fashioned Rolled Oats (1 cup / 90g) — Not quick oats. Quick oats turn to mush. You need the heartiness of rolled oats for that crunch. If you’re making this gluten-free, use certified GF oats.
All-Purpose Flour (1 cup / 125g) — This binds the topping together. It creates those little clusters. If you’re doing a gluten-free version, swap this for a 1:1 gluten-free flour blend.
Brown Sugar (1 cup / 200g, packed) — Light or dark, it doesn’t matter. Dark brown has a deeper molasses flavor, which I love. This gives the topping its caramel taste.
Cold Unsalted Butter (½ cup / 113g, cubed) — This is crucial. The butter must be cold. Cut it into small cubes. When you rub it into the dry ingredients, it creates little pockets of fat that melt in the oven, creating flaky, crispy bits. If the butter is soft, the topping will be dense and cake-like. Cold butter = crispy topping.
Cinnamon (1 teaspoon / 2g) — Double the cinnamon. The topping needs to be spicy.
Salt (½ teaspoon / 3g) — Just a pinch to balance the sweetness. Don’t skip it.
Vanilla Extract (1 teaspoon / 5ml) — Optional, but it adds a nice depth. I always add it.
For Serving (Optional but Recommended)
Vanilla Ice Cream — Cold vanilla bean ice cream is the traditional pairing. The hot crisp and cold ice cream is a texture dream.
Whipped Cream — If you’re feeling fancy, add a dollop of freshly whipped cream.
Warm Cider — Serve with a mug of spiced apple cider on the side. It completes the autumn vibe.
Equipment Needed
You don’t need anything fancy. Here’s what I use, and what you can swap.
9×9 Inch Baking Dish — This is the standard size for crisps. It gives the apples the right depth. If you only have an 8×8, it’ll work, but the topping might be thicker. If you have a 10×10, the apples will be thinner, and it’ll cook faster. I prefer the 9×9 for that perfect ratio.
Large Mixing Bowl — For tossing the apples. A big bowl gives you room to coat everything evenly without spilling.
Medium Mixing Bowl — For the topping. Any size that fits your oats and flour will do.
Pastry Cutter or Fork — To cut the butter into the flour/oat mixture. I use my hands sometimes, but a fork is cleaner and helps keep the butter cold. A pastry cutter is ideal if you have one.
Peeler and Knife — To prep the apples. A Y-peeler is faster, but a paring knife works fine if you’re careful.
Chef’s Knife — For slicing the apples. Uniform slices are key so they cook evenly.
Measuring Cups and Spoons — Standard stuff. Level off your dry ingredients for accuracy.
How to Make It: Step-by-Step
Alright, let’s make this! I’m walking you through exactly how I do it. It’s simple, but there are a few tricks to ensure that crispy topping and tender apples.
Step 1: Prep the Oven and Dish (5 minutes)
Preheat your oven to 375°F (190°C). This is the sweet spot for baking apples—hot enough to cook them through but not so hot that the topping burns before the apples soften. Grease your 9×9 inch baking dish with a little butter or non-stick spray. You don’t need to go crazy, just a light coat.
Step 2: Prep the Apples (10 minutes)
Peel, core, and slice the Honeycrisp apples. Aim for ¼-inch thick wedges. Throw them into your large mixing bowl. Sprinkle with the granulated sugar, lemon juice, cinnamon, nutmeg, and cornstarch. Toss everything together until the apples are evenly coated. The cornstarch will turn cloudy, which is normal. Let them sit for a few minutes while you make the topping. This helps the sugar draw out the juices.
Step 3: Make the Topping (5 minutes)
In your medium bowl, whisk together the rolled oats, flour, brown sugar, cinnamon, and salt. Add the cold, cubed butter. Now, here’s the important part: use your fingers, a fork, or a pastry cutter to rub the butter into the dry ingredients. You’re looking for a crumbly texture with some larger clumps. Don’t overmix. You want distinct pieces of butter and oat clusters. If it looks like wet sand, you’re good. If it looks like a paste, you’ve worked it too much.
Step 4: Assemble (2 minutes)
Pour the apple mixture into your prepared baking dish. Spread it out evenly. Then, sprinkle the topping mixture over the apples. Try to distribute it evenly, but don’t press it down. Let it sit loose and crumbly. This airiness is what makes it crispy. If you have any vanilla extract, drizzle it over the topping now.
Step 5: Bake (40-45 minutes)
Place the dish in the preheated oven. Bake for 40-45 minutes. You’ll know it’s done when the topping is golden brown and the apples are bubbling vigorously around the edges. The sauce should be thick and syrupy, not watery. If the topping starts getting too dark before the apples are tender, cover the dish loosely with aluminum foil for the last 10 minutes.
Step 6: Cool and Serve (15 minutes)
Let the crisp cool for at least 15 minutes before serving. This is the hardest part, I know. But cooling allows the sauce to thicken. If you cut into it immediately, the sauce will run everywhere. Once it’s cool enough to touch, scoop it into bowls. Top with vanilla ice cream if you’re feeling indulgent.
Expert Tips & Tricks
Here’s everything I’ve learned from making this dozens of times. These tips will save you from common mistakes.
Keep the Butter Cold — I can’t stress this enough. Warm butter = dense topping. Cold butter = crispy clusters. Cube the butter straight from the fridge, and don’t let it sit out while you prep the apples. If your kitchen is hot, put the butter back in the fridge for 5 minutes before adding it to the dry mix.
Don’t Skimp on the Cornstarch — Apples release a lot of water. Without the cornstarch, you’ll have a puddle of juice at the bottom. The cornstarch creates that luscious, spoonable sauce. If you’re out, you can use arrowroot powder or tapioca starch, but cornstarch is the most reliable.
Use a Heavy Dish — A glass Pyrex dish is great because you can see the browning. But a ceramic or metal dish works too. Just make sure it’s oven-safe. Avoid thin, flimsy dishes that might warp.
Adjust for Apple Juiciness — Some Honeycrisps are juicier than others. If your apples seem particularly wet after tossing, add an extra teaspoon of cornstarch. If they seem dry, add a tablespoon of water to the bowl.
Let It Cool — I know it’s tempting. But cooling is part of the process. The structure sets, and the flavors meld. Rushing this step leads to a soupy dessert.
Variations & Substitutions
Once you’ve nailed the basic version, here’s how you can mix it up. I’ve tried all of these.
Add Nuts — Stir ½ cup of chopped pecans or walnuts into the topping mixture. It adds a nice crunch and earthy flavor. Pecans are classic with apples.
Maple Syrup Swap — Replace half the brown sugar with pure maple syrup. It gives a deeper, woodsy sweetness. Just reduce the butter by a tablespoon so the topping doesn’t get too greasy.
Spice It Up — Add a pinch of ginger, allspice, or cardamom to the topping. It changes the flavor profile slightly but keeps it autumnal.
Gluten-Free — Use certified gluten-free rolled oats and a 1:1 gluten-free flour blend. Everything else is naturally gluten-free. The texture will be slightly different but still delicious.
Dairy-Free — Use vegan butter sticks (cold!) instead of regular butter. The topping will still crisp up. Serve with dairy-free ice cream.
Different Apples — If you can’t find Honeycrisps, use a mix of Granny Smith and Fuji. The Granny Smith provides tartness and structure, while the Fuji adds sweetness. Avoid Red Delicious—they don’t bake well.
Serving & Storage
This crisp is best served warm, straight from the oven. But it stores well, too.
Refrigerator — Store leftovers in an airtight container for up to 4 days. The topping might soften slightly, but the flavor remains great. Reheat in the microwave for 30-60 seconds, or in the oven at 350°F for 10 minutes to crisp up the topping.
Freezing — You can freeze the baked crisp for up to 3 months. Wrap the dish tightly in plastic wrap and then foil. Thaw in the fridge overnight and reheat in the oven. Or, you can freeze the unbaked crisp. Prep it, cover tightly, and freeze. Bake straight from the freezer, adding 10-15 minutes to the baking time.
Serving Suggestions — I always serve this with a scoop of vanilla ice cream. The contrast of hot and cold is perfect. A simple green salad or a glass of red wine also pairs well if you’re serving this as part of a larger meal. It’s also great alongside a cup of hot coffee or tea.
Nutrition Information
I’m not a nutritionist, but here’s the breakdown if you’re tracking. This is a treat, so enjoy it mindfully.
Per Serving (based on 8 servings):
- Calories: 280
- Protein: 3g
- Carbs: 48g
- Fiber: 4g
- Sugar: 28g
- Fat: 9g
- Saturated Fat: 5g
- Cholesterol: 20mg
- Sodium: 120mg
What’s Good: Decent fiber from the oats and apples. Vitamin C from the apples. Natural sugars from the fruit.
What to Know: Higher in sugar from the brown sugar and apples. Contains dairy (unless swapped). Contains gluten (unless GF oats/flour used).
My Take: Look, this is a dessert. It’s sweet, it’s comforting, and it’s made with butter and sugar. It’s not a health food. But it’s made with real fruit and whole grains (oats), so it’s not all empty calories. When I make it, I usually have a small square with a little ice cream. It’s perfect.
Final Thoughts
So that’s my Fall Honeycrisp Apple Crisp! It’s simple, it’s delicious, and it’s the only apple dessert you really need this season. I’ve made this for friends, for family, and for myself on quiet nights. It never fails to bring a smile to my face.
This recipe has saved me from baking disasters more times than I can count. It’s my answer to “what should I bake?” when I want something comforting but don’t have hours to spare. My family loves it, and I hope you do too.
Make it yours! Add nuts, swap the spices, or serve it with your favorite ice cream. The best recipes are the ones you adapt to your tastes. If you make this, drop a comment and let me know what you think! I love hearing how recipes turn out in your kitchen. And if something doesn’t work, tell me that too—I’m here to help troubleshoot.
Happy baking! And I hope your kitchen smells half as good as mine does right now.
Frequently Asked Questions
Can I use frozen apples?
You can, but thawed frozen apples can be watery. If you use them, drain the excess liquid before adding the cornstarch. Fresh apples are always better for texture, but frozen works in a pinch. Just be aware the topping might get soggy if there’s too much liquid.
Why is my apple crisp soupy?
This usually means you didn’t use enough cornstarch or you didn’t bake it long enough. Apples release a lot of juice. Make sure you’re using 1 tablespoon of cornstarch per 6-7 apples. Also, let it cool for at least 15 minutes before serving. The sauce needs time to thicken.
Can I make this ahead of time?
Yes! You can prep the apples and the topping separately and store them in the fridge for up to 24 hours. Assemble and bake when you’re ready. Or, bake it fully, let it cool, and reheat it later. The flavor is still great the next day.
Why did my topping turn out soggy?
This often happens if the butter was too warm or if you pressed the topping down too much. Make sure the butter is cold and cubed. Also, don’t stir the topping into the apples. Just sprinkle it on top. The airiness is key to crispiness.
Can I use quick oats instead of rolled oats?
I don’t recommend it. Quick oats are thinner and will turn into a mushy paste when baked. Rolled oats provide the necessary texture and crunch. If you only have quick oats, you can pulse them in a food processor a few times to make them chunkier, but rolled oats are best.
How do I reheat leftovers?
The microwave is easiest for a single serving. Heat for 30-60 seconds. For the whole dish, reheat in the oven at 350°F for 10-15 minutes. This helps crisp up the topping again. If the topping looks dry, sprinkle a tiny bit of water on it before reheating.
Can I double this recipe?
Absolutely! Double all ingredients and use a 9×13 inch baking dish. The baking time might increase by 5-10 minutes. Keep an eye on the browning. If the topping gets too dark, cover it with foil.
Is this recipe gluten-free?
Not by default, as it contains flour. But you can easily make it gluten-free by using certified gluten-free rolled oats and a 1:1 gluten-free flour blend. Everything else is naturally gluten-free. Just double-check your oat packaging to ensure they’re certified GF.
Pin This Recipe!
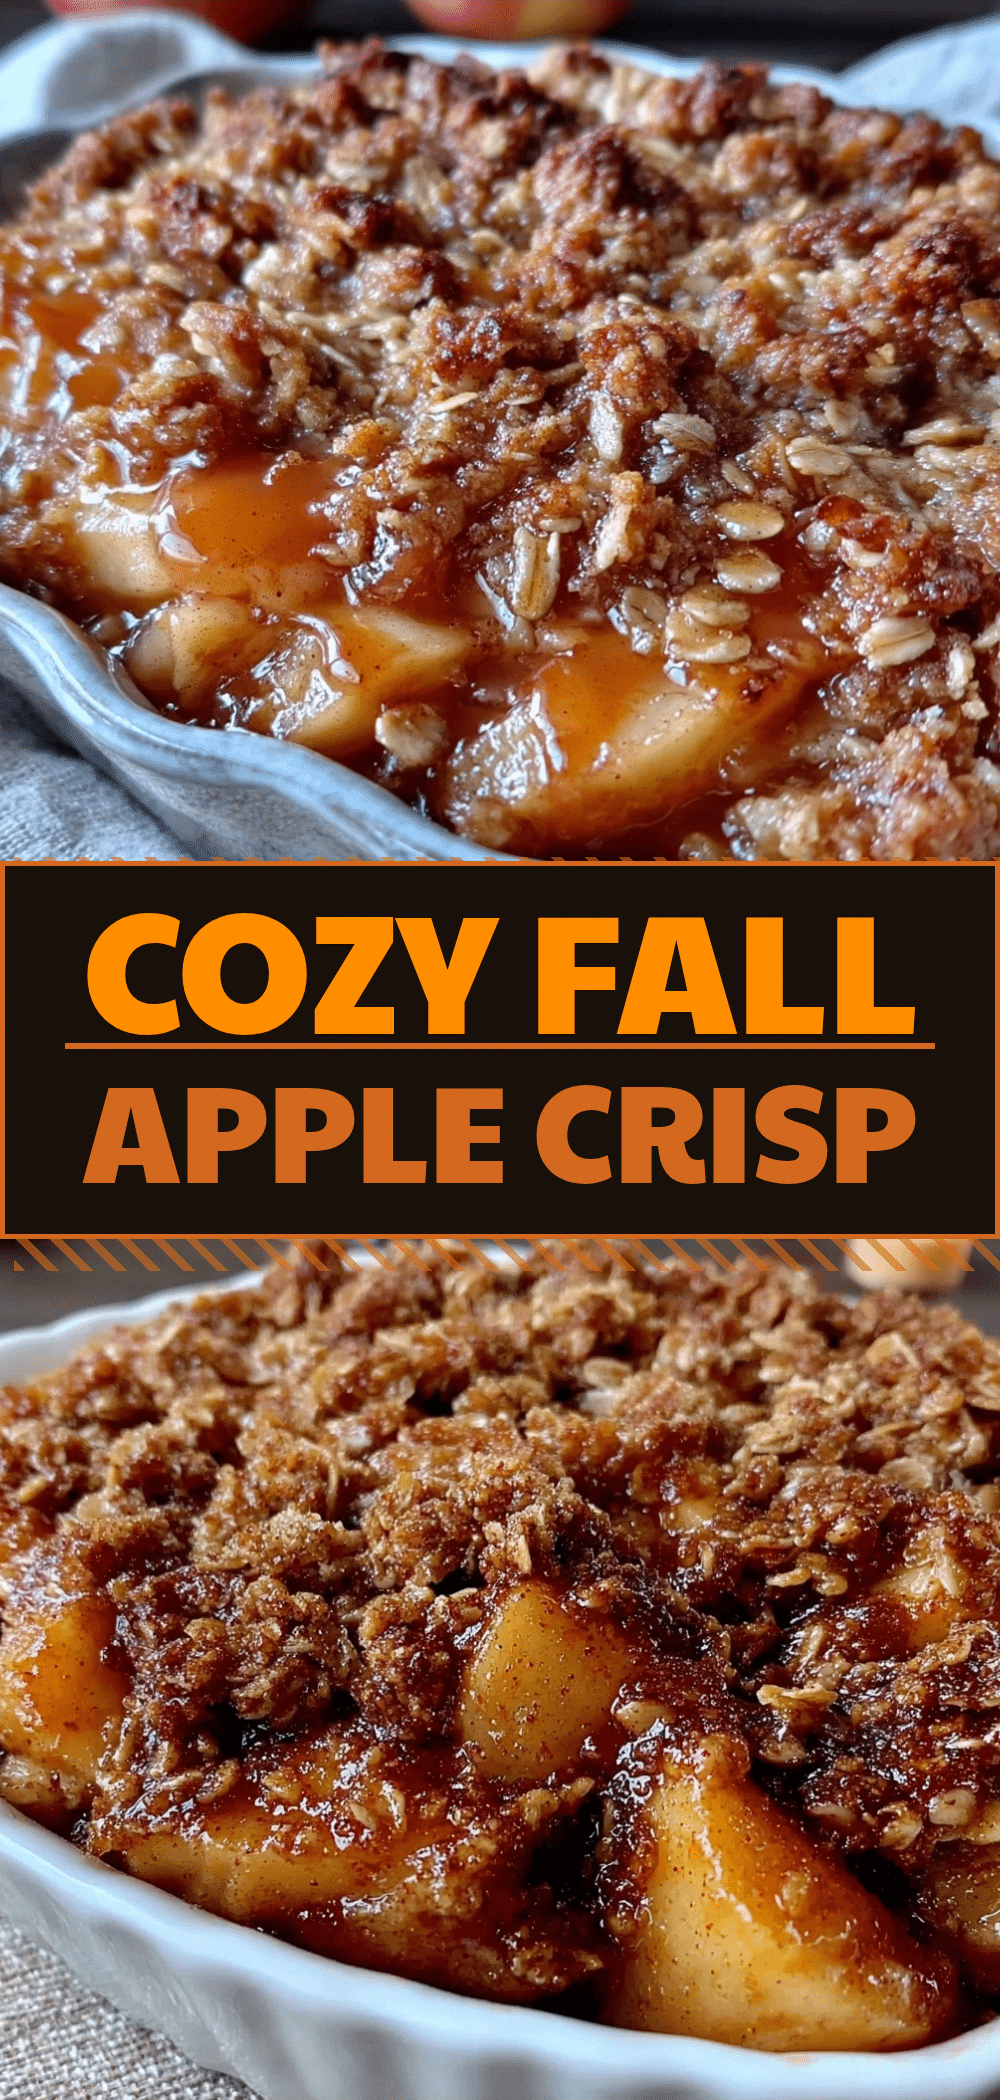
Fall Honeycrisp Apple Crisp: The Only 1 Recipe You Need
- Total Time: 65 minutes
- Yield: 8 servings 1x
Description
A simple, forgiving, and delicious apple crisp recipe featuring Honeycrisp apples and a buttery, crispy oat topping. This dessert is easy to make, tastes like autumn, and can be adapted to be gluten-free or dairy-free.
Ingredients
- 6 to 7 medium Honeycrisp apples (about 2.5 lbs / 1.1 kg), peeled, cored, and sliced into ¼-inch wedges
- 2 tablespoons granulated sugar
- 1 tablespoon fresh lemon juice
- 1 teaspoon ground cinnamon
- ¼ teaspoon nutmeg (optional)
- 1 tablespoon cornstarch
- 1 cup old-fashioned rolled oats
- 1 cup all-purpose flour
- 1 cup packed brown sugar
- ½ cup cold unsalted butter, cubed
- 1 teaspoon ground cinnamon
- ½ teaspoon salt
- 1 teaspoon vanilla extract (optional)
Instructions
- Preheat oven to 375°F (190°C). Grease a 9×9 inch baking dish with butter or non-stick spray.
- In a large mixing bowl, toss the sliced apples with granulated sugar, lemon juice, 1 teaspoon cinnamon, nutmeg, and cornstarch until evenly coated. Let sit for a few minutes.
- In a medium bowl, whisk together rolled oats, flour, brown sugar, 1 teaspoon cinnamon, and salt.
- Add the cold, cubed butter to the dry topping ingredients. Use your fingers, a fork, or a pastry cutter to rub the butter into the mixture until it resembles wet sand with some larger clumps.
- Pour the apple mixture into the prepared baking dish and spread evenly. Sprinkle the topping mixture over the apples, distributing it evenly without pressing down. Drizzle with vanilla extract if using.
- Bake for 40-45 minutes, or until the topping is golden brown and the apples are bubbling vigorously around the edges. If the topping browns too quickly, cover loosely with foil for the last 10 minutes.
- Let the crisp cool for at least 15 minutes before serving to allow the sauce to thicken. Serve warm with vanilla ice cream or whipped cream.
Notes
Keep the butter cold for a crispy topping. Do not use quick oats as they will turn mushy. The crisp tastes better the next day as flavors meld. Can be made gluten-free by using certified GF oats and flour blend. Can be made dairy-free by using vegan butter.
- Prep Time: 20 minutes
- Cook Time: 45 minutes
- Category: Dessert
- Cuisine: American
Nutrition
- Serving Size: 1 slice
- Calories: 280
- Sugar: 28
- Sodium: 120
- Fat: 9
- Saturated Fat: 5
- Carbohydrates: 48
- Fiber: 4
- Protein: 3
Keywords: apple crisp, honeycrisp apples, fall dessert, easy baking, gluten-free dessert, oat topping, autumn recipes



