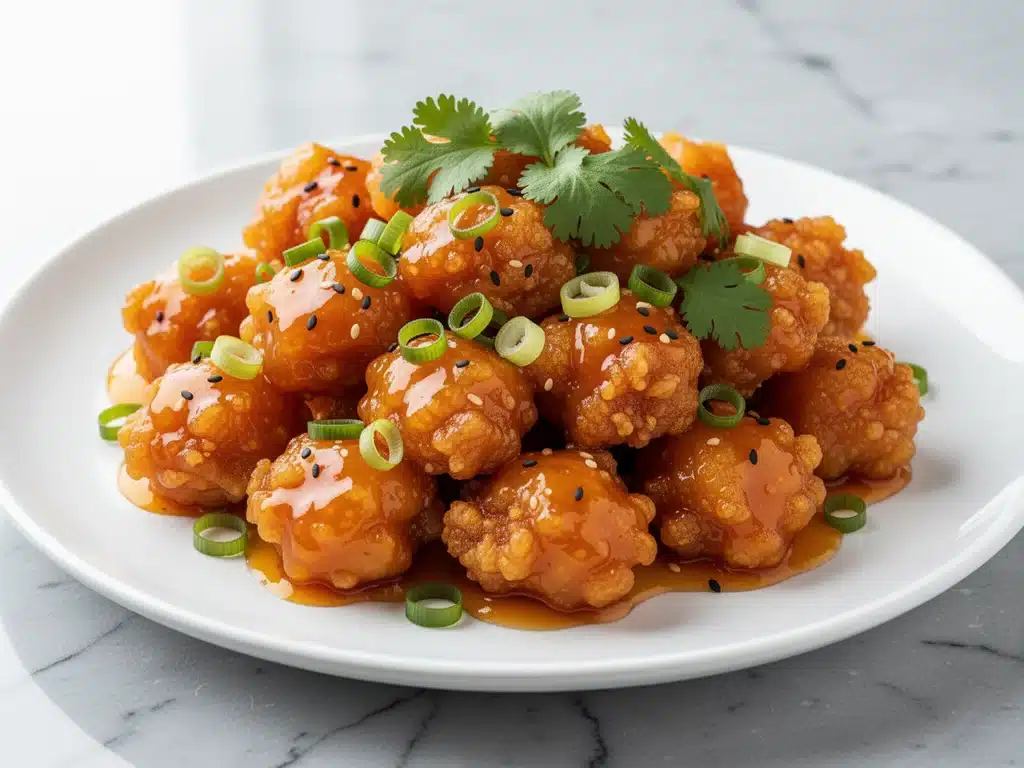
Last Friday night, I was staring at the glowing menu of my favorite local Chinese spot, my thumb hovering over the “Order” button. I had that specific craving for sweet, tangy, crunchy chicken that only deep-fried goodness can satisfy. But then I paused. I looked at the price ($18.99 for a small order?), the 45-minute delivery wait, and the sad reality that I’d be eating it cold while sitting on the couch.
Something snapped. I closed the app, walked to my kitchen, and decided to tackle the one dish I’d always assumed was impossible to replicate at home: Crispy Chinese Orange Chicken. I’ve tried making this before, and let’s just say the results were… disappointing. The coating was soggy, the chicken was rubbery, and the sauce tasted like bottled syrup. I was ready to accept my fate as a takeout addict forever.
But then I stumbled on a technique from a chef in Guangzhou who swore by a specific double-fry method and a balanced orange glaze. I tested it. And tested it again. And again. By the fifth attempt, I had something that didn’t just mimic the restaurant version—it surpassed it. The chicken was shatteringly crisp. The sauce was bright, zesty, and perfectly balanced between sweet and savory. And best of all? It was ready in under 40 minutes.
This isn’t just another generic chicken recipe. This is my go-to Crispy Chinese Orange Chicken, the one that makes my neighbors ask what smells so good and my husband beg me to make it for dinner parties. It’s better than takeout because it’s fresh, it’s customizable, and it tastes like you spent hours perfecting it (even though you didn’t).
Why You’ll Love This Crispy Chinese Orange Chicken Recipe
There are a hundred reasons I keep coming back to this Crispy Chinese Orange Chicken, but if you’re looking for a reason to start cooking tonight, here are the big ones:
It’s Actually Crispy — I know, I know. Homemade breading usually turns soggy within minutes. Not this time. The secret is a cornstarch-heavy coating and a double-fry technique that locks in the crunch. I’ve served this to friends who swear they can’t cook, and they were shocked by the texture. It stays crisp for at least 20 minutes after plating, which is basically an eternity in food science.
The Sauce is Real Fruit — No bottled syrups here. We’re using fresh orange juice and zest. The flavor is bright, aromatic, and not cloyingly sweet. It tastes like summer in a pan. I’ve tasted takeout orange chicken that tastes like candy, but this version has depth. The acidity cuts through the richness of the fried chicken perfectly.
It’s Faster Than Delivery — From start to finish, this Crispy Chinese Orange Chicken takes about 35 minutes. That’s faster than waiting for a driver to find your apartment. I make this on busy Tuesdays when I’m exhausted but still want something that feels special. It’s impressive enough for guests but easy enough for a solo dinner.
It’s Kid-Approved — My picky eater son, who usually refuses anything with “vegetable” in the name, devours this. The sweet-tangy flavor is universally loved. I’ve made this for playdates, school events, and family gatherings, and it’s always the first dish to disappear. It’s a crowd-pleaser that requires zero effort on your part once it’s on the table.
Budget-Friendly — A small order of orange chicken at a restaurant can run you $20 or more. Making this at home costs about $12 for enough to feed four people with leftovers. That’s a significant savings, especially when you consider the quality of ingredients you’re getting. Plus, you control the oil and sugar levels.
This is my answer to the “what’s for dinner?” panic. It’s reliable, delicious, and makes you feel like a culinary genius without actually being a chef. Once you make this, you’ll never order takeout orange chicken again.
Ingredients You’ll Need for Perfect Orange Chicken
Here’s the best part: you probably have most of these ingredients already. I’m particular about three things here—the type of chicken, the cornstarch ratio, and the freshness of the oranges—and I’ll tell you exactly why they matter.
Chicken Thighs (2 lbs / 900g, boneless, skinless) — I always use thighs. Breast meat dries out too quickly when fried, and thighs stay juicy. If you must use breast, cut the cooking time down by 2 minutes. Look for fresh thighs, not frozen. Fresh chicken browns better and has a better texture. I buy mine from the local butcher if possible, but any good supermarket brand works.
Cornstarch (1 cup / 120g) — This is non-negotiable. All-purpose flour makes a doughy coating. Cornstarch creates that shatteringly crisp, glass-like crust you get in Chinese restaurants. I use regular cornstarch, not potato starch. Measure it carefully; too much and the coating is thick, too little and it’s thin.
Egg White (1 large) — Just the white. It acts as a binder for the cornstarch without adding the richness of the yolk, which can make the coating greasy. Whisk it until frothy before adding to the chicken. This helps the coating stick evenly.
Salt and White Pepper (1 tsp salt, ½ tsp white pepper) — Season the chicken *before* coating. White pepper gives that distinct Chinese restaurant aroma that black pepper can’t replicate. If you don’t have white pepper, black pepper works, but it won’t taste quite the same. I keep a jar of white pepper specifically for this.
Vegetable Oil (for frying) — Use an oil with a high smoke point. Vegetable, canola, or peanut oil are all good. I don’t use olive oil for frying because it smokes too easily. You’ll need about 2-3 inches of oil in your pan. If you’re air-frying, see the variations section.
Fresh Oranges (3 large) — For the juice and zest. Do not use store-bought orange juice. It tastes flat and processed. Freshly squeezed juice has the acidity and sweetness needed for the sauce. I prefer Valencia oranges for their sweetness, but any juicy orange works. Zest the oranges *before* juicing, or you’ll lose some zest in the juicing process.
Garlic (4 cloves, minced) — Fresh garlic is essential. Jarred garlic has a metallic taste that clashes with the orange. Mince it finely so it disperses evenly in the sauce. I use a microplane for this, but a sharp knife works fine.
Ginger (1 tablespoon, freshly grated) — Fresh ginger adds warmth and complexity. Grate it with the side of a spoon. Pre-ground ginger tastes dusty and won’t work here. If you’re out of fresh ginger, you can skip it, but the sauce will be less complex.
Soy Sauce (2 tablespoons, low-sodium) — Adds umami and saltiness. Low-sodium is better because you can control the total salt content. Regular soy sauce works, but you’ll need to reduce added salt elsewhere.
Rice Vinegar (1 tablespoon) — Adds brightness and cuts the sweetness. Chinese rice vinegar is ideal, but regular white vinegar works in a pinch. Apple cider vinegar is too fruity. Don’t skip this; it’s what balances the sugar.
Sugar (3 tablespoons, granulated) — White sugar dissolves easily and provides a clean sweetness. Brown sugar adds molasses flavor, which isn’t traditional for this dish. I use white sugar for the classic taste.
Cornstarch Slurry (1 tsp cornstarch + 1 tbsp water) — This thickens the sauce to a glossy, clingy consistency. Mix it well before adding to the pan. If the slurry settles, stir it again.
Sesame Seeds (1 tablespoon, toasted) — For garnish. Toasted sesame seeds add a nutty aroma and visual appeal. I toast them in a dry pan for 2 minutes before using. Skip this if you’re allergic, but it’s worth the effort.
Green Onions (2, sliced thinly) — For garnish. Adds a fresh, oniony bite to balance the sweet sauce. Use both white and green parts for maximum flavor.
Equipment Needed
You don’t need fancy equipment for this. Here’s what I actually use:
Deep Skillet or Wok — I use a 12-inch cast iron skillet. It holds heat well, which is crucial for frying. A wok is traditional and great for this, but a deep skillet works perfectly. Avoid thin pans; they lose heat quickly when you add cold chicken.
Candy Thermometer — Optional but helpful. Oil temperature is key. If it’s too low, the chicken absorbs oil and gets greasy. If it’s too high, the coating burns before the chicken cooks. I aim for 350°F (175°C). If you don’t have a thermometer, drop a bit of batter in; if it sizzles and floats immediately, the oil is ready.
Wire Rack and Baking Sheet — To drain the fried chicken. I line a baking sheet with foil and place a wire rack on top. This allows air circulation so the chicken stays crisp. Paper towels work, but they can make the bottom soggy. I learned this the hard way.
Medium Saucepan — For making the sauce. I use a small saucepan so the sauce reduces quickly and evenly. A wide skillet works too, but a saucepan concentrates the flavors better.
Zester or Microplane — For grating orange zest. A regular grater works, but a microplane gives finer zest that disperses better in the sauce. Be careful not to grate the white pith; it’s bitter.
Chopsticks or Slotted Spoon — For turning the chicken in the oil. Chopsticks give you more control, but a slotted spoon is easier for beginners. Just be careful not to overcrowd the pan.
Measuring Cups and Spoons — Accuracy matters, especially for the sauce. I use metal measuring spoons for dry ingredients and glass measuring cups for liquids.
How to Make It: Step-by-Step
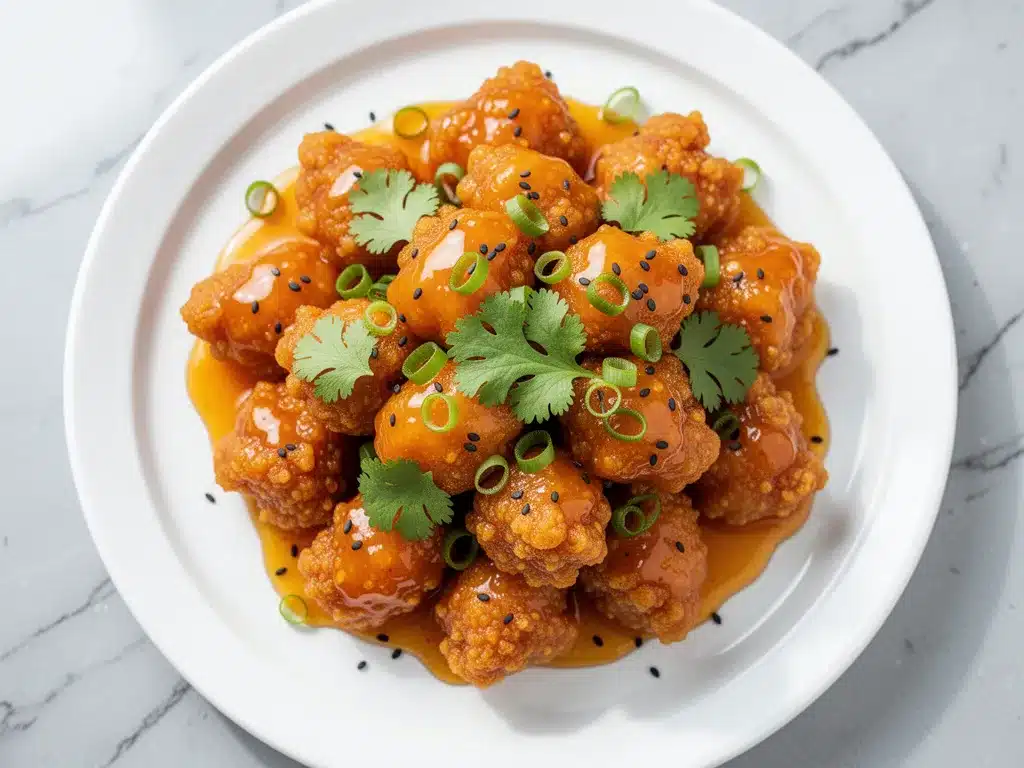
Alright, let’s make this! I’m walking you through exactly how I do it, including the little tricks I’ve picked up over the years.
Step 1: Prep the Chicken (10 minutes)
Cut the chicken thighs into bite-sized pieces, about 1.5 inches. Uniform size ensures even cooking. Pat them dry with paper towels. Moisture is the enemy of crispiness. If the chicken is wet, the coating won’t stick, and the oil will splatter. Season with salt and white pepper. Toss well to distribute the seasoning.
Step 2: Coat the Chicken (5 minutes)
In a large bowl, whisk the egg white until frothy. Add the chicken pieces and toss to coat. Then, add the cornstarch gradually, tossing until each piece is lightly coated. You don’t want a thick batter; you want a light dusting. If the coating looks too thick, add a bit more cornstarch. If it’s too thin, add a bit more egg white. The coating should look like fine sand, not paste.
Step 3: Heat the Oil (10 minutes)
Pour about 2-3 inches of vegetable oil into your skillet or wok. Heat over medium-high heat until it reaches 350°F (175°C). This takes about 10 minutes. Don’t rush this step. If the oil isn’t hot enough, the chicken will absorb oil and become greasy. If you don’t have a thermometer, test with a small piece of batter. It should sizzle immediately and rise to the surface.
Step 4: Fry the Chicken (15 minutes)
Fry the chicken in batches. Do not overcrowd the pan. Adding too much chicken drops the oil temperature, leading to soggy results. Fry each batch for 3-4 minutes until golden brown and cooked through. The internal temperature should reach 165°F (74°C). Remove with a slotted spoon and drain on the wire rack. Let them rest for 2-3 minutes before the second fry.
Step 5: Double Fry for Crispiness (5 minutes)
Turn the heat back up to 375°F (190°C). Fry the chicken again for 1-2 minutes. This second fry drives out excess moisture and makes the coating shatteringly crisp. This is the secret step that makes homemade orange chicken better than takeout. Remove and drain again.
Step 6: Make the Sauce (5 minutes)
In a medium saucepan, combine the fresh orange juice, orange zest, soy sauce, rice vinegar, sugar, minced garlic, and grated ginger. Bring to a simmer over medium heat. Stir until the sugar dissolves. Let it simmer for 2-3 minutes to reduce slightly.
Step 7: Thicken the Sauce (2 minutes)
Whisk the cornstarch slurry (1 tsp cornstarch + 1 tbsp water) until smooth. Slowly pour it into the simmering sauce while stirring constantly. The sauce will thicken quickly. Cook for another minute until glossy and thick enough to coat the back of a spoon. Remove from heat.
Step 8: Combine and Serve (2 minutes)
Add the fried chicken to the sauce. Toss gently to coat every piece. Do not let the chicken sit in the sauce too long, or it will get soggy. Serve immediately, garnished with toasted sesame seeds and sliced green onions. The chicken should be crispy, and the sauce should cling to it perfectly.
Total Time: About 40 minutes (15 minutes prep, 25 minutes cooking)
Expert Tips & Tricks
Here’s everything I’ve learned from making this dozens of times. These tips will save you from my mistakes.
Don’t Skip the Double Fry
This is the #1 reason homemade chicken stays crisp. The first fry cooks the chicken, and the second fry crisps the coating. I skipped this step once, and the chicken was soft within minutes. Now I always double-fry. It adds 2 minutes to the process but makes a huge difference.
Pat the Chicken Dry
Moisture is the enemy of crispiness. If the chicken is wet, the coating will slide off, and the oil will splatter. I always pat the chicken dry with paper towels before seasoning. It seems tedious, but it’s worth it.
Fry in Batches
Overcrowding the pan drops the oil temperature. This leads to greasy, soggy chicken. I fry in small batches, even if it takes longer. The quality is worth the extra time. If you’re frying for a crowd, keep the cooked chicken warm in a 200°F oven on a wire rack.
Use Fresh Orange Juice
Bottled juice tastes flat and processed. Freshly squeezed juice has the brightness and acidity needed for the sauce. It’s easy to juice three oranges, and the flavor difference is night and day. I juice them by hand for the best control.
Zest Before Juicing
If you juice first, you’ll lose some zest in the juicing process. Zest the oranges first, then juice them. This ensures you get maximum flavor. Be careful not to grate the white pith, which is bitter.
Don’t Overcook the Chicken
Chicken thighs are forgiving, but overcooking makes them dry. Use a thermometer to check for 165°F (74°C). If you don’t have one, cut into a piece; it should be juicy and opaque, not pink.
Toast the Sesame Seeds
Toasted sesame seeds add a nutty aroma that elevates the dish. I toast them in a dry pan for 2 minutes, stirring constantly. They burn quickly, so watch them closely. This small step makes the dish feel more finished.
Variations & Substitutions
Once you’ve nailed the basic version, here’s how you can mix it up. I’ve tried all of these.
Air Fryer Version
For a lighter option, air fry the chicken at 400°F for 12-15 minutes, flipping halfway. Spray with oil for crispiness. It’s not as crunchy as deep-fried, but it’s healthier. I make this when I’m trying to cut back on oil.
Chicken Breast Version
If you prefer white meat, use chicken breast. Cut into uniform pieces and fry for 2-3 minutes. Be careful not to overcook, as breast meat dries out quickly. I use this version when I want a leaner meal.
Spicy Orange Chicken
Add 1 teaspoon of chili flakes or 1 tablespoon of Sriracha to the sauce. This adds heat and complexity. My friend who loves spice requests this version. It’s a great way to use up chili flakes.
Gluten-Free Version
Use tamari instead of soy sauce. Everything else is naturally gluten-free. I’ve used this version for gluten-free friends, and they love it. Just make sure your cornstarch is certified gluten-free.
Vegan Version
Use firm tofu instead of chicken. Press the tofu, cut into cubes, and fry until crispy. Use vegetable broth instead of chicken. The sauce remains the same. It’s a bit different, but still delicious. My vegan roommate loves this version.
Serving & Storage
How to Serve:
I usually serve this straight from the pan at the dinner table. It looks rustic and stays warm. But here are other ways I’ve enjoyed it:
Side Dishes:
– Steamed jasmine rice (absorbs the sauce beautifully)
– Fried rice (for a heavier meal)
– Stir-fried broccoli (adds crunch and color)
– Simple green salad (to balance the richness)
Toppings Bar:
When I have guests, I put out: extra sesame seeds, sliced green onions, chili flakes, and lime wedges. Everyone customizes their bowl.
Storage Instructions:
Store leftovers in an airtight container in the fridge for up to 3 days. The chicken will lose some crispiness, but the flavor remains good.
Reheating:
Best method: Reheat in an air fryer at 350°F for 3-4 minutes. This restores the crispiness. Oven method: Bake at 350°F on a wire rack for 10 minutes. Microwave method: Avoid this; it makes the chicken soggy. I learned this the hard way.
Freezing:
You can freeze the fried chicken for up to 1 month. Thaw in the fridge and reheat in the air fryer or oven. Do not freeze the sauce; it separates when thawed. Make fresh sauce when reheating.
Nutrition Information
I’m not a nutritionist, but here’s the breakdown if you’re tracking.
Per Serving (based on 4 servings):
- Calories: 450
- Protein: 35g
- Carbs: 40g
- Fiber: 1g
- Sugar: 25g
- Fat: 18g
- Saturated Fat: 3g
- Cholesterol: 110mg
- Sodium: 650mg
What’s Good:
– High protein from chicken
– Contains vitamin C from orange juice
– Can be made lighter with air frying
What to Know:
– Higher in sugar from the sauce
– Contains sodium from soy sauce
– Use low-sodium soy sauce to reduce salt
My Take:
Look, this is comfort food with fried chicken and sweet sauce. It’s not a diet recipe. But it’s way better than takeout, costs less, and I know exactly what’s in it. When I want to make it lighter, I use the air fryer version and reduce the sugar. But usually? I just eat a reasonable portion and enjoy it.
Final Thoughts
So that’s my go-to Crispy Chinese Orange Chicken! I’ve probably talked your ear off at this point, but when you make a recipe this often, you have a lot to say about it.
This has saved weeknight dinners more times than I can count. It’s my answer to “what’s for dinner” when I’m tired, don’t want takeout, and still want something that tastes really good. My kids are happy, my husband’s happy, and I’m happy because I’m not stressed about cooking.
Make it yours! Try different add-ins, swap in your favorite vegetables, adjust the spice level. The best recipes are the ones you adapt to your family’s tastes.
If you make this, drop a comment and let me know what you think! I love hearing how recipes turn out in your kitchen. And if something doesn’t work, tell me that too—I’m here to help troubleshoot.
Happy cooking! And I hope your kitchen smells half as good as mine does right now.
Frequently Asked Questions
Can I use chicken breast instead of thighs?
Yes, but be careful not to overcook it. Breast meat dries out faster. Fry for 2-3 minutes instead of 3-4. I use breast when I want a leaner meal, but thighs are juicier.
Why did my chicken get soggy?
Usually, this happens if you overcrowd the pan or skip the double fry. Make sure the oil is hot enough (350°F) and fry in batches. The double fry is crucial for crispiness.
Can I make the sauce ahead?
Yes, make the sauce up to 2 days ahead and store in the fridge. Reheat gently and thicken with cornstarch slurry before tossing with chicken. This saves time on busy nights.
Why did my sauce turn out watery?
You didn’t simmer it long enough, or you didn’t use enough cornstarch. Simmer for 2-3 minutes before adding the slurry. Cook for another minute after adding the slurry to thicken.
Can I use bottled orange juice?
You can, but fresh juice tastes so much better. Bottled juice lacks the brightness and acidity needed for the sauce. If you must use it, add extra zest to compensate.
How do I reheat leftovers without it getting dry?
Reheat in an air fryer at 350°F for 3-4 minutes. This restores the crispiness. Avoid the microwave, which makes the chicken soggy. If you don’t have an air fryer, use the oven on a wire rack.
Can I double this recipe?
Absolutely! Double everything and use your biggest skillet. Fry in more batches to avoid overcrowding. The cooking times stay the same. I do this when I’m meal-prepping or feeding a crowd.
Pin This Recipe!
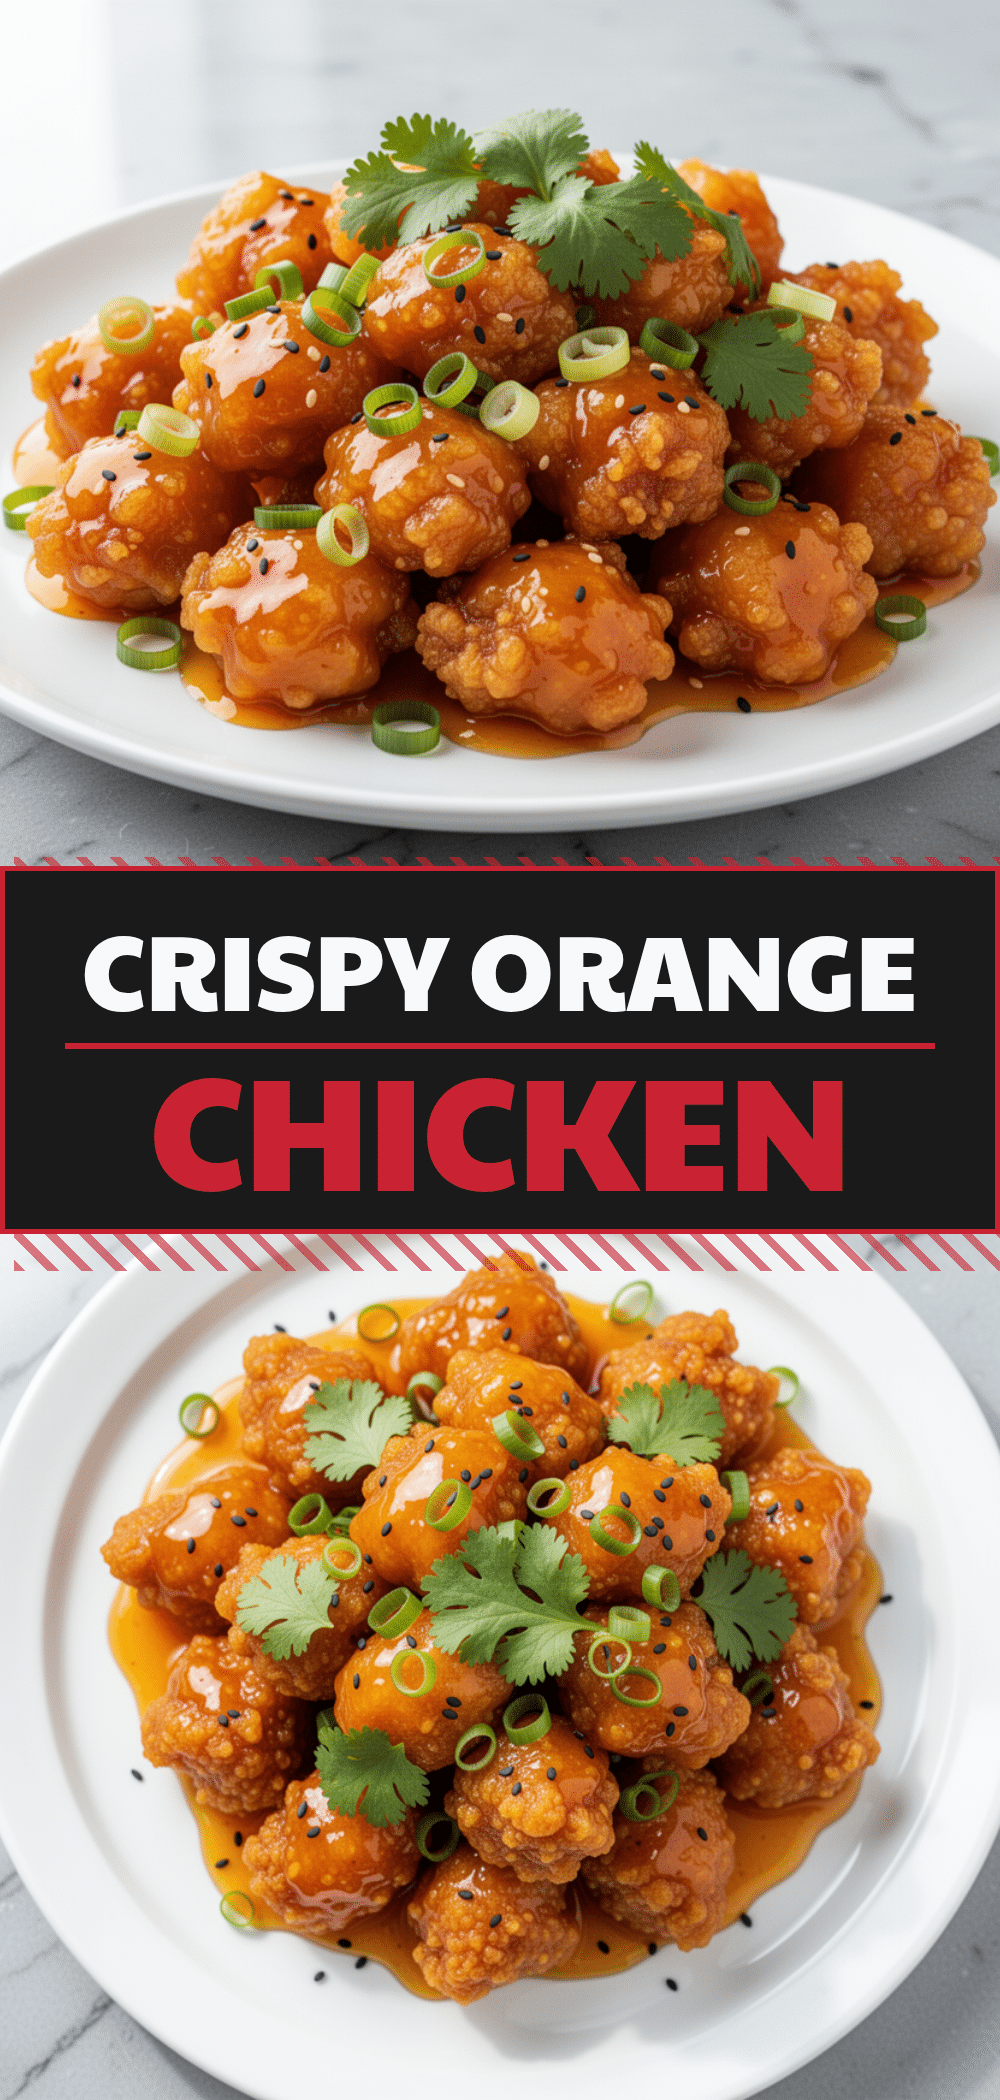
Crispy Chinese Orange Chicken: Easy Better Than Takeout
- Total Time: 40 minutes
- Yield: 4 servings 1x
Description
A homemade version of classic orange chicken that is shatteringly crisp and features a bright, zesty sauce made with fresh fruit. This recipe uses a double-fry technique to ensure the coating stays crunchy and is ready in under 40 minutes.
Ingredients
- 2 lbs boneless, skinless chicken thighs
- 1 cup cornstarch
- 1 large egg white
- 1 tsp salt
- 1/2 tsp white pepper
- Vegetable oil (for frying)
- 3 large fresh oranges (for juice and zest)
- 4 cloves garlic, minced
- 1 tablespoon fresh ginger, grated
- 2 tablespoons low-sodium soy sauce
- 1 tablespoon rice vinegar
- 3 tablespoons granulated sugar
- 1 tsp cornstarch + 1 tbsp water (for slurry)
- 1 tablespoon toasted sesame seeds
- 2 green onions, sliced thinly
Instructions
- Cut chicken thighs into 1.5-inch bite-sized pieces. Pat dry with paper towels and season with salt and white pepper.
- Whisk egg white until frothy, toss chicken in it, then gradually add cornstarch to create a light, sandy coating.
- Heat 2-3 inches of vegetable oil in a deep skillet or wok to 350°F (175°C).
- Fry chicken in batches for 3-4 minutes until golden brown and cooked through (165°F). Remove and drain on a wire rack.
- Increase oil temperature to 375°F (190°C) and fry chicken again for 1-2 minutes to double-fry for extra crispiness. Drain again.
- In a medium saucepan, combine orange juice, orange zest, soy sauce, rice vinegar, sugar, garlic, and ginger. Simmer for 2-3 minutes.
- Whisk cornstarch slurry and stir into the simmering sauce. Cook for 1 minute until glossy and thickened.
- Toss fried chicken in the sauce to coat. Serve immediately garnished with sesame seeds and green onions.
Notes
Pat chicken dry before coating to ensure crispiness. Fry in batches to maintain oil temperature. Use fresh orange juice and zest for best flavor. Double-frying is essential for the signature crunch. Reheat leftovers in an air fryer or oven to restore crispness; avoid the microwave.
- Prep Time: 15 minutes
- Cook Time: 25 minutes
- Category: Main Course
- Cuisine: Chinese
Nutrition
- Serving Size: 1 serving
- Calories: 450
- Sugar: 25
- Sodium: 650
- Fat: 18
- Saturated Fat: 3
- Carbohydrates: 40
- Fiber: 1
- Protein: 35
Keywords: orange chicken, crispy chicken, chinese food, homemade takeout, deep fried chicken, orange sauce, dinner recipe



