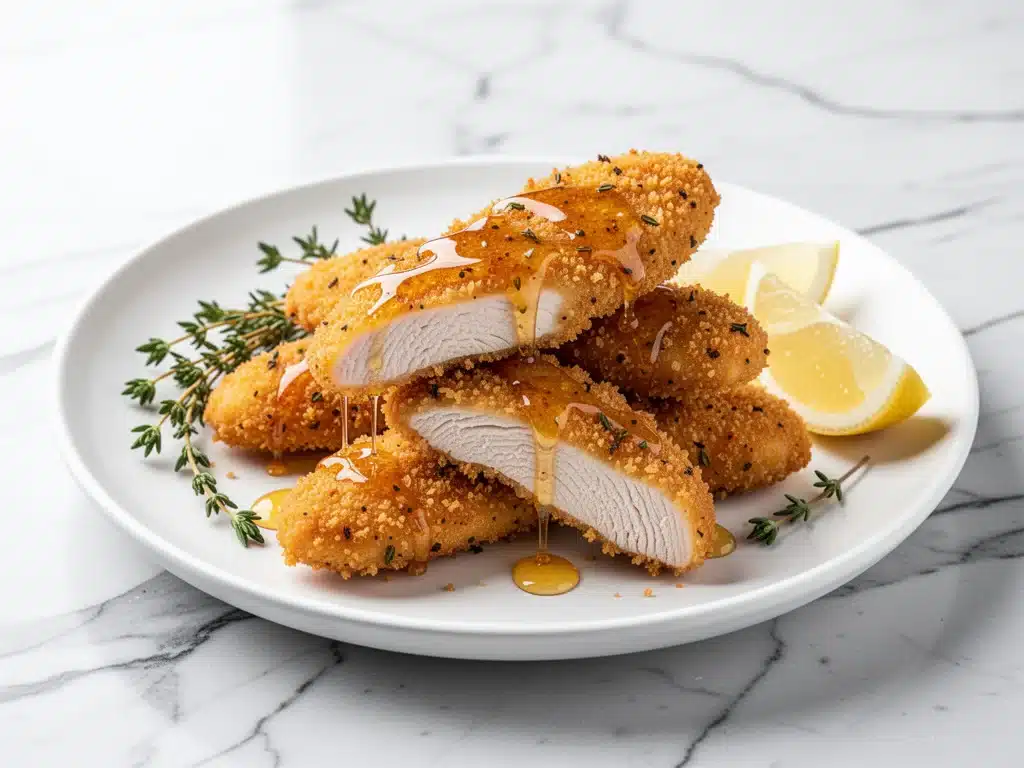
Let’s be honest for a second. I love takeout as much as the next person. There is something deeply satisfying about ordering Chinese food or Thai takeout after a long day, opening the containers, and smelling that familiar, comforting aroma. But here’s the thing about those crispy chicken tenders you get from the local spot: they’re often soggy by the time you get home, the honey mustard sauce is cloyingly sweet, and the chicken itself tastes more like batter than actual meat.
Last Tuesday, I was exhausted. I had a deadline looming, the kids were loud, and my energy levels were nonexistent. I found myself staring at the takeout menu on my phone, thumb hovering over the “order” button. Then I paused. I looked at my pantry, saw a jar of good Dijon mustard, some honey, and a whole pack of chicken breasts. I thought, “I can do this. It’ll be faster than waiting for delivery, and it’ll actually be healthy.”
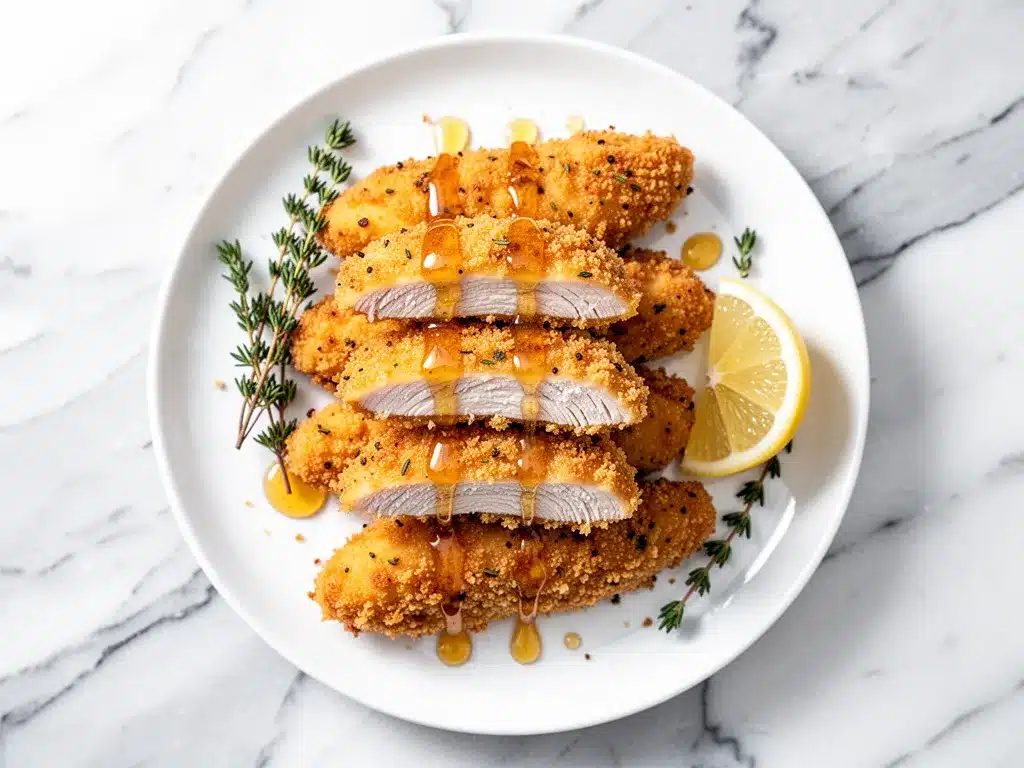
So I made Crispy Baked Honey Mustard Chicken Tenders. I tossed them in a seasoned flour mixture, dipped them in egg, rolled them in panko, and baked them until they were golden and shattering-crisp. The result? A dish that tasted like a restaurant treat but was ready in 25 minutes, cost less than half the price of takeout, and didn’t leave me feeling sluggish afterward. My kids devoured them, asking for seconds before the plate was even empty. That night, I realized I didn’t need takeout anymore. I just needed this recipe.
This isn’t just another chicken tender recipe. It’s the one I make when I want something crispy, savory, and slightly sweet without the guilt or the grease. I’ve tested this method dozens of times, tweaking the breading ratio and the sauce balance, until I landed on the perfect version. It’s foolproof, it’s fast, and it’s genuinely better than what you’d get from a takeout container. Trust me on this one.
Why You’ll Love This Recipe
There are a million reasons to keep this Crispy Baked Honey Mustard Chicken Tenders recipe in your weekly rotation, but here are the ones that actually matter to your real life:
- Actually Crispy (No Deep Frying) — Most baked chicken tenders come out pale and soft. Not these. By using a double-dip method with panko breadcrumbs and a light spray of oil, they get that deep-fried crunch without the mess or the health risks. They stay crispy even after sitting for a few minutes.
- Under 30 Minutes Total — Prep takes about 10 minutes. Cooking takes 15. I make this on weeknights when I’m running on fumes. It’s faster than boiling water for pasta, let alone waiting for a delivery driver.
- Homemade Sauce Beats the Packet — Store-bought honey mustard is basically sugar syrup with a hint of mustard. My version balances the tang of Dijon with the floral sweetness of honey and a splash of apple cider vinegar. It’s complex, bright, and addictive.
- Meal Prep Friendly — These reheat surprisingly well in the air fryer or a hot oven. I often make a double batch on Sunday to have for quick lunches or easy weeknight dinners. They’re better than cold deli meat and way more exciting than leftovers.
- Kid-Approved (and Adult-Approved) — Picky eaters love the familiar shape and dip-friendly nature of chicken tenders. Adults love the sophisticated flavor profile. It’s a win-win for family dinners where everyone needs something different.
- Uses Simple Ingredients — You likely have the flour, eggs, panko, mustard, and honey in your kitchen right now. No specialty trips to the store required.
This recipe has completely changed how I handle weeknight dinners. It’s my go-to when I want something that feels special but doesn’t require a cookbook or an hour of prep time. It’s reliable, delicious, and always a crowd-pleaser.
Ingredients You’ll Need
Here’s the best part: you probably have most of this already. I’m particular about three ingredients here—the type of mustard, the breadcrumbs, and the chicken cut—and I’ll tell you exactly why they matter for getting that perfect crunch.
For the Chicken & Breading
Chicken breasts (1.5 pounds / 680g) — I use boneless, skinless chicken breasts. For the best texture, I like to cut them into thick strips (about 1 inch wide) rather than thin strips. Thin strips dry out too fast in the oven. If you’re buying pre-cut chicken strips, that works too, but cutting them yourself ensures even cooking.
All-purpose flour (1 cup / 125g) — This is the base of the dredge. It helps the egg wash stick to the chicken. Don’t skip this step; it’s crucial for the breading to adhere properly.
Spices for the flour (1 teaspoon each of garlic powder, onion powder, paprika, salt, black pepper) — I keep a pre-mixed “chicken seasoning” blend on hand, but making your own is easy. Garlic powder and onion powder give that savory depth, while paprika adds color and a subtle smokiness. Adjust the salt to taste, but remember the panko will also be seasoned.
Eggs (2 large, beaten) — The binder. I beat them with a fork until smooth. Some people add a splash of milk here, but I find plain egg works best for getting a firm crust.
Panko breadcrumbs (1.5 cups / 150g) — This is non-negotiable for crispiness. Regular breadcrumbs are too dense and powdery. Panko has larger, flakier flakes that create air pockets, resulting in that shattering crunch. Japanese-style panko is the gold standard. If you can’t find it, regular breadcrumbs will work, but the texture won’t be the same.
Seasoned panko (optional) — I like to mix a little garlic powder and parmesan cheese into the panko for extra flavor. It’s an optional upgrade, but it makes the crust taste like a little snack on its own.
Cooking spray or olive oil — You need a little fat to help the panko brown in the oven. Cooking spray is easiest, but a light brush of olive oil works too.
For the Honey Mustard Sauce
Dijon mustard (2 tablespoons) — Use a good quality Dijon. It has a complex, tangy flavor that balances the sweetness. Avoid the cheap yellow mustard; it’s too sharp and vinegary for this sauce.
Honey (3 tablespoons) — I use raw honey for its floral notes. If you’re out, light corn syrup or maple syrup works, but honey is best for that sticky, glossy finish.
Mayonnaise (2 tablespoons) — This adds creaminess and richness. It might sound weird, but it emulsifies the sauce and makes it luscious. I use a standard full-fat mayo.
Apple cider vinegar (1 teaspoon) — This is the secret weapon. It cuts through the richness of the mayo and honey, adding a bright acidity that keeps the sauce from being cloying. If you don’t have apple cider vinegar, white wine vinegar works.
Garlic powder (½ teaspoon) — Just a little kick to tie it back to the chicken seasoning.
Water (1-2 teaspoons) — You might need a splash to thin the sauce to a drizzling consistency. Add it slowly.
Equipment Needed
You don’t need fancy equipment for this. Here’s what I actually use:
Baking sheets — I use two half-sheet pans. This allows me to cook all the tenders at once without overcrowding. Overcrowding leads to steaming, not baking, so space is key.
Wire rack — This is my pro tip. Placing a wire cooling rack on top of the baking sheet allows air to circulate underneath the chicken. This prevents the bottom from getting soggy. If you don’t have a rack, you can bake directly on the sheet, but just be sure to flip them halfway through.
Three shallow bowls — For the dredging station: flour, egg wash, and panko. Wide bowls are easier to work with than deep ones.
Small mixing bowl — For whisking the honey mustard sauce.
Parchment paper — I line my baking sheets with parchment for easy cleanup. Grease doesn’t stick to parchment, so the chicken doesn’t stick either.
Pastry brush or cooking spray — To lightly coat the breadcrumbs with oil for browning.
How to Make It: Step-by-Step
Alright, let’s make this! I’m walking you through exactly how I do it, including the little tricks I’ve picked up over the years.
Step 1: Prep Your Chicken (5 minutes)
Start by washing and drying your chicken breasts. Pat them dry with paper towels—this is important. Moisture is the enemy of crispy breading. Then, slice the breasts into strips about 1 inch wide and 3-4 inches long. Try to make them as uniform as possible so they cook evenly. If a piece is very thick, pound it slightly with a meat mallet or the bottom of a heavy pan to even it out.
Step 2: Set Up Your Dredging Station (5 minutes)
Get three shallow bowls ready. In the first bowl, whisk together the flour, garlic powder, onion powder, paprika, salt, and pepper. In the second bowl, beat the eggs until smooth. In the third bowl, place the panko breadcrumbs. If you’re adding extra seasonings to the panko (like parmesan or more garlic powder), do it now. Have your baking sheet lined with parchment paper ready nearby.
Step 3: Bread the Chicken (5 minutes)
This is the core technique. Take a piece of chicken and dredge it in the flour mixture, shaking off any excess. Then dip it into the egg wash, letting the excess drip off. Finally, press it firmly into the panko breadcrumbs. Use your hands to press the crumbs onto the chicken—don’t just roll it. You want a thick, even coating. Place the breaded tender on the prepared baking sheet. Repeat with all the chicken.
Pro Tip: If the crumbs aren’t sticking, your egg wash might be too thin or you didn’t press hard enough. Give it a firm press with your fingers.
Step 4: Bake the Tenders (15 minutes)
Preheat your oven to 400°F (200°C). Once preheated, lightly spray the top of each tender with cooking oil or brush with a little olive oil. This step is crucial for browning. The oil helps the panko turn golden instead of staying pale and dry.
Place the baking sheet in the oven and bake for 12-15 minutes. If you’re using a wire rack, you can flip the tenders halfway through (around the 7-minute mark) to ensure even browning. If you’re baking directly on the sheet, flipping is mandatory. The chicken is done when the coating is golden brown and the internal temperature reaches 165°F (74°C).
Step 5: Make the Honey Mustard Sauce (5 minutes)
While the chicken bakes, whisk together the Dijon mustard, honey, mayonnaise, apple cider vinegar, and garlic powder in a small bowl. Taste it. Does it need more sweetness? Add a teaspoon of honey. More tang? Add a splash of vinegar. Adjust to your preference. If it’s too thick, add water one teaspoon at a time until it reaches a dipping consistency.
Step 6: Serve
Remove the chicken from the oven and let it rest for 2-3 minutes. This helps the juices redistribute and the crust set. Serve immediately with the honey mustard sauce on the side for dipping. Garnish with fresh parsley if you want a pop of color, though it’s not necessary.
Troubleshooting: If your tenders aren’t getting crispy enough, make sure your oven is fully preheated and you’re using panko. Also, don’t overcrowd the pan. If you’re baking a large batch, do two rounds.
Expert Tips & Tricks
Here’s everything I’ve learned from making this dozens of times. These tips will save you from my mistakes.
The Double-Dip Method
For extra-crispy tenders, you can double-dip the breading. After the first coat of panko, dip the tender back into the egg wash and then into the panko again. This creates a thicker, more substantial crust that stays crunchy longer. I do this for dinner parties but stick to a single dip for weeknights to save time.
Don’t Skip the Oil Spray
Baked chicken tends to look pale and dry if you don’t add fat to the breading. The oil spray (or brush) mimics the effect of frying, helping the Maillard reaction occur and giving you that golden-brown color. It’s the difference between “oven-baked” and “restaurant-style.”
Use a Wire Rack
I cannot stress this enough. A wire rack allows heat to circulate under the chicken. Without it, the bottom of the tenders sits in its own juices and steam, leading to a soggy crust. If you don’t have a rack, line the pan with foil and place the chicken on a bed of sliced lemons or onions to elevate it slightly.
Rest the Chicken
It’s tempting to dig in the second they come out of the oven, but let them rest for 2-3 minutes. This allows the crust to firm up and the juices to settle. If you cut into them immediately, the juices will run out and make the breading soggy.
Sauce Consistency
Honey mustard sauce can thicken as it cools. If you’re making it ahead, keep it at room temperature or warm it slightly before serving. If it’s too thick, a little warm water will thin it out. If it’s too thin, let it sit for 10 minutes to thicken.
Variations & Substitutions
Once you’ve nailed the basic version, here’s how you can mix it up. I’ve tried all of these.
Spicy Honey Mustard
Add 1 teaspoon of sriracha or cayenne pepper to the sauce. Or, mix crushed red pepper flakes into the panko breadcrumbs for a spicy kick in the crust. This is great if you like a bit of heat with your sweet.
Herb-Crusted
Stir 1 tablespoon of dried parsley or Italian seasoning into the flour mixture. Or, mix chopped fresh chives or parsley into the panko for a fresh, herbal note.
Gluten-Free
Use gluten-free all-purpose flour and gluten-free panko breadcrumbs. Many brands make great GF panko now. The texture might be slightly different, but it still works well.
Air Fryer Version
Yes, you can make these in an air fryer! Cook at 375°F (190°C) for 8-10 minutes, flipping halfway through. They cook faster and get even crispier. Just be careful not to overcrowd the basket.
Alternative Proteins
You can use chicken thighs instead of breasts for a juicier result. Just note that thighs have more fat and may require slightly longer cooking time. Turkey tender strips also work well if you want a leaner option.
Serving & Storage
Here’s how to enjoy and store your Crispy Baked Honey Mustard Chicken Tenders.
How to Serve
I usually serve these straight from the baking sheet for a casual family dinner. They pair perfectly with:
- Roasted Vegetables: My garlic parmesan roasted brussels sprouts are a great match, adding a savory crunch.
- Coleslaw: A tangy vinegar-based slaw cuts through the richness of the chicken.
- Mashed Potatoes: For a comfort food feast.
- Simple Green Salad: With a light vinaigrette to balance the meal.
You can also use these tenders in sandwiches or wraps. Slice them up and add them to a sub roll with lettuce, tomato, and extra honey mustard sauce.
Storage Instructions
Refrigerator: Store leftovers in an airtight container for up to 3 days. The breading will soften slightly in the fridge, which is normal.
Reheating: To restore crispiness, reheat in an air fryer or conventional oven at 375°F (190°C) for 5-7 minutes. Microwave reheating will make them soggy, so avoid it if possible. If you must microwave, do it in short bursts and follow up with a quick toast in a dry skillet.
Freezing: You can freeze uncooked breaded tenders on a baking sheet, then transfer to a freezer bag. Cook from frozen, adding 5 minutes to the baking time. Cooked tenders can be frozen, but the texture will suffer upon thawing. It’s best to freeze them raw.
Meal Prep
These are great for meal prep. Bake a batch on Sunday, store in the fridge, and reheat individual portions for lunch. Pair with a side of creamy stovetop mac and cheese for a kid-friendly lunchbox staple.
Nutrition Information
I’m not a nutritionist, but here’s the breakdown if you’re tracking. These are estimates based on 6 servings.
| Nutrient | Per Serving |
|---|---|
| Calories | 320 |
| Protein | 28g |
| Carbohydrates | 22g |
| Fat | 14g |
| Fiber | 1g |
| Sugar | 12g |
What’s Good: High in protein, relatively low in carbs compared to fried versions.
What to Know: The honey mustard sauce adds sugar. If you’re watching sugar intake, reduce the honey in the sauce or serve it on the side for dipping control.
Final Thoughts
So that’s my go-to Crispy Baked Honey Mustard Chicken Tenders! I’ve probably talked your ear off at this point, but when you make a recipe this often, you have a lot to say about it.
This has saved weeknight dinners more times than I can count. It’s my answer to “what’s for dinner” when I’m tired, don’t want takeout, and still want something that tastes really good. My kids are happy, my husband’s happy, and I’m happy because I’m not stressed about cooking.
Make it yours! Try different add-ins, swap in your favorite vegetables, adjust the garlic (though more is always better in my opinion). The best recipes are the ones you adapt to your family’s tastes.
If you make this, drop a comment and let me know what you think! I love hearing how recipes turn out in your kitchen. And if something doesn’t work, tell me that too—I’m here to help troubleshoot.
Happy cooking! And I hope your kitchen smells half as good as mine does right now.
Frequently Asked Questions
Can I use chicken thighs instead of breasts?
Absolutely. Chicken thighs are juicier and have more flavor. Just note that they may take 2-3 minutes longer to cook. Make sure to cut them into similar-sized strips for even cooking.
Why is my chicken breading falling off?
This usually happens if the chicken wasn’t dry before dredging, or if you didn’t press the breadcrumbs firmly enough. Pat the chicken dry, dip in flour, then egg, then press the panko on firmly. Also, ensure your oven is fully preheated before putting the chicken in.
Can I make the honey mustard sauce ahead of time?
Yes, you can make the sauce up to 3 days ahead. Store it in an airtight container in the fridge. It may thicken in the fridge, so let it come to room temperature and stir in a teaspoon of water if needed.
How do I keep the chicken crispy after baking?
Don’t cover the chicken immediately after baking. Let it rest on the wire rack for 2-3 minutes to allow steam to escape. Covering it traps moisture and softens the crust.
Can I freeze these chicken tenders?
Yes, you can freeze uncooked breaded tenders. Place them on a baking sheet, freeze until solid, then transfer to a freezer bag. Cook from frozen, adding 5 minutes to the baking time. Cooked tenders can be frozen but will lose some crispiness upon reheating.
What if I don’t have panko breadcrumbs?
You can use regular breadcrumbs, but the texture won’t be as crunchy. Crush some saltine crackers or cornflakes for a similar crunchy effect. Panko is definitely best, but it’s not a dealbreaker if you’re out.
Can I use this recipe for air frying?
Yes! Cook at 375°F (190°C) for 8-10 minutes, flipping halfway through. They cook faster and get even crispier. Just be careful not to overcrowd the basket.
Pin This Recipe!
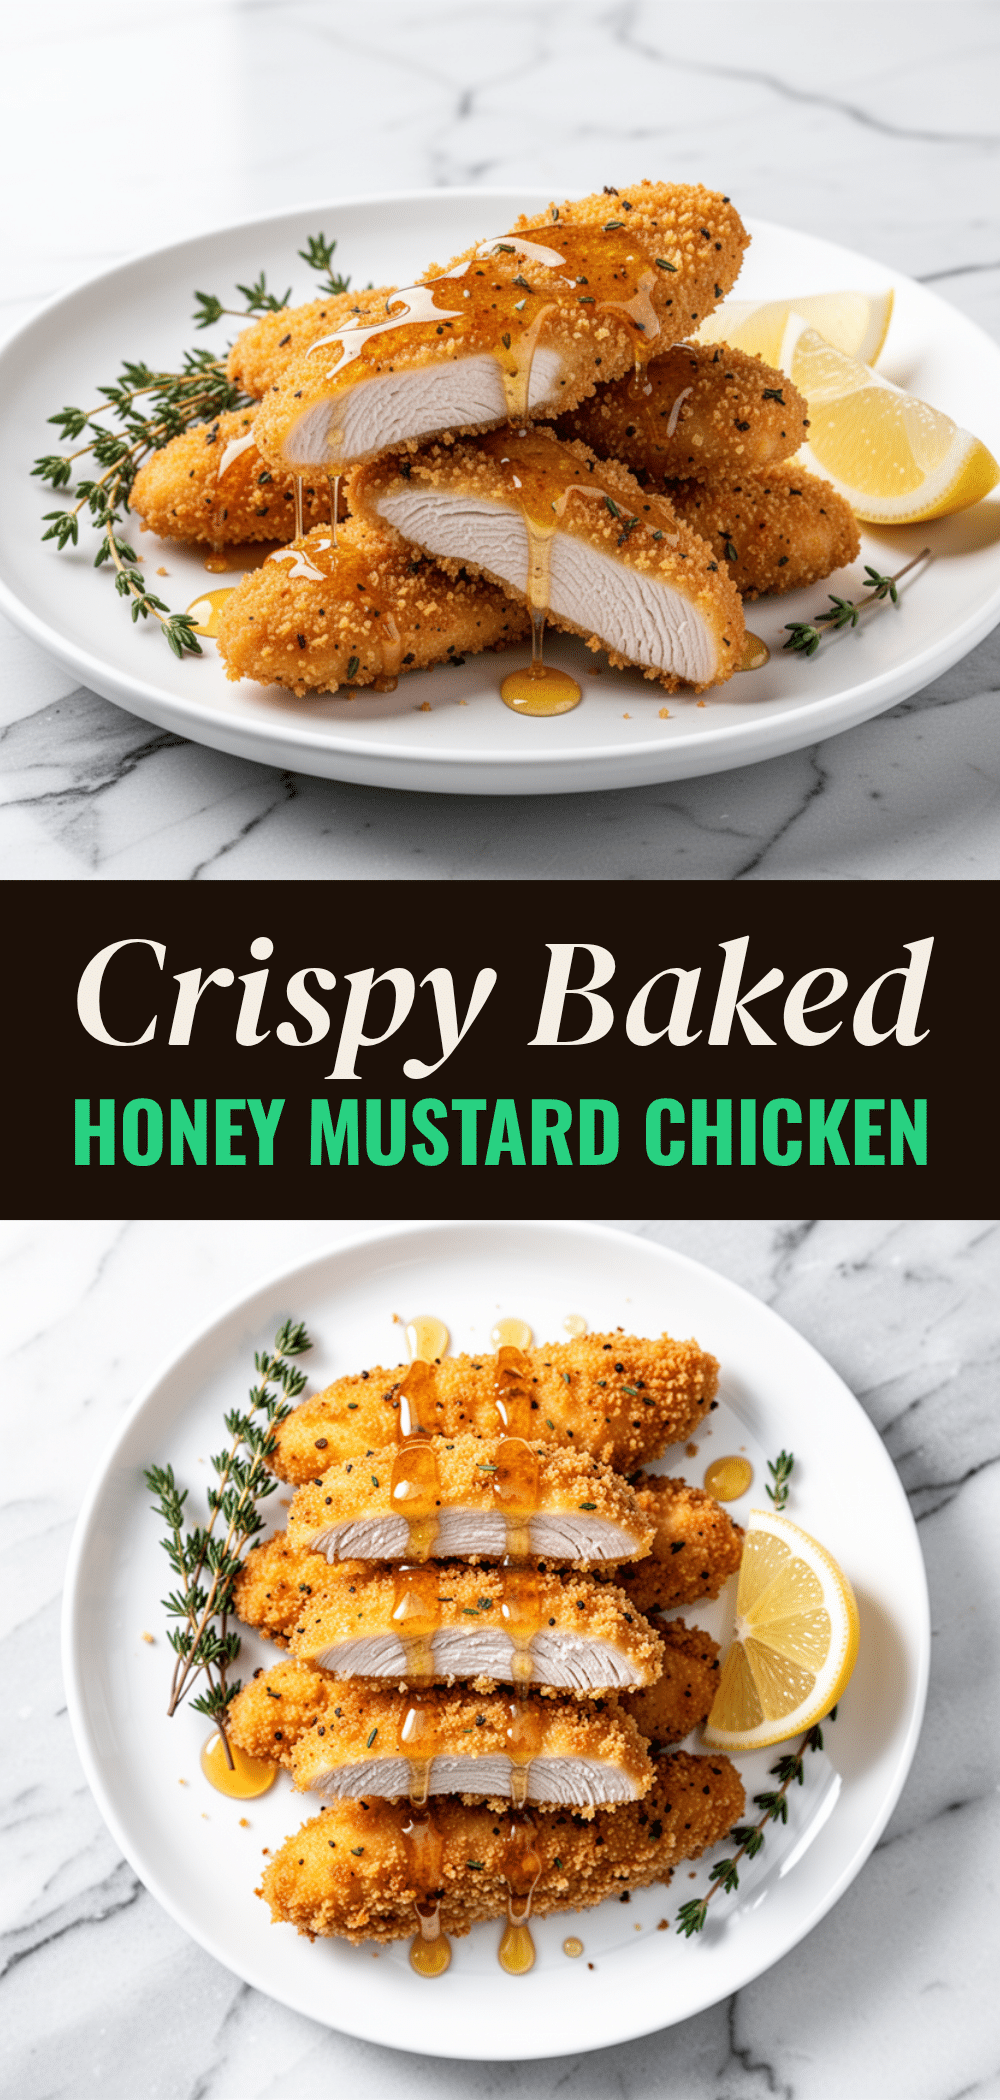
Crispy Baked Honey Mustard Chicken Tenders: Easy Copycat
- Total Time: 30 minutes
- Yield: 6 servings 1x
Description
These crispy baked honey mustard chicken tenders are a healthier, faster, and tastier alternative to takeout. Coated in seasoned panko and baked to golden perfection, they are served with a homemade tangy-sweet sauce.
Ingredients
- 1.5 pounds boneless, skinless chicken breasts
- 1 cup all-purpose flour
- 1 teaspoon garlic powder
- 1 teaspoon onion powder
- 1 teaspoon paprika
- 1 teaspoon salt
- 1 teaspoon black pepper
- 2 large eggs, beaten
- 1.5 cups panko breadcrumbs
- Cooking spray or olive oil
- 2 tablespoons Dijon mustard
- 3 tablespoons honey
- 2 tablespoons mayonnaise
- 1 teaspoon apple cider vinegar
- 0.5 teaspoon garlic powder
- 1–2 teaspoons water
Instructions
- Preheat oven to 400°F (200°C). Line baking sheets with parchment paper.
- Pat chicken breasts dry and slice into 1-inch wide strips.
- Set up a dredging station with three shallow bowls: one with flour mixed with spices, one with beaten eggs, and one with panko breadcrumbs.
- Dredge each chicken strip in the flour mixture, shaking off excess. Dip into the egg wash, then press firmly into the panko to coat evenly.
- Place breaded tenders on the prepared baking sheet. Lightly spray or brush with oil.
- Bake for 12-15 minutes, flipping halfway through if not using a wire rack, until internal temperature reaches 165°F (74°C) and coating is golden brown.
- While chicken bakes, whisk together Dijon mustard, honey, mayonnaise, apple cider vinegar, and garlic powder. Thin with water if necessary.
- Let chicken rest for 2-3 minutes before serving with the honey mustard sauce.
Notes
For extra crispiness, use a wire rack to allow air circulation. Do not overcrowd the pan. Chicken thighs can be substituted but may require slightly longer cooking time. Sauce can be made ahead and stored in the fridge.
- Prep Time: 15 minutes
- Cook Time: 15 minutes
- Category: Main Course
- Cuisine: American
Nutrition
- Serving Size: 1 chicken tender wit
- Calories: 320
- Sugar: 12
- Sodium: 450
- Fat: 14
- Saturated Fat: 3
- Carbohydrates: 22
- Fiber: 1
- Protein: 28
Keywords: chicken tenders, honey mustard chicken, baked chicken, copycat recipe, easy dinner, weeknight meals, crispy chicken



