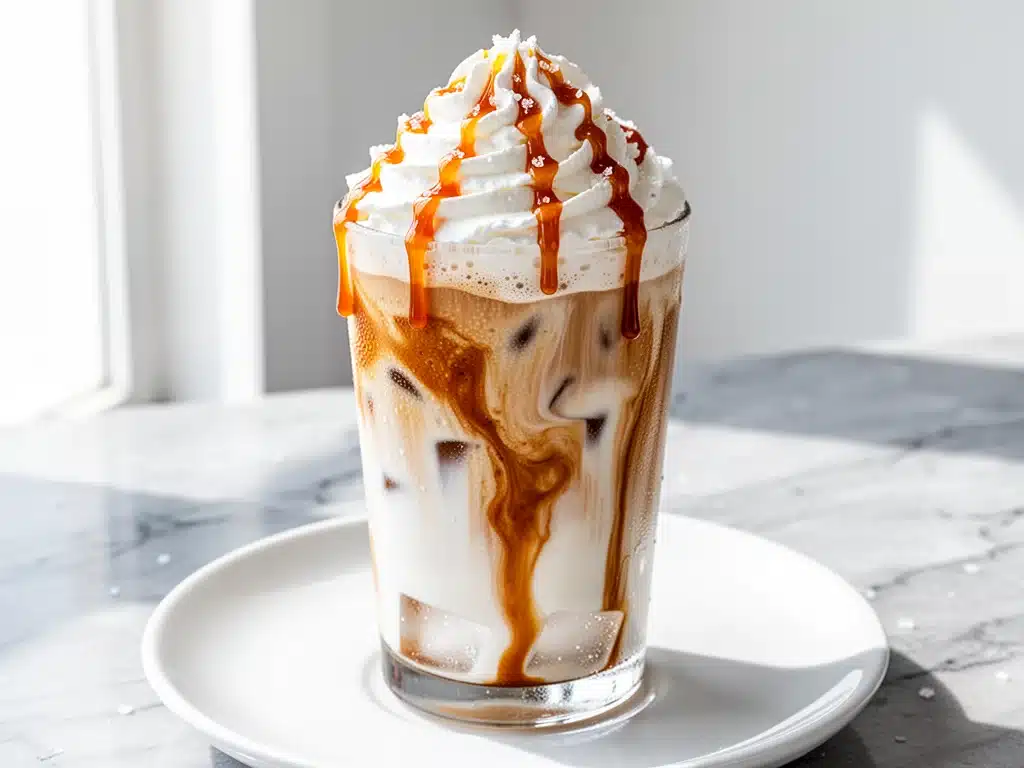
It’s 7:15 AM on a Tuesday, and I’m standing in line behind a guy who ordered a drink so complicated it had its own zip code. I’m watching the clock tick down. My bag is packed, my phone is buzzing, and my brain is still buffering. The barista turns around and says, “That’ll be $9.45.” Nine dollars. For something that tastes mostly like sugar and regret.
I walked out. I didn’t even get the coffee. Instead, I went home, made a mess in my kitchen, and created something that changed my mornings forever. This creamy iced vanilla caramel latte isn’t just a drink; it’s my daily rebellion against the coffee shop queue and the price tag that comes with it.
Here’s the thing about busy mornings: we’re all running on fumes. We want something that feels like a treat but doesn’t take twenty minutes to make. We want that café taste—the rich espresso, the sweet caramel, the cool creaminess—but we want it fast. And we definitely don’t want to pay a fortune for it.
I’ve tested this recipe about fifty times over the last year. I’ve tried different milks, different syrups, different ice-to-coffee ratios. Some were too watery. Some were too sweet. Some just tasted weirdly artificial. But this version? This is the one. It’s the holy grail of quick morning caffeine. It’s ready in three minutes flat. It tastes like a vacation. And it costs less than a dollar to make.
If you’re tired of spending your morning paycheck on lattes, or if you just want something that hits the spot before your eyes are fully open, you need to try this. Seriously. I haven’t bought a drink from a chain coffee shop in six months. This creamy iced vanilla caramel latte is the only thing standing between me and being a grumpy, dehydrated human until noon.
Why You’ll Love This Busy Morning Drink
I know what you’re thinking. “Another coffee recipe? Really?” But hear me out. This isn’t just coffee with ice. It’s a specific kind of magic that solves three major morning problems: time, money, and taste.
It’s Actually Fast — I’m not talking about “grind, tamp, brew, steam, pour, wait” fast. I’m talking about “pour cold brew, add syrup, shake, drink” fast. If you make a batch of cold brew on Sunday (which takes zero effort), this drink is literally a 60-second assembly job. Even if you don’t have cold brew, strong instant coffee or a quick espresso shot works. You can be sipping before your shower gets hot.
It Tastes Like the Expensive Stuff — I’ve had baristas with PhDs in latte art make drinks that taste like burnt water. This creamy iced vanilla caramel latte tastes like you spent $8. The key is the ratio. It’s rich enough to feel indulgent but balanced enough not to make your teeth hurt. It’s the perfect middle ground between a candy bar and a cup of joe.
It’s Budget-Friendly — Let’s do the math. A good quality vanilla syrup costs about $5 and lasts forever. A carton of milk is $4. Coffee beans or grounds are $10-$15. You’re making 15-20 drinks per batch of syrup and milk. That’s roughly $0.75 to $1.00 per drink. You save $8 every single day. In a month, that’s $240. In a year, that’s a vacation. Or at least a really nice blender.
It’s Customizable — Hate vanilla? Swap it for caramel syrup only. Want it lighter? Use almond milk. Want it extra sweet? Add an extra drizzle. I make this for my husband (extra strong, no milk), my teen (extra sweet, extra ice), and myself (balanced). Everyone wins. It’s the one drink that satisfies every mood in the house.
It’s Refreshing — Hot coffee is great, but sometimes you just need something cold. Especially in summer. This creamy iced vanilla caramel latte is cooling, soothing, and energizing. It wakes you up without the jitters because the milk and sugar slow down the caffeine absorption. It’s a smooth, steady start to the day.
It’s Easy to Clean — You’re using one glass and maybe a shaker or a spoon. That’s it. No steam wand to wipe. No portafilter to rinse. No milk frother to disassemble. Just rinse and go. I love that. Minimal cleanup means I’m more likely to actually make it.
It Feels Like a Treat — Even though it’s cheap and fast, it feels fancy. The caramel drizzle on top? The swirl of cream? It’s a little moment of luxury in your chaotic morning. It’s a reward for getting out of bed.
So basically, this is the perfect drink. Fast, cheap, delicious, easy, and satisfying. What more could you want?
Ingredients You’ll Need
Here’s the best part: you probably have most of this already. It’s not a complicated list. It’s pantry staples and coffee basics. I’m particular about a few things, though. Quality matters here, especially with the syrup and the milk.
For the Base:
Cold Brew Coffee (2 cups / 480ml) — This is the foundation. Cold brew is less acidic and smoother than hot coffee, which is perfect for iced drinks. If you don’t have cold brew, strong hot coffee cooled in the fridge works too. Just make sure it’s completely cold. Warm coffee melts the ice too fast and dilutes the drink. I use a 1:4 coffee-to-water ratio for my cold brew concentrate. It’s strong, so it won’t get watery.
Milk (1 cup / 240ml) — Whole milk is the gold standard for creaminess. It froths well (if you’re shaking it) and tastes rich. But you can use anything. Oat milk is my favorite dairy-free option—it’s naturally sweet and creamy. Almond milk is lighter but still good. Coconut milk adds a tropical twist. I stick to whole milk for that café-style richness, but I’ve made this with almond milk and it’s still delicious.
Ice Cubes (1.5 cups) — Lots of ice. This keeps the drink cold and dilutes it just enough as it melts. Use large cubes if you have them—they melt slower. Regular ice is fine too. Just don’t skimp. You want a full glass of ice.
For the Flavor:
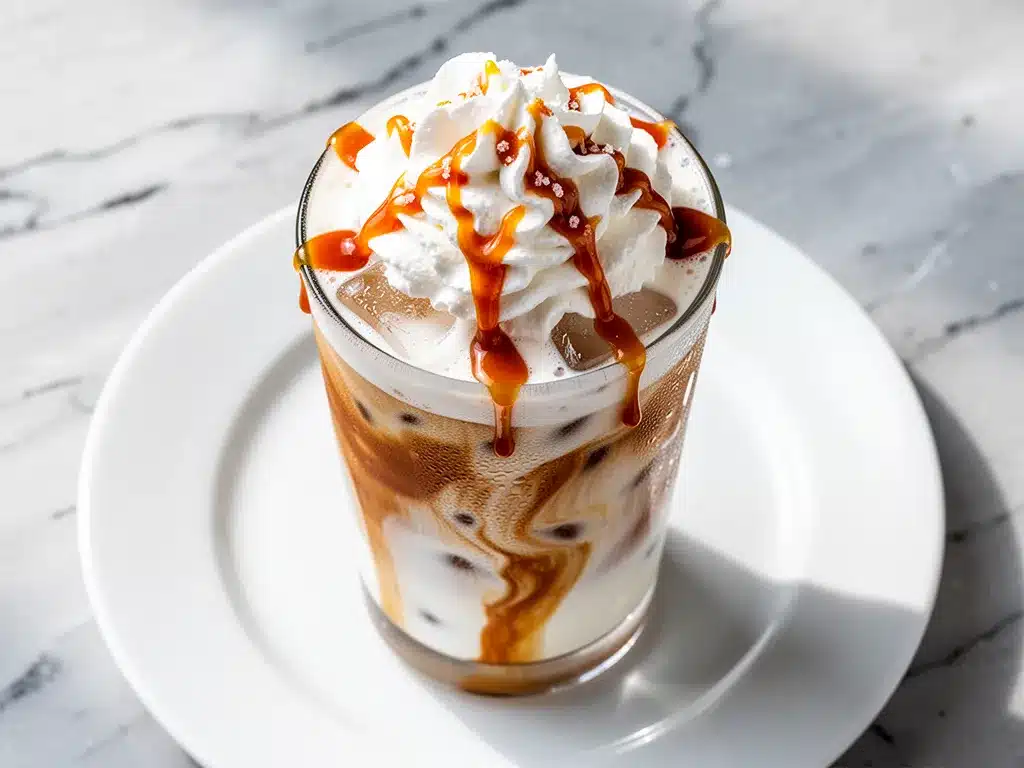
Vanilla Syrup (2 tablespoons / 30ml) — This is where you can go cheap or go fancy. I prefer a real vanilla bean syrup or a high-quality vanilla syrup like Torani or Monin. Avoid the cheap pump bottles from the dollar store—they taste artificial and chemical-like. A little bit goes a long way. If you’re feeling lazy, vanilla extract works, but use less (1 teaspoon) because it’s stronger and more alcoholic-tasting. Syrup is sweeter and smoother.
Caramel Syrup (2 tablespoons / 30ml) — Same deal as vanilla. Use a good quality caramel syrup. It should be thick and gooey, not watery. If you can’t find caramel syrup, you can make a quick version by melting sugar with a little water and cream, but that takes time. For a busy morning, store-bought is the way to go. I use the same brand for both syrups to keep it simple.
Heavy Cream or Whipping Cream (2 tablespoons / 30ml) — This is for the top. A dollop of whipped cream makes it feel like a dessert. If you don’t want to whip cream, just pour a splash of heavy cream on top. It adds a rich, fatty mouthfeel that balances the bitterness of the coffee. I usually just drizzle a little cold heavy cream over the top for a marbled effect. It looks pretty and tastes amazing.
Pinch of Salt (optional) — A tiny pinch of sea salt enhances the sweetness and balances the flavors. It’s a chef’s trick, but it works. If you like salty-sweet combos, definitely add this. If not, skip it.
For the Garnish:
Caramel Drizzle — Extra caramel syrup for drizzling on top. This is purely for aesthetics and extra sweetness. It makes the drink look Instagram-worthy (great for Pinterest, right?).
Vanilla Bean Paste or Powder (optional) — A tiny sprinkle on top adds a speckled look and extra vanilla flavor. It’s fancy, but not necessary.
Pro Tip: I keep my syrups in the fridge. Cold syrup mixes better with cold coffee. If your syrup is cold, it won’t clump at the bottom of the glass. It’ll blend right in.
Equipment Needed
You don’t need fancy equipment for this. Here’s what I actually use.
Highball Glass or Large Tumbler — I use a 16-ounce glass. It’s big enough to hold all the ingredients and ice. A mason jar works too if you don’t have fancy glassware. I like clear glass because you can see the layers. It looks beautiful.
Shaker or Spoon — If you want a frothy top, use a cocktail shaker or a French press. Just shake the milk and syrup together for 10 seconds. If you don’t have a shaker, just stir it with a spoon. It won’t be as frothy, but it’ll still taste good. I usually just stir because it’s faster.
Jar or Bottle for Cold Brew — If you make your own cold brew, you need a jar and a strainer. A mason jar with a mesh lid works. Or just use a coffee filter and a bowl. I use a French press to make my cold brew—it’s easy and the plunger acts as a filter.
Spoon for Drizzling — Just a regular teaspoon works for drizzling caramel. Dip the spoon in the syrup and let it drip down the side of the glass. It’s an art form, but it’s forgiving.
Measuring Spoons — For the syrup. You can eyeball it, but measuring ensures consistency. I like knowing my drink tastes the same every time.
Optional but nice:
Electric Milk Frother — If you’re a milk-frothing nerd, this is fun. But it’s not necessary. The shaker method works fine.
Straws — Wide metal straws are great for this. They don’t get soggy and they’re reusable. I love the aesthetic of a metal straw in a iced latte.
How to Make It: Step-by-Step
Alright, let’s make this! I’m walking you through exactly how I do it, including the little tricks I’ve picked up.
Step 1: Prep Your Cold Brew (If Not Already Ready)
If you’re making cold brew from scratch, mix 1 cup of coarse ground coffee with 4 cups of cold water in a jar. Stir well. Let it sit in the fridge for 12-24 hours. Strain out the grounds. Store the concentrate in the fridge. This takes planning, but it’s worth it. You’ll have cold brew for days. I usually make a big batch on Sunday and it lasts all week.
Step 2: Assemble the Base
Fill your glass with ice. I pack it in tight. You want it full. Pour in 2 cups of cold brew coffee over the ice. The ice should chill the coffee instantly. If your coffee isn’t cold enough, the ice will melt and dilute the drink. So make sure your coffee is properly chilled.
Step 3: Add the Syrups
Add 2 tablespoons of vanilla syrup and 2 tablespoons of caramel syrup. If you’re using a shaker, you can add these to the shaker with the milk. If you’re stirring directly in the glass, add them now. I prefer adding them to the glass because I can see how much I’m putting in.
Step 4: Add the Milk
Pour in 1 cup of milk. If you’re using a shaker, shake the milk and syrups together for 10 seconds until frothy. Then pour over the coffee. If you’re stirring, just whisk the milk and syrups together in the glass until combined. The milk should blend with the coffee and syrups, creating a creamy, light brown color.
Step 5: Top with Cream
Drizzle a little heavy cream on top. You don’t need much. Just a splash. It will float on top and create a nice marbled effect. If you want whipped cream, whip it up and dollop it on top. I usually just do the splash because it’s faster.
Step 6: Garnish and Serve
Drizzle extra caramel syrup over the top in a zigzag pattern. It looks pretty and adds extra sweetness. Add a straw. Take a sip. Enjoy.
Total Time: About 3 minutes. If you have cold brew ready, it’s literally 60 seconds.
Expert Tips & Tricks
Here’s everything I’ve learned from making this dozens of times. These tips will save you from my mistakes.
Don’t Use Hot Coffee — I know it’s tempting to brew coffee right before you leave. But hot coffee melts ice too fast. Your drink will be watery and warm. Always use cold brew or cooled hot coffee. If you’re in a rush, use strong instant coffee dissolved in cold water. It’s not gourmet, but it works.
Use Real Syrup — Cheap syrup tastes like artificial vanilla and sugar water. It ruins the drink. Spend the extra dollar on good syrup. It makes a huge difference. I’ve tried the cheap stuff and I’ve tried the good stuff. There is no comparison. Your taste buds will thank you.
Shake the Milk — Shaking the milk and syrup together creates a frothy texture that mimics a steamed latte. It’s a nice touch. If you don’t have a shaker, just whisk vigorously with a spoon. It won’t be as frothy, but it’ll be mixed well.
Layer It — For a pretty look, pour the coffee over the ice first, then slowly pour the milk mixture on top. It creates layers. It’s not necessary for taste, but it’s fun to look at. And if you’re posting it on Pinterest, pretty matters.
Adjust Sweetness — Taste as you go. If you like it sweeter, add more syrup. If you like it less sweet, use less syrup. Everyone’s taste is different. Don’t be afraid to experiment.
Keep It Cold — Store your cold brew and syrups in the fridge. Cold ingredients mix better and keep the drink cold longer. If your ingredients are warm, the ice melts too fast.
Use Large Ice Cubes — Large cubes melt slower than small cubes. This keeps your drink cold without diluting it too quickly. If you don’t have large cubes, freeze coffee into ice cubes. That way, as they melt, they add more coffee flavor instead of water.
Variations & Substitutions
Once you’ve nailed the basic version, here’s how you can mix it up. I’ve tried all of these.
Dirty Version — Add a shot of espresso. This makes it a “dirty” latte. Extra caffeine kick. Perfect for really tired mornings.
Chocolate Version — Add 1 tablespoon of chocolate syrup. Now it’s a mocha. Great for when you want dessert.
Matcha Version — Swap the coffee for matcha powder. Mix matcha with hot water, then add to the iced milk and syrups. It’s a different vibe, but still creamy and sweet.
Decaf Version — Use decaf cold brew. Same taste, no jitters. Good for evenings or sensitive stomachs.
Dairy-Free — Use oat milk or almond milk. Same syrups, same process. It’s just as creamy if you use oat milk. I love oat milk in this drink.
Sugar-Free — Use sugar-free vanilla and caramel syrups. It’s less sweet, but still flavorful. Good for keto or low-sugar diets.
Coconut Version — Use coconut milk and coconut cream. It’s tropical and rich. Great for a change of pace.
Spicy Version — Add a pinch of cinnamon or cayenne pepper. It adds a kick. Surprisingly good.
Serving & Storage
How to Serve: I usually serve this straight from the glass with a wide straw. It’s casual and fun. But here are other ways I’ve enjoyed it:
Side Dishes: This pairs well with anything. Toast, muffins, fruit, yogurt. It’s a versatile drink. I usually have it with a breakfast sandwich or a bowl of oatmeal.
Toppings Bar: When I have guests, I put out different syrups and milks. Everyone customizes their drink. It’s fun and interactive.
Wine Pairing: Not a wine expert, but a light white wine like Sauvignon Blanc works well if you’re having brunch. Or skip wine and stick to coffee.
Storage Instructions:
Refrigerator: Store cold brew concentrate in the fridge for up to 2 weeks. Store syrups in the fridge for up to 6 months. Milk should be used fresh.
Reheating: You don’t reheat this. It’s an iced drink. If you want a hot version, heat the coffee and milk together and add syrups. But it’s not the same. The ice is key.
Freezing: You can freeze cold brew in ice cube trays. Then use those cubes in the drink. This prevents dilution. It’s a smart trick.
Pro tip: If you’re making this for a party, make a big batch of cold brew and syrups. Let people assemble their own drinks. It’s easy and efficient.
Nutrition Information
I’m not a nutritionist, but here’s the breakdown if you’re tracking.
Per Serving (based on 1 drink):
- Calories: 250
- Protein: 6g
- Carbs: 35g
- Fiber: 0g
- Sugar: 30g
- Fat: 8g
- Saturated Fat: 5g
- Cholesterol: 25mg
- Sodium: 100mg
- Calcium: 150mg
What’s Good: – Contains some protein and calcium from the milk. – Can be made lower calorie by using skim milk and less syrup.
What to Know: – Higher in sugar from the syrups. – Use sugar-free syrups to reduce sugar. – Contains dairy (unless using plant milk).
My Take: Look, this is a treat. It’s not a health drink. It’s sweet and creamy and delicious. But it’s also not as bad as a candy bar. When I want to make it lighter, I use less syrup and almond milk. But usually? I just enjoy it as a special morning treat.
Final Thoughts
So that’s my go-to creamy iced vanilla caramel latte! I’ve probably talked your ear off at this point, but when you make a recipe this often, you have a lot to say about it.
This has saved my mornings more times than I can count. It’s my answer to “what’s for breakfast?” when I’m tired, don’t want to cook, and still want something that tastes really good. My kids are happy, my husband’s happy, and I’m happy because I’m not stressed about coffee.
Make it yours! Try different syrups, swap in your favorite milk, adjust the sweetness. The best recipes are the ones you adapt to your tastes.
If you make this, drop a comment and let me know what you think! I love hearing how recipes turn out in your kitchen. And if something doesn’t work, tell me that too—I’m here to help troubleshoot.
Happy brewing! And I hope your kitchen smells half as good as mine does right now.
Frequently Asked Questions
Can I use hot coffee instead of cold brew?
You can, but you need to cool it first. Hot coffee will melt the ice too quickly and dilute your drink. Brew your coffee strong and let it cool in the fridge for a few hours, or put it in the freezer for 30 minutes. Cold brew is smoother and less acidic, which is why I prefer it, but cooled hot coffee works in a pinch.
Why is my latte watery?
This usually happens if you use too much ice that melts, or if your coffee isn’t strong enough. Make sure your cold brew is a concentrate, not a weak brew. Also, use large ice cubes—they melt slower. If you’re using hot coffee, make sure it’s completely cold before adding ice.
Can I make this ahead for a busy week?
Yes! Make your cold brew on Sunday and store it in the fridge. Keep your syrups ready. In the morning, just assemble the drink. It takes 60 seconds. I make a batch of cold brew that lasts 5-7 days. It’s a lifesaver for busy mornings.
What’s the best milk for this drink?
Whole milk is the creamiest and tastes most like a café latte. But oat milk is a close second—it’s naturally sweet and froths well. Almond milk is lighter and lower calorie. Coconut milk adds a nice tropical flavor. Try different milks to see which you like best.
Can I use vanilla extract instead of syrup?
You can, but the taste will be different. Extract is stronger and more alcoholic-tasting. Syrup is sweeter and smoother. If you use extract, use about 1 teaspoon instead of 2 tablespoons of syrup. You’ll also need to add extra sugar or honey to compensate for the lack of sweetness in the extract.
How long does cold brew last?
Cold brew lasts up to 2 weeks in the fridge. After that, it starts to lose flavor and can become bitter. I usually make a batch every week. If you want it to last longer, freeze it in ice cube trays and use those cubes.
Can I make this without ice?
You can, but it won’t be as refreshing. The ice chills the drink and dilutes it slightly, which balances the sweetness. If you don’t want ice, use cold brew and cold milk. But I recommend ice for the best texture and taste.
Pin This Recipe!
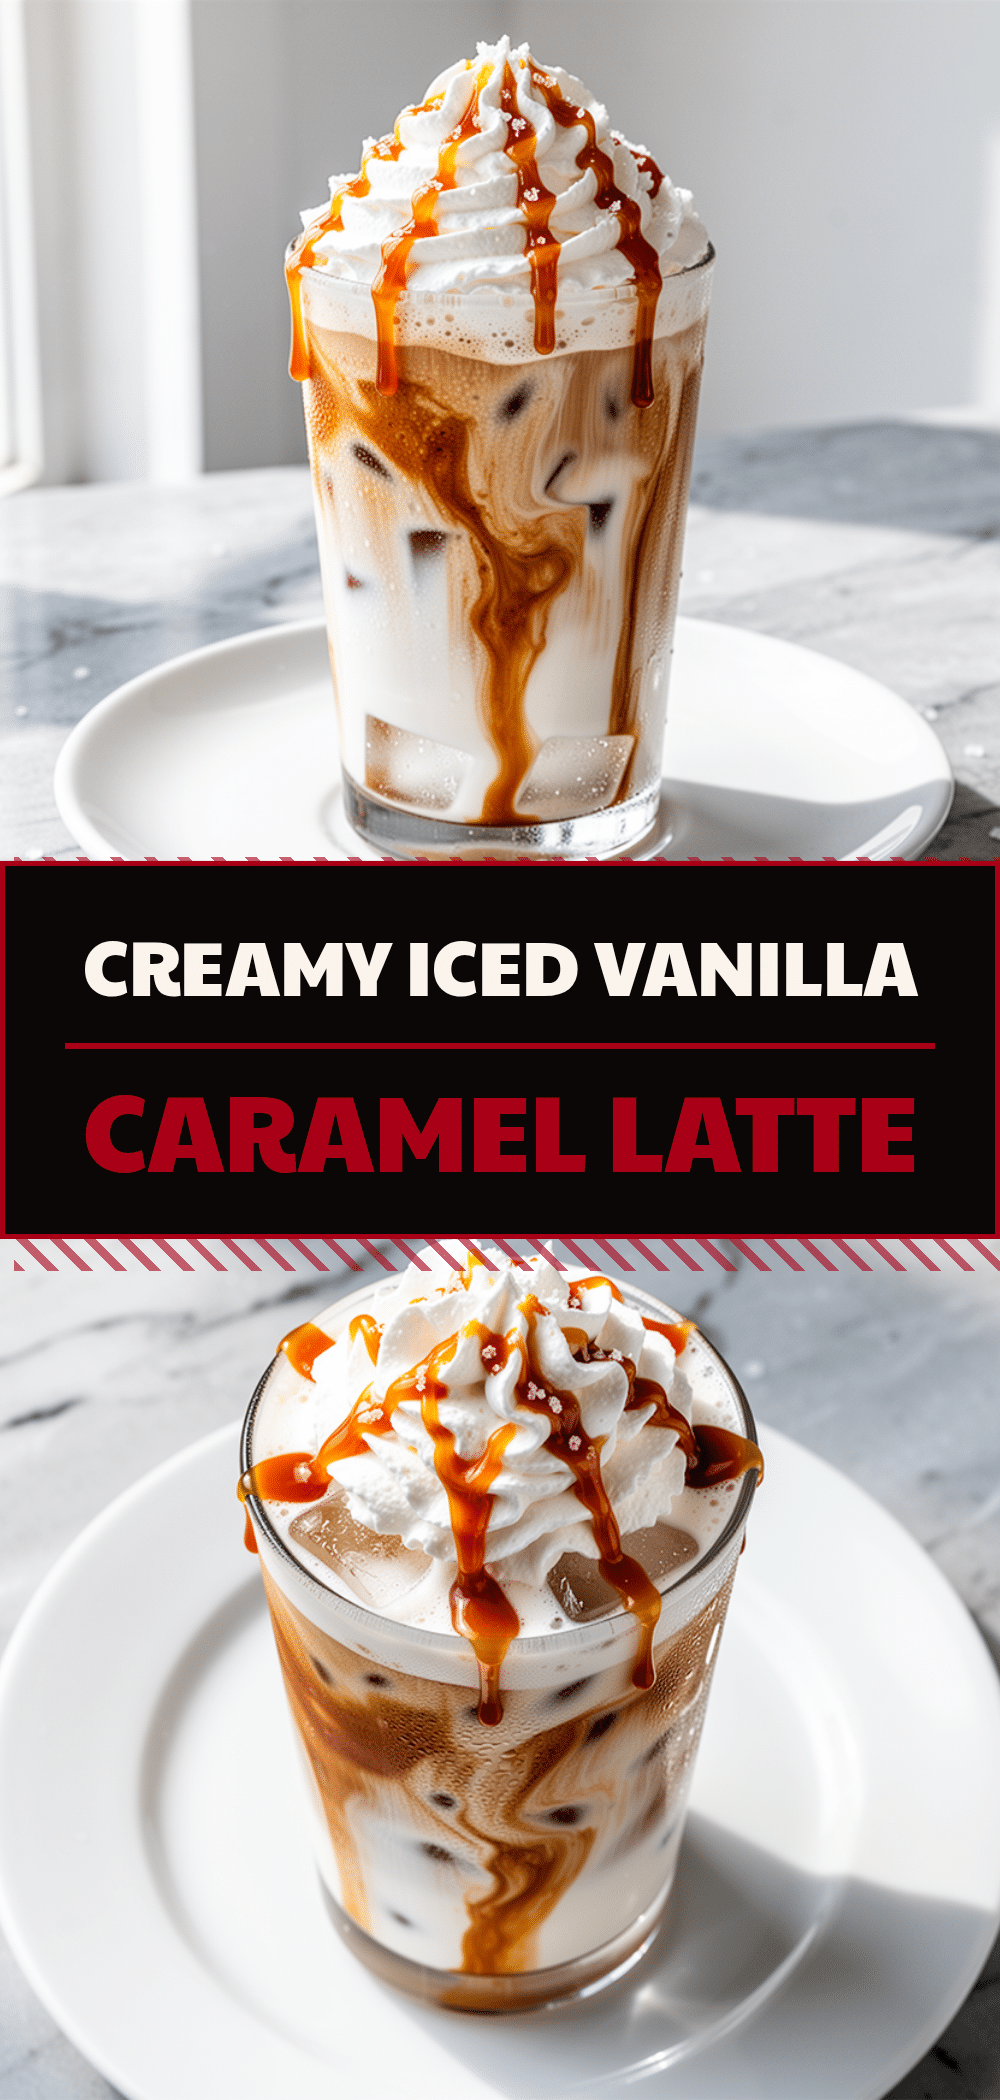
Creamy Iced Vanilla Caramel Latte
- Total Time: 3 minutes
- Yield: 1 serving 1x
Description
A quick, budget-friendly iced latte that tastes like a café drink but takes only 3 minutes to make. Perfect for busy mornings, this recipe uses cold brew, vanilla and caramel syrups, and milk for a rich, refreshing treat.
Ingredients
- 2 cups cold brew coffee concentrate
- 1 cup milk (whole milk, oat milk, or almond milk)
- 1.5 cups ice cubes
- 2 tablespoons vanilla syrup
- 2 tablespoons caramel syrup
- 2 tablespoons heavy cream or whipping cream
- Pinch of salt (optional)
- Extra caramel syrup for drizzling
- Vanilla bean paste or powder (optional garnish)
Instructions
- If making cold brew from scratch, mix 1 cup coarse ground coffee with 4 cups cold water and steep in the fridge for 12-24 hours. Strain and store concentrate.
- Fill a highball glass or large tumbler tightly with ice cubes.
- Pour 2 cups of cold brew coffee over the ice.
- Add 2 tablespoons of vanilla syrup and 2 tablespoons of caramel syrup to the glass.
- Pour in 1 cup of milk. If using a shaker, shake milk and syrups together for 10 seconds until frothy, then pour over coffee. If stirring, whisk vigorously in the glass until combined.
- Drizzle a splash of heavy cream on top for a marbled effect.
- Drizzle extra caramel syrup over the top in a zigzag pattern.
- Serve immediately with a wide straw.
Notes
For best results, use cold ingredients to prevent ice from melting too quickly. Large ice cubes melt slower and keep the drink cold without diluting it. You can substitute vanilla extract for syrup, but use only 1 teaspoon as it is more potent. For a dairy-free version, use oat milk or almond milk.
- Prep Time: 3 minutes
- Cook Time: 0 minutes
- Category: Beverage
- Cuisine: American
Nutrition
- Serving Size: 16 oz glass
- Calories: 250
- Sugar: 30
- Sodium: 100
- Fat: 8
- Saturated Fat: 5
- Carbohydrates: 35
- Protein: 6
Keywords: iced latte, vanilla caramel latte, cold brew recipe, busy morning drink, coffee shop copycat, iced coffee, easy breakfast drink



