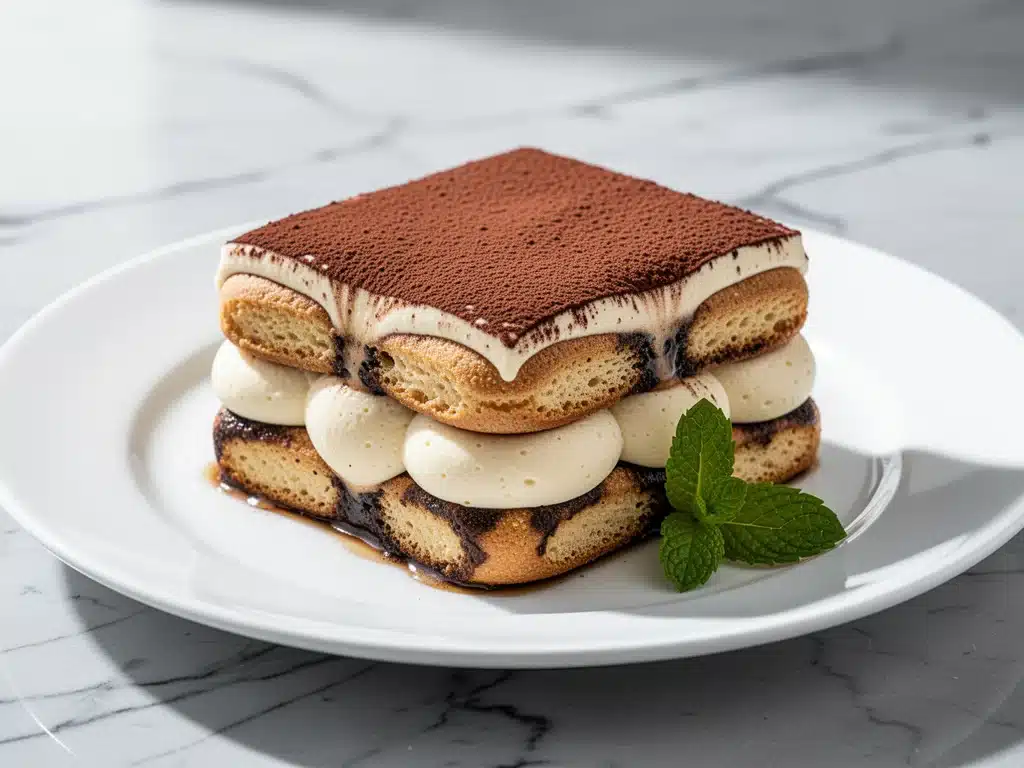
There is a specific kind of magic that happens when you stop trying to be a chef and start being a cook. I learned this lesson on a rainy Tuesday in November, about three years ago. I was standing in my kitchen, staring at a takeout menu for an Italian restaurant I loved, debating whether I had the energy to order in or the patience to cook. I chose the takeout. Twenty minutes later, the food arrived. It was fine. It was warm. It was completely forgettable.
That night, something in me snapped. I didn’t want “fine” anymore. I wanted that rich, coffee-soaked, creamy dessert experience, but I wanted it to be real. I wanted the kind of tiramisu that makes you close your eyes and sigh after the first bite. So, I threw away the menu and went to the grocery store. I came home with mascarpone, espresso, ladyfingers, and a whole lot of determination.
My first attempt was a disaster. The ladyfingers turned to mush because I soaked them too long. The cream was too dense, like eating a block of cheese. But I didn’t give up. I tweaked the ratio. I adjusted the soaking time. I experimented with the sweetness. And after seven iterations, I finally nailed it. This Classic Tiramisu with Espresso Soaked Ladyfingers is the result of that obsession. It’s better than the takeout version, it’s easier than you think, and it’s honestly the best dessert I’ve ever made.
Now, I make this Classic Tiramisu for every gathering. It’s the dessert that gets me compliments. It’s the dish that proves you don’t need fancy techniques to make restaurant-quality food. You just need the right ingredients and a little bit of patience. If you’ve ever been intimidated by Italian desserts, or if you’ve tried making tiramisu before and ended up with a soggy mess, this recipe is for you. I’m going to walk you through exactly how to get it right, every single time.
Why You’ll Love This Recipe
I’ve made this Classic Tiramisu with Espresso Soaked Ladyfingers at least a dozen times since I perfected it, and it never gets old. Here’s why it has earned a permanent spot in my dessert rotation:
Zero Baking Required — Seriously. No oven, no timers, no burning the edges. This is a no-bake dessert that relies on chilling time. You spend about 20 minutes assembling it, then you let the fridge do the heavy lifting. It’s perfect for busy weeknights or when you want to prep dessert days ahead.
Restaurant-Quality Texture — Most homemade tiramisus are either too dry or too wet. This one hits the sweet spot. The ladyfingers hold their structure but yield to the spoon, and the cream is light, airy, and stable. I’ve had this version beat out the tiramisu at three different Italian restaurants I’ve visited.
Make-Ahead Friendly — This is the ultimate party dessert because it needs to chill. In fact, it tastes better the next day. I can assemble it on Saturday afternoon and serve it Sunday night. It saves me so much stress when hosting.
Simple Ingredients — You don’t need obscure items. Eggs (or just cream, if you prefer), sugar, mascarpone, espresso, and ladyfingers. That’s it. No weird stabilizers or gelatin. Just real food.
Customizable Strength — Want it boozy? Add a splash of Marsala or rum. Want it clean? Stick to pure espresso. This Classic Tiramisu adapts to your taste.
This recipe is my answer to “what’s for dessert?” when I want something special but don’t want to stress. It’s elegant, it’s comforting, and it’s surprisingly easy to pull off.
Ingredients You’ll Need
Here’s the thing about tiramisu: the quality of your ingredients matters more than the technique. You can’t fake good mascarpone or strong espresso. I’m particular about these items, and here’s why.
Mascarpone Cheese (16 oz / 450g) — This is the star. Don’t use cream cheese. It’s not the same. Mascarpone is richer, milder, and less tangy. Look for a brand that feels heavy and dense. I always buy the tub version because it’s easier to whip, but the block is fine too. Make sure it’s cold.
Heavy Cream (1 cup / 240ml) — Full-fat only. This gives the cream layer its airy texture. If you use low-fat, it won’t whip properly, and your tiramisu will be dense. I keep heavy cream stocked just for desserts like this.
Egg Yolks (4 large) — I use raw egg yolks for the traditional texture. They add richness and help emulsify the cream. If you’re worried about raw eggs, use pasteurized eggs or skip them and just whip the cream with sugar (I’ll show you how in the variations). But for the authentic taste, yolks are worth it.
Granulated Sugar (½ cup / 100g) — Not too sweet. The espresso and cocoa provide bitterness, so you need just enough sugar to balance it. I’ve tried reducing it, but then the dessert tastes flat. Stick to half a cup.
Espresso Coffee (1 cup / 240ml, cooled) — Strong coffee is non-negotiable. Use fresh-brewed espresso or very strong cold brew. Instant coffee works in a pinch, but it lacks depth. I brew a fresh pot of dark roast and let it cool completely. Warm coffee will melt the mascarpone.
Ladyfingers (24-30 pieces) — These are the sponge fingers that soak up the coffee. Look for Italian-style ladyfingers (Savoiardi). They are hollow and dry, which means they absorb liquid without turning to mush instantly. American-style ladyfingers are too soft and will disintegrate. I always buy the Italian ones.
Unsweetened Cocoa Powder (for dusting) — Good quality cocoa makes a huge difference. I use Dutch-processed cocoa for a darker, smoother finish. It’s not optional; the cocoa is the final touch that defines tiramisu.
Optional: Marsala Wine (2-3 tablespoons) — Traditional Italian tiramisu includes Marsala. It adds a sweet, fortified wine depth. If you don’t have it, skip it. Or use rum or amaretto. I use Marsala because it’s authentic, but the coffee stands strong on its own.
Tip: I’ve also made this with just whipped cream and sugar, no eggs. It’s lighter and safer for kids. I’ll share that method in the variations section.
Equipment Needed
You don’t need fancy gadgets for this. Here’s what I actually use:
Large Mixing Bowl — I use a 4-quart stainless steel bowl. It needs to be big enough to whip the cream and mascarpone without splattering. I keep a dedicated bowl for whipping cream because it whips better in cold metal.
Hand Mixer or Stand Mixer — A hand mixer works fine for small batches. I use my hand mixer because it’s faster to clean. A stand mixer is better if you’re making double batches. Just make sure it’s clean and dry.
Measuring Cups and Spoons — Standard stuff. Accuracy matters here, especially with the sugar.
Shallow Dish — I use a 9×13 inch glass baking dish for the coffee mixture. It needs to be wide enough to dip the ladyfingers quickly. A pie plate works too.
Whisk — For beating the egg yolks and sugar. If you don’t have a whisk, a fork works.
Spatula — For folding the cream. A silicone spatula is best because it scrapes the bowl clean.
Microplane or Fine Grater — For the cocoa dusting. Or just use a fine mesh sieve. I use a microplane for chocolate shavings, but a sieve is perfect for cocoa.
Knife — To trim ladyfingers if your dish is smaller than the length of the fingers. I usually don’t need to trim, but it helps if your dish is narrow.
Tip: I’m obsessed with my glass baking dishes because I can see the layers forming. But ceramic or metal work fine too.
How to Make It: Step-by-Step
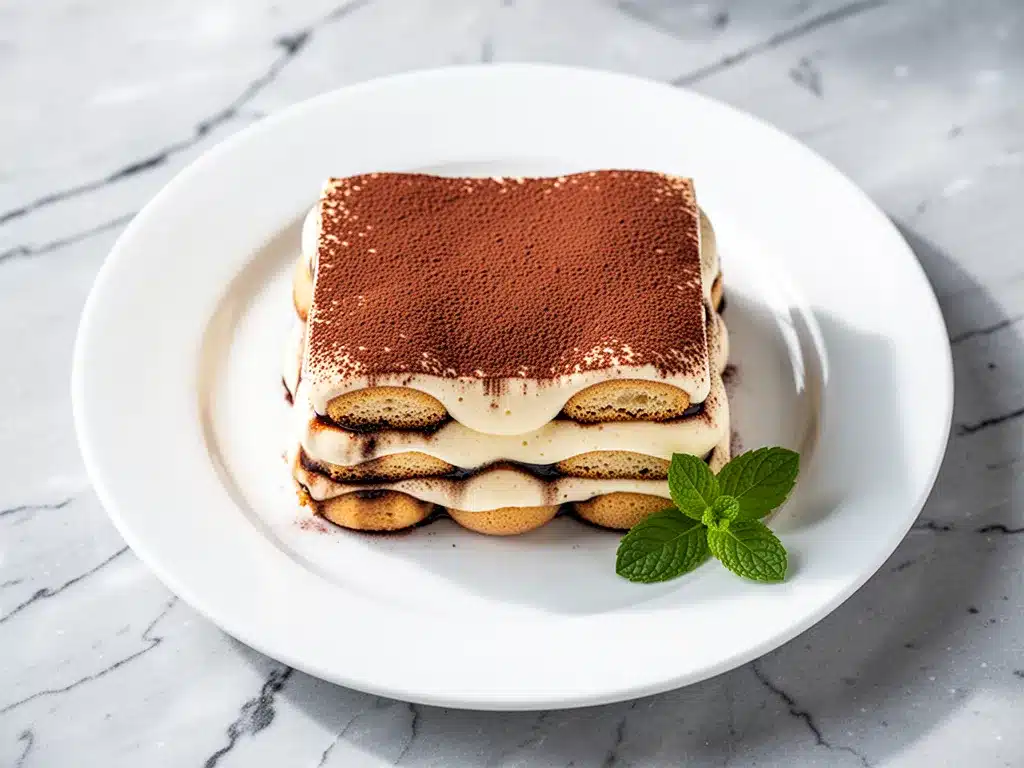
Alright, let’s make this! I’m walking you through exactly how I do it, including the little tricks I’ve picked up over years of making Classic Tiramisu.
Step 1: Brew and Cool the Espresso (10 minutes, mostly passive)
Brew your coffee. I use a French press or an espresso machine. You need 1 cup of strong, hot coffee. Pour it into your shallow dish. If you’re adding Marsala or rum, stir it in now. Let it cool completely. This is crucial. If the coffee is warm, it will melt the mascarpone when you dip the ladyfingers, and your dessert will be soupy. I usually brew the coffee the night before and let it sit in the fridge. Cold coffee works great too.
Step 2: Whip the Cream (3 minutes)
In a large, cold bowl, whip the heavy cream to stiff peaks. Start on medium speed, then increase to high. Watch closely. Once you see peaks that hold their shape when you lift the beaters, stop. Don’t over-whip it into butter. Set it aside in the fridge. This keeps it stable while you work on the mascarpone.
Step 3: Beat the Egg Yolks and Sugar (3 minutes)
In a separate bowl, beat the egg yolks and sugar together. Use a hand mixer on medium-high speed. Beat for about 3-4 minutes until the mixture is pale yellow, thick, and fluffy. It should look like a ribbon when you lift the beaters. This step incorporates air and dissolves the sugar. If you’re skipping eggs, just move to the next step.
Step 4: Fold in the Mascarpone (2 minutes)
Add the cold mascarpone to the egg yolk mixture. Beat on low speed just until combined. Do not over-mix. Mascarpone can seize up if you beat it too hard. You want it smooth and creamy. Once it’s mixed, gently fold in the whipped cream. Use a spatula. Fold from the bottom up, turning the bowl. Stop when you see no white streaks. The mixture should be light and airy.
Step 5: Dip the Ladyfingers (2 minutes)
Here’s the most important step. Take a ladyfinger and dip it into the cooled espresso. Quick dip! One second on each side. You want it soaked but not dripping. If you leave it in too long, it will fall apart. Lay the dipped ladyfingers in a single layer in the bottom of your 9×13 dish. They should fit snugly. You might need to break a few to fill gaps.
Step 6: Layer the Cream (2 minutes)
Spread half of the cream mixture over the first layer of ladyfingers. Use a spatula to smooth it out. Make sure the cream goes into the corners and gaps. You want a uniform layer.
Step 7: Repeat the Layers
Add another layer of dipped ladyfingers on top of the cream. Then spread the remaining cream over them. Smooth the top. It should be even. If you have any gaps, press more ladyfingers in.
Step 8: Chill and Dust (1 hour minimum, overnight best)
Cover the dish with plastic wrap. Refrigerate for at least 4 hours, but ideally overnight. This is when the flavors meld and the ladyfingers soften into a cake-like texture. When you’re ready to serve, dust the top generously with unsweetened cocoa powder. Use a sieve for an even layer. Slice with a sharp knife and serve.
Total active time: About 20 minutes. Total chill time: 4+ hours.
Expert Tips & Tricks
Here’s everything I’ve learned from making this dozens of times. These tips will save you from my mistakes.
Keep Everything Cold — Mascarpone and cream are temperature-sensitive. If your bowl is warm, the cream won’t whip. Keep your mascarpone in the fridge until the last minute. If your cream is warm, it’ll split. Cold ingredients = stable dessert.
Don’t Over-Dip the Ladyfingers — I’ve made this mistake twice. The ladyfingers turn to mush. Dip them fast. One second per side. They should feel heavy but not soggy.
Use Good Cocoa — Cheap cocoa tastes bitter and dusty. Spend the extra dollar on Dutch-processed cocoa. It’s smoother and darker. It makes the dessert look professional.
Let It Chill Overnight — I know you want to eat it now. But patience pays off. The flavors develop overnight. The coffee soaks into the cream. The texture becomes consistent. I’ve tasted it at 4 hours and at 12 hours. The 12-hour version is superior.
Trim the Edges — If your ladyfingers stick out, trim them with a knife for a clean look. It’s not necessary for taste, but it looks nicer.
Make It Ahead — This dessert improves with age. Make it the day before your party. It saves you stress.
Common Mistake: Grainy Cream — If your cream looks grainy, you over-beat the mascarpone. Beat it gently. If it’s already grainy, fold it in quickly and hope for the best. Next time, beat less.
Pro Trick: Zest the Orange — Add a teaspoon of orange zest to the cream. It adds a bright note that cuts the richness. I do this for holidays.
Variations & Substitutions
Once you’ve nailed the basic version, here’s how you can mix it up. I’ve tried all of these.
No-Egg Version — Skip the egg yolks. Just whip the cream and sugar together, then fold in the mascarpone. It’s lighter and safer for kids or pregnant women. I use this version when I’m serving a mixed crowd.
Chocolate Tiramisu — Add 2 tablespoons of cocoa powder to the cream mixture. It makes it chocolatey and rich. I love this for chocolate lovers.
Coffee-Forward — Add a teaspoon of instant coffee granules to the cream. It boosts the coffee flavor. I do this when I want a stronger kick.
Almond Tiramisu — Add 1 teaspoon of almond extract to the cream. Dip the ladyfingers in almond liqueur instead of Marsala. It’s elegant and nutty.
Gluten-Free — Use gluten-free ladyfingers. I’ve tested this with brands like Schär. They work, but they’re more fragile. Dip them even faster.
Vegan — Replace mascarpone with cashew cream (blend soaked cashews with lemon juice and sugar). Replace cream with coconut cream. Replace ladyfingers with vegan sponge fingers. It’s different but still tasty. My vegan friend requested this version.
Mini Tiramisu Cups — Layer the ingredients in individual glasses. It’s perfect for parties. Use 6-8 ounces per cup.
Different Liquids — Try rum, amaretto, or even Baileys. I’ve made Baileys tiramisu for Christmas. It’s delicious.
Serving & Storage
How to serve this Classic Tiramisu with Espresso Soaked Ladyfingers best:
How to Serve: I serve it straight from the fridge. It’s cold and refreshing. Slice it into squares. Dust with cocoa right before serving. I often add a chocolate shavings on top for extra flair. Pair it with a cup of black coffee or a glass of Marsala wine.
Side Dishes: This is a dessert, so it stands alone. But if you want fruit, serve fresh berries on the side. Or a simple arugula salad to cut the richness.
Storage: Store in the fridge, covered with plastic wrap, for up to 5 days. It actually gets better after day 2. Do not freeze it. The cream separates when frozen. It’s best fresh.
Reheating: Do not reheat. Eat it cold. If it’s too cold, let it sit at room temperature for 10 minutes.
Pro Tip: If you’re making this for a party, make it in individual cups. It prevents slicing mess and looks elegant.
Nutrition Information
I’m not a nutritionist, but here’s the breakdown if you’re tracking. This is a rich dessert, so portion control is key.
Per Serving (based on 12 servings):
Calories: 350
Protein: 6g
Carbs: 30g
Fiber: 1g
Sugar: 18g
Fat: 22g
Saturated Fat: 13g
Cholesterol: 120mg
Sodium: 80mg
What’s Good: It has some protein from the cheese and eggs. It’s made with real ingredients, not processed sugars.
What to Know: High in calories and fat from the cream and mascarpone. Contains eggs and dairy. Moderate sugar.
My Take: This is a treat. Enjoy a small slice. It’s worth the calories. I don’t feel guilty eating it because it’s homemade and I know what’s in it.
Final Thoughts
So that’s my go-to Classic Tiramisu with Espresso Soaked Ladyfingers! I’ve probably talked your ear off at this point, but when you make a recipe this often, you have a lot to say about it.
This has saved my dessert game more times than I can count. It’s my answer to “what’s for dessert?” when I want something special but don’t want to stress. My guests are always impressed, and I’m happy because I’m not stressed about cooking.
Make it yours! Try different liquors, add chocolate, or make it vegan. The best recipes are the ones you adapt to your family’s tastes.
If you make this, drop a comment and let me know what you think! I love hearing how recipes turn out in your kitchen. And if something doesn’t work, tell me that too—I’m here to help troubleshoot.
Happy cooking! And I hope your kitchen smells half as good as mine does right now.
Frequently Asked Questions
Can I use instant coffee instead of espresso?
You can, but the flavor won’t be as deep. I use instant coffee in a pinch, but it tastes flat. Dissolve 2 tablespoons of instant coffee in 1 cup of hot water. Let it cool. It’s okay, but fresh espresso is better.
Why did my tiramisu turn out watery?
Usually means you over-dipped the ladyfingers. They released too much coffee into the cream. Dip them faster. Also, make sure the coffee is cooled completely. Warm coffee melts the mascarpone.
Can I make this without eggs?
Yes! Just whip the cream and sugar, then fold in the mascarpone. It’s lighter and safer. I use this version for kids. It’s still delicious.
How long does tiramisu last in the fridge?
Up to 5 days. It actually gets better after day 2. Store it covered with plastic wrap.
Can I freeze tiramisu?
No. The cream separates when frozen. It’s best fresh. Make it the day you want to serve it.
What kind of ladyfingers should I use?
Italian-style Savoiardi. They are dry and hollow, so they absorb coffee without falling apart. American-style ladyfingers are too soft.
Can I add alcohol?
Yes! Marsala is traditional. Rum, amaretto, or Baileys work too. Add 2-3 tablespoons to the coffee. It adds depth and warmth.
Pin This Recipe!
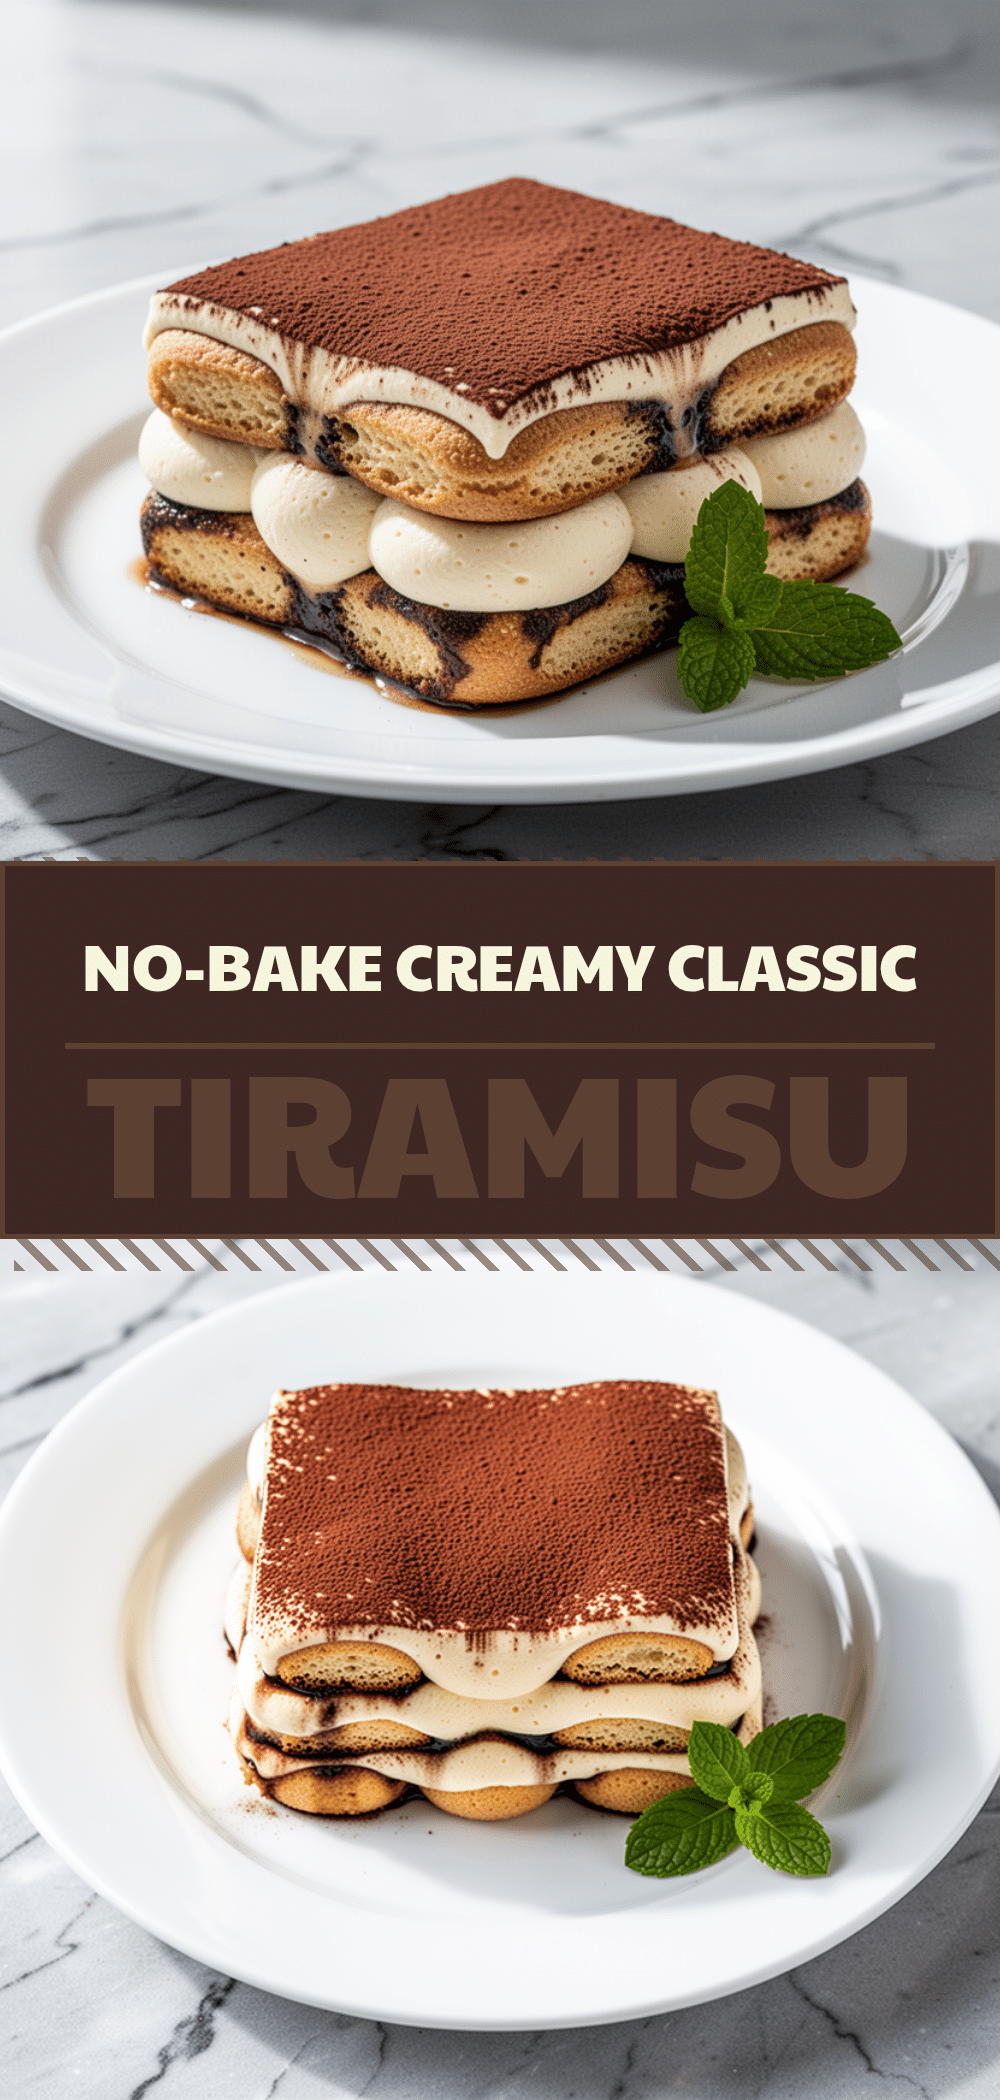
Classic Tiramisu: 5-Step Best Homemade Dessert
- Total Time: 4 hours 20 minutes
- Yield: 12 servings 1x
Description
A rich, coffee-soaked, creamy no-bake dessert that is easier than you think and better than takeout. This classic Italian tiramisu features espresso-soaked ladyfingers and a light mascarpone cream.
Ingredients
- 16 oz (450g) Mascarpone Cheese, cold
- 1 cup (240ml) Heavy Cream, full-fat, cold
- 4 large Egg Yolks
- ½ cup (100g) Granulated Sugar
- 1 cup (240ml) Espresso Coffee, cooled completely
- 24–30 pieces Italian-style Ladyfingers (Savoiardi)
- Unsweetened Cocoa Powder, for dusting
- 2–3 tablespoons Marsala Wine (optional)
Instructions
- Brew 1 cup of strong espresso and let it cool completely. If using, stir in Marsala wine.
- In a large, cold bowl, whip the heavy cream to stiff peaks using a hand or stand mixer. Set aside in the fridge.
- In a separate bowl, beat the egg yolks and sugar together on medium-high speed for 3-4 minutes until pale, thick, and fluffy.
- Add the cold mascarpone to the egg yolk mixture and beat on low speed just until combined. Gently fold in the whipped cream until no white streaks remain.
- Quickly dip each ladyfinger into the cooled espresso (about 1 second per side) and lay them in a single layer in the bottom of a 9×13 inch dish.
- Spread half of the cream mixture over the first layer of ladyfingers.
- Add a second layer of dipped ladyfingers, then spread the remaining cream on top, smoothing it evenly.
- Cover the dish with plastic wrap and refrigerate for at least 4 hours, ideally overnight.
- Before serving, dust the top generously with unsweetened cocoa powder and slice with a sharp knife.
Notes
Keep all ingredients cold to ensure the cream whips properly and the mascarpone doesn’t seize. Do not over-dip the ladyfingers or they will turn to mush. The dessert improves with age; let it chill overnight for the best texture and flavor. Do not freeze, as the cream will separate.
- Prep Time: 20 minutes
- Cook Time: 0 minutes
- Category: Dessert
- Cuisine: Italian
Nutrition
- Serving Size: 1 slice
- Calories: 350
- Sugar: 18
- Sodium: 80
- Fat: 22
- Saturated Fat: 13
- Carbohydrates: 30
- Fiber: 1
- Protein: 6
Keywords: tiramisu, italian dessert, no-bake, mascarpone, espresso, ladyfingers, homemade dessert, make-ahead dessert



