I still remember the first time I made a New York-style cheesecake. It was two days before Thanksgiving, and I was stressed, broke, and convinced I’d ruined dinner by attempting something “fancy.” I pulled it out of the oven, confident it was perfect. I waited for it to cool. Then I put it in the fridge. When I tried to slice it the next morning, it cracked right down the middle like a dry riverbed. My kids stared at it like I’d served them a rock. I scraped it into the trash and ordered pizza.
That failure haunted me for years. I bought store-bought versions that tasted like cardboard and sugar. I tried fancy recipes that required seven egg whites and a water bath I didn’t have room for. But last year, I finally figured out the secret. It wasn’t about expensive cream cheese or fancy techniques. It was about patience and temperature control.
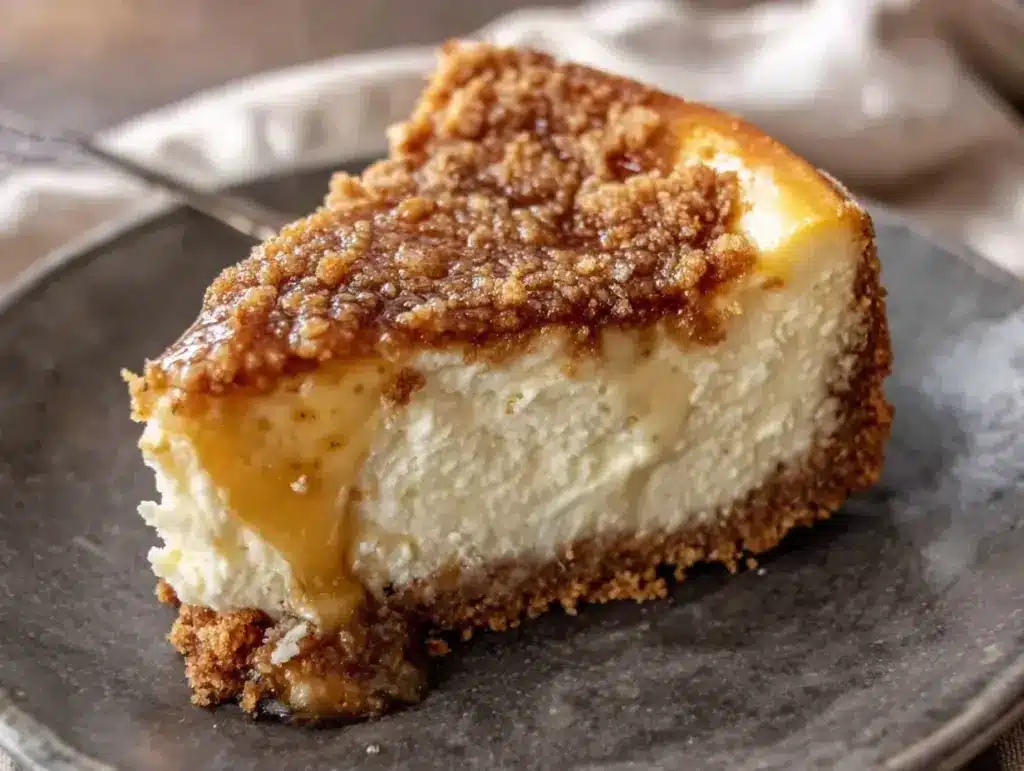
This classic New York style cheesecake for make-ahead desserts is my answer to every holiday, birthday, and “I need to impress the in-laws” panic. It’s dense, creamy, and absolutely stable. The best part? It’s designed to be made days in advance. In fact, it tastes better after it’s spent a full day (or three) in the fridge. The flavors meld, the texture sets perfectly, and you don’t have to stress on the day of the party. I’ve made this batch for everything from Labor Day to quiet Tuesday nights, and it’s become my most reliable dessert trick. If you’re looking for a no-bake strawberry cheesecake for a quick fix, that’s great too, but this baked version is the real deal when you want that authentic, restaurant-quality crunch and creaminess without the restaurant price tag.
Why You’ll Love This Make-Ahead Cheesecake
There are a dozen reasons I keep coming back to this recipe, but let’s be real: it’s the convenience and the crowd-pleasing factor that keep me baking it. Here’s what makes it a winner in my kitchen:
Actually Stays Fresh for Days — Unlike a fluffy mousse or a delicate tart, this cheesecake gets better with age. I make it on Sunday, and it’s still perfect by Friday. The crust stays crisp, and the filling stays moist. It’s the ultimate stress-free dessert for busy parents.
Feels Fancy, Costs Pennies — You don’t need a pastry degree or expensive ingredients. Just cream cheese, sugar, eggs, and a bit of sour cream. I use standard grocery store brands, and honestly? No one can tell the difference when it tastes this good. It’s way cheaper than buying it at a bakery, which is usually $40 for a tiny slice.
Kid-Approved Texture — My kids are picky. They don’t like “weird” textures. This cheesecake is smooth, dense, and not too sweet. It’s the perfect balance. I’ve served it to my niece who’s usually allergic to everything (except this, luckily), and my dad who thinks desserts should be “real food.” Everyone asks for seconds.
Zero Day-Of Stress — Because this is a make-ahead dessert, you can bake it, chill it, and decorate it days before guests arrive. On the day of the party, you just pull it out. I usually pair it with a simple Labor Day watermelon mint sangria to keep the vibe light and refreshing, but honestly, this cake stands on its own.
Freezer Friendly — Yes, you can freeze it! If I’m making a huge batch for a holiday, I wrap two of them in the freezer. Thawing them out takes overnight, and they taste just as good as fresh. This is my secret weapon when I’m running behind.
This is my go-to when I need a dessert that just works. No complicated piping, no last-minute panic, just reliable, delicious food that makes everyone happy. It’s budget-savvy, practical, and honestly, the easiest way to feel like a pro baker.
Ingredients You’ll Need
Here’s the best part: you probably have most of this already. I’m not asking you to go to three different specialty stores. This is pantry-friendly cooking with a few key dairy items. I’m particular about three ingredients here, and I’ll tell you exactly why.
For the Crust
Graham cracker crumbs (1 ½ cups / 150g) — I use the standard Honey Graham Cracker brand. It’s sweet enough that I don’t need extra sugar in the crust. If you can’t find crumbs, just put whole crackers in a food processor and blitz them. It takes 30 seconds.
Unsalted butter (5 tablespoons / 70g) — Melted. Don’t use margarine. It makes the crust soggy and weird. I buy the big tubs of butter when they’re on sale and freeze them. That’s how I keep costs down.
Sugar (2 tablespoons / 25g) — Just a little bit to help the crust brown and bind. Granulated sugar works fine.
For the Filling
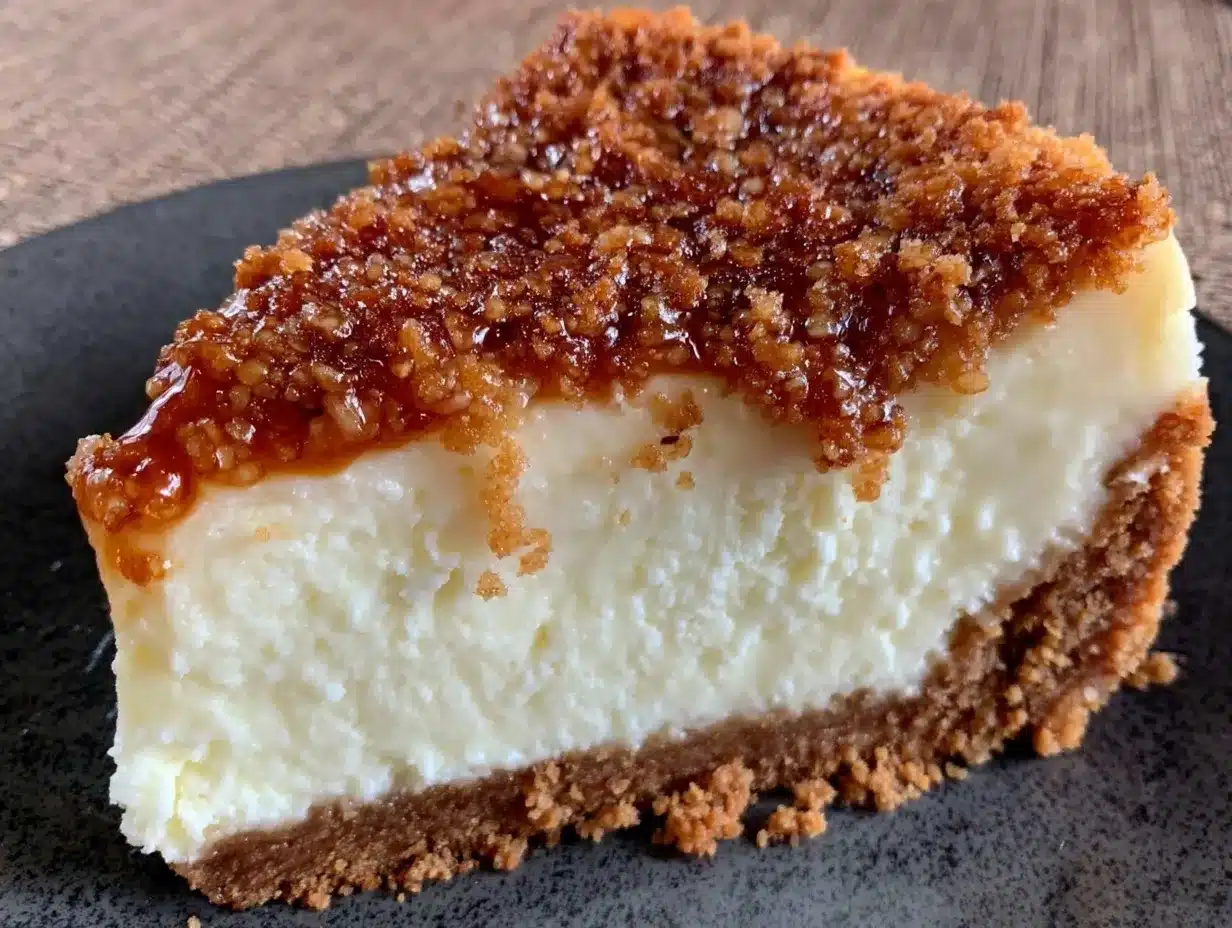
Full-fat cream cheese (32 ounces / 900g) — This is non-negotiable. You need three 8-ounce blocks. Do not use the low-fat stuff. It won’t set right and it’ll taste watery. Let it sit on the counter for an hour before you start. Cold cream cheese = lumpy batter. I’ve ruined batches because I was too lazy to wait.
Sugar (1 cup / 200g) — Standard granulated white sugar. I’ve tried brown sugar, but it changes the color and adds a molasses taste I don’t want. White keeps it classic.
Sour cream (1 cup / 240g) — Full-fat, plain. This adds that tangy New York flavor and keeps the texture creamy. If you’re out of sour cream, plain Greek yogurt works, but sour cream is better for the traditional taste.
Vanilla extract (2 teaspoons) — Use the real stuff, not the imitation. I keep a bottle of McCormick in my pantry. It makes a huge difference in the aroma.
Eggs (4 large) — Room temperature. Again, take them out of the fridge early. Cold eggs can shock the cream cheese and cause cracking.
All-purpose flour (2 tablespoons / 15g) — This is the secret ingredient. A little flour stabilizes the cheesecake so it doesn’t puff up and crack in the oven. It sounds weird, but trust me. It’s what gives it that dense, fudgy texture.
For the Topping (Optional but Recommended)
Strawberries or blueberries — Fresh is best, but frozen works in a pinch if you thaw and drain them first. I usually just do a simple dusting of powdered sugar to keep it elegant and cheap.
Quick tip: If you’re watching your budget, buy the store-brand cream cheese and sour cream. The big tubs are almost always cheaper per ounce. I’ll never buy the fancy “imported” cream cheese for a recipe like this. It’s a waste of money.
Equipment Needed
You don’t need fancy equipment for this. Here’s what I actually use.
9-inch Springform pan — This is the classic round pan with the latch on the side. It’s essential for getting the cheesecake out without breaking it. If your latch is loose, wrap the outside of the pan in heavy-duty aluminum foil to prevent water from leaking in if you use a water bath (though I don’t recommend a water bath for this specific recipe—it keeps the crust too soggy).
Electric mixer — Handheld or stand mixer. I use a handheld because it’s easier to scrape the bowl. You need to beat the cream cheese until it’s completely smooth. Doing this by hand is a workout you don’t need.
Large mixing bowl — Something big enough to hold all the ingredients without splashing.
Food processor or zip-top bag — For crushing graham crackers if you don’t have crumbs. If you use a bag, use a rolling pin. It’s surprisingly therapeutic.
Rubber spatula — For scraping the bowl. You want every bit of that creamy goodness.
Cooling rack — For cooling the cake gradually. Sudden temperature changes cause cracks.
Plastic wrap — To cover the cake while it chills.
I’m obsessed with my cheap rubber spatulas from the dollar store—they don’t scratch the pan and they’re easy to toss when they get old. Don’t buy expensive ones for this.
How to Make It: Step-by-Step
Alright, let’s make this! I’m walking you through exactly how I do it, including the little tricks I’ve picked up over years of baking.
Step 1: Prep Your Pan and Oven (5 minutes)
Preheat your oven to 325°F (165°C). This is a slow bake. High heat is what causes cracking. Grease the bottom of your springform pan with a little butter. You don’t need to grease the sides—the batter needs to cling to the sides to rise properly as it bakes.
Step 2: Make the Crust (5 minutes)
In a medium bowl, mix the graham cracker crumbs, melted butter, and 2 tablespoons of sugar. It should look like wet sand. Press this mixture firmly into the bottom of your springform pan. Use the bottom of a glass to pack it down tight. A loose crust means a soggy bottom. You can bake this for 10 minutes to set it, or just let it sit while you make the filling. I usually just let it sit to save time.
Step 3: Beat the Cream Cheese (3-5 minutes)
In your large mixing bowl, add the room-temperature cream cheese. Beat it on medium-high speed until it is completely smooth and creamy. Scrape down the sides of the bowl with your spatula. If there are still little lumps, keep beating. This step takes patience, but it’s the most important one for a smooth texture.
Step 4: Add Sugar and Flavor (2 minutes)
Reduce the mixer speed to low. Add the 1 cup of sugar, sour cream, and vanilla extract. Mix until just combined. Don’t overmix here, or you’ll incorporate too much air, which leads to cracks.
Step 5: Add Eggs and Flour (2 minutes)
Add the eggs one at a time, mixing on low speed just until each egg is incorporated before adding the next. Then, add the 2 tablespoons of flour. Mix gently until the flour disappears. Stop mixing as soon as the batter looks smooth and glossy. Overmixing at this stage is the #1 cause of cracks.
Step 6: Bake It Slow (1 hour 15 minutes)
Pour the batter over the crust. Smooth the top with a spatula. Bake at 325°F for 1 hour and 15 minutes. The edges should be set, but the center should still jiggle slightly like Jell-O when you shake the pan. It will firm up as it cools. If the center is liquid, give it 10 more minutes. If it’s firm, take it out.
Step 7: The Cool Down (Critical Step)
Turn off the oven. Crack the oven door open slightly (use a wooden spoon to hold it ajar). Leave the cheesecake in the cooling oven for 1 hour. This gradual cooling prevents the thermal shock that causes cracks. After an hour, take it out and let it cool completely on a wire rack.
Step 8: Chill Overnight (4+ hours)
Once it’s room temperature, cover it loosely with plastic wrap and refrigerate for at least 4 hours, but ideally overnight. This is where the magic happens. The flavors develop, and the texture sets into that perfect dense creaminess.
Step 9: Serve
Run a knife around the edge of the pan to loosen it, then unlatch the springform. Slice with a sharp knife dipped in hot water for clean cuts. Top with berries or a dusting of powdered sugar.
Expert Tips & Tricks
Here’s everything I’ve learned from making this dozens of times. These tips will save you from my mistakes.
Room Temperature is King
I can’t stress this enough. If your cream cheese or eggs are cold, your batter will be lumpy. I take everything out of the fridge the night before. If I forget, I microwave the cream cheese blocks (still in wrapper) for 15 seconds on each side, and the eggs in warm water for 5 minutes.
Don’t Overmix
Once you add the eggs, mix on the lowest speed possible. You want to combine the ingredients, not whip air into them. Air bubbles expand in the oven and then collapse, causing cracks. Less mixing = smoother cake.
The Jiggle Test
Don’t rely solely on the clock. The cheesecake is done when the edges are set but the center 2 inches still wobble slightly. It should look like a firm gelatin, not liquid soup. It will continue to cook from residual heat after you take it out.
Storage for Make-Ahead Success
This cheesecake keeps well in the fridge for up to 5 days. Wrap it tightly in plastic wrap and then foil if you want to freeze it. It freezes beautifully for up to 3 months. Just thaw it in the fridge overnight before serving. This is my favorite trick for holiday prep.
Common Mistake: Soggy Crust
If your crust gets soggy, it’s usually because the batter was too wet or the crust wasn’t pressed down tight. Make sure you pack that crust firmly! Also, avoid adding fruit toppings that release a lot of juice directly onto the crust before serving.
Variations & Substitutions
Once you’ve nailed the basic version, here’s how you can mix it up. I’ve tried all of these.
Chocolate Swirl
Melt ½ cup of chocolate chips. Swirl it into the batter before baking. It adds a nice richness without overpowering the classic taste.
Lemon Cheesecake
Add the zest of one lemon and 1 tablespoon of lemon juice to the batter. It brightens the flavor and cuts through the richness. Great for spring.
Oreo Cheesecake
Skip the graham crackers. Use crushed Oreos for the crust. It’s a kid favorite and tastes like a dessert sandwich.
Gluten-Free
Use gluten-free graham crackers or crushed gluten-free cookies for the crust. The rest of the ingredients are naturally gluten-free, so it’s easy to adapt.
Lower Sugar
I haven’t tested this extensively with sugar substitutes, but you can reduce the sugar by ¼ cup if you prefer it less sweet. The texture might be slightly less stable, but it’s still good.
Dietary Modifications:
Vegetarian: This is already vegetarian-friendly.
Vegan: This is tricky. You’d need vegan cream cheese and a flax egg substitute, but the texture will be different. If you’re looking for a vegan option, I have a vegan creamy coconut chickpea curry that’s great, but for desserts, my keto cheesecake fat bombs are a simpler swap if you’re avoiding dairy.
Serving & Storage
How to Serve:
I usually serve this straight from the fridge. It’s best cold. I pair it with fresh berries, a dollop of whipped cream, or just a dusting of powdered sugar. For a party, I slice it into 12 generous pieces. It’s rich, so people don’t need huge slices.
Side Dishes:
This is a dessert, so it doesn’t need sides. But if you’re serving it after a heavy meal like smoky honey garlic BBQ ribs, the light sweetness of the cheesecake is a perfect finish. Or if you’re having a lighter meal like Mediterranean lemon garlic shrimp, the cheesecake provides a comforting contrast.
Storage Instructions:
Refrigerator: Store in an airtight container or tightly wrapped in plastic for up to 5 days. It actually tastes better on day 2 or 3.
Freezer: Wrap the whole cheesecake (or individual slices) in plastic wrap, then foil. Freeze for up to 3 months. Thaw in the fridge overnight.
Reheating: Do not reheat this. It’s meant to be eaten cold. If you want it slightly softer, let it sit on the counter for 15 minutes before serving.
Pro tip: If you’re making this for a crowd, double the recipe. Use two springform pans. Freeze one immediately. You’ll thank yourself later when you need a last-minute dessert.
Nutrition Information
I’m not a nutritionist, but here’s the breakdown if you’re tracking. Keep in mind, this is a rich dessert, so portion control is key.
Per Serving (based on 12 slices):
- Calories: 380
- Protein: 6g
- Carbs: 32g
- Fiber: 0g
- Sugar: 24g
- Fat: 24g
- Saturated Fat: 14g
- Cholesterol: 95mg
- Sodium: 280mg
What’s Good:
- Decent protein from the cream cheese and eggs
- Calcium from the dairy
- Stable energy (no sugar crash if you eat a small slice)
What to Know:
- High in saturated fat and calories due to cream cheese
- Contains dairy and gluten
- Use low-fat cream cheese to reduce calories, but texture will suffer
My Take:
Look, this is cheesecake. It’s not a salad. It’s a treat. But it’s way better than buying it pre-made, and you control the sugar. When I make it for my kids, I use a little less sugar, and they don’t even notice. Just enjoy a slice with your coffee or after dinner. It’s worth every calorie.
Final Thoughts
So that’s my classic New York style cheesecake! I know I’ve talked a lot about it, but when you make a recipe this often, you have a lot to say about why it works. This has saved my holiday desserts more times than I can count. It’s my answer to “what’s for dessert?” when I’m tired, don’t want to bake anything complicated, and still want something that tastes really good.
My kids are happy, my husband’s happy, and I’m happy because I’m not stressed about cooking. Make it yours! Try different toppings, swap in your favorite berries, or add a chocolate swirl. The best recipes are the ones you adapt to your family’s tastes.
If you make this, drop a comment and let me know what you think! I love hearing how recipes turn out in your kitchen. And if something doesn’t work, tell me that too—I’m here to help troubleshoot.
Happy baking! And I hope your kitchen smells half as good as mine does right now.
Frequently Asked Questions
Q: Can I use a regular pan instead of a springform pan?
A: You can, but it’s much harder to get the cheesecake out without breaking it. If you use a regular 9-inch round pan, line it with parchment paper and leave overhangs on the sides so you can lift it out. But a springform pan is really worth the investment if you bake often.
Q: Why did my cheesecake crack?
A: Cracking is usually caused by overmixing (which adds air), baking at too high a temperature, or cooling too quickly. Remember: low and slow baking, gentle mixing, and gradual cooling in the turned-off oven. This recipe is designed to minimize cracking, but it’s not 100% guaranteed if the technique isn’t followed.
Q: Can I make this ahead and freeze it?
A: Yes! This is one of the best make-ahead desserts. Bake it, cool it, wrap it tightly in plastic and foil, and freeze for up to 3 months. Thaw it in the fridge overnight before serving. The texture holds up surprisingly well.
Q: How long does this cheesecake last in the fridge?
A: It lasts up to 5 days in the fridge, covered. In fact, many people say it tastes better on day 2 or 3 as the flavors meld. Just make sure it’s tightly wrapped so it doesn’t absorb fridge odors.
Q: Can I use light cream cheese?
A: I don’t recommend it. Light cream cheese has more water and less fat, which can make the cheesecake runny and less creamy. Full-fat is the way to go for that authentic New York texture.
Q: What if I don’t have sour cream?
A: Plain Greek yogurt is a good substitute. It has a similar tang and creaminess. Just make sure it’s full-fat Greek yogurt for the best texture.
Q: Can I add fruit on top?
A: Absolutely. Fresh strawberries, blueberries, or a raspberry coulis are great. Just add the fruit right before serving so it doesn’t make the crust soggy. For a simpler look, a dusting of powdered sugar is elegant and easy.
Pin This Recipe!
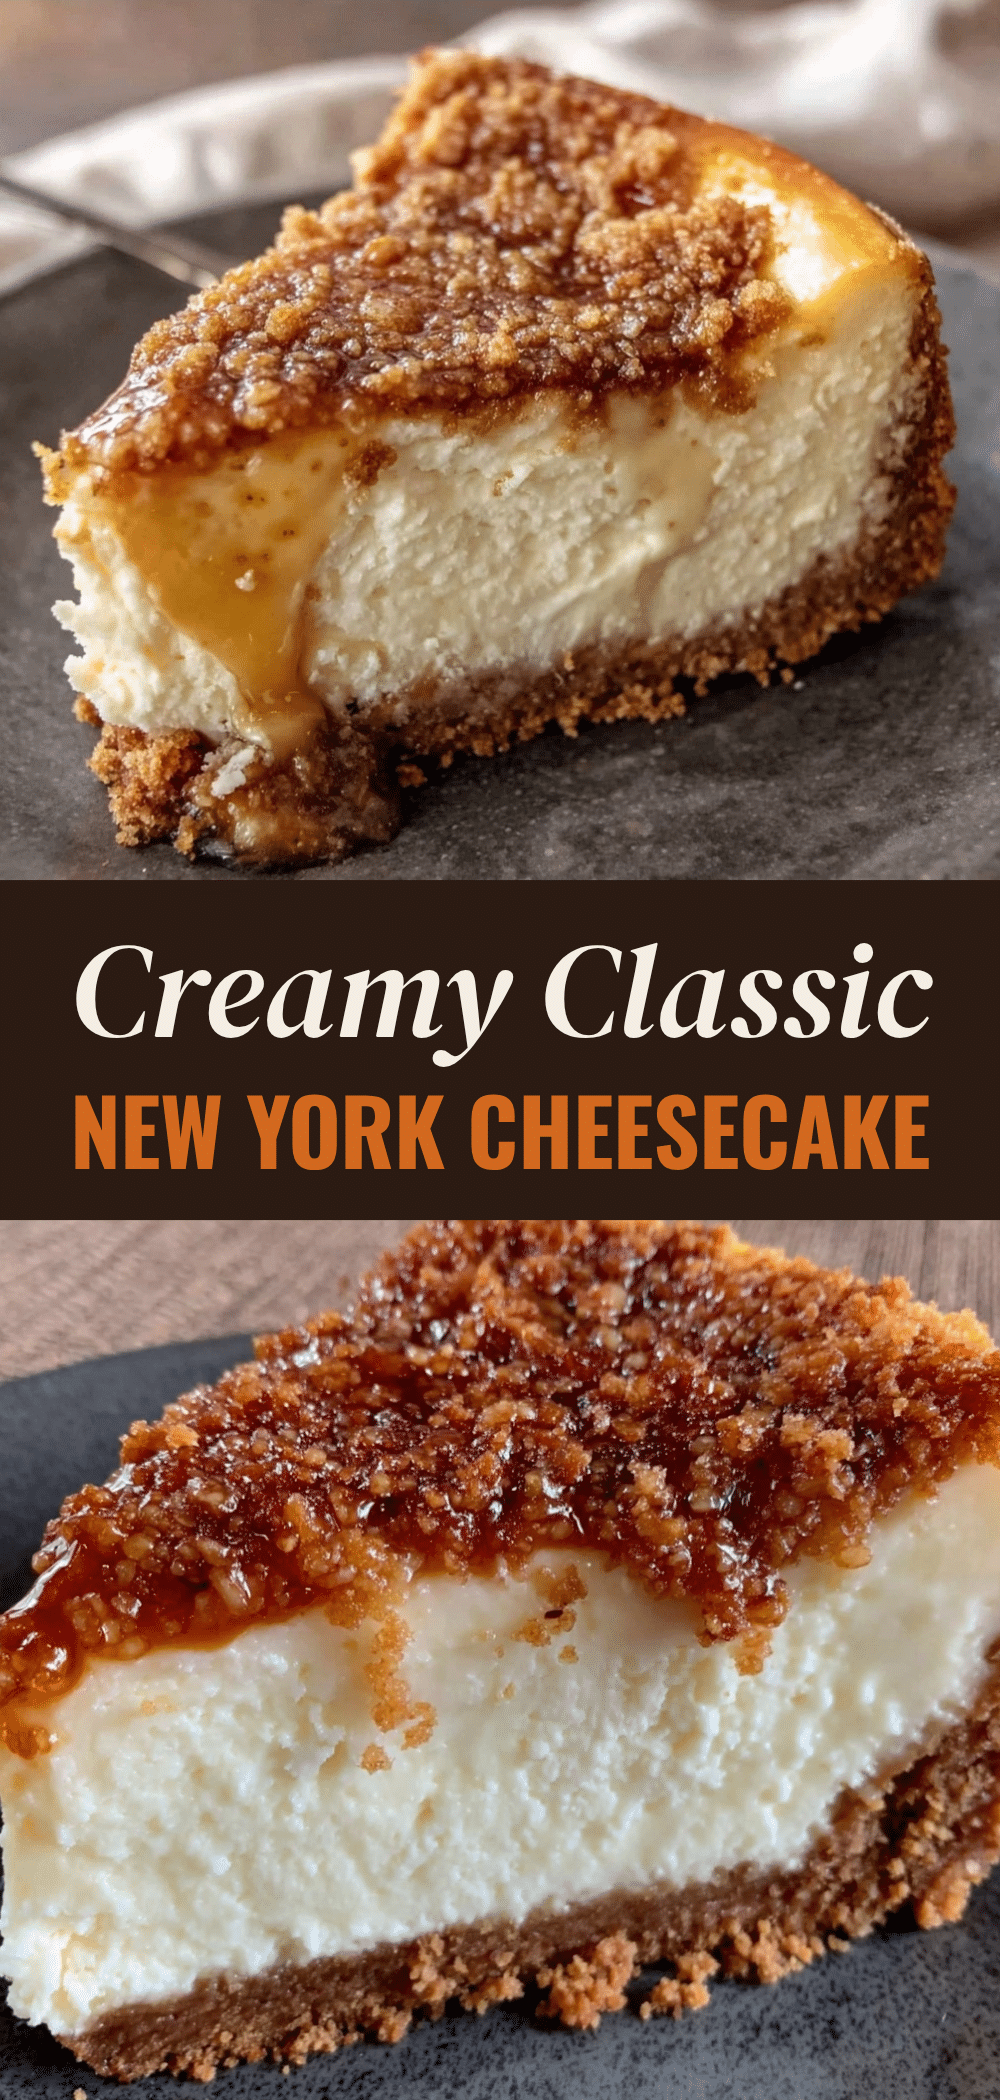
Classic New York Style Cheesecake: Easy Make-Ahead Dessert
- Total Time: 1 hour 30 minutes (plus overnight chilling)
- Yield: 12 servings 1x
Description
A dense, creamy, and stable New York-style cheesecake designed for make-ahead convenience. This recipe avoids water baths and complex techniques, relying on temperature control and patience to prevent cracking, resulting in a restaurant-quality dessert that tastes better after chilling.
Ingredients
- 1 ½ cups (150g) graham cracker crumbs
- 5 tablespoons (70g) unsalted butter, melted
- 2 tablespoons (25g) granulated sugar
- 32 ounces (900g) full-fat cream cheese, room temperature
- 1 cup (200g) granulated white sugar
- 1 cup (240g) full-fat plain sour cream
- 2 teaspoons vanilla extract
- 4 large eggs, room temperature
- 2 tablespoons (15g) all-purpose flour
- Fresh strawberries or blueberries for topping (optional)
- Powdered sugar for dusting (optional)
Instructions
- Preheat oven to 325°F (165°C). Grease the bottom of a 9-inch springform pan with butter.
- In a medium bowl, mix graham cracker crumbs, melted butter, and 2 tablespoons sugar until it resembles wet sand. Press firmly into the bottom of the pan.
- In a large mixing bowl, beat the room-temperature cream cheese on medium-high speed until completely smooth and creamy, scraping down the sides as needed.
- Reduce mixer speed to low. Add 1 cup sugar, sour cream, and vanilla extract. Mix until just combined.
- Add eggs one at a time, mixing on low speed just until incorporated. Add flour and mix gently until the batter is smooth and glossy. Do not overmix.
- Pour batter over the crust and smooth the top. Bake at 325°F for 1 hour and 15 minutes. The edges should be set, but the center should jiggle slightly like Jell-O.
- Turn off the oven and crack the door open slightly (use a wooden spoon to hold it ajar). Leave the cheesecake in the cooling oven for 1 hour to prevent cracking.
- Remove from oven and let cool completely on a wire rack.
- Cover loosely with plastic wrap and refrigerate for at least 4 hours, ideally overnight.
- To serve, run a knife around the edge to loosen, unlatch the springform, and slice. Top with berries or powdered sugar.
Notes
Ensure all dairy and eggs are at room temperature to prevent lumps and cracking. Do not overmix the batter after adding eggs to avoid incorporating air bubbles. The cheesecake can be frozen for up to 3 months; thaw in the fridge overnight before serving. It keeps well in the refrigerator for up to 5 days.
- Prep Time: 15 minutes
- Cook Time: 1 hour 15 minutes
- Category: Dessert
- Cuisine: American
Nutrition
- Serving Size: 1 slice (1/12 of cak
- Calories: 380
- Sugar: 24
- Sodium: 280
- Fat: 24
- Saturated Fat: 14
- Carbohydrates: 32
- Protein: 6
Keywords: New York cheesecake, make-ahead dessert, easy cheesecake, baked cheesecake, holiday dessert, crowd-pleasing dessert



