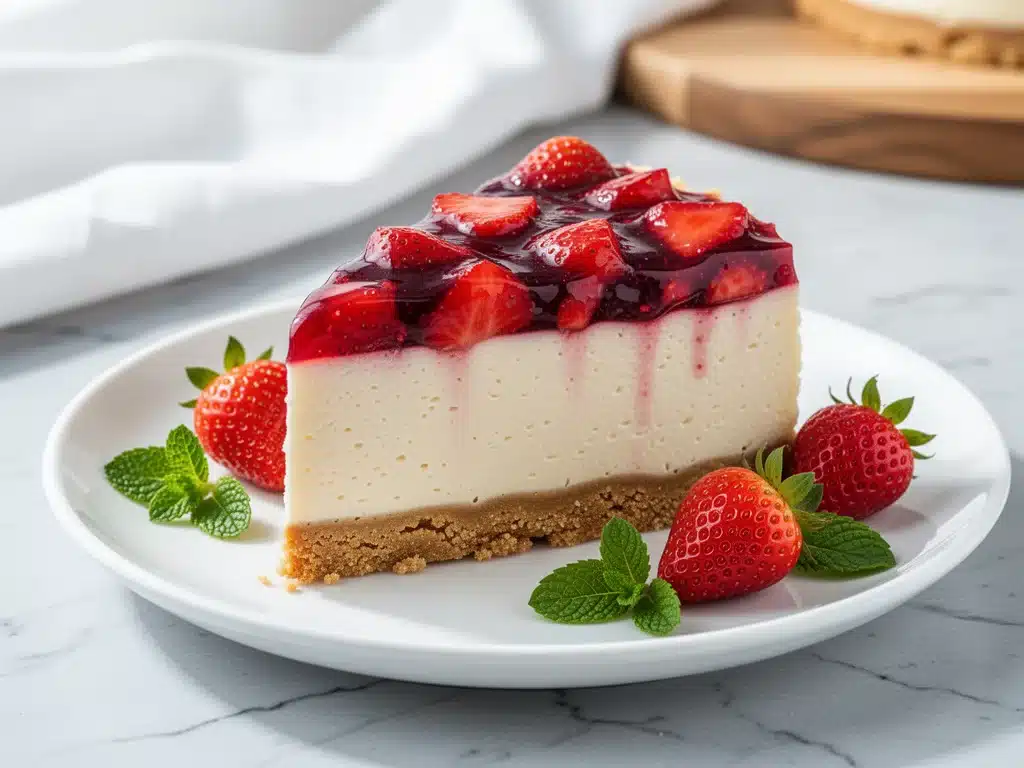
It was 8:00 PM on a Thursday, and my oven was still warm from a batch of roasted chicken. I was exhausted, hungry, and desperately craving something sweet that wasn’t a granola bar. The problem? I didn’t want to wait for the oven to cool down, preheat it again, bake for an hour, and then wait another three hours for it to set. I wanted dessert now. So I raided the fridge, found a block of cream cheese, a tub of strawberries, and a package of graham crackers, and threw together what I thought would be a sad, watery mess. Instead, I got the creamiest, brightest, most impressive dessert I’d ever made in under twenty minutes of active time.
That was the birth of my go-to no-bake strawberry cheesecake. I’ve made it for birthdays, potlucks, and lazy Sunday nights when I just need a hug in food form. And here’s the honest truth: it consistently beats the dense, heavy cheesecakes you get at fancy bakeries. People think it’s too easy to be good. They expect a graham cracker crust made with instant pudding mix (spoiler: don’t do that). They expect the filling to be watery. But when you get the ratios right, this no-bake strawberry cheesecake is silky, tangy, and utterly irresistible.
I’ve tested this recipe at least a dozen times over the last year, tweaking the sweetness, the crust texture, and the strawberry preparation. The version below is the one that makes people ask for the recipe before they’ve even finished their first slice. It’s foolproof. It’s refreshing. And it’s the perfect solution for anyone who loves cheesecake but hates the hassle of baking.
Why You’ll Love This No-Bake Strawberry Cheesecake
There are a million dessert recipes out there, but this specific combination of flavors and textures hits a different nerve. It’s not just sweet; it’s balanced. It’s not just rich; it’s light. Here’s why this has become a staple in my rotation, and why I think it will become one in yours too.
- Zero Oven Required — Seriously. If you can open a package of graham crackers and blend them in a food processor, you can make this. No preheating, no water baths, no cracking the crust. This is perfect for summer when you don’t want to heat up your kitchen, or for winter when you just want to keep the house cozy.
- Lightning Fast Prep — The active time is about 15 minutes. The rest is just waiting in the fridge. I’ve made this on a whim after dinner while my kids were brushing their teeth. By the time they were in bed, the cheesecake was set enough to slice. It’s the ultimate weeknight dessert hack.
- Restaurant-Quality Texture — Because there’s no baking, the texture stays incredibly smooth and creamy. It doesn’t dry out like baked cheesecakes can. It melts in your mouth. I’ve served this to friends who are “cheesecake snobs,” and they couldn’t tell the difference between this and a New York-style baked version. (Okay, maybe they’d notice it’s lighter, but they loved that about it.)
- Make-Ahead Friendly — This is actually better the next day. The flavors meld together overnight, and the crust firms up perfectly. I often make this the night before a party so I’m not stressed in the morning. It keeps in the fridge for up to 5 days, though it rarely lasts that long.
- Customizable Strawberry Topping — You can use fresh berries, a cooked compote, or even strawberry jam. I love using a quick-cooked strawberry sauce on top because it looks glossy and elegant, like something from a patisserie. But fresh slices work just as well if you’re in a rush.
This recipe takes the intimidation out of dessert. It’s approachable, forgiving, and consistently delicious. You don’t need fancy equipment or rare ingredients. You just need a few basics and a willingness to trust that “no-bake” doesn’t mean “low effort.”
Ingredients You’ll Need
Here’s the best part: you probably have most of this already in your pantry or fridge. This no-bake strawberry cheesecake relies on simple, high-quality ingredients. The fewer ingredients you have, the more each one matters, so I’m particular about a few things.
For the Graham Cracker Crust
Graham crackers (1 and 1/2 cups / about 150g crushed) — I use original flavor. Chocolate or honey graham crackers work too, but they change the flavor profile significantly. Original gives that classic, slightly sweet, buttery base. If you’re making this gluten-free, use gluten-free graham cracker crumbs or a gluten-free cookie like Oreos.
Unsalted butter (6 tablespoons / 85g, melted) — This binds the crust. Use real butter, not margarine. Margarine can make the crust greasy and soggy. Melt it in the microwave or a small saucepan. Let it cool for a minute so it’s warm, not boiling, when you mix it with the crumbs.
Granulated sugar (2 tablespoons / 25g) — Just a little bit to sweeten the crust. If your graham crackers are already very sweet, you can skip this or reduce to 1 tablespoon. Don’t skip it entirely, though; it helps balance the tang of the cream cheese.
Pinch of salt — This is non-negotiable. Salt enhances the buttery flavor and prevents the crust from tasting flat. I use a good sea salt or kosher salt.
For the Cheesecake Filling
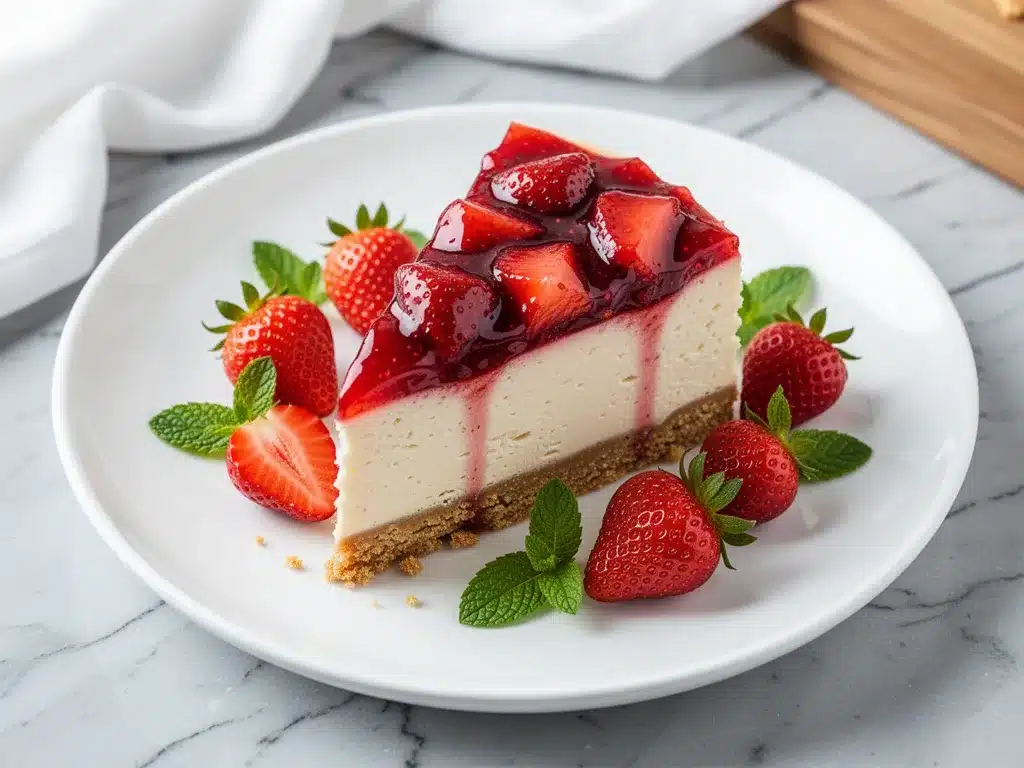
Full-fat cream cheese (24 ounces / 680g) — This is the star. Do not use low-fat or whipped cream cheese. Low-fat will make your cheesecake dense and grainy. Whipped cream cheese has air in it, which throws off the volume. You need the dense, rich brick from the block. Let it sit on the counter for 30-45 minutes before using. Cold cream cheese is hard to blend smoothly, and lumps are the enemy of a good no-bake cheesecake.
Heavy whipping cream (1 cup / 240ml, cold) — This adds lightness and structure. You need heavy cream with at least 36% fat. Light cream won’t whip up. Make sure it’s cold straight from the fridge. If it’s warm, it won’t hold peaks.
Confectioners’ sugar (1 cup / 120g) — Also known as powdered sugar. This dissolves easily in the cream cheese mixture, unlike granulated sugar which can leave gritty spots. Sift it if it’s clumpy.
Vanilla extract (1 teaspoon / 5ml) — Use real vanilla, not imitation. The flavor is subtle but important for that classic cheesecake taste. If you want a more complex flavor, use vanilla bean paste.
Lemon juice (1 tablespoon / 15ml) — This is the secret ingredient. A little bit of acid cuts through the richness of the cream cheese and butter. It brightens the whole dessert. Don’t skip it, even if you’re not a lemon fan. You won’t taste the lemon; you’ll just taste “better.”
For the Strawberry Topping
Fresh strawberries (1 pound / 450g) — Look for bright red, fragrant berries. If they’re white at the stem or tasteless, your topping will be bland. Wash and hull them. You’ll use some for the topping and some for the layer inside the cheesecake if you want a surprise filling.
Strawberry jam or preserves (1/4 cup / 60g) — I use a high-quality, seedless strawberry jam for the glaze. It makes the topping look shiny and professional. If you don’t have jam, you can make a quick compote by cooking down chopped strawberries with a little sugar.
Water (1 tablespoon) — To thin the jam for glazing.
Optional: Gelatin — Some recipes use gelatin to help the cheesecake set. I’ve found that if you chill it long enough (at least 4 hours, preferably overnight), the whipped cream and cream cheese set firmly on their own. I prefer to skip the gelatin for a lighter texture, but if you live in a hot climate, adding 1 teaspoon of bloomed gelatin can help.
Equipment Needed
You don’t need a lot of fancy gadgets for this. Here’s what I actually use in my kitchen.
- Food processor — This is the easiest way to crush the graham crackers into fine crumbs. If you don’t have one, put the crackers in a zip-top bag and crush them with a rolling pin. It takes more effort but works fine.
- 9-inch springform pan — This is standard for cheesecakes. The sides come off, making it easy to slice and serve. Make sure the bottom is tight; if it leaks, wrap the bottom in foil. If you don’t have a springform pan, a 9-inch round cake pan lined with parchment paper works, but slicing will be harder.
- Mixing bowls — You’ll need two large bowls. One for the cream cheese mixture, one for whipping the cream.
- Electric mixer — A hand mixer or stand mixer makes this much easier. You can do it by hand with a whisk, but it takes arm strength and time. I use my stand mixer on medium speed.
- Spatula — A rubber spatula is essential for folding the whipped cream into the cream cheese without deflating it. Be gentle.
- Paring knife — For hulling the strawberries.
- Small saucepan — For warming the jam glaze (optional).
Pro Tip: Line the bottom of your springform pan with a circle of parchment paper. It makes cleanup a breeze and ensures the crust doesn’t stick. I learned this the hard way after scraping burnt crust off the metal for years.
How to Make It: Step-by-Step
Alright, let’s make this! I’m walking you through exactly how I do it. The process is simple, but technique matters.
Step 1: Prep Your Pan and Crust (10 minutes)
Start by crushing your graham crackers. If using a food processor, pulse until you have fine crumbs. It should look like wet sand. If using a bag, keep crushing until there are no large chunks. Transfer the crumbs to a medium bowl. Add the melted butter, sugar, and salt. Stir until it looks like wet sand. If you squeeze a handful, it should hold together.
Press this mixture into the bottom of your 9-inch springform pan. Use the bottom of a measuring cup to press it down firmly and evenly. You want a flat, compact layer. Don’t worry about going up the sides; we’re keeping it simple. Place the crust in the fridge while you make the filling. This helps it set faster.
Step 2: Beat the Cream Cheese (3 minutes)
In your large mixing bowl, add the softened cream cheese. Beat it on medium-high speed until it is completely smooth and creamy. This is crucial. Scrape down the sides and bottom of the bowl. If there are any lumps, your cheesecake will be lumpy. This might take 2-3 minutes. Don’t rush it. Add the confectioners’ sugar, vanilla, and lemon juice. Beat until combined. The mixture should be thick and glossy.
Step 3: Whip the Cream (2 minutes)
In a separate cold bowl, pour the cold heavy cream. Whip it on high speed until you form stiff peaks. This means when you lift the beaters, the cream stands up straight. Don’t over-whip it into butter, but don’t under-whip it either. Stiff peaks provide the structure for the no-bake cheesecake.
Step 4: Fold It Together (2 minutes)
Add about one-third of the whipped cream to the cream cheese mixture. Fold it in gently with a spatula to lighten the mixture. Then, add the rest of the whipped cream. Fold gently until just combined. You want to keep as much air in the mixture as possible. Over-mixing will deflate the cream and make the cheesecake dense. Stop when you see no white streaks of cream cheese.
Step 5: Assemble the Cheesecake (5 minutes)
Pour the filling over the chilled crust. Smooth the top with your spatula. If you want a layer of strawberries inside, slice some berries and press them into the top layer of the filling. Don’t bury them too deep; you want to see them. Pour the rest of the filling over the berries and smooth it out.
Chill the cheesecake for at least 4 hours, preferably overnight. This is the hardest part—waiting. But it’s necessary for the texture to set. If you cut it too soon, it will be runny.
Step 6: Make the Strawberry Glaze (5 minutes)
While the cheesecake chills, make the topping. In a small saucepan, combine the strawberry jam and water. Heat over low heat, stirring until the jam is thin and liquid. Remove from heat and let it cool slightly. Hull and slice your remaining strawberries. Arrange them on top of the chilled cheesecake, overlapping them slightly for a beautiful look. Brush the warm jam glaze over the strawberries with a pastry brush. This keeps them fresh and adds a gorgeous shine.
Step 7: Serve
Run a hot knife around the edge of the springform pan to loosen the cheesecake. Unlock the spring and remove the sides. Slice with a clean, hot knife for neat slices. Serve chilled. Enjoy!
Expert Tips & Tricks
Here’s everything I’ve learned from making this dozens of times. These tips will save you from my mistakes.
- Softened Cream Cheese is Key — I cannot stress this enough. Cold cream cheese will not blend smoothly. Take it out of the fridge 30 minutes before you start. If you’re in a hurry, you can microwave it in 10-second bursts, but be careful not to melt it. It should be soft to the touch but still hold its shape.
- Don’t Skip the Lemon — I know it sounds weird in a strawberry cheesecake, but the acid balances the sweetness. It makes the strawberry flavor pop. You won’t taste lemon; you’ll just taste “not too sweet.”
- Whip the Cream Correctly — If your cream is too warm, it won’t whip. Keep your bowl and beaters cold. If you live in a hot kitchen, put the bowl in the fridge for 10 minutes before whipping. Stiff peaks are essential for structure.
- Chill Long Enough — I know you want to eat it now. But if you cut it after 1 hour, it will be a mess. 4 hours is the minimum. Overnight is best. The longer it chills, the better the texture.
- Hot Knife for Slicing — Dip your knife in hot water and wipe it dry before each cut. This gives you clean, professional slices. If you don’t do this, the cheesecake will stick to the knife and look messy.
Variations & Substitutions
Once you’ve nailed the basic version, here’s how you can mix it up. I’ve tried all of these.
- Blueberry Cheesecake — Swap the strawberries for blueberries. Use blueberry jam for the glaze. It’s equally delicious and looks stunning.
- Oreo Cheesecake — Use Oreo cookies instead of graham crackers for the crust. Skip the sugar in the crust. Fill with whipped cream and cream cheese, and top with whipped cream and crushed Oreos. A classic for a reason.
- Mango Cheesecake — Use mango puree instead of strawberries. Top with fresh mango slices. It’s tropical and refreshing.
- Gluten-Free — Use gluten-free graham crackers or almond flour for the crust. Make sure your cream cheese and other ingredients are certified gluten-free if you have celiac disease.
- Dairy-Free — Use vegan cream cheese (like Kite Hill) and coconut cream instead of heavy cream. Note: The texture will be different. Coconut cream can be grainy if not whipped properly. It’s still good, but not identical to the dairy version.
- Lower Sugar — Use a sugar substitute like erythritol or monk fruit in place of the confectioners’ sugar. You may need to adjust the amount based on sweetness level. The crust can also be made with just butter and salt, no sugar.
Serving & Storage
How to Serve:
I usually serve this straight from the springform pan. It looks rustic and elegant. Pair it with a cup of coffee or tea. It’s also great with a glass of cold milk or a light dessert wine like Moscato.
Storage:
Store the cheesecake in the refrigerator, covered with plastic wrap or in an airtight container, for up to 5 days. It does not freeze well. The texture of the whipped cream changes when frozen and thawed, becoming grainy and watery. For best results, make it fresh or store it in the fridge.
Reheating:
Do not reheat this cheesecake. It’s meant to be served cold. If it’s too cold from the fridge, let it sit on the counter for 10 minutes before serving to soften slightly.
Nutrition Information
I’m not a nutritionist, but here’s the breakdown if you’re tracking. This is a rich dessert, so portion control is key.
Per serving (based on 12 slices):
- Calories: 380
- Fat: 28g
- Carbohydrates: 28g
- Fiber: 1g
- Sugar: 22g
- Protein: 5g
This is comfort food. It’s rich, creamy, and sweet. It’s not a health food. But it’s made with real ingredients, and it’s better than anything from a box. When I make this, I enjoy a small slice and savor it. It’s worth the calories.
Final Thoughts
So that’s my no-bake strawberry cheesecake! I’ve probably talked your ear off at this point, but when you make a recipe this often, you have a lot to say about it. This has saved me more times than I can count. It’s my answer to “what’s for dessert” when I want something special but don’t want to spend hours in the kitchen. My kids love it, my husband loves it, and my friends always ask for the recipe.
Make it yours! Try different berries, different crusts, different toppings. The best recipes are the ones you adapt to your tastes. If you make this, drop a comment and let me know what you think! I love hearing how recipes turn out in your kitchen. And if something doesn’t work, tell me that too—I’m here to help troubleshoot.
Happy baking… wait, no-baking! And I hope your kitchen smells half as good as mine does right now.
Frequently Asked Questions
Can I use frozen strawberries?
You can, but fresh are better. Frozen strawberries release a lot of water, which can make the cheesecake watery. If you must use frozen, thaw them completely, drain the excess liquid, and pat them dry with paper towels before using. You might also want to cook them down into a compote to remove the moisture.
Why did my cheesecake not set?
Usually, this means it wasn’t chilled long enough. No-bake cheesecakes need at least 4 hours to set. If you used low-fat cream cheese or under-whipped the cream, it might also not set properly. Make sure you’re using full-fat ingredients and whipping the cream to stiff peaks. If it’s still runny after 4 hours, put it in the freezer for 30 minutes to speed up the setting process.
Can I make this ahead of time?
Yes! This is actually better made ahead. You can make it up to 2 days in advance. Store it in the fridge, covered. Add the strawberry topping the day you serve it to keep the berries fresh and the glaze shiny.
What if I don’t have a springform pan?
You can use a 9-inch round cake pan. Line it with parchment paper so the cheesecake doesn’t stick. When it’s time to serve, you’ll need to lift it out of the pan using the parchment paper. It’s a bit trickier to slice, but it works.
Can I add whipped cream on top?
Absolutely! A dollop of whipped cream on each slice looks beautiful and adds extra lightness. You can also add a few fresh strawberry slices on top of the whipped cream for garnish.
Why is my crust soggy?
This usually happens if the crust isn’t pressed firmly enough, or if the cheesecake filling is too wet. Make sure you press the crust down tightly. Also, ensure your cream cheese mixture is thick and not watery. If you’re using fresh berries in the filling, make sure they’re dry to avoid adding extra moisture.
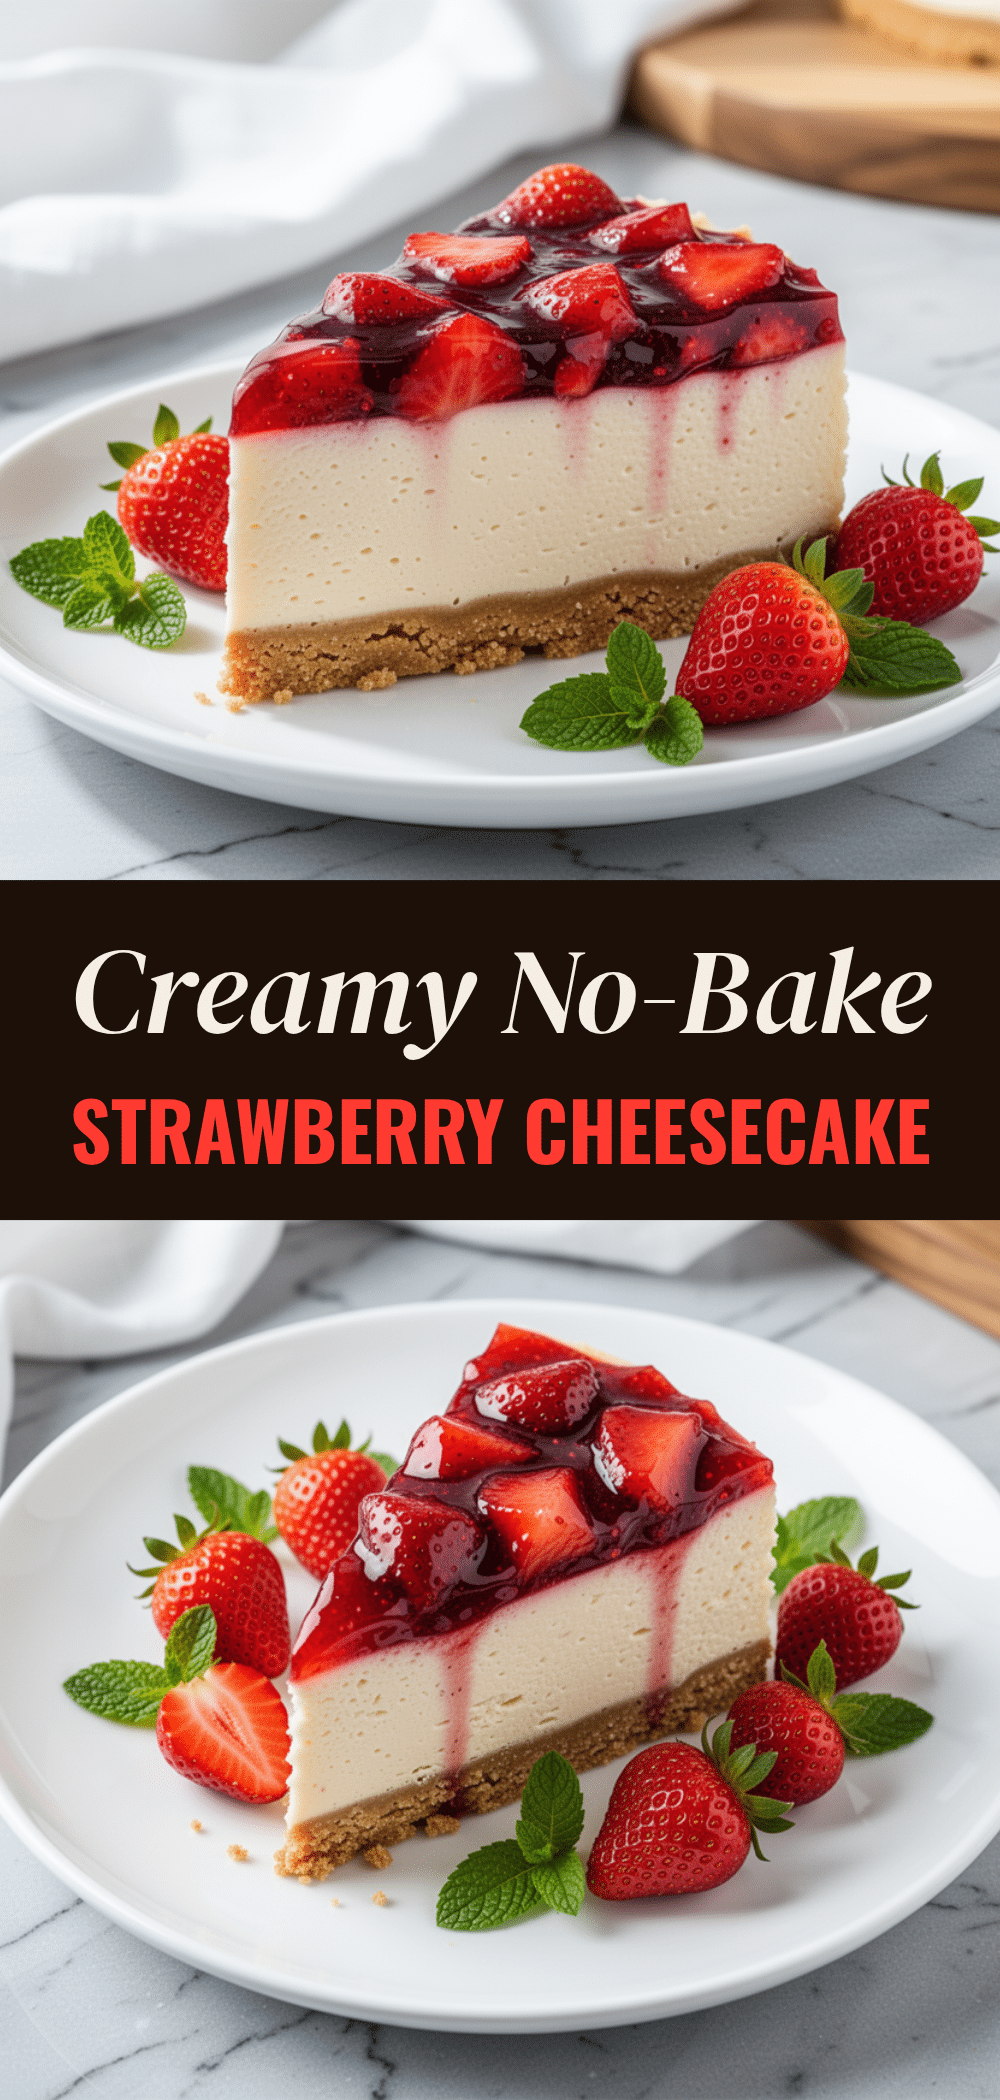
Pin This Recipe!
No-Bake Strawberry Cheesecake: Easy 5-Ingredient Dessert
- Total Time: 4 hours 15 minutes
- Yield: 12 servings 1x
Description
A creamy, light, and impressive no-bake strawberry cheesecake that requires zero oven time. This foolproof recipe features a buttery graham cracker crust, a silky cream cheese filling, and a glossy strawberry topping, ready in under 20 minutes of active prep.
Ingredients
- 1 and 1/2 cups (150g) graham cracker crumbs (original flavor)
- 6 tablespoons (85g) unsalted butter, melted
- 2 tablespoons (25g) granulated sugar
- Pinch of salt
- 24 ounces (680g) full-fat cream cheese, softened
- 1 cup (240ml) heavy whipping cream, cold
- 1 cup (120g) confectioners’ sugar
- 1 teaspoon vanilla extract
- 1 tablespoon (15ml) lemon juice
- 1 pound (450g) fresh strawberries, hulled and sliced
- 1/4 cup (60g) strawberry jam or preserves
- 1 tablespoon water
Instructions
- Crush graham crackers into fine crumbs. Mix with melted butter, granulated sugar, and salt until the texture resembles wet sand.
- Press the crust mixture firmly and evenly into the bottom of a 9-inch springform pan. Chill in the refrigerator while preparing the filling.
- In a large mixing bowl, beat the softened cream cheese on medium-high speed until completely smooth. Scrape down the sides and bottom of the bowl.
- Add confectioners’ sugar, vanilla extract, and lemon juice to the cream cheese. Beat until combined and the mixture is thick and glossy.
- In a separate cold bowl, whip the heavy cream on high speed until stiff peaks form.
- Gently fold one-third of the whipped cream into the cream cheese mixture to lighten it. Add the remaining whipped cream and fold gently until just combined, being careful not to deflate the mixture.
- Pour the filling over the chilled crust. If desired, press sliced strawberries into the top layer of the filling, then cover with the remaining filling. Smooth the top.
- Chill the cheesecake for at least 4 hours, preferably overnight, to allow it to set firmly.
- While the cheesecake chills, combine strawberry jam and water in a small saucepan. Heat over low heat, stirring until the jam is thin and liquid. Remove from heat and let cool slightly.
- Arrange sliced strawberries on top of the chilled cheesecake. Brush the warm jam glaze over the strawberries for a shiny finish.
- To serve, run a hot knife around the edge of the pan to loosen the cheesecake, remove the springform sides, and slice with a clean, hot knife.
Notes
Ensure cream cheese is fully softened to avoid lumps. Heavy cream must be cold to whip properly. The cheesecake needs at least 4 hours to set; overnight is best. Do not freeze, as the texture will become grainy. For a gluten-free version, use gluten-free graham crackers or almond flour.
- Prep Time: 15 minutes
- Cook Time: 0 minutes
- Category: Dessert
- Cuisine: American
Nutrition
- Serving Size: 1 slice
- Calories: 380
- Sugar: 22
- Sodium: 250
- Fat: 28
- Saturated Fat: 17
- Carbohydrates: 28
- Fiber: 1
- Protein: 5
Keywords: no-bake cheesecake, strawberry cheesecake, easy dessert, summer dessert, graham cracker crust, cream cheese dessert, make-ahead dessert



