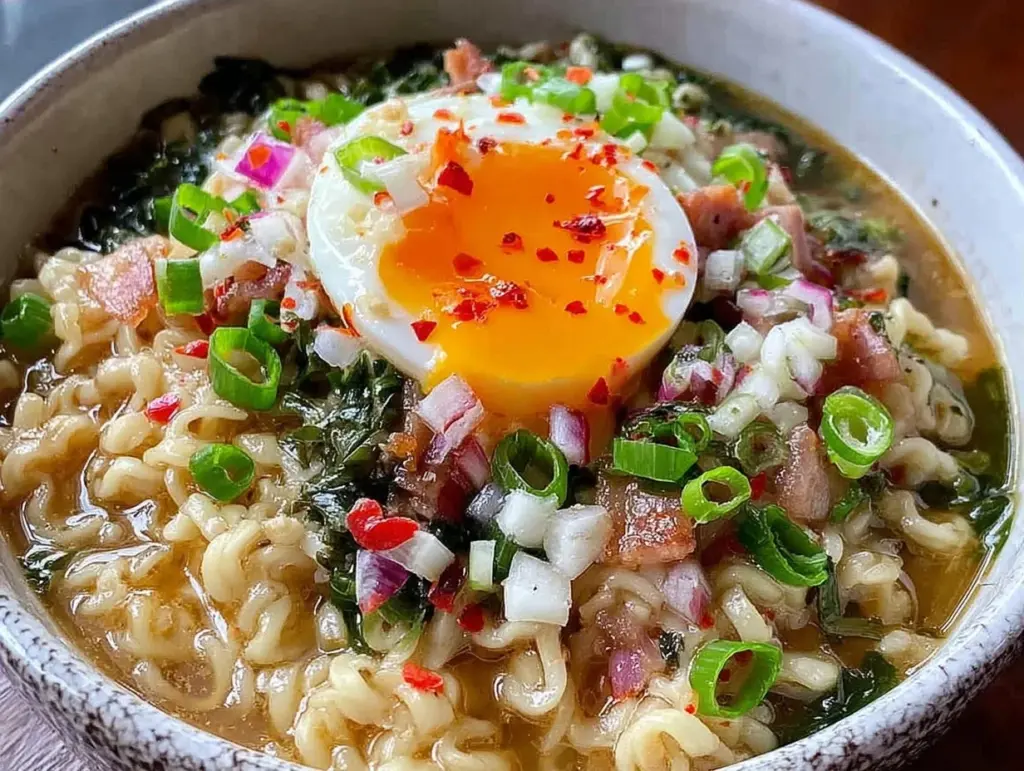
There is a specific kind of panic that hits on Sunday evening when you realize your meal prep plan has completely fallen apart. I’ve been there. You stare at the fridge, knowing you have three containers of chicken breast and a bag of wilting spinach, but your brain is screaming for something rich, comforting, and actually delicious. That was me last Tuesday. I didn’t want another sad salad. I didn’t want to heat up another bowl of plain oats. I wanted warmth. I wanted umami. I wanted noodles.
So, I threw together a batch of garlic butter ramen noodles with the intention of just making dinner for tonight. But because I’m a creature of habit (and I hate cooking every single night), I doubled the batch. Then I tripled it. By the time I sat down to eat, I had four distinct, perfectly portioned bowls ready to go for the week ahead.
These garlic butter ramen noodles for meal prep have become my secret weapon. They are not the cheap, instant variety you buy at the convenience store. These are rich, buttery, garlicky noodles that actually hold up in the fridge. In fact, they get better after sitting for a day or two as the flavors marry. If you’re tired of eating the same roasted vegetables every night or struggling to find a savory option that doesn’t taste dry by Wednesday, this is your solution. It’s the ultimate “make it once, eat it four times this week” strategy.
What I love most about this approach is the efficiency. We’re talking about a single pan, about 20 minutes of active time, and zero stress during the workweek. You just grab a container, microwave it, and you’re eating like you just walked out of a high-end noodle shop. It’s comfort food, but it’s organized comfort food. And honestly? It’s way better than ordering takeout every time you’re tired.
Why You’ll Love This Meal Prep Recipe
I’ve spent years trying to find a noodle dish that survives the fridge without turning into a gummy, soggy mess. Most pasta dishes dry out. Most soups get weird. But this garlic butter ramen strategy? It works. Here’s why I keep making it on Sundays:
- It’s Actually Good Reheated — This is the biggest hurdle for any meal prep recipe. Noodles usually absorb all the sauce and turn into cardboard. Not this. The butter and oil create a barrier that keeps the noodles silky. When I reheat mine, they still have that fresh-cooked bounce. I’ve tested this four days in a row, and day three is actually my favorite.
- Stupid Simple Technique — You don’t need to boil water in a giant pot. You don’t need to chop a mountain of vegetables. You just sauté, toss, and portion. If you can melt butter and toss noodles, you can do this. I make this while my kids are doing homework. It’s that low-stress.
- Customizable Proteins — The base is always the same: butter, garlic, soy sauce, and noodles. But the add-ins are endless. I usually roast some chicken thighs for this, but sometimes I use leftover white chicken chili meat, or even just some crispy bacon. It’s a blank canvas for whatever protein you have on hand.
- Freezer-Friendly (With a Trick) — While I prefer eating these fresh within 4 days, they do freeze well if you undercook the noodles slightly. I keep a few extra containers in the freezer for those “I really don’t want to plan” weeks. It’s like having an emergency dinner stash.
- Budget-Friendly — You can make four hearty meals for under $15. Ramen blocks (the good kind, not the instant junk) are cheap. Butter is cheap. Garlic is cheap. This is one of the most cost-effective meals I pull together for the week.
This recipe is my answer to the Sunday Scaries. It’s reliable. It’s filling. And it tastes like I spent hours on it, when really I spent about 20 minutes. If you want to see how I balance savory weeknight meals with my favorite sweet potato pie bars for dessert, you’re in the right place. This is the savory side of my meal prep life.
Ingredients You’ll Need
Here’s the thing: you probably have most of this already. It’s pantry-friendly, which is exactly what you want when you’re prepping for the week. I’m particular about a few things here, so pay attention to the notes.
For the Noodles and Sauce
Ramen Noodles (4 packs / 400g) — I use high-quality wheat noodles. The kind that come in blocks, not the instant flavor packet kind. Brands like Maruchan (the plain blocks) or fresh ramen noodles from the refrigerated section work best. Avoid the ones with the flavor packets—they’re too salty and full of preservatives. You’re making your own sauce, so you don’t need them.
Unsalted Butter (4 tablespoons / 60g) — This is the star. Don’t use olive oil as the primary fat. You want that rich, creamy mouthfeel that butter provides. Use good quality butter if you can. It makes a huge difference in the flavor profile.
Garlic (6-8 cloves, minced / about 3 tablespoons) — Yes, that much garlic. Don’t be shy. Fresh garlic only. If you use jarred garlic, it will taste metallic and bitter when cooked down with butter. Fresh minced garlic is non-negotiable for this recipe.
Soy Sauce (¼ cup / 60ml) — I use low-sodium soy sauce so I can control the salt level. If you use regular soy sauce, reduce the amount by a quarter. Dark soy sauce adds a deeper color and richer flavor, which I sometimes swap in for a more “stir-fry” taste.
Sesame Oil (1 tablespoon / 15ml) — Toasted sesame oil adds that nutty aroma that screams “ramen.” Make sure it’s toasted, not just raw. It’s potent, so a little goes a long way.
Chicken Broth (½ cup / 120ml) — Low-sodium is best. This adds moisture and helps create the sauce consistency without making it soupy. You want coating, not swimming.
Brown Sugar (1 tablespoon / 15g) — Just a touch. It balances the saltiness of the soy sauce and the richness of the butter. It also helps caramelize the garlic slightly.
For the Add-Ins (Pick Your Favorites)
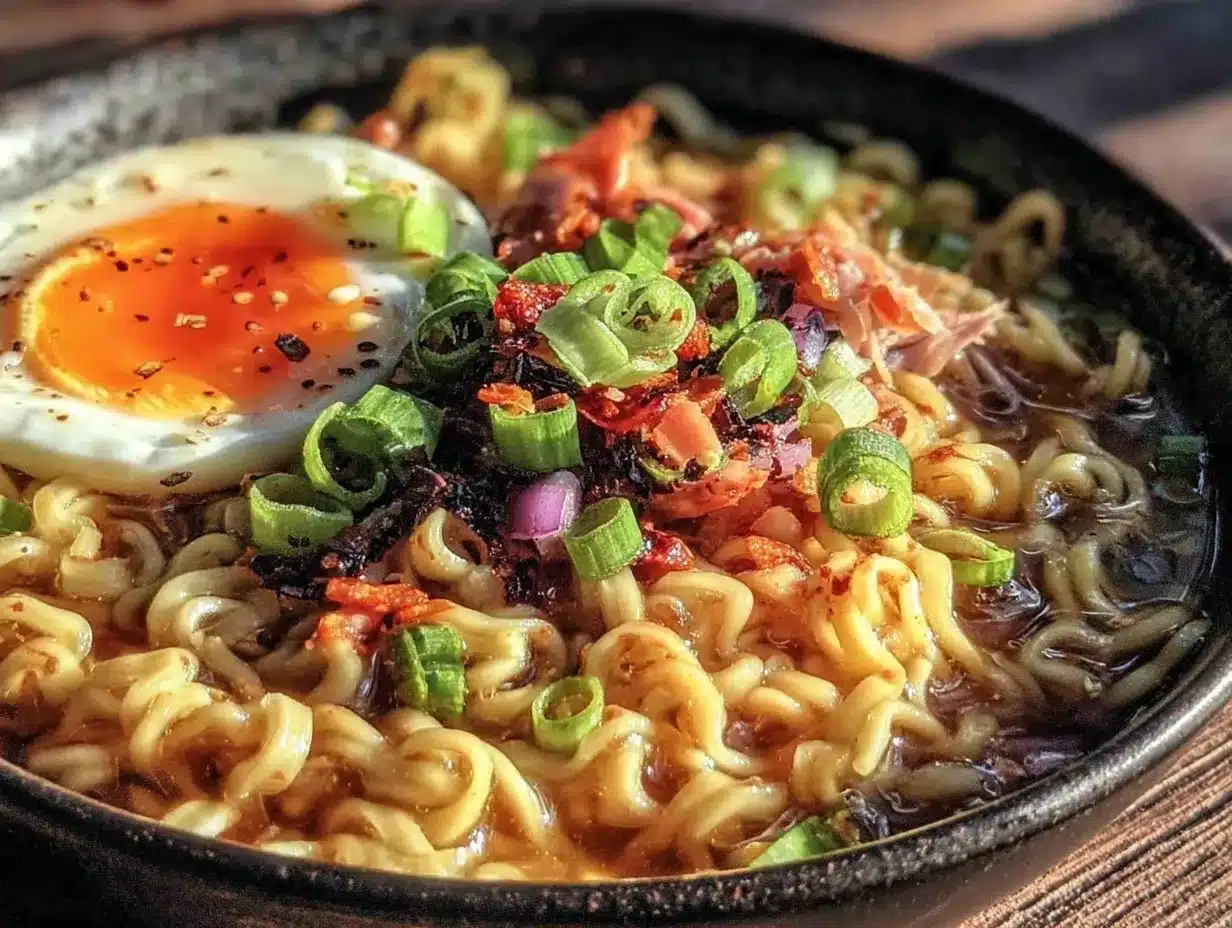
Cooked Chicken (2 cups / 300g, diced) — I usually roast a whole chicken or use rotisserie chicken. Diced thigh meat stays juicier than breast meat. If you’re vegetarian, skip this or use tofu.
Eggs (4 large) — Soft-boiled or fried. I like to fry them in the same pan as the noodles for extra flavor. The runny yolk acts as an extra sauce when you mix it in.
Green Onions (4 stalks, sliced) — For garnish. They add a fresh, sharp bite that cuts through the rich butter.
Red Pepper Flakes (1 teaspoon) — Optional, but I always add a pinch for a little heat. It wakes up the whole dish.
Cilantro (½ cup, chopped) — Fresh cilantro adds brightness. If you hate cilantro, use parsley or just skip it. It’s not essential, but it’s nice.
Shredded Carrots (1 cup) — I like to toss these in raw for crunch. They hold up well in the fridge and add color. You could also use corn or edamame.
Equipment Needed
You don’t need fancy gadgets for this. Here’s what I actually use to prep these four bowls efficiently.
Large Skillet or Wok — I use a 12-inch non-stick skillet. It needs to be big enough to toss the noodles without them sticking out. A wok is great if you have one, but a large skillet works perfectly.
Measuring Cups and Spoons — Standard stuff. I use these to portion the sauce and the noodles evenly.
Four Meal Prep Containers — I use glass containers with dividers. The dividers help keep the noodles separate from the toppings until I’m ready to eat, which prevents sogginess. Plastic works too, but glass reheats more evenly.
Colander — For draining the noodles. Or you can just lift them out with tongs.
Tongs — Essential for tossing the noodles. Trying to mix this with a spoon is a mess. Tongs give you the control you need to coat every strand.
Microwave-Safe Lid or Parchment Paper — To cover the containers when reheating. This traps steam and keeps the noodles moist.
How to Make It: Step-by-Step
Alright, let’s get prepping. I’m walking you through exactly how I do it to ensure all four bowls are consistent and delicious. This method is designed for batch cooking, so we’re doing everything at once.
Step 1: Prep Your Components (10 minutes)
Before you turn on the stove, get everything ready. This is the “mise en place” part. Dice your chicken if it’s raw (or shred your rotisserie chicken). Mince your garlic. Slice your green onions. Separate your ramen blocks. If you’re adding vegetables like carrots or spinach, wash and chop them now. Having everything in bowls makes the actual cooking fast and stress-free.
Step 2: Cook the Noodles (8-10 minutes)
Bring a large pot of salted water to a boil. The water should taste like the ocean. Add the ramen blocks. Cook them according to the package directions, but here’s the trick for meal prep: cook them 1-2 minutes less than the package says. They should be al dente. Overcooked noodles turn mushy when reheated. Drain them in a colander and rinse briefly with cold water to stop the cooking. Toss them with a tiny bit of sesame oil to prevent sticking.
Step 3: Make the Garlic Butter Sauce (5 minutes)
While the noodles cook, heat your large skillet over medium heat. Add the butter. Let it melt completely. Once it’s foaming, add the minced garlic. Cook for about 1 minute, stirring constantly. You want the garlic to be fragrant and golden, but not brown. Brown garlic tastes bitter. Pour in the soy sauce, sesame oil, brown sugar, and chicken broth. Whisk it together until the sugar is dissolved. Let it simmer for 1-2 minutes until it thickens slightly. It should coat the back of a spoon.
Step 4: Combine Everything (5 minutes)
Add the drained noodles to the skillet with the sauce. Toss gently with tongs to coat every strand. If you’re adding cooked chicken or hardy vegetables like carrots, add them now and toss to warm through. Taste the sauce. Does it need more salt? More sugar? Adjust it now. You want a balance of salty, sweet, and rich.
Step 5: Cook the Eggs (3 minutes)
In a separate small pan, fry your eggs. I like them sunny-side up with a runny yolk. If you prefer soft-boiled, boil them for 6-7 minutes and peel them. Set them aside. You’ll add these to the bowls just before serving or right after prepping.
Step 6: Portion Into Containers
Divide the noodles and chicken evenly among your four containers. I like to put the noodles in the bottom, then the chicken on top. Add a handful of shredded carrots and cilantro. Top each container with a fried egg. Sprinkle with green onions and red pepper flakes. Seal the containers tightly.
Total Time: About 30 minutes (10 minutes prep, 20 minutes cooking/portioning).
Expert Tips & Tricks for Perfect Meal Prep
Here’s everything I’ve learned from making this dozens of times. These tips will save you from my mistakes.
Undercook the Noodles — This is the #1 rule. Noodles continue to cook in the microwave. If they are soft when you pack them, they will be mushy when you eat them. Aim for firm, al dente texture.
Let the Sauce Cool Slightly — Don’t pour hot sauce over the noodles and pack them immediately. The residual heat will overcook them. Let the sauce and noodles cool for 10-15 minutes before portioning. This also helps the sauce absorb better.
Store Toppings Separately (Optional) — If you’re worried about sogginess, store the fried eggs and fresh greens (like cilantro or raw spinach) in a separate small container. Add them when you reheat. I usually just toss them in, but if you’re a perfectionist, separate them.
Add a Splash of Water When Reheating — When you microwave your bowl, add a tablespoon of water. This creates steam and rehydrates the noodles. Cover it with a microwave-safe lid or damp paper towel.
Don’t Skimp on the Butter — It’s easy to try to make this “lighter,” but the butter is what keeps the noodles from sticking together in the fridge. If you reduce the butter too much, you’ll end up with a clumpy, dry mess. Trust the process.
Label and Date — I know it sounds obvious, but I’ve had containers in the fridge for a week because I forgot what was in them. Label them with the date. They last 4 days max.
Variations & Substitutions
Once you’ve nailed the basic version, here’s how you can mix it up. I’ve tried all of these variations.
Spicy Garlic Butter — Add 1 teaspoon of chili crisp or sriracha to the sauce. It adds a tangy heat that pairs perfectly with the butter. This is my favorite version when I want something with a kick.
Veggie-Loaded — Toss in 2 cups of mixed vegetables (broccoli, bell peppers, snap peas) in the last minute of cooking. The veggies add crunch and nutrition. I usually steam them lightly first so they’re tender.
Shrimp Version — Swap the chicken for 1 pound of shrimp. Sauté the shrimp first, remove, then make the sauce, add the noodles, and toss the shrimp back in. Shrimp cooks fast, so add it at the end.
Tofu Version — Use extra-firm tofu. Press it, cube it, and pan-fry it until crispy before adding to the bowl. It soaks up the garlic butter sauce beautifully.
Miso Garlic Butter — Swap half the soy sauce for white miso paste. It adds a deeper, fermented umami flavor. It’s more complex and tastes almost restaurant-quality.
Dietary Modifications:
- Gluten-Free: Use gluten-free ramen noodles (rice noodles or buckwheat). Check your soy sauce (use tamari).
- Dairy-Free: Swap butter for olive oil or vegan butter. The flavor changes, but it still works.
- Lower-Sodium: Use low-sodium soy sauce and no added salt in the water.
Serving & Storage
How to Serve:
I usually serve this straight from the container. I don’t plate it. It’s casual, efficient, and delicious. But if you want to make it fancy, top it with a soft-boiled egg, some sesame seeds, and a drizzle of chili oil.
Side Dishes:
Since the noodles are rich and filling, I usually don’t need a side. But if I’m hungry, I’ll have a side of creamy mushroom stroganoff or just some simple pickled vegetables to cut the richness.
Refrigerator:
Store in an airtight container for up to 4 days. The noodles will absorb some sauce, which is normal. They will still be tasty.
Reheating:
Best method: Microwave on high for 2-3 minutes, stirring halfway through. Add a splash of water or broth before reheating to keep it moist.
Microwave method: Heat in 1-minute intervals, stirring between each. Add a splash of milk or cream if you want it extra creamy.
Freezing:
Honestly, this doesn’t freeze well because of the eggs and the texture of the noodles. The noodles can get weird when thawed. I recommend eating them within 4 days. If you must freeze, freeze the noodles and sauce without the eggs and greens. Thaw in the fridge and reheat fresh.
Meal Prep Strategy:
Make this on Sunday morning. Portion it out. Put it in the fridge. During the week, grab a container, microwave it, and you’re done. It takes 3 minutes of active time during the week. That’s the goal.
Nutrition Information
I’m not a nutritionist, but here’s the breakdown if you’re tracking. This is per serving (1 bowl).
| Nutrient | Amount |
|---|---|
| Calories | 480 |
| Protein | 22g |
| Carbs | 55g |
| Fiber | 3g |
| Fat | 18g |
| Sodium | 850mg |
What’s Good:
Decent protein from the chicken and egg. The noodles provide energy. You can boost the nutrition by adding more vegetables.
What to Know:
Higher in sodium from the soy sauce. Higher in calories from the butter and noodles. It’s a comfort food, so enjoy it as part of a balanced week.
Final Thoughts
So that’s my go-to garlic butter ramen noodles for meal prep! I’ve probably talked your ear off at this point, but when you find a recipe that works this well for your routine, you want to share it.
This has saved my weeknights more times than I can count. It’s my answer to “what’s for dinner” when I’m tired, don’t want takeout, and still want something that tastes really good. My family is happy, and I’m happy because I’m not stressed about cooking every night.
Make it yours! Try different add-ins, swap in your favorite vegetables, adjust the garlic (though more is always better in my opinion). The best recipes are the ones you adapt to your life.
If you make this, drop a comment and let me know what you think! I love hearing how recipes turn out in your kitchen. And if something doesn’t work, tell me that too—I’m here to help troubleshoot.
Happy cooking! And I hope your kitchen smells half as good as mine does right now.
Frequently Asked Questions
Q: Can I use instant ramen packets?
A: You can, but I don’t recommend it. The flavor packets are full of sodium and preservatives. Plus, the noodles are thin and break easily. Use the plain wheat noodle blocks or fresh ramen noodles. They hold up much better in the fridge.
Q: Why are my noodles mushy after reheating?
A: You probably overcooked them initially. Remember, undercook them by 1-2 minutes. Also, don’t add too much liquid when reheating. Just a tablespoon of water is enough.
Q: Can I make this ahead for more than 4 days?
A: I wouldn’t recommend it. The noodles start to break down and get weird after 4 days. If you need to prep for longer, freeze half of the batch (without eggs) and eat the fresh ones first.
Q: Can I use coconut aminos instead of soy sauce?
A: Yes! Coconut aminos are a great lower-sodium, gluten-free alternative. They are slightly sweeter, so you might not need the brown sugar. It works well.
Q: How do I keep the eggs from getting rubbery?
A: If you’re frying them, fry them fresh when you reheat. If you’re boiling them, don’t overcook them. 6-7 minutes is perfect for a soft yolk. If you microwave them in the container, they can get rubbery. I recommend adding a fresh fried egg when you reheat.
Q: Can I double this recipe?
A: Absolutely! Just use a bigger pot and a bigger skillet. The cooking times stay the same. I double it when I have guests over or when I’m really committed to meal prepping.
Q: What’s the best way to store the sauce?
A: The sauce is best made fresh. But you can make it ahead and store it in the fridge for up to 3 days. Reheat it gently before tossing with the noodles.
Pin This Recipe!
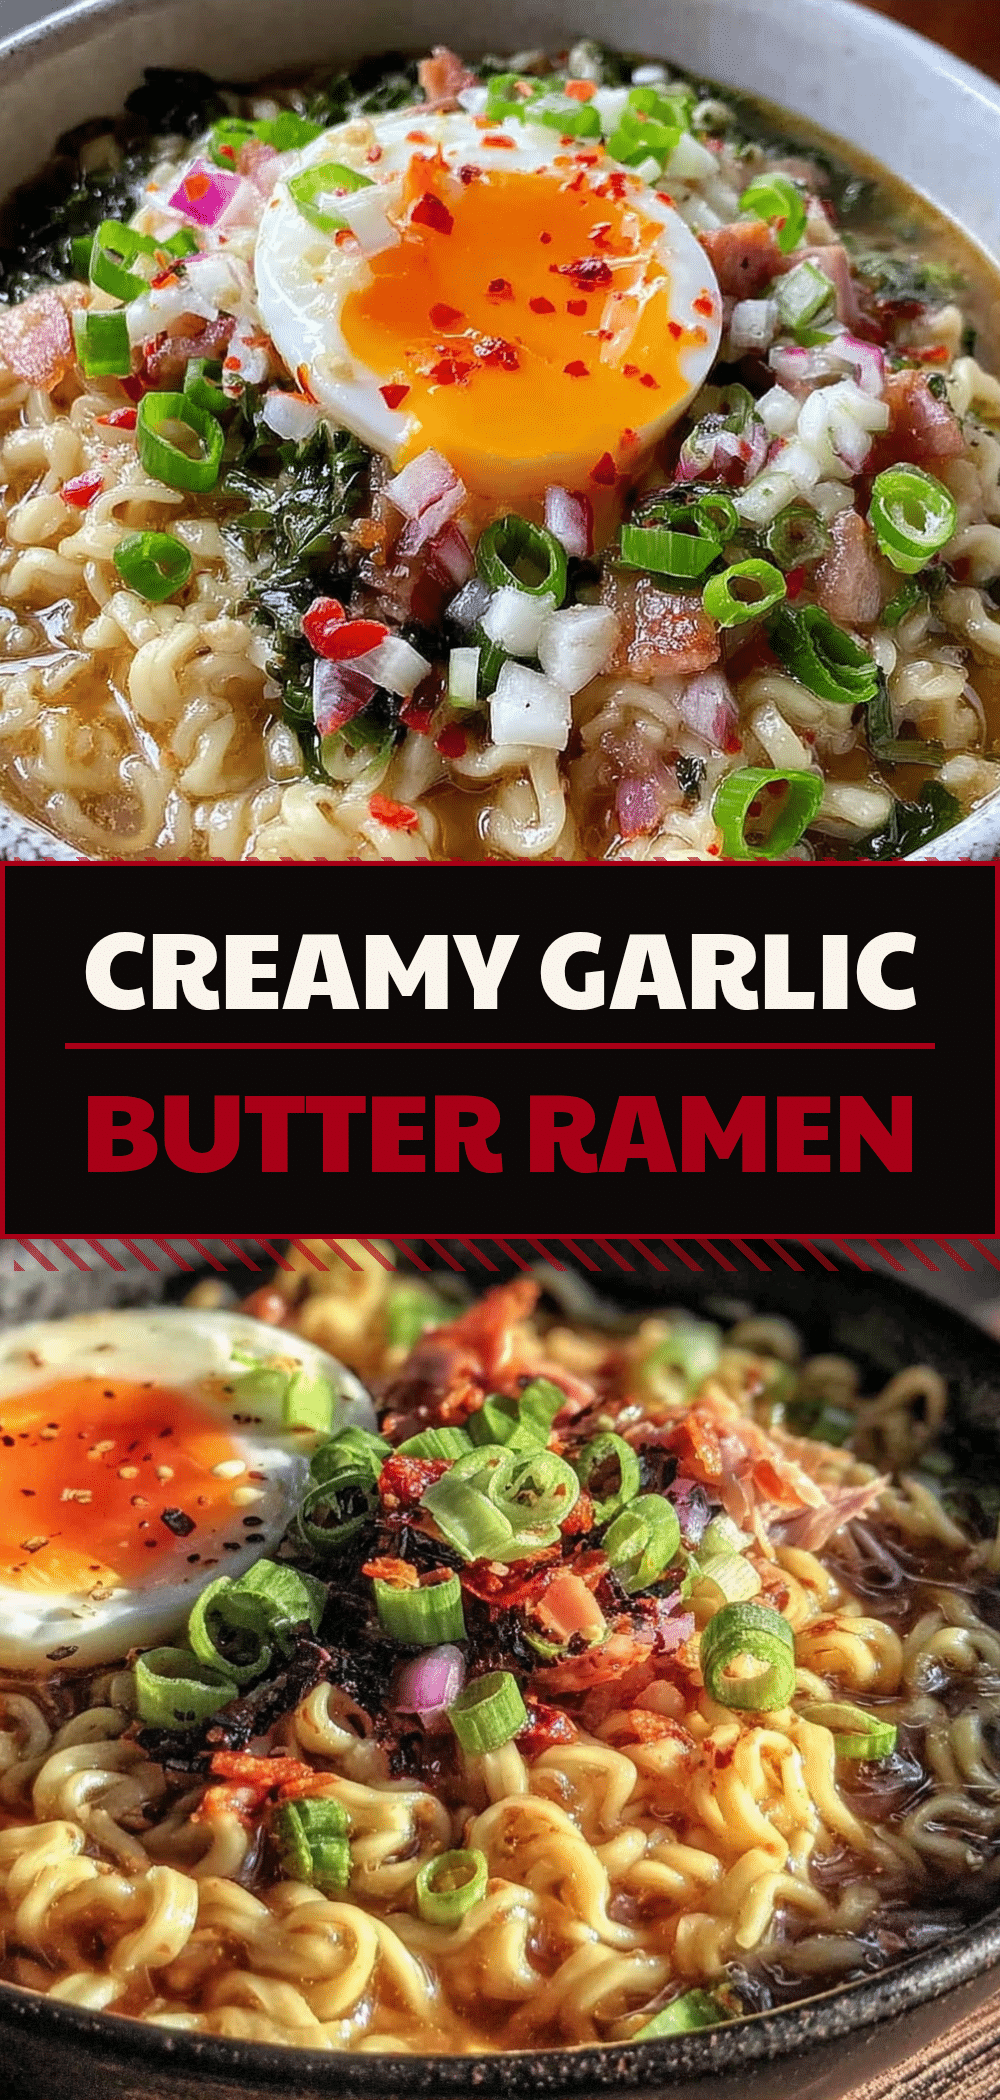
Garlic Butter Ramen Noodles: 4 Easy Meal Prep Bowls
- Total Time: 30 minutes
- Yield: 4 servings 1x
Description
A rich, comforting, and savory meal prep recipe featuring garlic butter ramen noodles with customizable proteins and vegetables. Designed to hold up well in the fridge and reheat perfectly for easy weeknight dinners.
Ingredients
- 4 packs (400g) high-quality wheat ramen noodles (plain blocks, no flavor packets)
- 4 tablespoons (60g) unsalted butter
- 6–8 cloves garlic, minced (about 3 tablespoons)
- ¼ cup (60ml) low-sodium soy sauce
- 1 tablespoon (15ml) toasted sesame oil
- ½ cup (120ml) low-sodium chicken broth
- 1 tablespoon (15g) brown sugar
- 2 cups (300g) cooked chicken, diced (or tofu/shrimp for variations)
- 4 large eggs
- 4 stalks green onions, sliced
- 1 teaspoon red pepper flakes
- ½ cup fresh cilantro, chopped
- 1 cup shredded carrots
Instructions
- Prep components: Dice chicken, mince garlic, slice green onions, and separate ramen blocks.
- Cook noodles: Boil salted water and cook ramen blocks for 1-2 minutes less than package directions (al dente). Drain, rinse with cold water, and toss with a tiny bit of sesame oil.
- Make sauce: In a large skillet over medium heat, melt butter. Add garlic and cook for 1 minute until fragrant. Add soy sauce, sesame oil, brown sugar, and chicken broth. Simmer for 1-2 minutes until slightly thickened.
- Combine: Add drained noodles to the skillet with the sauce. Toss with tongs to coat. Add cooked chicken or hardy vegetables and toss to warm through.
- Cook eggs: Fry eggs sunny-side up or soft-boil them separately.
- Portion: Divide noodles and chicken among four containers. Top with carrots, cilantro, and an egg. Sprinkle with green onions and red pepper flakes.
- Cool and Store: Let cool slightly before sealing containers. Refrigerate for up to 4 days.
Notes
Undercook noodles by 1-2 minutes to prevent mushiness upon reheating. Let sauce cool slightly before mixing with noodles to avoid overcooking. Add a splash of water when microwaving to rehydrate noodles. Store toppings like fresh greens separately if preferred to prevent sogginess.
- Prep Time: 10 minutes
- Cook Time: 20 minutes
- Category: Main Course
- Cuisine: Asian Fusion
Nutrition
- Serving Size: 1 bowl
- Calories: 480
- Sugar: 6
- Sodium: 850
- Fat: 18
- Saturated Fat: 8
- Carbohydrates: 55
- Fiber: 3
- Protein: 22
Keywords: meal prep, ramen noodles, garlic butter, chicken dinner, easy weeknight meals, batch cooking, comfort food



