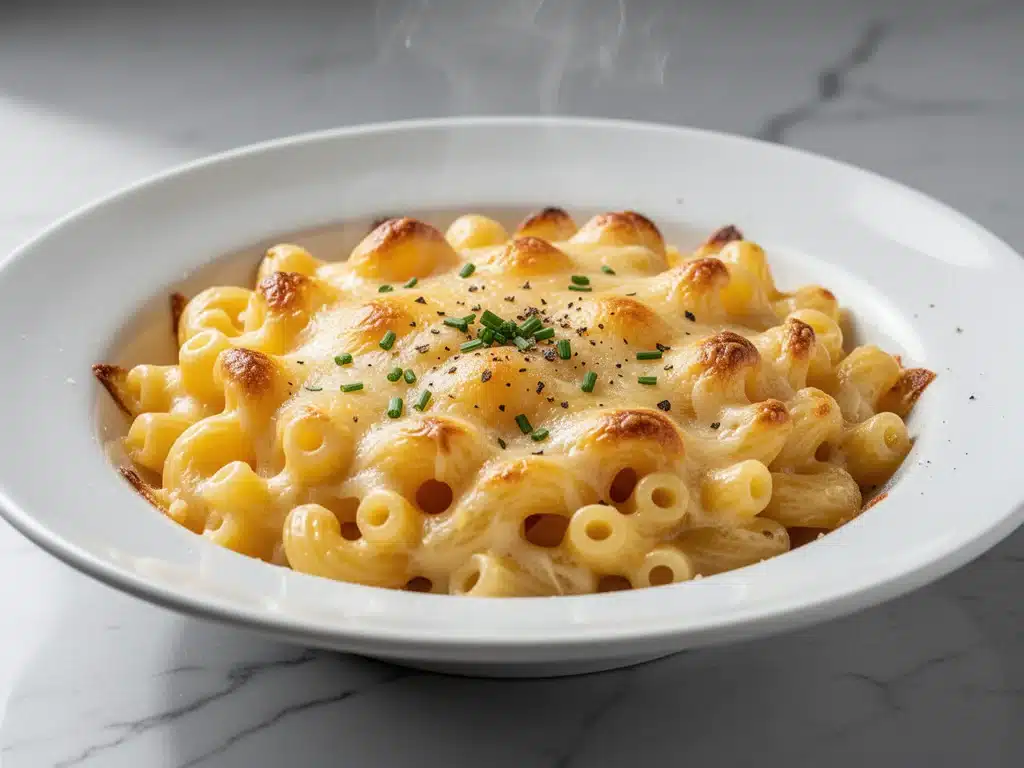
I have a confession to make. For years, I treated mac and cheese like a guilty pleasure. You know the type—the kind you make when you’re tired, lazy, or trying to trick your kids into eating dinner. I’d grab a box of the orange powder stuff, boil the noodles until they were practically mush, and call it a night. It was easy. It was fast. And honestly? It was bland.
That changed last winter. We were stuck inside during a massive snowstorm, the power flickered twice, and I had no desire to order takeout or cook anything complicated. I decided to finally tackle the “real” stuff. The stuff that makes you close your eyes and moan. The ultra-creamy, three-cheese baked mac and cheese that I’d seen photos of online for years but always assumed was too much work.
I was wrong. It’s not just easy; it’s actually simpler than the box version once you know the trick. And it’s infinitely better. I’ve made this ultra-creamy baked mac and cheese at least fifteen times since that snowy weekend. I’ve tweaked the cheese ratios, tested different pasta shapes, and even tried adding breadcrumbs that I never actually used because the crust on this version is perfect without them. It’s become my go-to comfort food, whether it’s a rainy Tuesday or a holiday gathering. If you’re tired of powdery, artificial cheese sauce, you need to stop scrolling and start boiling water.
This isn’t just mac and cheese. It’s a hug in a bowl. It’s the kind of dish that clears the table and leaves everyone asking for seconds. I’ve tested this best 3 cheese recipe so you don’t have to guess what works. It’s rich, it’s garlicky, it’s cheesy, and it’s going to change how you think about pasta dinners forever.
Why You’ll Love This Recipe
There are a lot of mac and cheese recipes out there. Some are too dry, some are too soupy, and some require ingredients you can’t pronounce. This one hits that sweet spot. Here’s why this ultra-creamy baked mac and cheese has earned a permanent spot in my weekly rotation:
- Actually Creamy, Not Greasy — The secret is the roux-to-milk ratio. I’ve tested versions with too much butter (greasy mess) and too little (dry pasta). This balance gives you a sauce that coats every noodle but doesn’t pool oil on top. It’s velvety smooth.
- Three Cheeses, One Perfect Flavor — Using just one cheese is boring. Using four is confusing. Three is the magic number. I use sharp cheddar for punch, Gruyère for nuttiness, and Parmesan for that salty umami kick. It’s a flavor trifecta that tastes expensive but costs pennies.
- Zero Fussy Techniques — You don’t need a sous-vide machine or a double boiler. You need a pot, a skillet, and a baking dish. If you can boil water and stir, you can make this. I’ve made it while holding a toddler and while answering work emails. It works either way.
- Leftovers Are Better Than Fresh — I know, I know, people say pasta is best fresh. Not this pasta. The flavors meld overnight. The sauce firms up slightly, creating this incredible texture contrast when you reheat it. I deliberately make extra for lunch on Thursday.
- Family-Approved (Even by Picky Eaters) — My husband thinks he’s a gourmet chef, and my teenage son usually rejects anything that isn’t chicken nuggets. They both cleared their plates. No complaints. No “can I just have the bread?” This best 3 cheese recipe is a crowd-pleaser.
This is the recipe I make when I want to feel fancy but don’t want to spend three hours in the kitchen. It’s reliable, it’s delicious, and it makes your whole house smell like heaven.
Ingredients You’ll Need
Here’s the best part: you probably already have most of this in your pantry. The key to this ultra-creamy baked mac and cheese isn’t exotic ingredients; it’s using good quality versions of simple ones. I’m particular about three things here, so pay attention.
For the Pasta Base
Elbow macaroni (1 pound / 450g) — I stick with elbows because they hold the sauce in the curve. Cavatappi or rigatoni work too if you want a different shape, but avoid long pasta like spaghetti. It doesn’t work the same way in a bake. I buy the store brand; there’s no need to splurge on expensive pasta here.
Salt (2 tablespoons) — Your pasta water needs to be salty. I mean really salty. It should taste like the ocean. This seasons the pasta from the inside out. Don’t skip this step, or your mac and cheese will taste flat no matter how much cheese you add.
For the Cheese Sauce (The Roux)
Unsalted butter (½ cup / 115g) — I use unsalted so I can control the sodium. You need a full half cup. This is rich, yes, but it’s the foundation of the creaminess. Don’t try to cut this down with oil; it changes the texture.
All-purpose flour (½ cup / 60g) — This thickens the roux. Whisk it into the melted butter until it’s a smooth paste. Cook it for a minute to get rid of the raw flour taste. It’ll smell nutty.
Whole milk (3 cups / 720ml) — Whole milk is non-negotiable for this best 3 cheese recipe. 2% makes it too thin, and skim makes it watery. If you’re feeling extra indulgent, swap half the milk for heavy cream, but whole milk works perfectly fine.
Garlic powder (1 teaspoon) — Fresh garlic can burn in a roux, so I use powder for that garlic flavor without the risk. If you really want fresh garlic, mince one clove very finely and add it with the flour, but watch it closely.
Mustard powder (½ teaspoon) — This is the secret weapon. You won’t taste mustard; it just amplifies the cheese flavor. It’s a trick I learned from a chef friend years ago. Trust me.
The Three Cheeses
Sharp Cheddar (2 cups / 200g, freshly grated) — Buy a block and grate it yourself. Pre-shredded cheese has cellulose (anti-caking agents) that prevents it from melting smoothly. Your sauce will be grainy if you use the bagged stuff. Sharp cheddar gives you that classic tang.
Gruyère (1 cup / 100g, freshly grated) — This is the fancy cheese that makes it taste gourmet. It melts beautifully and adds a nutty, complex depth. If you can’t find Gruyère, Fontina is a good substitute. Both melt like dreams.
Parmesan (½ cup / 50g, freshly grated) — This adds saltiness and umami. It’s the glue that holds the flavor together. Use the hard, aged kind, not the green shaker can stuff.
For the Topping (Optional but Recommended)
Breadcrumbs (½ cup / 50g) — Panko works best for crunch. I mix them with a little melted butter and a pinch of paprika before sprinkling on top.
Fresh parsley (2 tablespoons, chopped) — Just a little garnish to break up the orange and make it look like you actually tried.
Equipment Needed
You don’t need fancy gadgets for this. Here’s what I actually use in my kitchen:
Large stockpot — I use a 6-quart pot. It needs to fit the pasta and allow it to move around. If your pot is too small, the pasta gets gummy. My old, dented pot works fine for this.
Large skillet or Dutch oven — I prefer a 10-inch skillet for making the roux. It has wide sides so the milk doesn’t splatter. A Dutch oven works too if you like to make everything in one pot.
Whisk — A good metal whisk is essential for the roux. You need to break up lumps of flour instantly. A spoon just doesn’t do the job.
Box grater — For grating the cheese blocks. I use the medium holes. If you have a food processor, you can use it, but pulse it so you don’t turn the cheese into dust.
9×13 inch baking dish — Standard size. Glass or ceramic works best because it heats evenly. If you use metal, keep an eye on the top so it doesn’t burn.
Colander — For draining the pasta. I like the ones with a handle so I can pour the water away safely.
How to Make It: Step-by-Step
Alright, let’s make this! I’m walking you through exactly how I do it, including the little tricks I’ve picked up over the years. This ultra-creamy baked mac and cheese comes together in about 45 minutes.
Step 1: Prep Your Cheese (5 minutes)
Grate all your cheese before you start cooking. I know it’s tempting to wait, but once you start the roux, things move fast. If you stop to grate cheese while the milk is heating, you’ll end up with lumpy sauce. Get it all into bowls and set it aside. This is my golden rule for all cheese sauces.
Step 2: Boil the Pasta (10 minutes)
Bring a large pot of generously salted water to a boil. Add the elbow macaroni and cook according to the package directions, but take it out 1 minute early. You want it al dente because it will keep cooking in the oven. Drain the pasta and rinse it briefly with warm water to stop the cooking. Toss it with a tiny bit of oil so it doesn’t stick while you make the sauce.
Step 3: Make the Roux (3 minutes)
In your large skillet or Dutch oven, melt the butter over medium heat. Once it’s foaming, whisk in the flour. Cook this mixture, stirring constantly, for about 1-2 minutes. It should turn a light golden color and smell nutty. This cooks out the raw flour taste. If you don’t cook it enough, your sauce will taste like raw dough.
Step 4: Add the Milk (5 minutes)
Reduce the heat to medium-low. Gradually pour in the whole milk, whisking constantly. This is the most important step. Add the milk in small amounts at first, whisking until smooth before adding more. This prevents lumps. Once all the milk is in, keep whisking until the sauce thickens enough to coat the back of a spoon. This should take about 5 minutes. Stir in the garlic powder and mustard powder.
Step 5: Melt the Cheese (3 minutes)
Remove the pan from the heat. This is crucial. If the pan is too hot, the cheese will break and become grainy. Add the cheddar, Gruyère, and Parmesan gradually, stirring until each addition is fully melted before adding the next. The sauce should be smooth, glossy, and thick.
Step 6: Combine and Bake (25 minutes)
Preheat your oven to 350°F (175°C). Grease your 9×13 baking dish. Pour the cooked pasta into the cheese sauce and stir gently to coat every noodle. Transfer the mixture to the baking dish. If you’re using breadcrumbs, sprinkle them evenly over the top. Bake for 20-25 minutes, until the top is bubbly and golden brown.
Step 7: Rest and Serve
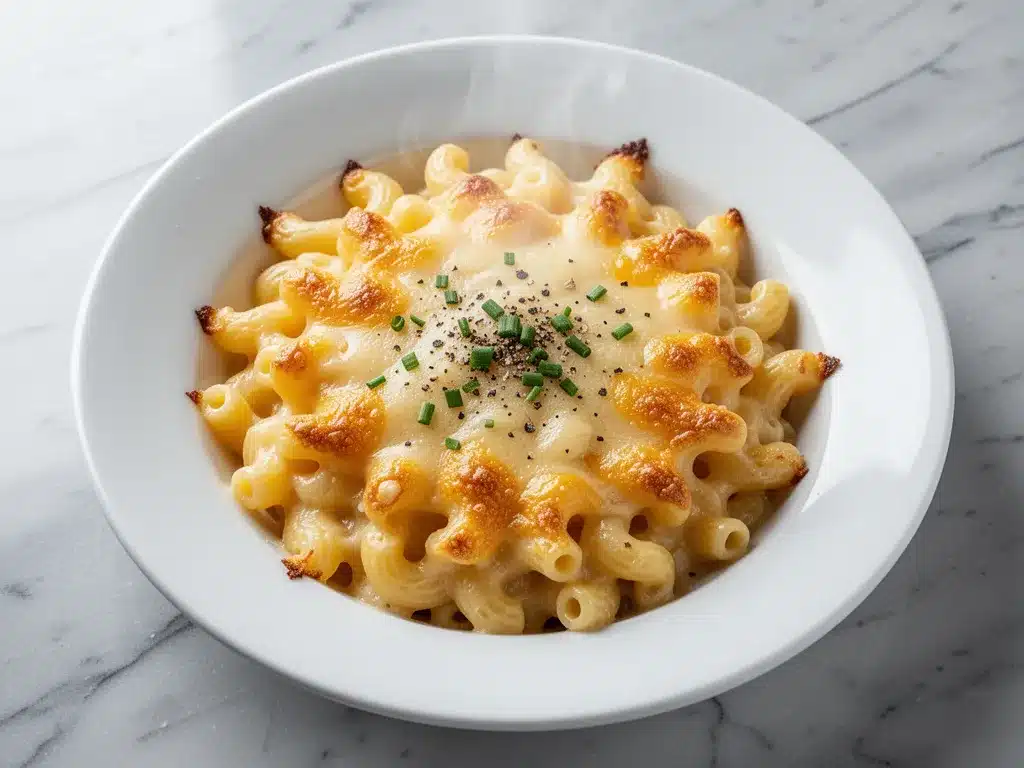
Take it out of the oven and let it rest for 10 minutes. I know this is hard, but if you cut into it immediately, the sauce will run everywhere. Resting lets it set so you get clean, creamy scoops. Garnish with parsley and serve warm.
Expert Tips & Tricks
Here’s everything I’ve learned from making this dozens of times. These tips will save you from my mistakes.
Grate Your Own Cheese
I cannot stress this enough. Pre-shredded cheese is coated in potato starch or cellulose to keep it from clumping in the bag. These additives stop the cheese from melting properly. Your sauce will be gritty and separated. Buy blocks of cheddar and Gruyère and grate them yourself. It takes 5 minutes and makes a world of difference. This is the #1 reason homemade mac and cheese fails.
Don’t Overcook the Pasta
Since the pasta bakes in the sauce, it will absorb more liquid and continue to cook. If you boil it until it’s perfectly soft, it’ll be mushy when it comes out of the oven. Undercook it by 1-2 minutes. It should still have a slight bite.
Control the Heat
When adding cheese to the roux, always remove the pan from the heat source. High heat causes the proteins in the cheese to tighten up and squeeze out fat, resulting in a greasy, broken sauce. Low and slow is the way to go. If your sauce looks a bit oily, don’t panic. Whisk in a splash of cold milk, and it often comes back together.
The Mustard Powder Secret
As mentioned, mustard powder doesn’t make it taste like mustard. It acts as an emulsifier and flavor enhancer. It cuts through the richness of the cheese and makes the cheddar flavor pop. It’s a tiny ingredient, but it’s essential for that professional taste.
Variations & Substitutions
Once you’ve nailed the basic version, here’s how you can mix it up. I’ve tried all of these, and they work.
Add-Ins
Bacon — Crisp up some bacon, crumble it, and fold it into the pasta before baking. It adds a smoky crunch that pairs perfectly with the cheese.
Broccoli — Steam some broccoli florets until just tender, then mix them in. It adds color and nutrients. My kids usually pick the broccoli out, but I sneak it in anyway.
Hot Sauce — Add a teaspoon of Frank’s RedHot or Sriracha to the sauce if you like a little kick. It balances the richness.
Cheese Swaps
Velveeta Style — If you want that ultra-smooth, processed texture, add 8oz of cubed Velveeta to the sauce. It’s not “gourmet,” but it’s nostalgic and incredibly creamy.
Monterey Jack — Swap the Gruyère for Monterey Jack for a milder, meltier sauce. Good for picky eaters.
Dietary Modifications
Gluten-Free — Use gluten-free elbow pasta and gluten-free breadcrumbs. The rest of the recipe is naturally gluten-free. I’ve used Barilla GF pasta, and it holds up well.
Dairy-Free — This is harder because cheese is the star. Use dairy-free butter, oat milk, and dairy-free cheddar shreds. Note: Dairy-free cheese doesn’t melt the same way, so the texture will be different. It’s still good, just not the same experience.
Serving & Storage
How to Serve: I usually serve this straight from the baking dish at the dinner table. It looks rustic and stays warm. Pair it with crispy baked zucchini fries for a veggie side, or a simple green salad to cut the richness. For a more substantial meal, serve it alongside honey garlic glazed meatloaf or roasted chicken.
Storage: Store leftovers in an airtight container in the fridge for up to 4 days. The sauce will thicken as it cools, which is normal.
Reheating: This is the tricky part. Microwave reheating can dry out mac and cheese. The best method is to add a splash of milk to the leftover portion, cover it, and reheat in the microwave in 30-second intervals, stirring in between. The milk brings the creaminess back. Alternatively, reheat it in a skillet over low heat with a little milk, stirring constantly until warm.
Freezing: You can freeze mac and cheese, but the texture may change slightly. The sauce might separate a bit upon thawing. If you freeze it, do so before baking. Thaw in the fridge, then bake as directed. I usually freeze individual portions for quick lunches.
Nutrition Information
I’m not a nutritionist, but here’s the breakdown if you’re tracking. This is a rich, calorie-dense dish, so portion control is key.
Per Serving (based on 8 servings):
- Calories: 580
- Protein: 22g
- Carbs: 55g
- Fat: 28g
- Saturated Fat: 16g
- Cholesterol: 75mg
- Sodium: 650mg
Look, this is comfort food. It’s not a salad. But it’s made with real ingredients, not processed powder. When I want to make it lighter, I use half-and-half instead of whole milk and reduce the cheese by a quarter. But usually? I just enjoy a reasonable portion and move on. It’s better than takeout and costs less.
Final Thoughts
So that’s my go-to ultra-creamy baked mac and cheese! I’ve probably talked your ear off at this point, but when you make a recipe this often, you have a lot to say about it. This has saved weeknight dinners more times than I can count. It’s my answer to “what’s for dinner” when I’m tired, don’t want takeout, and still want something that tastes really good.
Make it yours! Try different add-ins, swap in your favorite vegetables, or adjust the cheese ratios to your taste. The best recipes are the ones you adapt to your family’s tastes. If you make this, drop a comment and let me know what you think! I love hearing how recipes turn out in your kitchen. And if something doesn’t work, tell me that too—I’m here to help troubleshoot.
Happy cooking! And I hope your kitchen smells half as good as mine does right now.
Frequently Asked Questions
Q: Can I use milk instead of heavy cream?
A: Yes! In fact, this recipe uses whole milk, which is less heavy than cream but still very creamy. If you want it even richer, you can swap 1 cup of the milk for heavy cream. But whole milk works perfectly fine and keeps it from being too heavy.
Q: Why did my sauce get grainy?
A: This usually happens for two reasons: either you used pre-shredded cheese (which has anti-caking agents), or the heat was too high when you added the cheese. Always grate your own cheese and remove the pan from the heat before stirring in the cheese. If your sauce is already grainy, whisk in a splash of cold milk and stir vigorously—it might come back together.
Q: Can I make this ahead for a dinner party?
A: Absolutely. Assemble the mac and cheese in the baking dish, cover it tightly with foil, and refrigerate for up to 24 hours. When you’re ready to eat, take it out of the fridge, let it sit for 30 minutes to take the chill off, then bake it. You’ll need to add about 10-15 minutes to the baking time since it’s starting cold.
Q: What’s the best pasta shape for baked mac and cheese?
A> Elbows are classic because they hold sauce in the curve. Cavatappi (corkscrew) and rigatoni are also great because their tubes capture the cheese sauce. Avoid long, thin pastas like spaghetti or linguine, as they don’t distribute the sauce evenly in a bake.
Q: Can I freeze this mac and cheese?
A: Yes, but it’s best frozen before baking. Assemble the dish, cover tightly with plastic wrap and foil, and freeze for up to 3 months. Thaw in the fridge overnight, then bake as directed. Note that the texture might be slightly softer after freezing, but it will still taste delicious.
Q: How do I reheat leftovers without it getting dry?
A: Add a splash of milk or cream to the leftover portion before reheating. This adds moisture back into the sauce. Reheat gently in the microwave or on the stovetop, stirring frequently. Avoid high heat, which can dry out the pasta and separate the sauce.
Pin This Recipe!
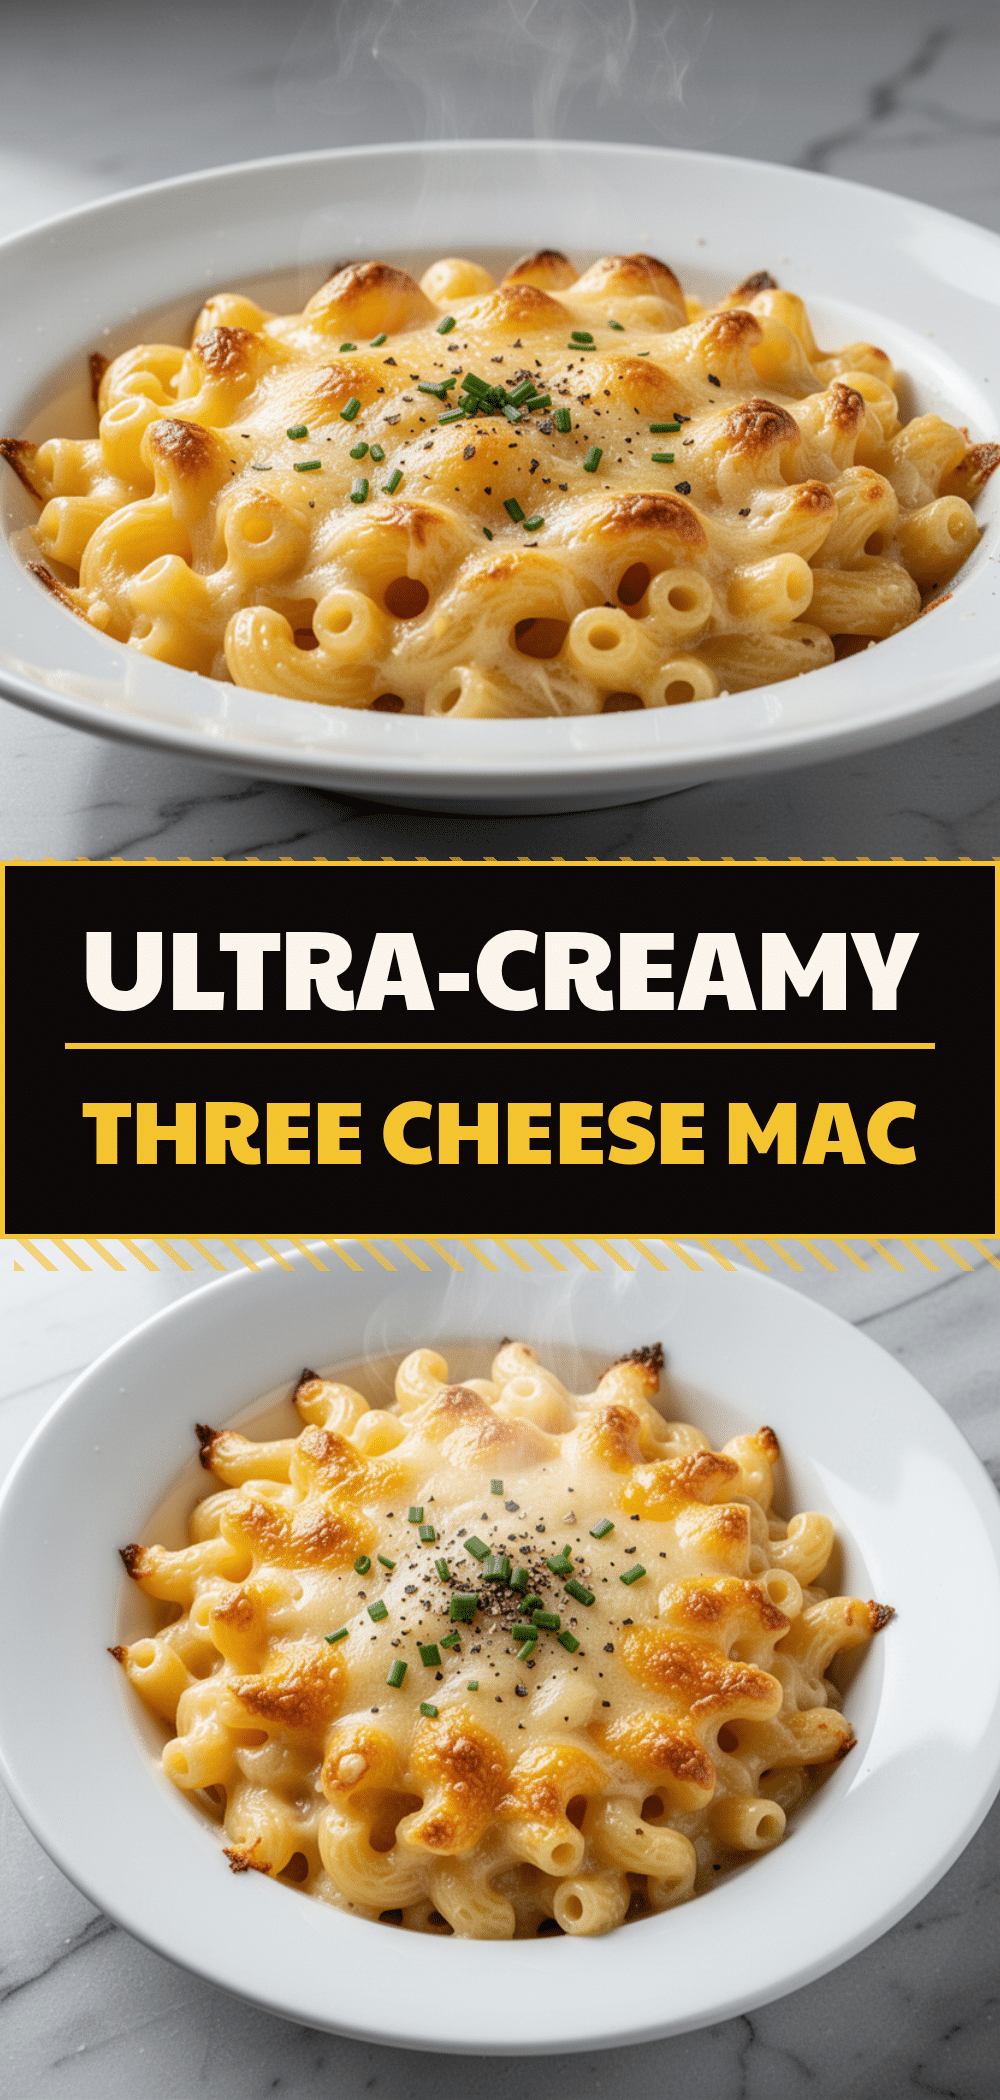
Ultra-Creamy Baked Mac and Cheese: Best 3 Cheese Recipe
- Total Time: 45 minutes
- Yield: 8 servings 1x
Description
An ultra-creamy, baked mac and cheese recipe featuring a rich roux-based sauce and a perfect blend of sharp cheddar, Gruyère, and Parmesan cheeses. This comfort food is easier to make than boxed versions and delivers a gourmet taste.
Ingredients
- 1 pound elbow macaroni
- 2 tablespoons salt (for pasta water)
- 1/2 cup unsalted butter
- 1/2 cup all-purpose flour
- 3 cups whole milk
- 1 teaspoon garlic powder
- 1/2 teaspoon mustard powder
- 2 cups sharp cheddar cheese, freshly grated
- 1 cup Gruyère cheese, freshly grated
- 1/2 cup Parmesan cheese, freshly grated
- 1/2 cup Panko breadcrumbs (optional)
- 2 tablespoons fresh parsley, chopped (optional)
Instructions
- Preheat oven to 350°F (175°C) and grease a 9×13 inch baking dish.
- Grate all cheeses (cheddar, Gruyère, Parmesan) before starting to ensure smooth melting.
- Bring a large pot of generously salted water to a boil. Add macaroni and cook 1 minute less than package directions for al dente. Drain and rinse briefly with warm water; toss with a little oil to prevent sticking.
- In a large skillet or Dutch oven over medium heat, melt the butter. Whisk in the flour and cook for 1-2 minutes until light golden and nutty.
- Reduce heat to medium-low. Gradually whisk in the whole milk, adding small amounts at a time to prevent lumps. Cook until the sauce thickens enough to coat the back of a spoon (about 5 minutes). Stir in garlic powder and mustard powder.
- Remove the pan from the heat. Gradually add the grated cheeses, stirring until each addition is fully melted and the sauce is smooth and glossy.
- Pour the cooked pasta into the cheese sauce and stir gently to coat every noodle.
- Transfer the mixture to the prepared baking dish. If using, sprinkle breadcrumbs evenly over the top.
- Bake for 20-25 minutes until the top is bubbly and golden brown.
- Let the mac and cheese rest for 10 minutes before serving to allow the sauce to set.
Notes
Grate your own cheese to avoid anti-caking agents that prevent smooth melting. Do not overcook the pasta as it will continue to cook in the oven. Remove the pan from heat before adding cheese to prevent a grainy sauce. Leftovers can be stored in the fridge for up to 4 days and reheated with a splash of milk.
- Prep Time: 15 minutes
- Cook Time: 30 minutes
- Category: Main Course
- Cuisine: American
Nutrition
- Serving Size: 1 serving
- Calories: 580
- Sodium: 650
- Fat: 28
- Saturated Fat: 16
- Carbohydrates: 55
- Protein: 22
Keywords: mac and cheese, baked mac and cheese, three cheese recipe, comfort food, creamy mac and cheese, cheddar, Gruyère, Parmesan, easy dinner, family favorite



