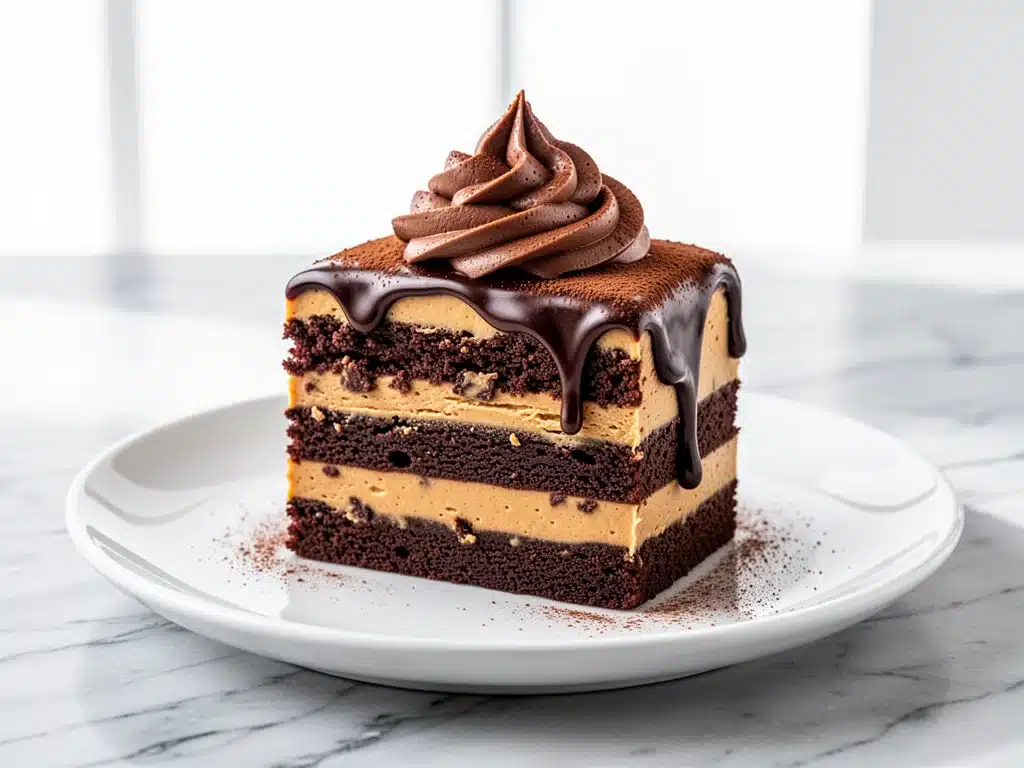
Let’s be honest for a second. I’ve never been a fan of putting things in the same bowl that I wouldn’t eat separately. But then I had my first bite of this Reese’s Peanut Butter Chocolate Layer Cake with Fudge Ganache, and my entire worldview shifted.
I was at a neighbor’s house last summer, and she pulled this towering three-layer monstrosity out of the fridge. It was dripping with dark ganache, the sides were crusted with crushed peanut butter cups, and the middle layer was basically a peanut butter mousse that looked too good to be edible. I took one bite and immediately stopped talking. My husband looked at me like I’d lost my mind because I was staring at the plate like it held the secrets to the universe.
“Where did you get this?” I finally managed to ask.
“I didn’t get it,” she said, looking a little defensive. “I made it. And if you want the recipe, you have to promise to keep it a secret. People have been asking for it for three years.”
Well, I don’t do secrets. Especially not when it comes to dessert that makes people stop mid-chew and just stare at you in awe. I spent the next month reverse-engineering that cake. I burned two batches of ganache. I over-whipped the peanut butter layer three times (it got grainy, which is a tragedy I don’t wish on anyone). But eventually, I cracked the code.
This isn’t just a cake. It’s a flavor bomb that balances the salty crunch of peanut butter with the deep, bitter-sweet richness of dark chocolate. It’s the kind of dessert that feels like cheating on your diet, but tastes like a victory. And yes, it’s easier to make than it looks. You don’t need to be a professional pastry chef. You just need a mixer, some patience, and a willingness to eat the batter.
Why You’ll Love This Reese’s Peanut Butter Chocolate Layer Cake
There are about ten reasons I keep making this cake, but here are the big ones that have it on my regular rotation for birthdays, holidays, and “I need to cheer myself up” Tuesdays.
The Flavor Combination Is Unbeatable — We’ve all heard that chocolate and peanut butter are a match made in heaven. But this recipe takes it to the next level by separating the flavors into distinct layers. You get the intense chocolate hit first, then the creamy, salty peanut butter middle, and finally the rich ganache finish. It’s not just mixed together; it’s layered. It’s complex.
It’s Surprisingly Stable — Most peanut butter frostings are a nightmare. They slide off the cake if you look at them wrong, and they melt in your hands if it’s even slightly warm. This fudge ganache and peanut butter mousse combo is stable enough to transport to a party without collapsing. I’ve driven it across town in a hot car, and it held its shape perfectly.
It Feels Fancy (But Isn’t) — When you serve this, people assume you spent hours at a bakery. The dark chocolate ganache gives it that professional, glossy finish. The crushed peanut butter cup garnish makes it look like something from a high-end dessert shop. But it’s just cake, mousse, and ganache. No complicated tempering or sugar work.
Perfect for Meal Prep (Sort Of) — This cake actually tastes better the next day. The flavors meld together overnight, and the ganache sets up into a nice firm shell. I usually make it the night before a party so I can just pull it out and slice. It’s a lifesaver when you’re hosting.
It’s a Crowd-Pleaser — I’ve served this to picky eaters and dessert snobs alike. Even people who say they “don’t like peanut butter” will eat this because the chocolate is so dominant. It’s the ultimate compromise dessert.
Ingredients You’ll Need
Here’s the best part: you probably have most of this already. I’m particular about three ingredients here, and I’ll tell you exactly why. This isn’t a recipe where you can swap in cheap margarine and expect magic.
For the Chocolate Cake Layers:
All-purpose flour (3 cups / 375g) — Don’t use cake flour here. You want structure. I use Gold Medal or King Arthur. Sift it with the cocoa powder to avoid lumps.
Unsweetened cocoa powder (1 cup / 100g) — This is non-negotiable. Use Dutch-processed cocoa if you can find it. It’s darker and less acidic, which gives that deep chocolate flavor. Hershey’s Special Dark is great, but any good Dutch-processed brand works.
Boiling water or strong coffee (1 cup / 240ml) — Yes, boiling. This “blooms” the cocoa powder, releasing its full flavor potential. If you’re worried about coffee flavor, don’t be. You won’t taste the coffee, just the chocolate. It makes the cake taste more intense.
Granulated sugar (2 cups / 400g) — Standard white sugar. Don’t try to cut this way down. Sugar provides moisture and tenderness in cakes. If you reduce it too much, you’ll get a dry brick.
Vegetable oil (½ cup / 120ml) — I use oil instead of butter for the cake batter. Butter makes cake dense; oil keeps it moist and tender for days. This is a pro tip I learned from baking for years.
Eggs (4 large) — Room temperature is key. Cold eggs can curdle your batter. Pull them out of the fridge 30 minutes before you start.
Buttermilk (1 cup / 240ml) — The acid in buttermilk tenderizes the gluten. If you don’t have it, mix 1 tablespoon of white vinegar or lemon juice with regular milk and let it sit for 5 minutes. It works just as well.
For the Peanut Butter Mousse Layer:
Cream cheese (8 oz / 225g, softened) — Full-fat block cream cheese. Not the spreadable kind in a tub. That has too much air and water. You need the dense, rich texture of the block.
Peanut butter (1 cup / 250g) — Use creamy, natural peanut butter. I like Skippy or Jif for consistency, but natural brands work if you stir them really well. Avoid “no-stir” peanut butter if it’s too oily.
Heavy cream (2 cups / 480ml, cold) — This is what you whip into the mousse. It needs to be very cold for it to hold peaks. If your cream is warm, it won’t whip.
Powdered sugar (½ cup / 60g) — Just enough to sweeten it up without making it cloying. The peanut butter is already sweet, so keep this moderate.
For the Fudge Ganache:
Semi-sweet chocolate chips (12 oz / 340g) — I use Ghirardelli or Lindt. Avoid the cheap baking chips; they have wax and don’t melt smoothly. Good chocolate makes a huge difference here.
Heavy cream (1 cup / 240ml) — You’ll need more cream for this than the mousse. This ratio (1:1 by weight) gives you a glossy, pourable ganache that sets up firm but not hard.
Butter (2 tablespoons) — Optional, but it adds shine and a smoother mouthfeel. I always add it.
Garnish:
Reese’s Peanut Butter Cups (1 bag) — You’ll need about 12-15 cups for crushing. Get the regular ones, not the mini ones (too small) or the large ones (too much chocolate). Regular is the sweet spot.
Equipment Needed
You don’t need fancy equipment for this. Here’s what I actually use.
Three 8-inch round cake pans — I use metal pans, not glass. Glass heats unevenly and can burn the edges. If you only have two pans, you can bake one batch, let it cool, then bake the second. It takes longer but works.
Electric mixer — Handheld works, but a stand mixer is easier for whipping the cream and beating the batter. I use my KitchenAid, but any mixer is fine.
Wire whisk — For mixing the dry ingredients and the ganache.
Spatula — You’ll need a rubber spatula for folding the batter and scraping the bowls. Get a good one; it makes a difference.
Springform pan (optional) — Some people make this in a springform pan for easier removal. I prefer layering it in regular pans because it’s easier to level the layers. If you use a springform, make sure it’s tight so the mousse doesn’t leak.
Blender or food processor — For crushing the peanut butter cups. Or just put them in a ziplock bag and smash them with a rolling pin. I like the control of the bag method.
Offset spatula — For spreading the ganache and mousse. It makes smoothing the sides of the cake way easier.
Cooling racks — Two are ideal. You need to cool the cakes completely before frosting, or the ganache will melt.
How to Make It: Step-by-Step
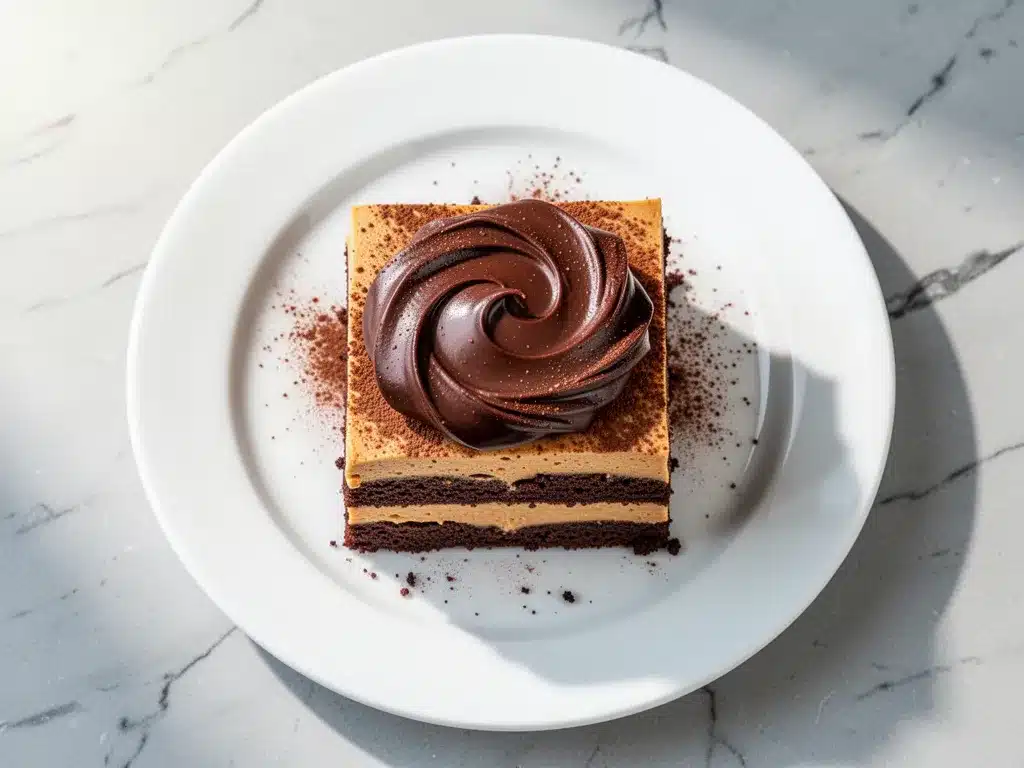
Alright, let’s make this! I’m walking you through exactly how I do it, including the little tricks I’ve picked up.
Step 1: Prep Your Pans and Oven (10 minutes)
Preheat your oven to 350°F (175°C). Grease your three 8-inch cake pans with butter or cooking spray. Then, line the bottoms with parchment paper. This is crucial. If you don’t line the bottoms, the cakes will stick, and you’ll be scraping for hours. I hate scraping. Just do it.
Step 2: Mix the Dry Ingredients (5 minutes)
In a large bowl, whisk together the flour, sugar, cocoa powder, baking powder, baking soda, and salt. Make sure there are no lumps of cocoa powder. If you see any, sift them out. It’s worth the extra minute.
Step 3: Combine Wet Ingredients (3 minutes)
In a separate bowl or large measuring cup, whisk together the eggs, buttermilk, oil, and vanilla extract. Whisk until it’s smooth and uniform.
Step 4: Make the Batter (5 minutes)
Pour the wet ingredients into the dry ingredients. Beat on medium speed for about 2 minutes. The batter will be thick. Then, carefully pour in the boiling water (or coffee). Stir it in gently with a spoon or spatula. The batter will become thin and watery. This is normal! Don’t panic. It’s supposed to be thin. That’s how you get a moist cake.
Step 5: Bake the Cakes (30-35 minutes)
Distribute the batter evenly among the three pans. Bake for 30-35 minutes. You’ll know they’re done when a toothpick inserted into the center comes out clean or with just a few moist crumbs. Do not overbake! If they’re dry, the cake will be dry. Let them cool in the pans for 10 minutes, then turn them out onto cooling racks to cool completely. This might take 1-2 hours. Be patient. If you frost warm cake, you’re doomed.
Step 6: Make the Peanut Butter Mousse (15 minutes)
In a large bowl, beat the softened cream cheese and peanut butter until smooth and creamy. Add the powdered sugar and beat until combined. In a separate chilled bowl, whip the heavy cream until stiff peaks form. Gently fold the whipped cream into the cream cheese mixture. Do not overmix! You want to keep the air in the cream. Fold until just combined. It should look fluffy and light.
Step 7: Assemble the Cake (20 minutes)
Place one cake layer on your serving plate or cake stand. Spread a layer of the peanut butter mousse over the top. Place the second cake layer on top. Spread more mousse. Place the third cake layer on top. The top of the cake should be smooth. If your layers are domed, level them with a serrated knife before assembling. A flat cake is easier to frost.
Step 8: Make the Fudge Ganache (10 minutes)
Chop the chocolate into small pieces if they aren’t chips. Place them in a heatproof bowl. In a saucepan, heat the heavy cream until it just starts to simmer (small bubbles around the edges). Pour the hot cream over the chocolate. Let it sit for 5 minutes. Do not stir yet. Then, gently whisk from the center outwards until smooth and glossy. Stir in the butter. Let it cool for 10-15 minutes until it thickens slightly but is still pourable.
Step 9: Frost and Garnish (15 minutes)
Pour the ganache over the top of the cake. Use an offset spatula to guide it down the sides. Don’t worry if it’s not perfect; the crushed peanut butter cups will hide any imperfections. Immediately sprinkle the crushed peanut butter cups over the top and down the sides while the ganache is still wet. Press them in gently so they stick.
Step 10: Chill and Serve
Refrigerate the cake for at least 2 hours, or preferably overnight. This sets the ganache and the mousse. Slice with a hot, clean knife for neat slices. Dip the knife in hot water and wipe it dry between cuts.
Expert Tips & Tricks
Here’s everything I’ve learned from making this dozens of times. These tips will save you from my mistakes.
Cool Your Cakes Completely — I cannot stress this enough. If your cakes are even slightly warm, the ganache will melt and slide off. The mousse will melt into the cake. Wait until they are room temperature, then chill them in the fridge for an hour before assembling. It’s worth the wait.
Don’t Skip the Boiling Water — I know it seems scary to pour boiling water into batter, but it’s essential for blooming the cocoa. If you use hot water instead of boiling, you won’t get the same intensity. Use boiling. Trust me.
Chill Your Bowl for Whipping Cream — If you’re having trouble whipping the heavy cream, put your mixing bowl and beaters in the freezer for 15 minutes before starting. Cold equipment helps cream whip faster and hold its shape.
Crush the Peanut Butter Cups Coarsely — Don’t turn them into dust. You want chunks. Big chunks of peanut butter and chocolate in every bite. Use a food processor for 10 seconds, or a rolling pin in a bag. Aim for pea-sized pieces.
Let the Ganache Cool — If you pour the ganache while it’s too hot, it will run off the cake and pool at the bottom. If it’s too cold, it will clump. Wait until it’s the consistency of warm honey. It should pour slowly but coat the back of a spoon.
Common Mistakes (and how to avoid them):
Mistake: The mousse is grainy. Fix: Your cream cheese wasn’t soft enough. Make sure it’s room temperature and beat it for a full 2-3 minutes before adding the sugar. Smooth cream cheese is key.
Mistake: The ganache is too hard. Fix: You used too much chocolate or not enough cream. Next time, use a 1:1 ratio by weight (12 oz chocolate to 12 oz cream). If it’s already hard, gently reheat it in the microwave in 5-second bursts, stirring in between.
Mistake: The cake is dry. Fix: You overbaked it. Check it 5 minutes before the timer goes off. Also, make sure you’re using oil, not butter, in the batter. Oil stays liquid at room temperature, keeping the cake moist.
Variations & Substitutions
Once you’ve nailed the basic version, here’s how you can mix it up. I’ve tried all of these.
Gluten-Free Version — Use a 1:1 gluten-free flour blend. I’ve used Bob’s Red Mill and it works great. Make sure your baking powder is gluten-free. The texture will be slightly more crumbly, but still delicious.
Dairy-Free Version — Replace the butter milk with almond milk + vinegar. Use dairy-free chocolate chips (like Enjoy Life) and dairy-free heavy cream (like Silk Coconut Cream). For the mousse, use dairy-free cream cheese (like Kite Hill) and coconut cream. It’s not exactly the same, but it’s surprisingly close.
Mini Cupcakes — This recipe makes about 24-30 cupcakes. Bake at 350°F for 18-20 minutes. Frost with a dollop of mousse and drizzle with ganache. Top with a mini peanut butter cup. Perfect for parties.
Dark Chocolate Intensity — Swap the semi-sweet chocolate for 70% dark chocolate. It makes the ganache more bitter and sophisticated. Great for adults.
Added Crunch — Mix chopped peanuts into the mousse layer for extra texture. Or sprinkle crushed pretzels on the ganache for a salty-sweet contrast.
Serving & Storage
How to Serve:
I usually serve this straight from the fridge. The cold peanut butter mousse is incredibly refreshing against the rich chocolate. Cut slices with a sharp knife. Serve with a cold glass of milk or a cup of black coffee to cut the sweetness.
Side Dishes:
This is a heavy dessert, so keep sides light. If you’re serving it after dinner, maybe some fresh berries on the side. Or just serve it plain. It’s the star of the show.
Storage Instructions:
Refrigerator: Store in an airtight container or covered with plastic wrap for up to 5 days. The cake actually gets better after day 2. The flavors meld and the ganache sets.
Freezing: You can freeze the cake layers before frosting. Wrap them tightly in plastic wrap and foil. They’ll keep for 3 months. Thaw in the fridge overnight. However, I don’t recommend freezing the assembled cake. The mousse can get icy and the ganache can crack. Make it fresh.
Reheating: Do not reheat this cake. It’s meant to be eaten cold or room temperature. Reheating will melt the ganache and make the texture weird.
Nutrition Information
I’m not a nutritionist, but here’s the breakdown if you’re tracking. This is definitely a treat, so enjoy it mindfully.
Per Slice (1/12th of cake):
- Calories: 650
- Protein: 10g
- Carbs: 75g
- Fiber: 3g
- Sugar: 55g
- Fat: 35g
- Saturated Fat: 18g
It’s rich, it’s sweet, and it’s indulgent. That’s the point. If you want to lighten it up, use a lighter mousse (less cream cheese) and less ganache. But honestly? Life’s too short for diet cake. Just share it with friends.
Final Thoughts
So that’s my Reese’s Peanut Butter Chocolate Layer Cake with Fudge Ganache! I’ve probably talked your ear off at this point, but when you make a recipe this often, you have a lot to say about it.
This cake has saved me more times than I can count. It’s my answer to “what dessert should I bring?” when I’m invited somewhere. It’s always a hit. My friends joke that I’m addicted to peanut butter, but I call it “culinary expertise.”
Make it yours! Try different garnishes, swap the chocolate type, or adjust the sweetness. The best recipes are the ones you adapt to your family’s tastes. If you make this, drop a comment and let me know what you think! I love hearing how recipes turn out in your kitchen. And if something doesn’t work, tell me that too—I’m here to help troubleshoot.
Happy baking! And I hope your kitchen smells half as good as mine does right now.
Frequently Asked Questions
Can I use milk instead of heavy cream for the ganache?
You can, but the ganache will be thinner and won’t set as firmly. If you want to try it, use whole milk and add an extra tablespoon of butter. But honestly, heavy cream is worth it for that rich, fudgy texture. Half-and-half is a better middle ground if you don’t have heavy cream.
Why did my ganache get grainy?
The heat was too high, or you didn’t let it sit long enough before whisking. Always let the hot cream sit on the chocolate for 5 minutes. Then whisk gently from the center out. If it’s already grainy, you can try whisking in a splash of warm cream to smooth it out, but it’s tricky.
Can I make this ahead for a party?
Yes! This is actually better made ahead. Make the cake layers a day before, let them cool, and wrap them tightly. Make the mousse and ganache the day of or the night before. Assemble the cake the night before the party. It needs time to set in the fridge.
Why did my mousse separate?
You probably overmixed it after folding in the whipped cream. Once you add the whipped cream, fold gently just until combined. Overmixing deflates the cream and makes the mousse heavy and dense. Also, make sure your cream cheese is fully smooth before adding the sugar.
Can I use natural peanut butter?
Yes, but make sure it’s well-stirred. Natural peanut butter can be oily. If it’s too oily, the mousse might separate. I recommend using a standard brand like Jif or Skippy for consistency. If you must use natural, stir it really well and maybe add a tablespoon of powdered sugar to absorb excess oil.
How do I store leftover cake?
Keep it in the fridge in an airtight container. It will last up to 5 days. Bring it to room temperature for 20 minutes before serving for the best flavor and texture. Cold cake can taste a bit muted.
Pin This Recipe!
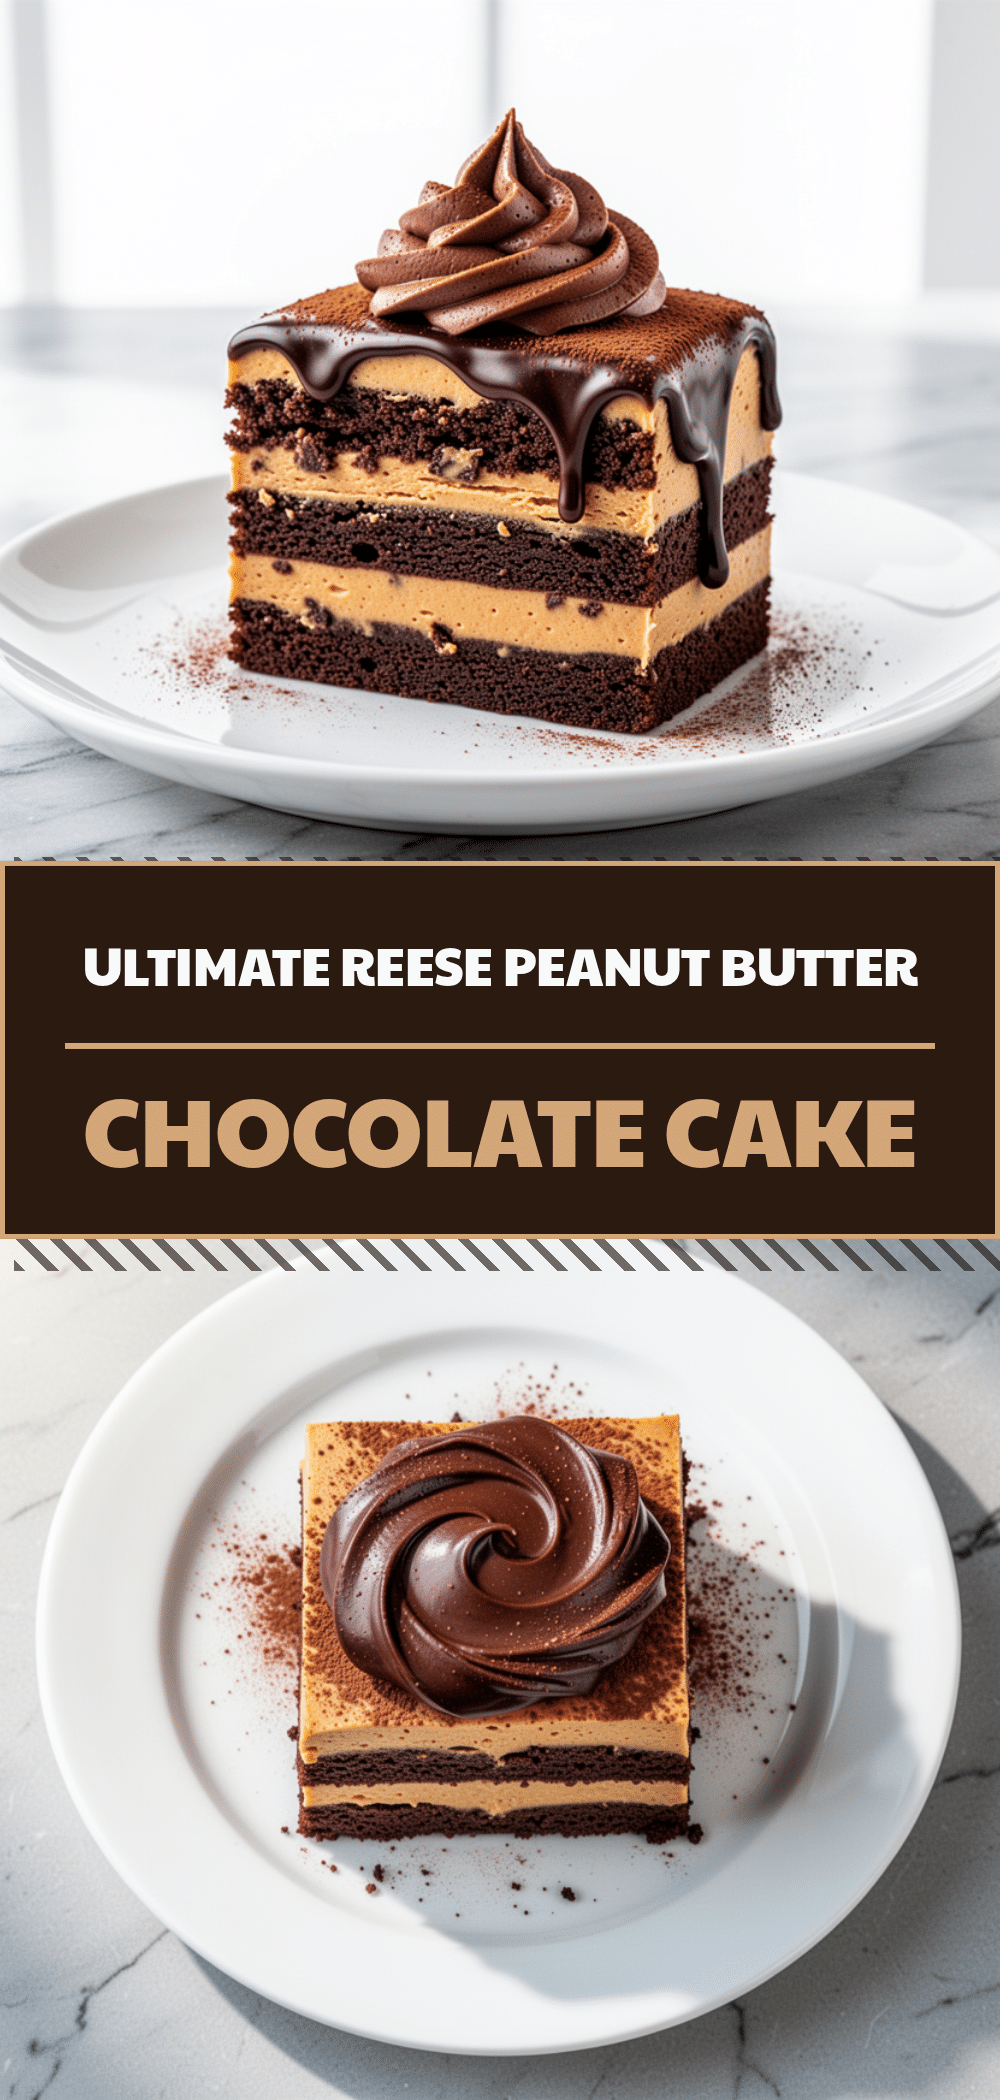
Reeses Peanut Butter Cake: Best 3-Layer Recipe
- Total Time: 2 hours 20 minutes
- Yield: 12 servings 1x
Description
A rich, three-layer chocolate cake featuring a creamy peanut butter mousse filling and a glossy dark chocolate fudge ganache, garnished with crushed Reese’s Peanut Butter Cups.
Ingredients
- 3 cups (375g) all-purpose flour
- 1 cup (100g) unsweetened cocoa powder (Dutch-processed)
- 2 cups (400g) granulated sugar
- 1 cup (240ml) boiling water or strong coffee
- 1/2 cup (120ml) vegetable oil
- 4 large eggs (room temperature)
- 1 cup (240ml) buttermilk
- 1 tsp baking powder
- 1 tsp baking soda
- 1/2 tsp salt
- 1 tsp vanilla extract
- 8 oz (225g) cream cheese (softened, full-fat block)
- 1 cup (250g) creamy peanut butter
- 1/2 cup (60g) powdered sugar
- 2 cups (480ml) heavy cream (cold, for mousse)
- 12 oz (340g) semi-sweet chocolate chips
- 1 cup (240ml) heavy cream (for ganache)
- 2 tablespoons butter
- 1 bag Reese’s Peanut Butter Cups (regular size, for garnish)
Instructions
- Preheat oven to 350°F (175°C). Grease three 8-inch round cake pans and line bottoms with parchment paper.
- In a large bowl, whisk together flour, sugar, cocoa powder, baking powder, baking soda, and salt.
- In a separate bowl, whisk together eggs, buttermilk, oil, and vanilla extract until smooth.
- Pour wet ingredients into dry ingredients and beat on medium speed for 2 minutes. Carefully stir in boiling water until batter is thin.
- Divide batter evenly among pans and bake for 30-35 minutes until a toothpick comes out clean. Cool in pans for 10 minutes, then transfer to cooling racks to cool completely.
- For the mousse, beat softened cream cheese and peanut butter until smooth. Add powdered sugar and beat until combined.
- In a chilled bowl, whip heavy cream until stiff peaks form. Gently fold whipped cream into the cream cheese mixture until just combined.
- Assemble the cake: Place one cake layer on a stand, spread with mousse, add second layer, spread with mousse, add third layer.
- For the ganache, place chocolate chips in a heatproof bowl. Heat heavy cream until simmering, pour over chocolate, and let sit for 5 minutes. Whisk from center outward until smooth. Stir in butter and let cool slightly.
- Pour ganache over the top of the cake, allowing it to drip down the sides. Immediately sprinkle crushed peanut butter cups over the wet ganache.
- Refrigerate for at least 2 hours or overnight to set. Slice with a hot, clean knife.
Notes
Ensure cakes are completely cool before frosting to prevent the ganache from melting. Use oil instead of butter in the batter for a moister cake. For the mousse, ensure cream cheese is fully softened to avoid graininess. The cake tastes better the next day as flavors meld.
- Prep Time: 45 minutes
- Cook Time: 35 minutes
- Category: Dessert
- Cuisine: American
Nutrition
- Serving Size: 1 slice (1/12th of c
- Calories: 650
- Sugar: 55
- Fat: 35
- Saturated Fat: 18
- Carbohydrates: 75
- Fiber: 3
- Protein: 10
Keywords: Reese's, peanut butter cake, chocolate layer cake, fudge ganache, dessert recipe, birthday cake, chocolate and peanut butter



