Last Saturday morning, I woke up to the sound of my kids tearing through the pantry like raccoons looking for treasure. It was 6:45 AM. The house was still dark, the coffee maker hadn’t even been plugged in yet, and I was running on four hours of sleep because my toddler had decided that 3 AM was the perfect time to practice standing up. I dragged myself into the kitchen, expecting the usual chaotic scramble: burnt toast, milk that had gone sour, and me apologizing for “just cereal today.”
But then I remembered the pan in the fridge.
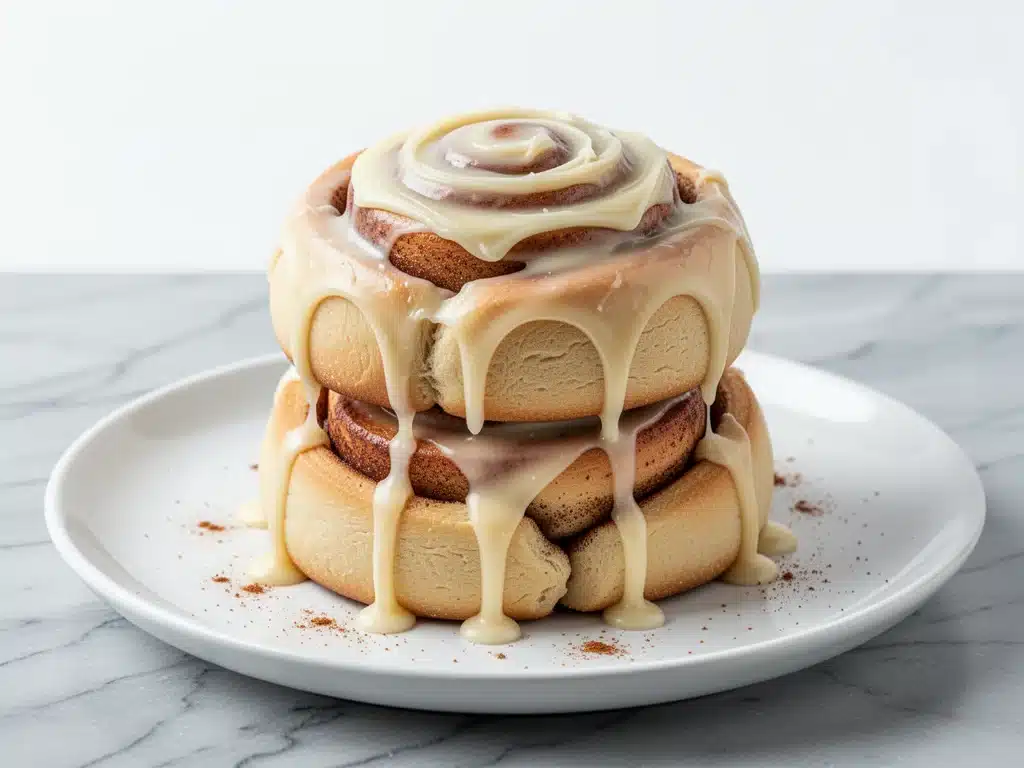
It wasn’t just any pan. It was the overnight cinnamon rolls with cream cheese icing I’d prepped the night before while half-asleep, watching True Crime documentaries. I had rolled the dough, cut the spirals, and popped them in the fridge before my brain had fully shut down. And now, at 7:00 AM, I could just pull them out, let them warm up for twenty minutes while I brushed teeth, and then bake them. By the time my husband stumbled in, bleary-eyed and asking what smelled so good, we had fresh, gooey, warm cinnamon rolls waiting for us. No panic. No mess. Just pure, unadulterated victory.
This isn’t a trick. It’s not a hack that sacrifices texture for speed. It’s the real deal. The kind of breakfast that makes your neighbors knock on your door asking for the recipe. I’ve made these overnight cinnamon rolls with cream cheese icing at least a dozen times since that Saturday. They’ve become my secret weapon for busy weeknights when I know Saturday will be chaotic, and my go-to for when I just want to treat myself to something special without spending my entire morning in the kitchen.
If you’ve ever felt like homemade baked goods are only for people with leisure time and infinite patience, let me change your mind. This method changes everything. It’s about taking the hard work out of the process and putting it where it belongs—while you sleep.
Why You’ll Love This Overnight Cinnamon Roll Recipe
There are about ten reasons I keep making these rolls, but if I’m being honest, it’s usually just three that keep me coming back. This recipe has completely transformed our weekend mornings from stressful scrambles into relaxed, happy family time.
- Zero Morning Stress — Seriously, if you can roll dough and cut strips, you can make this. I’ve made these while my kids were screaming in the background, and the result was perfect. The dough rises slowly in the fridge, meaning you don’t have to wait around for it to proof. You just bake it.
- Restaurant-Quality Taste — I’ve tried yeast-free drop biscuits and quick breads, but nothing compares to the texture of real yeast dough. These rolls are pillowy soft, deeply spiced, and have that signature pull-apart gooeyness that you usually only get at expensive brunch spots.
- Make-Ahead Magic — The night-before prep takes about 10 minutes. That’s it. Ten minutes. I can do this while making dinner or after the kids are in bed. It feels like cheating because you’re doing the work when you’re already in the kitchen anyway.
- Cream Cheese Icing That Actually Stays Put — A lot of cinnamon roll recipes skip the icing or use a simple powdered sugar glaze that runs off. I’m particular about my topping. This cream cheese icing is tangy, sweet, and thick enough to stay on the warm roll without sliding off. It’s the perfect balance.
- Budget-Friendly — Flour, yeast, butter, sugar, cream cheese. These are pantry staples. You can make a dozen rolls for under $5. Compare that to $18 at a bakery, and the savings are obvious. Plus, you control the sugar level.
This is my go-to when I want to feel like a hero without actually doing any work at 6 AM. No complicated techniques, no weird ingredients, just reliable, delicious food that makes everyone happy. And honestly? The smell of cinnamon baking in the morning is worth the ten minutes of prep alone.
Ingredients You’ll Need for Fluffy Dough and Tangy Icing
Here’s the best part: you probably have most of this already. This isn’t a recipe that requires a trip to three different specialty stores. It’s straightforward, honest ingredients that work together to create something magical.
For the Dough
Warm Milk (1 cup / 240ml) — This activates the yeast. It needs to be warm, like baby bottle temperature (about 110°F/43°C). If it’s too hot, you’ll kill the yeast and you’ll end up with dense bricks. If it’s too cold, nothing will happen. I test it on my wrist—it should feel warm, not hot.
Active Dry Yeast (2 packets / 2 ¼ teaspoons) — Standard packet size. Don’t use instant yeast if you can help it, though it works too. Active dry needs that warm milk to wake up. If your yeast doesn’t get foamy after 5 minutes, start over. Don’t skip this step.
Sugar (¼ cup / 50g) — Granulated white sugar. This feeds the yeast and adds a little sweetness to the dough itself. You can use brown sugar, but it makes the dough darker and chewier. White sugar keeps them light and fluffy.
Butter (¼ cup / 57g, melted) — Unsalted butter is best so you can control the salt. Let it cool slightly before adding so you don’t cook the yeast. This adds richness and tenderness to the crumb.
Egg (1 large) — Room temperature is ideal. This binds the dough and adds structure. If you’re out, you can use a flax egg, but the texture will be slightly different.
All-Purpose Flour (3 ½ to 4 cups / 440-500g) — This is where judgment comes in. I start with 3 ½ cups and add more as needed. Your flour might be drier or wetter depending on humidity. The dough should be soft and slightly sticky, but not a soup. It should pull away from the sides of the bowl.
Salt (1 teaspoon) — Essential for flavor. Don’t skip it. It balances the sweetness.
For the Filling
Butter (½ cup / 113g, softened) — This needs to be soft enough to spread. Melted butter makes the rolls greasy; softened butter creates distinct layers. Soften it on the counter while you mix the dough.
Brown Sugar (1 cup / 200g) — Dark or light doesn’t matter much, but dark has more molasses and gives a deeper, caramel-like flavor. I usually use dark for that rich, gooey center.
Cinnamon (2 tablespoons) — Yes, two full tablespoons. Don’t be shy. Cinnamon is the star here. If you’re using old cinnamon that’s been sitting in the back of the cupboard for two years, buy new. It makes a huge difference.
Optional: Nutmeg (½ teaspoon) — A pinch of nutmeg adds warmth and complexity. I always add it. It’s my secret weapon.
For the Cream Cheese Icing
Cream Cheese (4 oz / 113g, softened) — Full-fat block cream cheese. Not the spreadable kind in a tub. The tub kind has too much water and air, and your icing will be runny and bland. Block cream cheese is non-negotiable for good texture.
Butter (¼ cup / 57g, softened) — Again, softened, not melted. This gives the icing body.
Powdered Sugar (1 ½ to 2 cups / 180-240g) — Sifted if it’s lumpy. Start with 1 ½ cups and add more if you want it thicker. I like it thick enough to hold its shape but thin enough to drizzle.
Milk or Cream (1-2 tablespoons) — Just enough to thin it to your preferred consistency.
Vanilla Extract (1 teaspoon) — Real vanilla. The fake stuff tastes chemical in icing.
Equipment Needed
You don’t need fancy equipment for this. Here’s what I actually use.
9×13 Inch Baking Pan — I use a glass Pyrex pan. It heats evenly. Metal pans work too, but glass gives me more control so the bottoms don’t burn. If you don’t have a 9×13, you can use two 9-inch round pans, but you’ll need to adjust the baking time slightly.
Stand Mixer or Hand Mixer — Optional but helpful. I have a stand mixer and use the dough hook. If you’re mixing by hand, you’ll need strong arms. It’s doable, but it takes about 10 minutes of kneading. I recommend a mixer if you have one.
Rolling Pin — A standard wooden rolling pin works fine. I like a heavier one for even pressure.
Dough Scraper — Not essential, but it helps me clean the bowl and handle sticky dough without adding more flour. I’m obsessed with mine.
Parchment Paper — I line my pan with parchment. It makes cleanup effortless. You’ll thank me later when you’re scraping burnt cheese off a pan vs. peeling it off parchment.
Sharp Knife or Dental Floss — For cutting the rolls. I use a sharp serrated knife. Some people use dental floss to get clean cuts without squishing the rolls. I tried it once and it works, but I find a good knife is faster.
Measuring Cups and Spoons — For dry ingredients. If you’re serious about baking, a kitchen scale is great, but cups work perfectly fine for this recipe.
How to Make It: Step-by-Step
Alright, let’s make this! I’m walking you through exactly how I do it, including the little tricks I’ve picked up. This is the overnight method, so the work is split between tonight and tomorrow morning.
Step 1: Activate the Yeast (5 minutes)
In the bowl of your stand mixer (or a large bowl), combine the warm milk, sugar, and yeast. Stir gently and let it sit for 5-10 minutes. You’re looking for a foamy, bubbly layer on top. If it doesn’t foam, your yeast is dead or the milk was too hot. Start over. This is the most common mistake people make, so don’t rush this step.
Step 2: Mix the Dough (5 minutes)
Add the melted butter, egg, and salt to the yeast mixture. Mix on low speed until combined. Gradually add the flour, one cup at a time. Switch to the dough hook (or use your hands) and knead on medium-low speed for 5-7 minutes. The dough should be smooth, elastic, and slightly tacky but not sticking to your hands. If it’s too sticky, add more flour a tablespoon at a time. If it’s too dry, add a splash of milk.
Step 3: First Rise (15 minutes – Optional)
Technically, you can skip this and go straight to the fridge, but a short rise helps the gluten relax. Lightly grease a bowl, transfer the dough, cover with plastic wrap, and let it sit on the counter for 15 minutes. It doesn’t need to double in size. Just relax.
Step 4: Roll and Fill (10 minutes)
Turn the dough out onto a lightly floured surface. Roll it into a large rectangle, about 12×18 inches. It doesn’t need to be perfect. Spread the softened butter evenly over the entire surface, leaving a small border at the far edge. Sprinkle the brown sugar, cinnamon, and nutmeg evenly over the butter. Use your hands to press the spices into the butter so they stick. Starting from the long edge closest to you, roll the dough up tightly into a log. Roll firmly but gently—don’t crush it.
Step 5: Cut and Pan (5 minutes)
Use a sharp knife or dental floss to cut the log into 12 equal rolls. I cut it in half, then each half in half again (quarters), then cut each quarter into three pieces. Place them cut-side up in your prepared 9×13 pan. They should be touching. Leave a little space if you want slightly less gooey centers, but touching is traditional.
Step 6: The Overnight Rise (8-12 hours)
Cover the pan tightly with plastic wrap or a damp kitchen towel. Place it in the refrigerator. This slow rise develops flavor and makes the dough easier to handle. You can leave them here for up to 24 hours. If you leave them longer, they might start to over-proof and collapse. I usually do this the night before dinner.
Step 7: Morning Prep (20 minutes)
The next morning, take the pan out of the fridge. Let it sit on the counter for 20-30 minutes while your oven preheats to 350°F (175°C). The rolls will puff up and look jiggly. This is good. It means they’re ready.
Step 8: Bake (25-30 minutes)
Bake in the preheated oven for 25-30 minutes. They’re done when they’re golden brown on top and the centers feel set (not jiggly) when you gently press them. If they start browning too fast, tent them with foil for the last 10 minutes.
Step 9: Make the Icing
While the rolls bake, beat the softened cream cheese and butter until smooth. Add the powdered sugar, vanilla, and a splash of milk. Beat until creamy and spreadable. If it’s too thick, add more milk. If too thin, add more sugar.
Step 10: Ice and Serve
Let the rolls cool in the pan for 5-10 minutes. Then, spread the cream cheese icing over the warm rolls. The warmth helps the icing melt slightly into the crevices. Serve immediately. If you wait too long, the icing will harden into a shell, which some people like, but I prefer it gooey.
Expert Tips & Tricks for Perfect Rolls
Here’s everything I’ve learned from making these dozens of times. These tips will save you from my mistakes.
The Dough Should Be Tacky, Not Sticky
This is the hardest part for beginners. You want a dough that feels like a soft earlobe. If it sticks to your fingers, add a little flour. If it feels like rubber, it’s too dry. The humidity in your kitchen matters. I always add flour sparingly at the end.
Roll It Tightly
If your rolls unravel in the oven, you didn’t roll it tight enough. Start at one end and roll firmly, tucking the ends under. The tighter the roll, the neater the spiral.
Don’t Skip the Fridge Time
You can bake them right away, but the overnight rise makes the texture superior. The cold slows down the yeast, allowing the flavors to develop. Plus, it’s easier to cut cold dough. It holds its shape better.
Room Temperature Icing Ingredients
If your cream cheese or butter is cold, you’ll get lumps. Soften them on the counter for at least 30 minutes before making the icing. If you forget, microwave the butter for 10 seconds and the cream cheese for 15 seconds (carefully!).
Check for Doneness
The edges will be golden, but the center can look pale. That’s okay. If you insert a toothpick and it comes out clean, they’re done. If it comes out with wet dough, give them 5 more minutes.
Variations & Substitutions
Once you’ve nailed the basic version, here’s how you can mix it up. I’ve tried all of these.
Pecan Pralines
Add a layer of chopped pecans and a drizzle of caramel sauce before rolling. It’s like a praline roll. My kids go crazy for this version.
Orange Glaze
Swap the cream cheese icing for a simple orange glaze (powdered sugar, orange juice, and zest). It’s lighter and tangier. Great for spring.
Chocolate Chip
Sprinkle semi-sweet chocolate chips over the butter before adding the cinnamon sugar. It’s like a cinnamon roll cookie.
Gluten-Free
Use a 1:1 gluten-free flour blend. The texture will be slightly denser, but it still works. You might need a touch more liquid.
Dairy-Free
Use dairy-free milk and butter, and make a dairy-free cream cheese icing (using coconut cream and vegan cream cheese). It’s not quite the same, but it’s edible.
Serving & Storage
How to Serve:
I usually serve these straight from the pan. Put the whole pan on the table and let everyone dig in. It feels rustic and communal. Pair them with strong coffee or hot chocolate. I also like to serve them with a side of crispy baked zucchini fries if we’re doing a savory-sweet brunch, but that’s rare.
Leftovers:
Store leftovers in an airtight container at room temperature for up to 2 days. The icing will soften. If you want them warm, microwave for 15-20 seconds. They reheat beautifully.
Freezing:
You can freeze the unbaked rolls! After cutting them, place the pan in the freezer. Once solid, transfer the rolls to a freezer bag. When ready to eat, thaw in the fridge overnight, then let them rise at room temperature for a few hours before baking. This is great for meal prepping.
Reheating:
Never microwave them for too long or they become rubbery. 10-15 seconds is enough to warm the center.
Nutrition Information
I’m not a nutritionist, but here’s the breakdown if you’re tracking. This is a treat, so enjoy it guilt-free.
Per Roll (based on 12 rolls):
- Calories: 380
- Protein: 6g
- Carbs: 52g
- Fiber: 1g
- Sugar: 28g
- Fat: 16g
- Saturated Fat: 9g
- Cholesterol: 35mg
- Sodium: 220mg
Look, this is comfort food. It’s not a diet recipe. But it’s way better than store-bought, costs less, and I know exactly what’s in it. When I want to make it lighter, I reduce the sugar in the filling and use a lighter icing. But usually? I just eat one (or two) and enjoy it.
Final Thoughts
So that’s my go-to overnight cinnamon rolls with cream cheese icing! I’ve probably talked your ear off at this point, but when you make a recipe this often, you have a lot to say about it.
This has saved weekend mornings more times than I can count. It’s my answer to “what’s for breakfast” when I’m tired, don’t want to cook, but still want something that tastes really good. My kids are happy, my husband’s happy, and I’m happy because I’m not stressed about cooking.
Make it yours! Try different add-ins, swap in your favorite spices, adjust the icing sweetness. The best recipes are the ones you adapt to your family’s tastes. If you make this, drop a comment and let me know what you think! I love hearing how recipes turn out in your kitchen. And if something doesn’t work, tell me that too—I’m here to help troubleshoot.
Happy baking! And I hope your kitchen smells half as good as mine does right now.
Frequently Asked Questions
Can I use instant yeast instead of active dry?
Yes! Instant yeast can be mixed directly with the dry ingredients. You don’t need to activate it in warm milk first, though you can if you want to check if it’s alive. The texture will be slightly different, but it works perfectly fine. Just use the same amount.
Why did my rolls turn out dense?
Usually, this means the yeast was dead (milk too hot) or the dough was over-kneaded or under-kneaded. Also, if you packed the flour into the measuring cup, you added too much flour. Always spoon the flour into the cup and level it off. Don’t scoop!
Can I make these ahead and freeze them unbaked?
Absolutely. After cutting the rolls and placing them in the pan, cover tightly and freeze. When you’re ready to bake, thaw them in the fridge overnight, then let them rise at room temperature for 2-3 hours until puffy. Then bake as usual. This is my favorite way to prep for Sunday brunch.
Can I use a bread machine?
Yes! Use the dough cycle. Then take the dough out, roll it, cut it, and proceed with the recipe. This is the easiest method if you have a bread machine. It does all the kneading for you.
Why is my icing runny?
Your cream cheese or butter was too warm, or you added too much milk. If it’s runny, add more powdered sugar. If it’s lumpy, your ingredients were too cold. Soften them properly next time.
Can I make these without a stand mixer?
Yes! Knead by hand on a floured surface for 8-10 minutes. It’s a workout, but the dough comes out great. You’ll know it’s done when it’s smooth and springs back when you poke it.
Do I have to let them rise in the fridge?
No, but the flavor and texture are better with the cold rise. If you’re in a rush, let them rise at room temperature for 1-2 hours until puffy, then bake. They’ll be good, just not quite as fluffy.
Pin This Recipe!
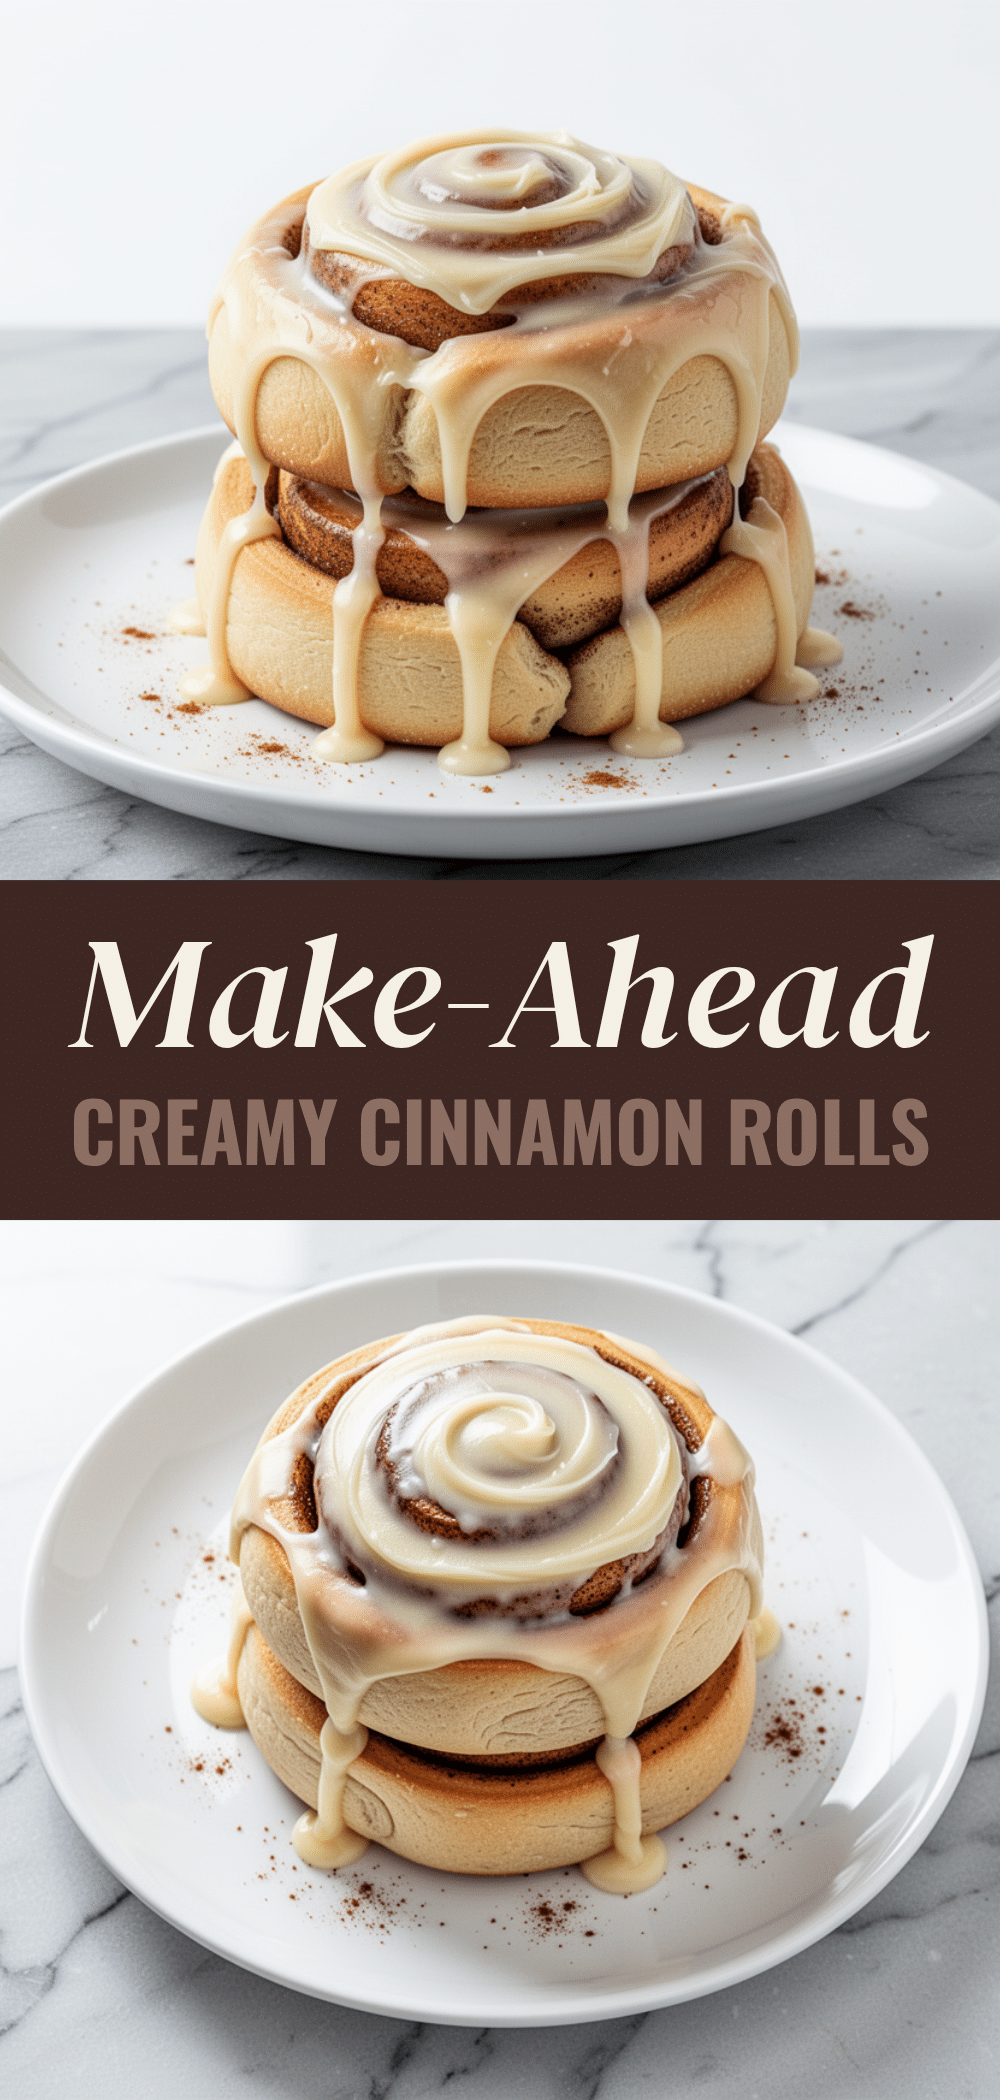
Overnight Cinnamon Rolls: Easy 10-Min Prep for Busy Nights
- Total Time: 45 minutes
- Yield: 12 servings 1x
Description
These overnight cinnamon rolls with cream cheese icing allow for a 10-minute prep the night before, resulting in fresh, gooey, restaurant-quality breakfasts with zero morning stress.
Ingredients
- 1 cup warm milk (110°F/43°C)
- 2 ¼ teaspoons active dry yeast (2 packets)
- ¼ cup granulated white sugar
- ¼ cup unsalted butter, melted and cooled
- 1 large egg, room temperature
- 3 ½ to 4 cups all-purpose flour
- 1 teaspoon salt
- ½ cup unsalted butter, softened (for filling)
- 1 cup brown sugar
- 2 tablespoons cinnamon
- ½ teaspoon nutmeg (optional)
- 4 oz full-fat block cream cheese, softened (for icing)
- ¼ cup unsalted butter, softened (for icing)
- 1 ½ to 2 cups powdered sugar, sifted
- 1–2 tablespoons milk or cream
- 1 teaspoon vanilla extract
Instructions
- In a large bowl or stand mixer, combine warm milk, sugar, and yeast. Let sit for 5-10 minutes until foamy.
- Add melted butter, egg, and salt to the yeast mixture. Mix on low until combined.
- Gradually add flour and knead on medium-low speed for 5-7 minutes until dough is smooth, elastic, and slightly tacky.
- Optionally, let dough rise in a greased bowl for 15 minutes.
- Roll dough into a 12×18 inch rectangle on a floured surface.
- Spread softened butter over the dough, leaving a border. Sprinkle with brown sugar, cinnamon, and nutmeg.
- Roll dough tightly into a log and cut into 12 equal pieces.
- Place rolls cut-side up in a 9×13 inch baking pan, touching each other.
- Cover pan tightly and refrigerate for 8-12 hours (overnight).
- Next morning, let rolls sit on counter for 20-30 minutes while oven preheats to 350°F (175°C).
- Bake for 25-30 minutes until golden brown and centers feel set.
- While baking, beat cream cheese and butter until smooth. Add powdered sugar, vanilla, and milk to make icing.
- Let rolls cool in pan for 5-10 minutes, then spread icing over warm rolls and serve.
Notes
Ensure milk is warm but not hot to avoid killing yeast. Dough should be tacky, not sticky. For best results, use block cream cheese for icing, not spreadable tub cream cheese. Rolls can be frozen unbaked after cutting.
- Prep Time: 10 minutes
- Cook Time: 25-30 minutes
- Category: Breakfast
- Cuisine: American
Nutrition
- Serving Size: 1 roll
- Calories: 380
- Sugar: 28
- Sodium: 220
- Fat: 16
- Saturated Fat: 9
- Carbohydrates: 52
- Fiber: 1
- Protein: 6
Keywords: overnight cinnamon rolls, cream cheese icing, make ahead breakfast, easy cinnamon rolls, yeast dough, family breakfast



