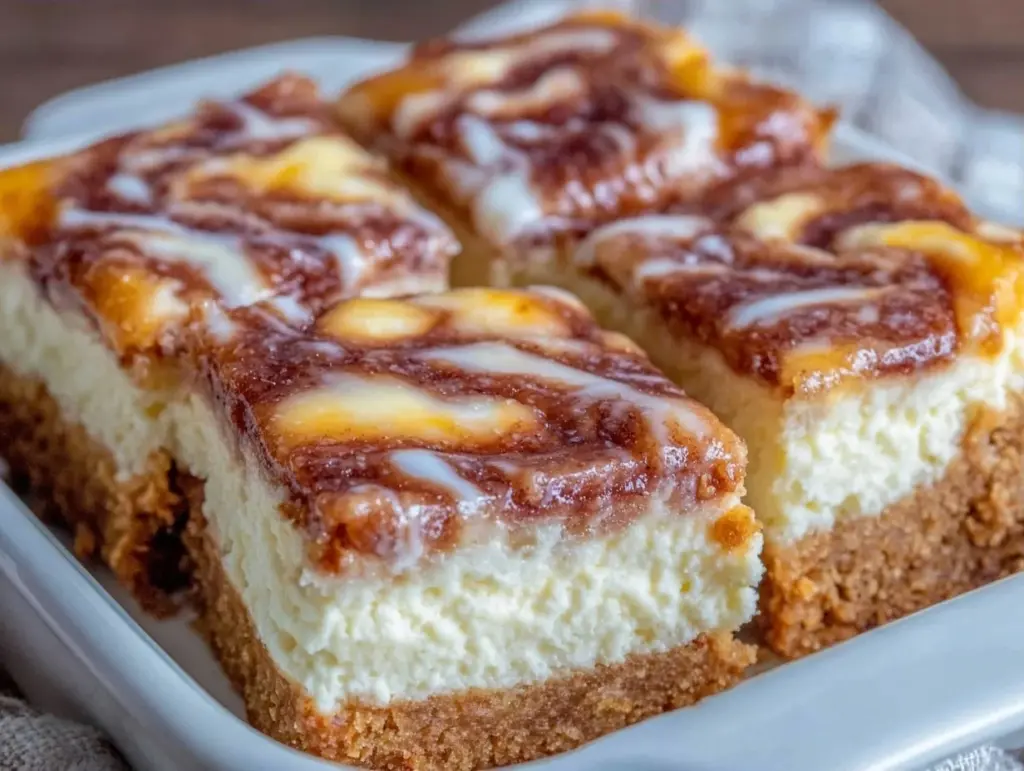
Last Saturday, I was staring at the clock, mentally calculating how many minutes I had left before my three-year-old’s attention span completely evaporated. I needed a project. Something messy enough to be fun, sweet enough to be worth the sugar crash later, but healthy enough that I wouldn’t feel like a terrible parent. I looked around the kitchen and saw a block of cream cheese, some almond flour, and a jar of cinnamon sugar substitute.
I thought, “Why not?”
What followed was the loudest, messiest, and happiest hour I’ve had in the kitchen all year. My kids didn’t just eat these keto cinnamon roll cheesecake bars; they helped build them. They got their hands in the batter (after washing them, of course). They sprinkled the cinnamon swirl themselves. They argued over who got the first bite. And the best part? When I told them they were “low carb,” they didn’t care. They just thought they were eating dessert for breakfast.
This isn’t just a recipe. It’s a way to get your kids into the kitchen without stressing about nutrition or complicated techniques. These bars are rich, tangy, and taste exactly like the inside of a warm cinnamon roll, but without the flour-heavy dough or the blood sugar spike. I’ve tested this recipe at least six times over the last month, tweaking the ratios until the bars were firm enough to slice but soft enough to melt in your mouth. My kids have requested them “on repeat” three days in a row. I’m not complaining.
If you’re looking for a way to turn dessert time into bonding time, this is it. It’s simple, it’s safe for little hands, and it tastes like a bakery treat. Plus, if you want to pair this with a lighter dessert option later, these small batch fudgy brownies are great for when you need something chocolatey but portion-controlled.
Why You’ll Love This Recipe
There are about ten reasons I keep making these bars, but here are the big ones. This recipe has completely changed our weekend mornings. It’s no longer about rushing out the door; it’s about sitting down with a slice of warm, gooey cheesecake and talking about our day.
- Kids Can Actually Help — Seriously, if your child can stir and sprinkle, they can make this. The steps are simple enough that I don’t have to hover. My four-year-old handles the swirls, and my six-year-old mixes the crust. It’s safe, non-toxic, and delicious.
- Tastes Like the Real Thing — I was skeptical that a keto version could mimic the texture of a traditional cinnamon roll. I was wrong. The cream cheese filling is dense and creamy, and the almond flour crust has that perfect crumbly snap. It’s not a compromise; it’s an upgrade.
- Meal-Prep Friendly — These bars keep well in the fridge for up to five days. I make a batch on Sunday, and they’re the first thing my kids grab for a snack on Tuesday. They actually taste better the next day, as the flavors meld together.
- Low-Carb Win — My husband is strict about his carb intake, but he loves these. No guilt, no crash, no “are we done yet?” nagging. It’s a dessert everyone at the table can enjoy without one person feeling left out.
- Minimal Cleanup — Just one bowl for the crust, one for the filling, and a baking pan. That’s it. No dozen dirty dishes. As a parent, this is the real magic.
This is my go-to when I need dinner to just work. No complicated techniques, no weird ingredients, just reliable, delicious food that makes everyone happy.
Ingredients You’ll Need
Here’s the best part: you probably have most of this already. I’m particular about three ingredients here, and I’ll tell you exactly why. This looks like a short list, but each one plays a huge role in the texture.
For the Crust
Almond flour (1 cup / 100g) — Use blanched, fine-ground almond flour. I buy mine in bulk from the health food store. It’s pricey, but it makes the crust tender and nutty. Coarse almond flour will make the bars gritty, so don’t skimp on the quality.
Unsalted butter (3 tablespoons / 45g) — Melted. This binds the almond flour together. If you’re dairy-free, you can use coconut oil, but it changes the flavor slightly. I stick with butter for that rich, pastry taste.
Erythritol or Monk Fruit Sweetener (2 tablespoons / 20g) — I use a granulated sweetener that measures 1:1 like sugar. Swerve or Lakanto work great. Avoid powdered sweeteners here; they can make the crust dense.
Cinnamon (1 teaspoon) — Ground cinnamon. Good quality matters here. If your cinnamon is old and dusty, the whole bar will taste bland.
For the Filling
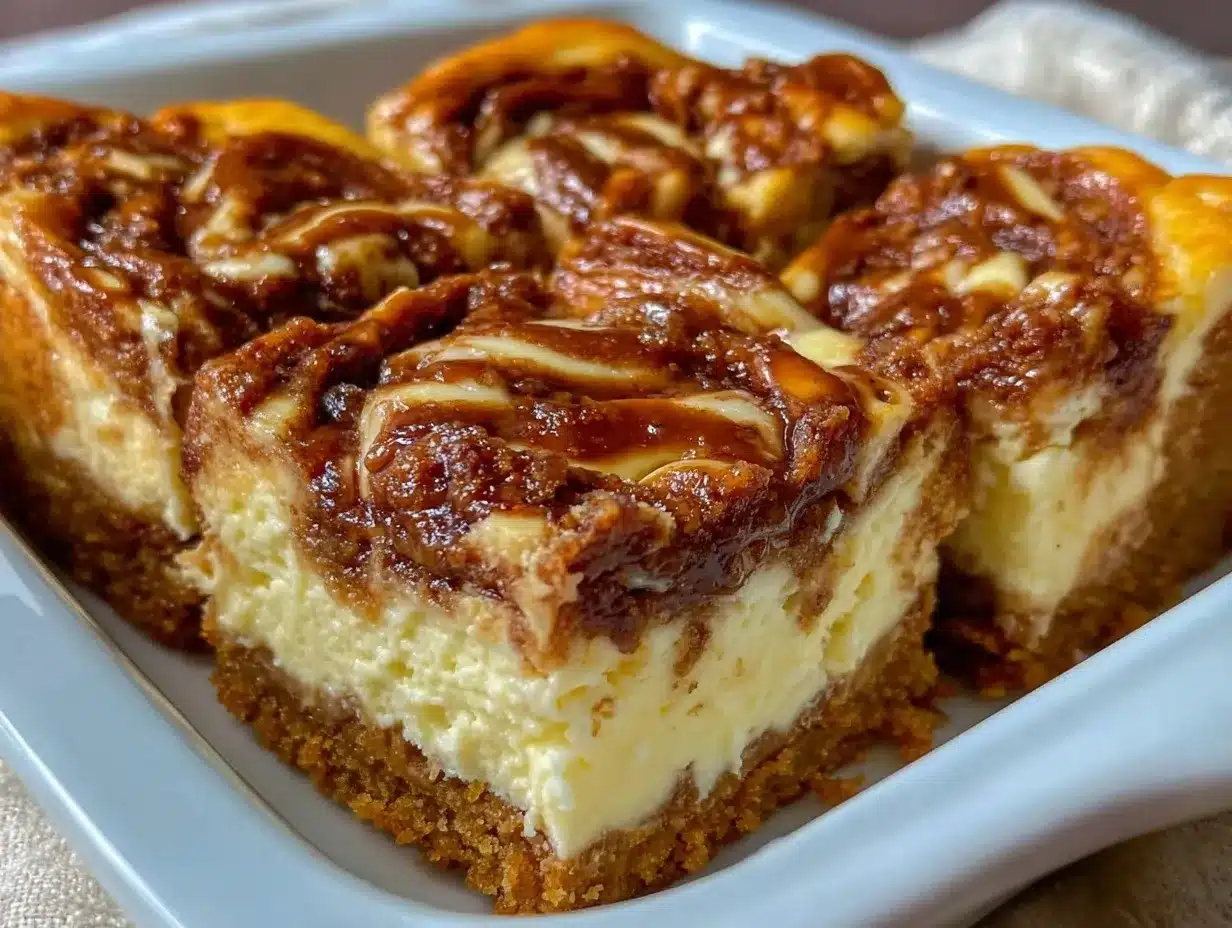
Cream cheese (8 ounces / 225g) — Full-fat, block-style. Do not use the spreadable kind in the tub. It has too much air and water, and your filling will be runny. Let it sit on the counter for 30 minutes before using. Soft cream cheese mixes smoothly; cold cream cheese creates lumps.
Eggs (2 large) — Room temperature. This is crucial. Cold eggs can cause the cream cheese to seize up when mixing. I always take them out of the fridge while I prep the crust.
Sweetener (½ cup / 100g) — Same as the crust. You want it sweet, but not cloying. Adjust to taste, but don’t cut it too much, or the tartness of the cream cheese will overpower the cinnamon.
Vanilla extract (1 teaspoon) — Pure vanilla, not imitation. It adds warmth and depth.
For the Swirl & Glaze
Butter (2 tablespoons / 30g) — Melted, for the cinnamon swirl.
Cinnamon (1 tablespoon) — More cinnamon! This is where the flavor shines.
Swerve or Monk Fruit (2 tablespoons / 20g) — For the swirl topping.
Heavy cream (1-2 tablespoons) — For the glaze. Helps thin it out to a drizzle consistency.
Optional Add-ins: I sometimes add a handful of chopped walnuts to the crust for extra crunch. My kids love it, but it’s not necessary. If you want a different texture, try adding a few dark chocolate chips to the filling (sugar-free ones, of course).
I always use fall maple pecan sticky buns as inspiration for the swirl technique. The method is almost identical, just scaled down for bars instead of individual buns.
Equipment Needed
You don’t need fancy equipment for this. Here’s what I actually use.
8×8 inch Baking Pan — I prefer glass for even heating, but metal works fine. Line it with parchment paper leaving an overhang on the sides. This is non-negotiable. You need that overhang to lift the bars out of the pan once they cool. I’ve tried cutting them in the pan once, and it was a messy disaster.
Mixing Bowls — Two medium bowls. One for the crust, one for the filling. I use stainless steel because they’re durable and easy to clean.
Hand Mixer or Stand Mixer — A hand mixer is perfect for this. It’s less messy than a stand mixer for small batches. If you don’t have one, you can use a whisk, but it takes more arm strength.
Small Saucepan — For melting the butter for the swirl. Or just use a microwave-safe bowl. I microwave mine in 15-second bursts.
Fork — For swirling the cinnamon into the batter. This is the fun part for kids.
Whisk — For the glaze.
Parchment Paper — Essential for easy removal. Don’t skip this.
How to Make It: Step-by-Step
Alright, let’s make this! I’m walking you through exactly how I do it, including the little tricks I’ve picked up. This is designed to be done with kids, so I’ve broken it down into manageable chunks.
Step 1: Prep the Pan and Oven (5 minutes)
Preheat your oven to 350°F (175°C). Line your 8×8 inch baking pan with parchment paper. Leave a few inches of overhang on the long sides—this acts like a sling to lift the bars out later. Lightly spray the parchment with non-stick spray. While the oven heats, let your cream cheese come to room temperature. It makes a huge difference in how smooth the filling is.
Step 2: Make the Crust (5 minutes)
In a medium bowl, mix the almond flour, melted butter, sweetener, and cinnamon. It should look like wet sand. Press this mixture firmly into the bottom of your prepared pan. Use the bottom of a measuring cup to pack it down tight. Kids love this part—they can press and pat it with their hands. Make sure the edges are neat. This is the foundation, so it needs to be solid.
Step 3: Make the Filling (5 minutes)
In a separate bowl, beat the softened cream cheese until smooth and creamy. Add the sweetener, eggs, and vanilla. Beat on low speed until just combined. Don’t overmix, or you’ll incorporate too much air, which can cause cracks. Pour this thick, white batter over the crust. Spread it evenly with a spatula. This layer should be smooth and flat.
Step 4: Create the Swirl (5 minutes)
In a small bowl, mix the melted butter, cinnamon, and sweetener. It will look like a thick paste. Drop spoonfuls of this mixture randomly over the cream cheese layer. Don’t worry about being perfect; randomness looks best. Now, take a fork and gently drag it through the dollops in a zigzag pattern. Go slow. This creates the beautiful cinnamon swirl pattern. This is the best part for kids. They can make as many or as few swirls as they want. I let them go wild.
Step 5: Bake (25-30 minutes)
Place the pan in the center of the oven. Bake for 25-30 minutes. You’ll know it’s done when the edges are set and slightly golden, and the center is just barely jiggly. It should not look wet or liquid in the middle. The residual heat will finish cooking it. If you see cracks forming, don’t panic. It happens. We’ll cover them with glaze later.
Step 6: Cool Completely (1 hour)
This is the hardest part. Let the bars cool in the pan on a wire rack for at least one hour. They need to set. If you cut them while warm, they will fall apart. I usually let them cool while we clean up or play. Patience pays off. Once cooled, you can refrigerate them for an hour to make slicing even easier.
Step 7: Glaze and Slice
Whisk together the heavy cream and a splash of sweetener until smooth. Drizzle over the cooled bars. Use a sharp knife to slice into squares. Lift them out using the parchment sling. Serve and enjoy.
Total Time: About 45 minutes active, plus cooling time.
Expert Tips & Tricks
Here’s everything I’ve learned from making these dozens of times. These tips will save you from my mistakes.
Room Temperature is Key
Cold cream cheese is the enemy of smooth cheesecake. If you forget to take it out, microwave it in 5-second bursts, stirring in between. It should be soft enough to dent with your finger.
Don’t Overmix the Eggs
Once you add the eggs, mix just until they disappear. Overmixing adds air bubbles, which expand in the oven and then collapse, causing cracks. A few small cracks are fine, but big ones mean you mixed too much.
The Fork Technique
When swirling, don’t press too hard. You want to pull the cinnamon mixture *through* the cream cheese, not mix it in. Gentle strokes create those pretty marbled lines. If you mix too much, you’ll just get a beige mess.
Cooling is Non-Negotiable
I know kids can’t wait. But if you cut these warm, they’ll be gooey and messy. Let them cool completely. For faster setting, put them in the fridge for an hour after they’ve cooled to room temperature.
Glaze Consistency
Add the heavy cream one tablespoon at a time. You want it thin enough to drizzle, but thick enough to stay on top. If it’s too thin, it’ll soak into the bars. If it’s too thick, it’ll clump.
Variations & Substitutions
Once you’ve nailed the basic version, here’s how you can mix it up. I’ve tried all of these.
Berry Swirl
Instead of cinnamon, swirl in 2 tablespoons of sugar-free strawberry jam or raspberry preserves. It adds a bright, fruity contrast to the tangy cream cheese. My daughter loves this version.
Peanut Butter Cups
Drizzle sugar-free peanut butter over the cream cheese layer before baking, then swirl with a knife. Top with crushed sugar-free peanut butter cups after glazing. It tastes like a Reese’s cup in bar form.
Maple Pecan
Add ½ cup chopped pecans to the crust. Drizzle sugar-free maple syrup over the cream cheese before baking, then sprinkle with cinnamon. This pairs beautifully with our fall maple pecan sticky buns vibe.
Gluten-Free
This recipe is naturally gluten-free since it uses almond flour. Just ensure your sweetener and vanilla extract are certified GF.
Dairy-Free
Use coconut oil instead of butter, and coconut cream cheese instead of dairy cream cheese. The texture will be slightly different, but still delicious. I’ve made this for my lactose-intolerant friend, and she loved it.
Lower-Calorie
Use light cream cheese and reduce the sweetener by half. It’s less rich, but still tasty. Good for when you’re watching calories closely.
Serving & Storage
How to Serve:
I usually serve these chilled, straight from the fridge. The cold temperature makes the texture firmer and more cake-like. But they’re also good at room temperature if you want a softer bite. I pair them with a cup of coffee or a glass of almond milk.
Side Dishes:
These bars are rich, so they don’t need much else. A simple side salad or some fresh berries works well if you’re serving them as part of a larger meal. They’re also great with our pumpkin spice white hot chocolate for a cozy winter treat.
Storage Instructions:
Store in an airtight container in the fridge for up to 5 days. They keep surprisingly well. The almond flour crust stays moist, and the cream cheese filling doesn’t dry out. Do not freeze them. The texture of the cream cheese changes when frozen and thawed—it becomes grainy. Just keep them in the fridge.
Reheating:
You don’t need to reheat these. They’re best cold or room temp. If you want them warm, microwave a slice for 10 seconds. Don’t go longer, or the cream cheese will separate.
Nutrition Information
I’m not a nutritionist, but here’s the breakdown if you’re tracking. These numbers are approximate and based on 12 bars.
- Calories: 180
- Protein: 6g
- Carbs: 4g (2g fiber)
- Net Carbs: 2g
- Fat: 16g
- Sugar: 1g
What’s Good:
High in healthy fats from almond flour and cream cheese. Low in net carbs, making it keto-friendly. Good source of calcium from the dairy.
What to Know:
High in calories due to the fat content. Portion control is key. One bar is a satisfying treat, but two might be too much for a snack.
My Take:
Look, this is dessert. It’s rich and creamy. It’s not a salad. But it’s way better than store-bought keto bars, which are often dry and chalky. This tastes like real food. When I want to make it lighter, I reduce the butter in the crust, but usually? I just enjoy a slice and move on.
Final Thoughts
So that’s my go-to keto cinnamon roll cheesecake bars! I’ve probably talked your ear off at this point, but when you make a recipe this often, you have a lot to say about it. This has saved weekend mornings more times than I can count. It’s my answer to “what are we doing today?” when I want something special but simple.
My kids are happy, my husband’s happy, and I’m happy because I’m not stressed about cooking. It’s a win-win-win. Make it yours! Try different swirls, swap in your favorite nuts, or add extra vanilla. The best recipes are the ones you adapt to your family’s tastes.
If you make this, drop a comment and let me know what you think! I love hearing how recipes turn out in your kitchen. And if something doesn’t work, tell me that too—I’m here to help troubleshoot. Happy cooking! And I hope your kitchen smells half as good as mine does right now.
Frequently Asked Questions
Can I use coconut flour instead of almond flour?
You can, but you need to be careful. Coconut flour absorbs way more liquid. If you swap it, use only ⅓ cup of coconut flour for every 1 cup of almond flour, and add an extra egg. The texture will be denser and more cake-like. I prefer almond flour for that crumbly, shortbread feel, but coconut flour works in a pinch.
Why did my cheesecake bars crack?
Cracks usually happen from two things: overmixing the batter (which adds air) or baking at too high a temperature. Make sure you mix the eggs just until combined, and keep your oven calibrated. If you see cracks, don’t worry. The glaze hides them beautifully, and the taste is still perfect.
Can I make this ahead for a party?
Absolutely. These bars actually taste better the next day. I make them two days in advance, store them in the fridge, and bring them to room temperature before serving. They hold their shape well and are easy to transport. Just keep them covered to prevent them from drying out.
What if I don’t have erythritol?
You can use monk fruit, allulose, or any granulated keto sweetener. Just make sure it measures 1:1 like sugar. Avoid liquid sweeteners like stevia drops unless you adjust the liquid in the recipe, as it will throw off the texture. I’ve used Swerve and Lakanto with great results.
Are these bars very sweet?
They’re moderately sweet. The tartness of the cream cheese balances the sweetness of the cinnamon swirl. If you prefer less sweet, reduce the sweetener in the filling by ¼ cup. They’ll still be delicious, just less sugary. My kids like them sweet, so I stick with the full amount.
Can I use a different pan size?
You can use a 9×9 pan, but the bars will be thinner. Reduce the baking time by 5-10 minutes. Or use a loaf pan for taller bars, but you’ll need to increase the baking time by 10-15 minutes. Keep an eye on them to avoid overbaking.
Do these taste like real cinnamon rolls?
They capture the essence perfectly. The almond flour crust mimics the dough, and the cream cheese filling adds that tangy richness you get from traditional cinnamon roll frosting. It’s not identical, but it’s close enough that you won’t miss the flour.
Pin This Recipe!
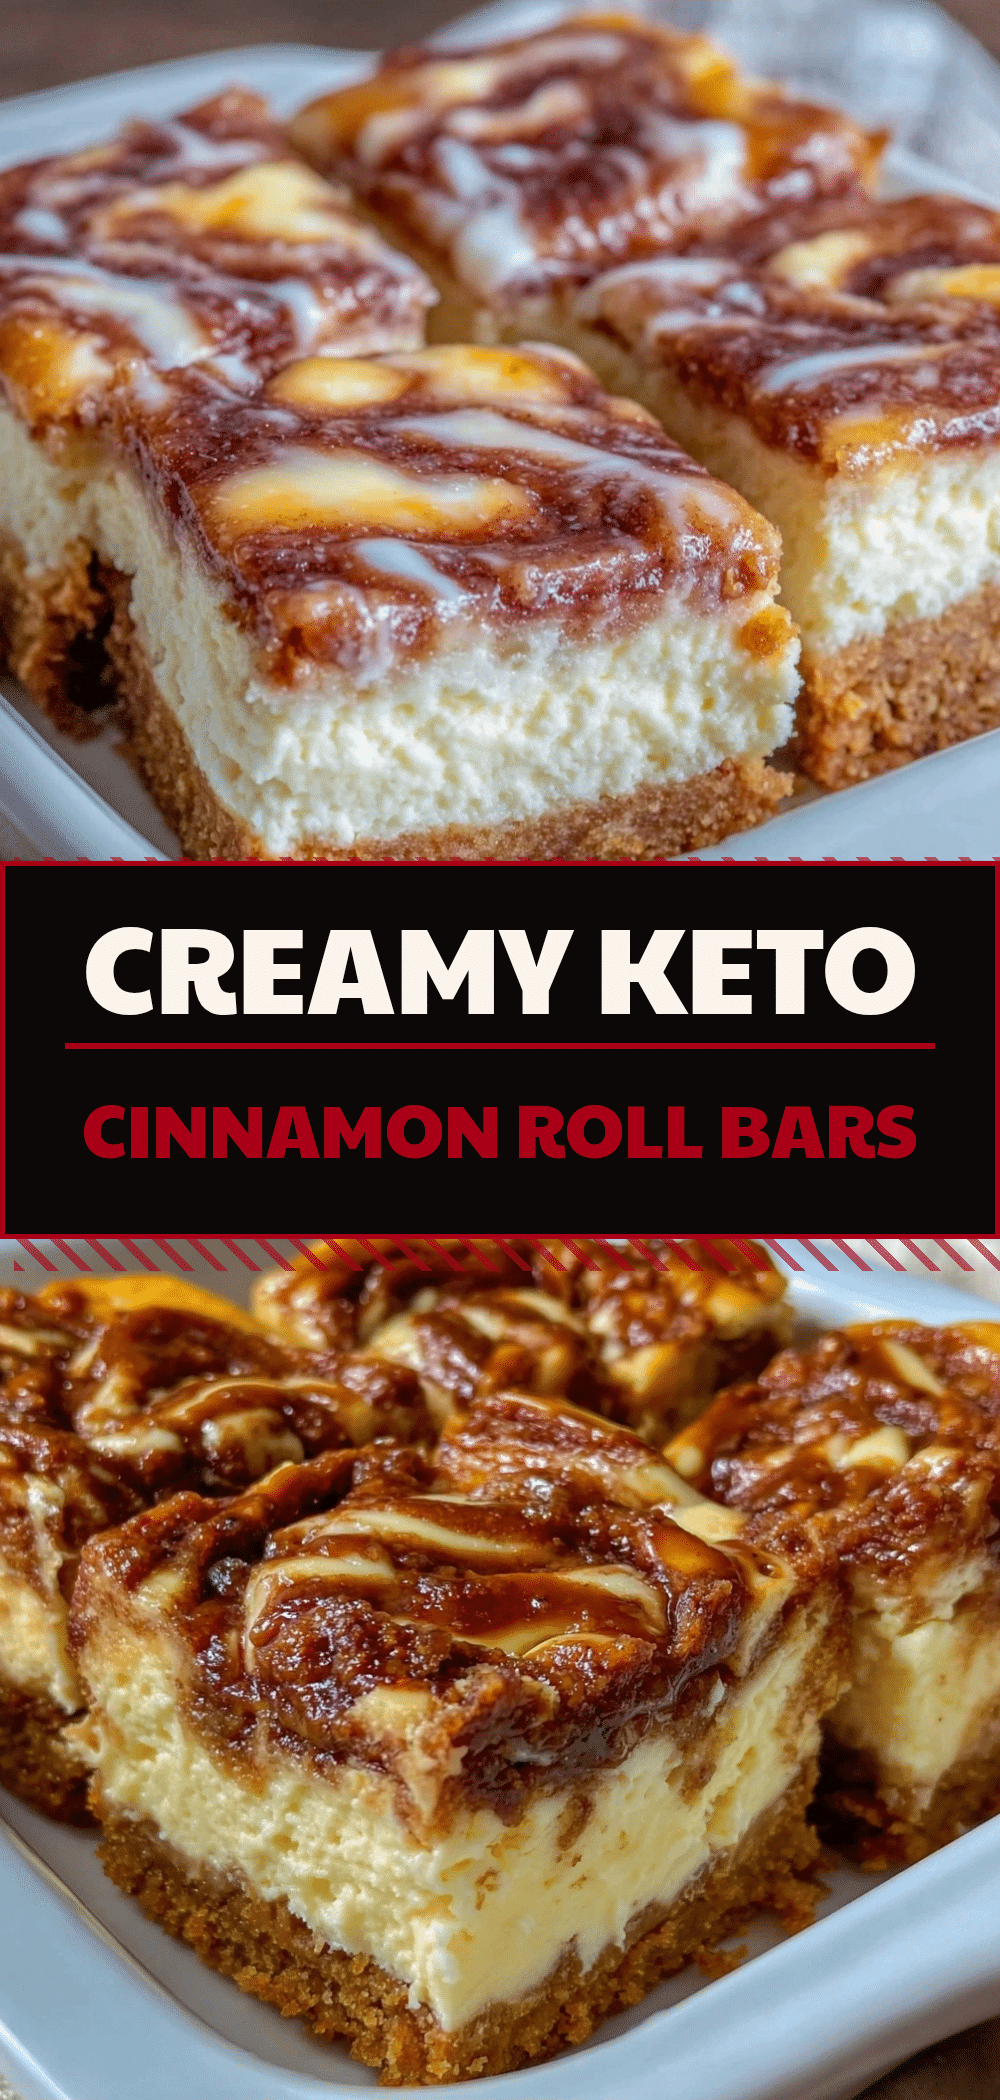
Keto Cinnamon Roll Cheesecake Bars
- Total Time: 50 minutes
- Yield: 12 servings 1x
Description
A kid-friendly, low-carb dessert that combines a tender almond flour crust with a rich cream cheese filling and a cinnamon swirl. These bars are easy to make, perfect for bonding with children, and taste like a bakery treat without the sugar crash.
Ingredients
- 1 cup (100g) blanched, fine-ground almond flour
- 3 tablespoons (45g) unsalted butter, melted
- 2 tablespoons (20g) granulated erythritol or monk fruit sweetener
- 1 teaspoon ground cinnamon
- 8 ounces (225g) full-fat block-style cream cheese, softened
- 2 large eggs, room temperature
- 1/2 cup (100g) granulated erythritol or monk fruit sweetener
- 1 teaspoon pure vanilla extract
- 2 tablespoons (30g) unsalted butter, melted (for swirl)
- 1 tablespoon ground cinnamon (for swirl)
- 2 tablespoons (20g) granulated erythritol or monk fruit sweetener (for swirl)
- 1–2 tablespoons heavy cream (for glaze)
- Optional: Chopped walnuts or sugar-free dark chocolate chips
Instructions
- Preheat oven to 350°F (175°C). Line an 8×8 inch baking pan with parchment paper, leaving an overhang on the long sides, and lightly spray with non-stick spray.
- In a medium bowl, mix almond flour, melted butter, sweetener, and cinnamon until it resembles wet sand. Press firmly into the bottom of the prepared pan using the bottom of a measuring cup.
- In a separate bowl, beat softened cream cheese until smooth. Add sweetener, eggs, and vanilla. Beat on low speed until just combined, being careful not to overmix.
- Pour the cream cheese mixture over the crust and spread evenly.
- In a small bowl, mix melted butter, cinnamon, and sweetener to form a paste. Drop spoonfuls randomly over the cream cheese layer.
- Use a fork to gently drag through the dollops in a zigzag pattern to create a swirl.
- Bake for 25-30 minutes until edges are set and slightly golden, and the center is just barely jiggly.
- Cool completely in the pan on a wire rack for at least one hour to set.
- Whisk heavy cream with a splash of sweetener to make a glaze. Drizzle over cooled bars.
- Lift bars out using the parchment sling and slice into squares.
Notes
Ensure cream cheese and eggs are at room temperature for a smooth filling. Do not overmix the batter to prevent cracks. The bars must cool completely before slicing to ensure they hold their shape. They can be stored in the fridge for up to 5 days but should not be frozen.
- Prep Time: 20 minutes
- Cook Time: 30 minutes
- Category: Dessert
- Cuisine: American
Nutrition
- Serving Size: 1 bar
- Calories: 180
- Sugar: 1
- Sodium: 50
- Fat: 16
- Saturated Fat: 8
- Carbohydrates: 4
- Fiber: 2
- Protein: 6
Keywords: keto, low carb, cinnamon roll, cheesecake bars, gluten-free, kid-friendly, dessert, almond flour, cream cheese



