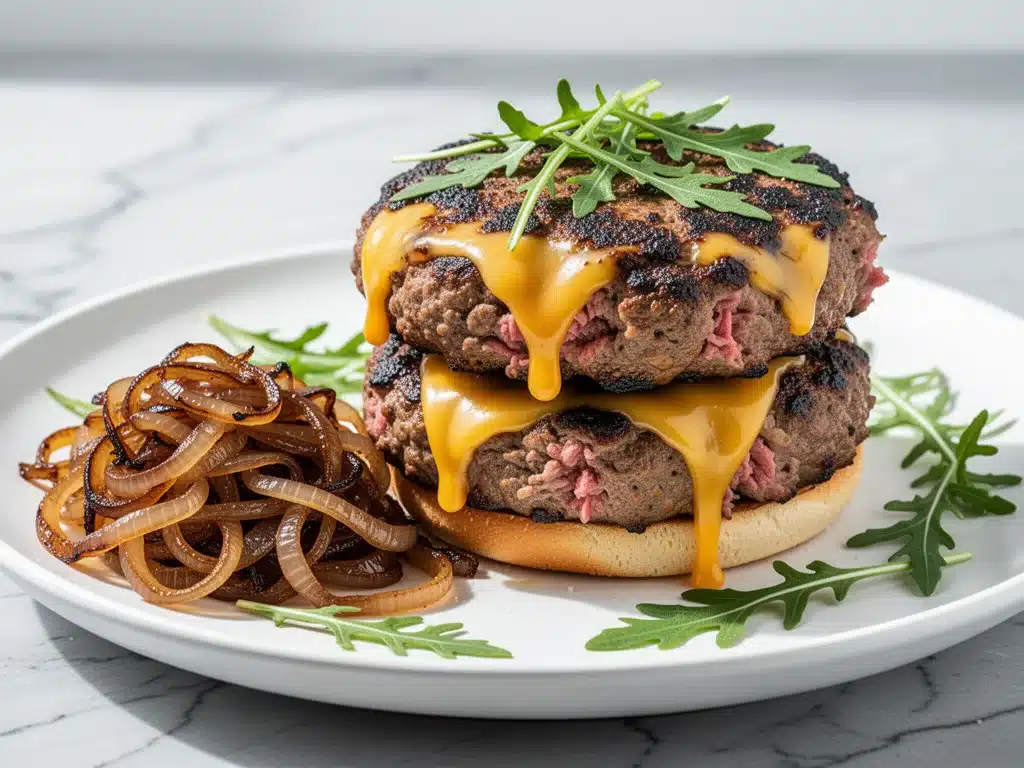
It was 8:30 PM on a rainy Tuesday, and I was staring at my phone, thumb hovering over the delivery app. My stomach was growling, my couch was comfortable, and the idea of cooking felt like climbing Mount Everest. I ordered the usual—greasy fries, overpriced burger, the whole deal. When it arrived forty minutes later, it was lukewarm, the bun was soggy, and the meat tasted like… well, like takeout.
That night, I made a promise to myself: I was done. I wanted a burger that actually tasted like beef. Crispy edges. Juicy center. Caramelized onions that tasted like they’d been simmering all day (but didn’t take all day). I wanted to beat the delivery guys at their own game.
So, I became a lab rat in my own kitchen. I tried ten pounds of ground beef. I burned three batches of onions. I learned that “smashing” isn’t just a trendy word—it’s a technique that changes everything. After months of trial, error, and plenty of tasting (sorry, husband), I cracked the code. These stovetop smash burgers are crispy, juicy, and honestly? Better than anything I order. And the best part? You can make them in the time it takes for a delivery driver to find your apartment.
This isn’t just about saving money. It’s about that first bite—the crunch, the steam, the flavor. Once you try these juicy stovetop smash burgers, you’ll probably cancel your delivery app too. Let me show you how to do it right.
Why You’ll Love This Smash Burger Recipe
I know what you’re thinking. “Can I really make a burger better than takeout at home?” Yes. And here’s why this method wins every single time:
- The Crispy Crust Factor — This is the game-changer. By smashing the beef ball flat against a hot surface, you create maximum surface area for the Maillard reaction. That means a dark, crispy, caramelized crust on every single bite. Takeout burgers are soft and steamed. These are textured and intense.
- Under 15 Minutes Total — From raw beef to plated burger? It takes less time than it takes to scroll through menu options. I time myself. It’s 12 minutes. That’s faster than waiting for the pizza guy.
- Perfectly Juicy Every Time — People think smash burgers are dry because they’re thin. They’re wrong. Because you cook them fast over high heat, the inside stays rare-to-medium-rare while the outside sears. It’s the best of both worlds.
- Caramelized Onions, No Fuss — Most burger recipes skip the onions or rush them. I use a trick to get sweet, jammy, golden-brown onions in just 5 minutes without burning them. It adds a depth of flavor that makes the beef taste richer.
- Zero Special Equipment — You don’t need a grill. You don’t need a smoker. You just need a heavy skillet or griddle. If you have a stove, you can make these.
Real talk? This recipe has saved my weeknights. It’s my go-to when I want comfort food but don’t want the guilt or the cleanup of a full BBQ. It feels indulgent, but it’s actually quick, simple, and deeply satisfying.
Ingredients You’ll Need for Perfect Smash Burgers
Here’s the good news: you don’t need a fancy butcher shop for this. You need simple, high-quality basics. I’m particular about three things here, so pay attention.
For the Burgers
Ground Beef (1.5 lbs / 700g) — This is the most important ingredient. Do not use lean beef. I want 80/20 blend (80% lean, 20% fat). The fat is what makes it juicy. If you use 90/10 or leaner, these burgers will be dry and crumbly. Ask your butcher for chuck roast and grind it yourself if you can—that’s the gold standard. If you’re buying pre-ground, look for “Chuck” on the label.
Salt and Black Pepper — Coarse kosher salt and freshly cracked black pepper. That’s it. Don’t mix spices into the meat. It changes the texture and makes it sausage-like. Season only the outside right before cooking.
Cheese (8 slices) — American cheese is traditional for a reason. It melts perfectly and adds that classic diner flavor. But don’t knock it until you try it! Provolone, Swiss, or sharp cheddar work too if you want a different profile. I use Kraft Singles or generic deli American for the melt factor.
Burger Buns (8 buns) — Potato buns or brioche buns are my top picks. They’re soft, slightly sweet, and sturdy enough to hold the juices without falling apart. Toast them! Always toast the buns. It adds texture and prevents sogginess.
For the Caramelized Onions
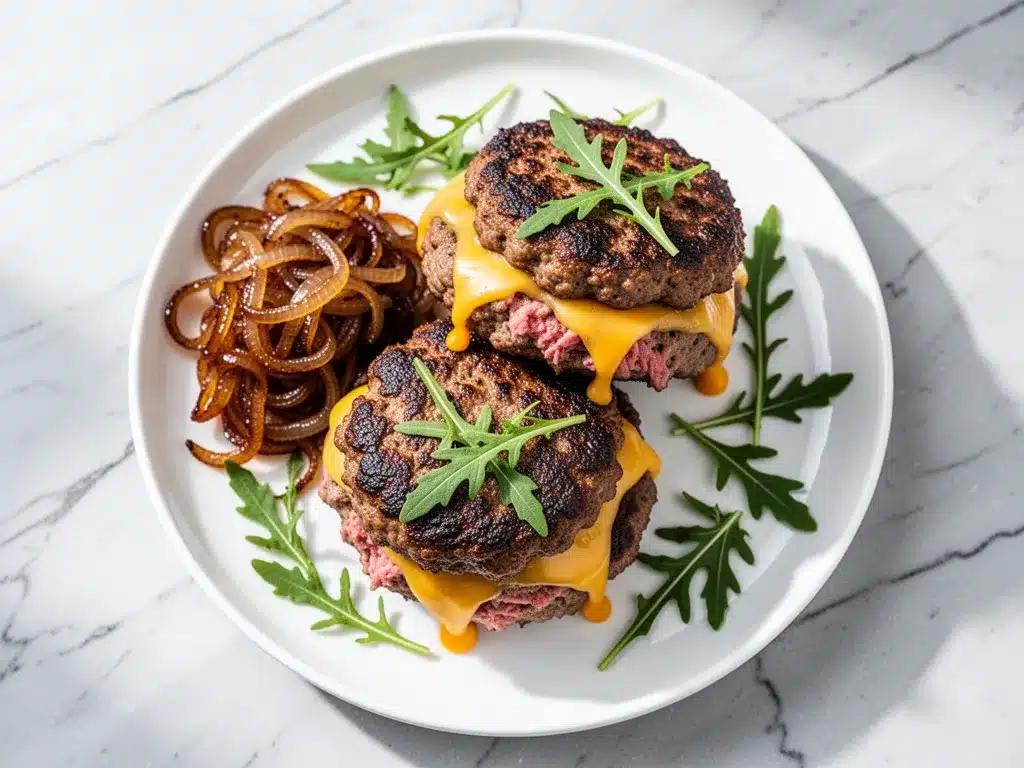
Yellow Onions (2 large, thinly sliced) — Yellow onions are sweetest when cooked. Slice them into half-moons, about ¼ inch thick. Don’t chop them too fine, or they’ll disappear. You want visible strands of onion in every bite.
Butter (2 tablespoons) — Salted butter adds flavor and helps the onions brown. Unsalted works if you’re watching sodium, but salted is tastier here.
Sugar (1 teaspoon) — A tiny pinch helps speed up the caramelization. It’s optional, but I always add it for that deep golden color.
Olive Oil (1 tablespoon) — For the skillet. Use a neutral oil like canola or vegetable oil if you prefer, but olive oil adds a nice background note.
Optional Toppings & Sauces
Pickles — Dill pickle chips are classic. The acid cuts through the rich fat of the burger.
Lettuce & Tomato — Iceberg lettuce for crunch, ripe tomato slices for freshness. Keep these simple.
Special Sauce — Mix mayo, ketchup, relish, and a dash of paprika. Or just use high-quality ketchup and mustard. I keep it simple: just ketchup and mustard.
Equipment You’ll Need
You don’t need fancy gadgets. Here’s what I actually use:
Heavy Cast Iron Skillet or Griddle — This is non-negotiable. A thin stainless steel pan won’t hold heat well, and your burgers will steam instead of sear. I use a 12-inch cast iron skillet. It retains heat like a beast. If you don’t have cast iron, a heavy carbon steel griddle works great.
Spatula — A thin, stiff metal spatula is best for lifting and smashing. You need to get under the thin patty to flip it without tearing it.
Smashing Tool — You can buy a specific “burger press,” but I use the bottom of a heavy glass measuring cup or a sturdy wooden spoon handle. It needs to be flat and heavy enough to press the beef thin.
Parchment Paper or Foil — Cut small squares of parchment or foil to place between the beef ball and your smashing tool. This prevents the meat from sticking to your tool. Trust me, this saves so much frustration.
Small Saucepan — For the onions. I use a separate small pan so I can cook onions while the skillet heats up for the burgers.
How to Make Stovetop Smash Burgers: Step-by-Step
Alright, let’s get cooking. I’m walking you through exactly how I do it, including the little tricks I’ve picked up over dozens of batches.
Step 1: Prep the Onions (5-7 minutes)
Start with the onions because they take a little longer to get sweet and jammy. Slice your onions into half-moons. Heat butter and olive oil in a small saucepan over medium heat. Add the onions and the pinch of sugar. Stir to coat. Cook for 5-7 minutes, stirring occasionally, until they are golden brown and soft. They should look like jam, not just translucent. Remove from heat and set aside. You can keep them warm in the oven if needed.
Step 2: Prep the Beef (3 minutes)
While the onions cook, portion your ground beef. I like 4-ounce balls for a good-sized burger. Gently roll them into loose balls. Do NOT pack them tight. If you pack the meat, the burgers will be dense. Just roll them into balls and put them in the fridge while the pan heats up. Cold meat helps it hold its shape when you smash it.
Step 3: Heat the Skillet (5 minutes)
Place your cast iron skillet or griddle over high heat. Get it screaming hot. I mean, really hot. You want to see smoke rising slightly. This high heat is crucial for the crust. If the pan isn’t hot enough, you’ll get a gray, boiled-looking patty. Wait until the oil shimmers and dances.
Step 4: Smash the Burger (1 minute per side)
Take a cold beef ball from the fridge. Place it on the hot skillet. Immediately cover it with a square of parchment paper. Take your smashing tool (the glass cup or press) and press down hard. You want the patty to be thin—about ¼ inch thick. Don’t be shy. Smash it flat. The edges will curl up; that’s normal.
Leave it undisturbed for 2 minutes. You’ll hear a sizzle. This is where the crust forms. Do not peek! Let it sear. After 2 minutes, the edges will look crispy and brown. Use your spatula to lift a corner to check. If it releases easily, it’s ready to flip.
Step 5: Flip and Cheese (1-2 minutes)
Flip the patty quickly. It should have a dark, crusty bottom. Immediately place a slice of cheese on top. The heat from the patty will melt the cheese in about 30-60 seconds. While that melts, toast your buns in the same skillet (use the beef fat left behind—it’s liquid gold).
Step 6: Assemble
Spread your sauce on the bottom bun. Add the lettuce and tomato. Place the cheesy patty on top. Add a generous heap of those caramelized onions. Top with pickles if you like. Close the burger and dig in.
Total Time: About 15 minutes for 4 burgers.
Expert Tips & Tricks for the Best Crust
Here’s everything I’ve learned from making these dozens of times. These tips will save you from my mistakes.
The Cold Meat Rule
I can’t stress this enough. Keep your beef balls cold until the moment they hit the pan. Cold meat stays in place when you smash it. Warm meat slumps and spreads unevenly. If your kitchen is hot, keep the beef in the fridge until you’re ready to cook.
Don’t Touch It
When you smash the burger, set a timer for 2 minutes. Do not touch it. Do not lift the parchment. Let the Maillard reaction do its work. If you try to flip too early, the patty will stick to the pan and tear. Patience creates crust.
Season Only After Smashing
Some people season before smashing. I season after. Why? Because when you smash, some seasoning falls through the cracks. Plus, salting the surface right before the flip ensures a even crust. Just salt and pepper generously on both sides.
The Onion Secret
For the caramelized onions, don’t rush the heat. Medium heat is key. If you go high, the sugars burn and taste bitter. Medium-low and slow is sweet and jammy. If you’re in a hurry, the 1 teaspoon of sugar helps, but keep an eye on them.
Keep Them Warm
If you’re making a batch for a family, keep the finished burgers warm in a 200°F oven on a wire rack. Don’t stack them on a plate—that traps steam and makes the bottoms soggy. Wire rack keeps them crisp.
Variations & Substitutions
Once you’ve nailed the basic version, here’s how you can mix it up. I’ve tried all of these.
Bacon Cheese Smash
Cook bacon until crispy, crumble it, and sprinkle it over the cheese before closing the burger. The salty crunch is amazing.
Mushroom Swiss
Sauté sliced mushrooms in butter until browned. Add them on top of the cheese. It adds an earthy, savory depth that pairs perfectly with beef.
Spicy Jalapeño
Add sliced jalapeños and pepper jack cheese. For extra heat, mix a dash of hot sauce into the mayo.
Veggie Smash (Impossible/Beyond)
You can smash plant-based patties too, but they don’t spread as much. Press them gently. They melt cheese well and hold together nicely.
Gluten-Free Buns
Use gluten-free potato buns or lettuce wraps. The rest of the recipe is naturally gluten-free (just check your soy sauce if you add it to the onions).
Serving & Storage
How to Serve:
I serve these immediately. They are best hot and crispy. Pair them with crispy fries, onion rings, or a simple side salad. A cold beer or a milkshake is the classic combo.
Storage:
Leftover cooked burgers can be stored in the fridge for up to 3 days. However, they lose their crispness. To reheat, warm them in a skillet over medium heat to restore some crispness. Do not microwave—they will get rubbery.
Freezing:
You can freeze the raw beef balls. Place them on a baking sheet, freeze solid, then transfer to a freezer bag. They’ll keep for 3 months. Thaw in the fridge before cooking. Do not freeze cooked burgers if you can help it; the texture suffers.
Nutrition Information
I’m not a nutritionist, but here’s the breakdown if you’re tracking. This is a high-protein, higher-fat meal, typical for a burger.
Per Serving (1 Burger with Bun, Cheese, Onions, Mayo):
- Calories: 650
- Protein: 35g
- Carbs: 40g
- Fat: 38g
- Sodium: 800mg
Look, this is comfort food. It’s not a diet recipe. But it’s way better than takeout because you control the quality of the beef and the amount of oil. If you want to lighten it up, use leaner beef (though it won’t be as juicy), skip the mayo, and use a lighter bun.
Final Thoughts
So that’s my go-to stovetop smash burger recipe! I’ve probably talked your ear off at this point, but when you make a recipe this often, you have a lot to say about it. This has saved my weeknights more times than I can count. It’s my answer to “what’s for dinner” when I’m tired, don’t want takeout, and still want something that tastes really good.
Make it yours! Try different cheeses, add different toppings, adjust the garlic (though more is always better in my opinion for the onions). The best recipes are the ones you adapt to your family’s tastes.
If you make this, drop a comment and let me know what you think! I love hearing how recipes turn out in your kitchen. And if something doesn’t work, tell me that too—I’m here to help troubleshoot.
Happy cooking! And I hope your kitchen smells half as good as mine does right now.
Frequently Asked Questions
Can I use a regular frying pan instead of cast iron?
You can, but cast iron is best because it holds heat better. If you use a thin stainless steel or non-stick pan, make sure it’s very hot before adding the meat. You might need to cook in smaller batches so you don’t drop the pan temperature too much. The crust won’t be quite as deep, but it will still be good.
Why did my burgers stick to the pan?
Two reasons: The pan wasn’t hot enough, or you tried to flip too early. The burger releases when the crust forms. If it sticks, give it another 30 seconds. Also, make sure you’re using the parchment paper when smashing. That prevents the meat from sticking to your tool, which is the most common frustration.
Can I make these ahead of time?
Yes! You can portion the beef into balls and freeze them. When you’re ready to cook, just take them out. They’ll thaw quickly while you heat the pan. Do not pre-cook the burgers ahead of time; they dry out. Cook them fresh for the best texture.
How do I get the onions caramelized so fast?
The trick is slicing them thinly and using a mix of butter and oil. Butter adds flavor, oil prevents burning. The pinch of sugar helps, but the real secret is not turning up the heat too high. Keep it at medium and stir every minute. They’ll turn golden in about 5-7 minutes. If they start to darken too fast, lower the heat.
Can I use ground turkey or chicken?
You can, but it will be a very different burger. Poultry is leaner, so it won’t be as juicy. I recommend adding some olive oil or butter to the meat mix, or using a higher fat content turkey. Also, poultry needs to be cooked to a safe internal temperature, so don’t aim for rare. Smash burgers work best with beef because of the fat content.
What’s the best cheese for smash burgers?
American cheese is the king of melt. It creates that creamy, uniform layer that covers the whole patty. Provolone and Swiss are great for flavor, but they melt slower. Cheddar can be oily when melted. If you want flavor, mix American with a slice of sharp cheddar or pepper jack.
Pin This Recipe!
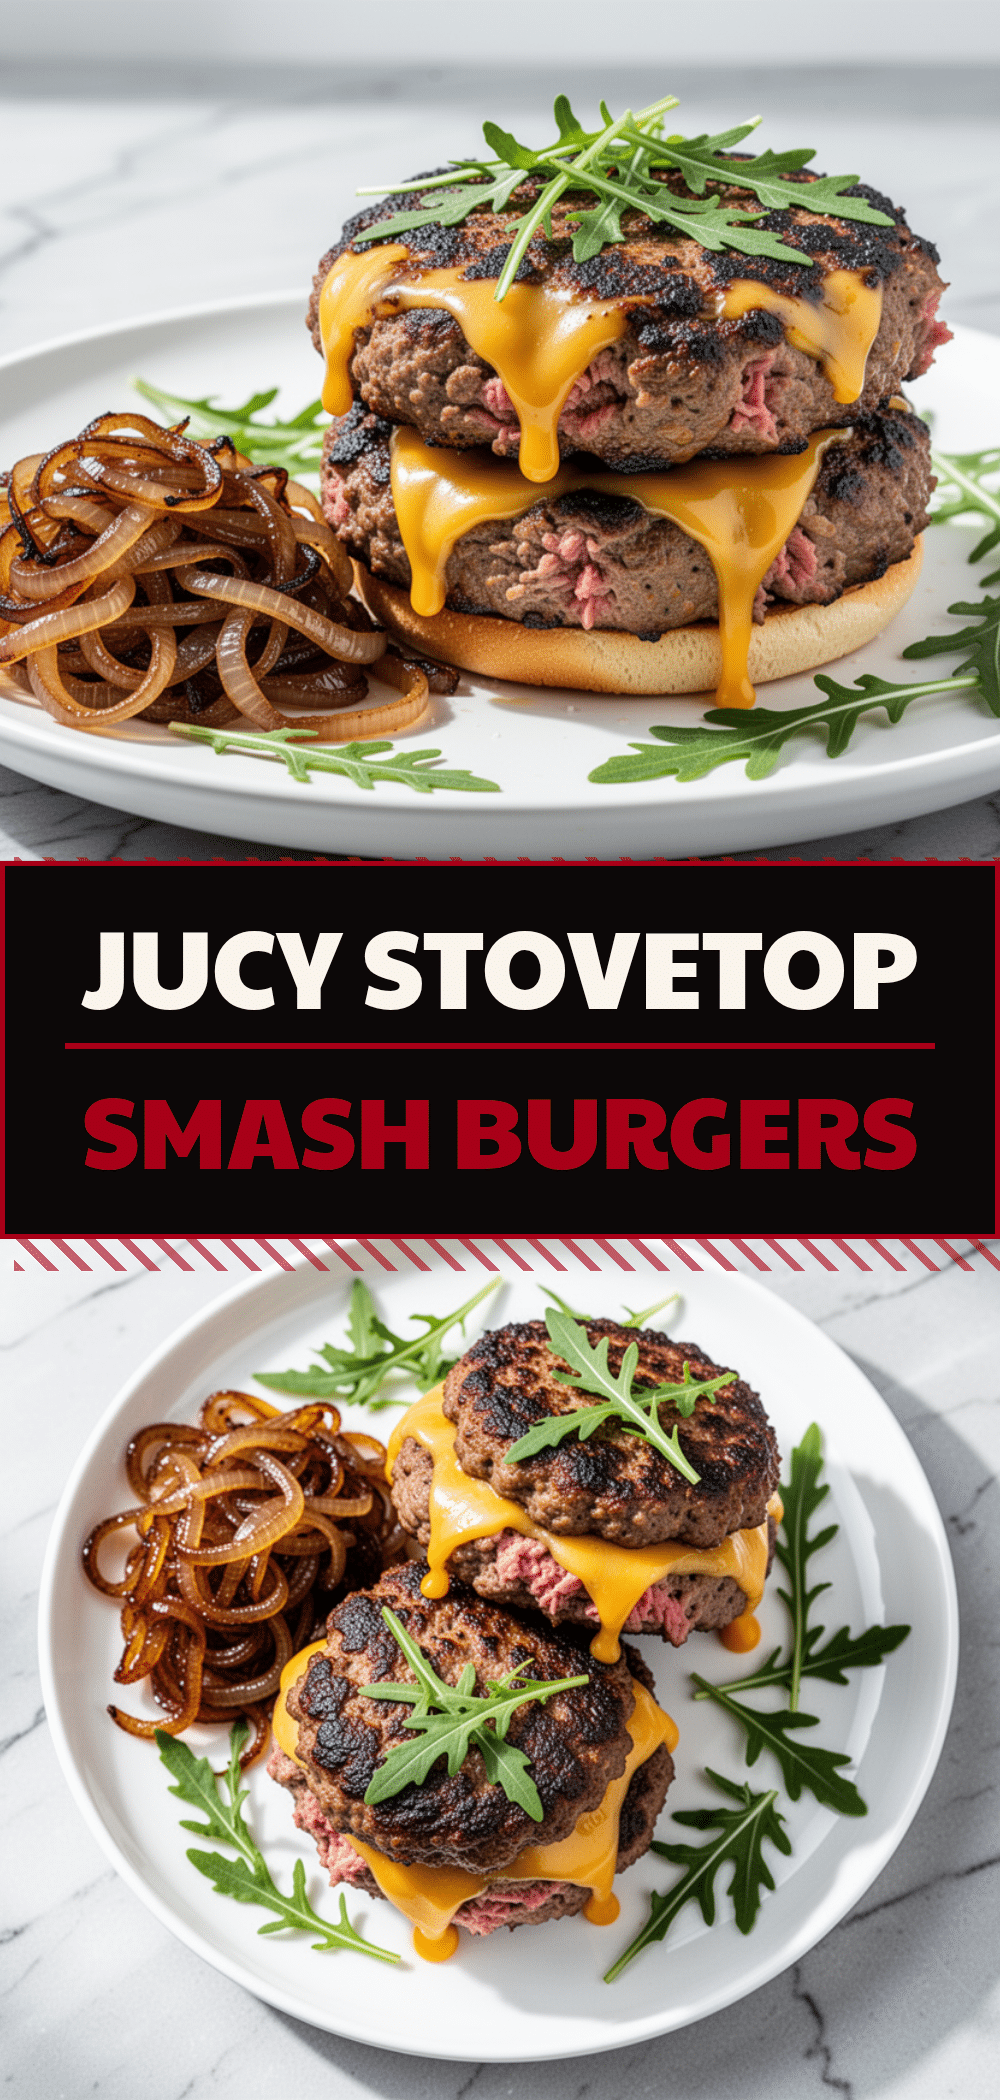
Juicy Stovetop Smash Burgers: 5-Step Homemade Recipe
- Total Time: 15 minutes
- Yield: 4 servings 1x
Description
These stovetop smash burgers are crispy, juicy, and ready in under 15 minutes. Using a simple technique of smashing ground beef on a hot skillet, you get a caramelized crust and tender center that beats takeout every time.
Ingredients
- 1.5 lbs (700g) ground beef (80/20 blend, preferably chuck)
- Coarse kosher salt
- Freshly cracked black pepper
- 8 slices American cheese (or Provolone, Swiss, or Cheddar)
- 8 burger buns (potato or brioche)
- 2 large yellow onions, thinly sliced
- 2 tablespoons butter
- 1 teaspoon sugar
- 1 tablespoon olive oil
- Optional: Dill pickle chips, iceberg lettuce, tomato slices, ketchup, mustard
Instructions
- Slice onions into half-moons. Heat butter and olive oil in a small saucepan over medium heat. Add onions and sugar, stirring to coat. Cook for 5-7 minutes until golden brown and jammy. Remove from heat and set aside.
- Portion ground beef into 4-ounce loose balls. Do not pack tightly. Place balls in the fridge to keep cold while heating the skillet.
- Heat a heavy cast iron skillet or griddle over high heat until smoking hot.
- Place a cold beef ball on the hot skillet. Cover with a square of parchment paper and smash flat with a heavy tool (like a glass measuring cup) until about 1/4 inch thick.
- Leave undisturbed for 2 minutes to form a crust. Do not peek or move the burger.
- Flip the patty quickly. Immediately place a slice of cheese on top. Toast buns in the same skillet using the beef fat.
- Assemble the burger: sauce on bottom bun, lettuce, tomato, cheesy patty, caramelized onions, and pickles. Serve immediately.
Notes
Keep beef balls cold until cooking to help them hold shape when smashed. Do not touch the burger for the first 2 minutes to ensure a good crust. Season only after smashing. For best results, use 80/20 fat content beef. Leftovers can be stored in the fridge for 3 days but are best reheated in a skillet to restore crispness.
- Prep Time: 10 minutes
- Cook Time: 5 minutes
- Category: Main Course
- Cuisine: American
Nutrition
- Serving Size: 1 burger with bun, c
- Calories: 650
- Sodium: 800
- Fat: 38
- Carbohydrates: 40
- Protein: 35
Keywords: smash burger, stovetop burger, quick dinner, homemade burger, crispy burger, ground beef recipe, weeknight dinner



