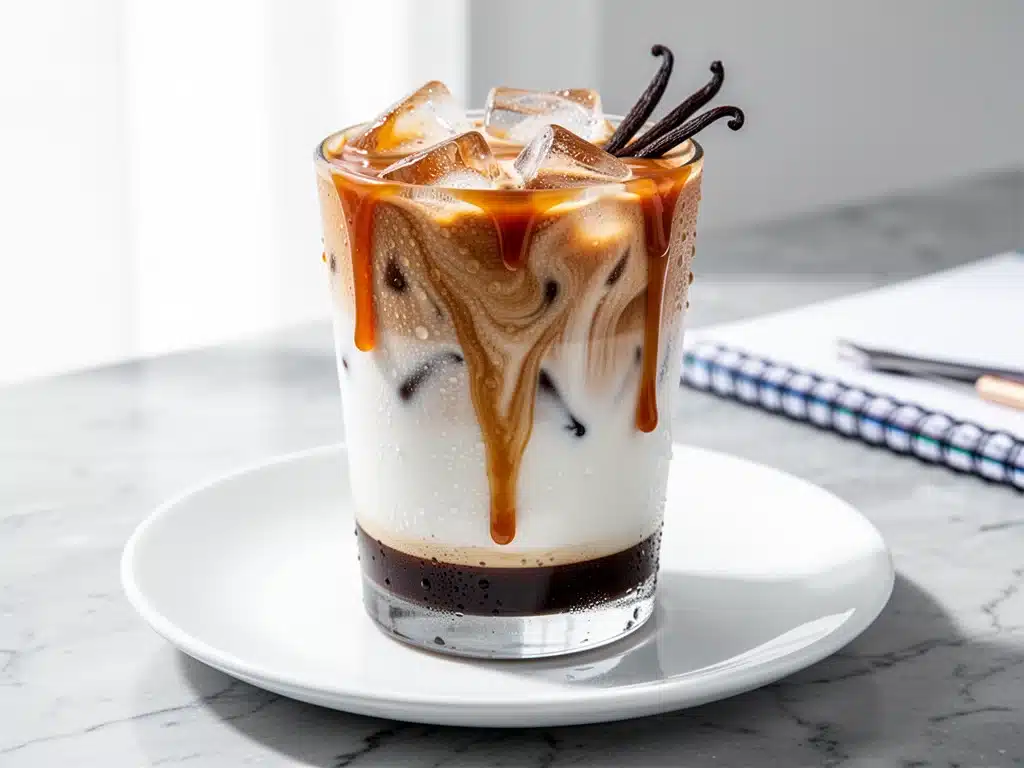
The alarm went off at 6:15 AM, and I was already dreading it. You know that feeling? The one where you’ve hit snooze three times, your kids are still asleep but will be waking up any second, and you’re running on four hours of sleep and pure panic. That was my reality every single morning during the first week of school this year.
I used to be one of those people who thought they could just drink black coffee while rushing around. Spoiler alert: I can’t. By the time I’m actually out the door, my hands are shaking, and I’m cranky. Last Tuesday, I was standing in the kitchen, staring at my cold brew maker with zero motivation, when I realized I needed something better than sludge. I needed something that tasted like a vacation but took five minutes to make.
So, I improvised. I grabbed the vanilla syrup, some leftover caramel sauce from a cake I’d made over the weekend, and a carton of oat milk (because apparently, I’m a hipster now). I threw it all over ice with a shot of espresso, and the first sip changed everything. It was creamy, sweet, and comforting in a way that made me actually want to get out of bed.
That’s when I created the iced vanilla caramel milk latte. It’s become my non-negotiable morning ritual. It’s not just a drink; it’s a small moment of joy before the chaos starts. And the best part? It’s ridiculously easy. You don’t need an expensive machine or a degree in chemistry. Just a few ingredients and a willingness to treat yourself for five minutes.
I’ve tested this recipe with different milks, different syrups, and even different levels of sleep deprivation (it still works when you’re exhausted). This iced vanilla caramel milk latte is the answer to “what’s for breakfast” when you need energy but also need to feel like you’re treating yourself. Let’s get into how you can make it at home.
Why You’ll Love This Iced Vanilla Caramel Milk Latte
Look, I’m not a barista. I’m a mom who needs caffeine to function. But this iced vanilla caramel milk latte has completely changed my mornings. Here’s why I keep making it, and why you will too:
It’s Faster Than Ordering Out — Seriously. By the time you drive to the coffee shop, wait in line, and pay $7, you could have made three of these. I timed it. It takes exactly 5 minutes from start to finish if you already have the espresso ready.
It Tastes Like a Treat (But It’s Cheap) — A similar drink at a café costs around $6 or more. This costs about $0.75 per serving. That’s less than the cost of the milk alone if you buy in bulk. My kids think it’s fancy, but I know the truth: it’s budget-friendly luxury.
It’s Customizable to Hell — Want it sweeter? Add more caramel. Want it less sweet? Use sugar-free syrup. Hate dairy? Oat milk makes it creamier than whole milk. Love extra caffeine? Double the shot. This recipe bends to your will. I’ve made it with almond milk, coconut milk, and even half-and-half when I’m feeling decadent.
It Keeps You Cool — Back-to-school mornings can still be hot. Nothing wakes you up like cold, sweet, caffeinated liquid. The ice stays cold, the flavors meld together as you drink, and it’s refreshing in a way that hot coffee just isn’t on a warm August morning.
It’s Kid-Friendly (With Modifications) — My daughter loves the caramel flavor. I make her a “caramel milk” with just milk, caramel syrup, and ice. No coffee. She thinks it’s a special treat, and it keeps her happy while I tackle the coffee. It’s a win-win.
This iced vanilla caramel milk latte isn’t just about caffeine. It’s about starting your day with a little bit of sweetness. It’s about taking five minutes for yourself in a day that will be anything but slow. If you’re tired of bitter, burnt coffee, this is your sign to switch things up.
Ingredients You’ll Need
Here’s the best part: you probably have most of this already. I’m not asking you to buy exotic ingredients from a specialty store. This iced vanilla caramel milk latte relies on pantry staples and common coffee shop favorites.
Espresso or Strong Coffee (2 shots / 2 oz / 60ml) — This is the base. Freshly brewed espresso is ideal, but strong cold brew or even a concentrated drip coffee works. If you don’t have an espresso machine, brew a small cup of coffee and let it cool. Don’t use weak coffee; it’ll get diluted by the ice.
Milk of Choice (1 cup / 240ml) — I love oat milk for its creaminess. It froths well and has a neutral, slightly sweet flavor that pairs perfectly with caramel. Whole dairy milk works too, but it can separate if it’s too cold. Almond milk is lighter but less rich. Coconut milk adds a tropical twist that’s surprisingly good.
Vanilla Syrup (1 tablespoon / 15ml) — This is non-negotiable. Real vanilla extract doesn’t have the same sweetness or texture. Use a syrup like Torani or Monin. If you’re watching sugar, a sugar-free vanilla syrup works fine, though the texture might be slightly thinner.
Caramel Sauce (1 tablespoon / 15g) — Not syrup, but sauce. You want that thick, gooey texture. Smucker’s or store-brand caramel sauce works perfectly. Drizzle it on the inside of the glass for that fancy café look.
Ice Cubes (1 cup / roughly 100g) — Use large cubes if you have them. They melt slower, so your drink doesn’t get watery as fast. Standard ice works, just drink it a bit quicker.
Optional: Whipped Cream — For the full experience, top it off with a dollop of whipped cream. It’s not necessary, but it makes it feel like you’re at a coffee shop.
Pro Tip: Make a batch of vanilla syrup at home if you use this often. It’s just sugar, water, and vanilla bean paste. Saves money and tastes better than bottled stuff.
Equipment Needed
You don’t need fancy gear for this. Here’s what I actually use:
Tall Glass or Mason Jar — I use a 16-ounce glass. It needs to be tall enough to hold the ice, milk, and espresso without overflowing. A mason jar is perfect because it’s sturdy and looks cute on the counter.
Measuring Spoons — For the syrup and sauce. Precision matters here because you want the right balance of sweet.
Spoon or Stirrer — To mix everything together. A long spoon is best.
Coffee Maker or Espresso Machine — Obviously. If you don’t have either, instant espresso granules dissolved in hot water work in a pinch.
Pour-Over Filter (Optional) — If you’re using drip coffee, this helps make it stronger.
How to Make It: Step-by-Step
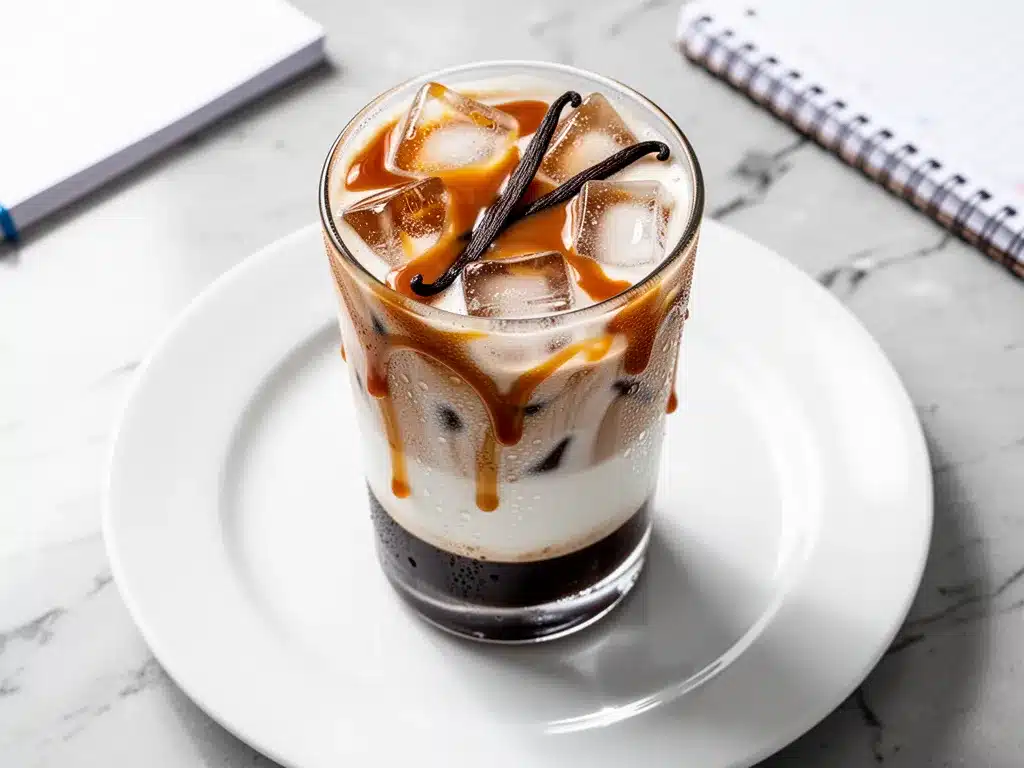
Alright, let’s make this! I’m walking you through exactly how I do it, including the little tricks I’ve picked up.
Step 1: Prep the Glass (1 minute)
Take your tall glass and drizzle the caramel sauce on the inside walls. Don’t be shy! Swirl it around so you get little ribbons of caramel on the glass. This looks beautiful and ensures every sip has a hint of caramel flavor. If you’re feeling extra fancy, add a little caramel to the bottom of the glass.
Step 2: Add Ice (1 minute)
Fill the glass to the top with ice cubes. Pack them in tight. The more ice, the colder the drink, and the slower it melts. This is crucial for maintaining that perfect temperature while you’re getting ready.
Step 3: Add the Milk (1 minute)
Pour your milk over the ice. Leave about an inch of space at the top for the espresso. If you’re using oat milk, give it a good shake first. I’ve found that oat milk stays creamy even when cold, which is why it’s my go-to.
Step 4: Add the Vanilla (1 minute)
Add the vanilla syrup to the milk. Stir it gently with your spoon to distribute the sweetness. You don’t want it too sweet, so start with 1 tablespoon. You can always add more later.
Step 5: Add the Espresso (1 minute)
Pour the cooled espresso over the milk. Pour it slowly so it layers on top. This creates that pretty gradient effect that makes it look like you spent way more time on it than you did. If you’re using cold brew, you can mix it in directly.
Step 6: Stir and Serve (1 minute)
Give it a good stir before you drink. The layers will mix, creating a uniform creamy, caramel-vanilla flavor. Top with whipped cream if you want. Drink immediately while it’s cold and refreshing.
Total Time: About 5 minutes.
Expert Tips & Tricks
Here’s everything I’ve learned from making this dozens of times. These tips will save you from my mistakes.
Cool Your Espresso First — Hot espresso will melt the ice instantly, watering down your drink. Brew it ahead of time and let it cool to room temperature, or put it in the fridge for 10 minutes. I keep a small carafe of coffee in the fridge just for this.
Don’t Skimp on the Ice — It’s tempting to use less ice to fit more liquid, but that’s a mistake. You need enough ice to keep the drink cold as it melts. If you run out of ice, add a few more cubes before drinking.
Layer It Right — For the best visual effect, pour the espresso last. It will float on top of the milk, creating a beautiful two-tone look. Stir it in just before drinking.
Customize the Sweetness — Taste the milk and syrup before adding the espresso. If it’s not sweet enough, add a bit more vanilla syrup. The espresso will add a slight bitterness, so you want the milk mixture to be slightly sweeter than you prefer.
Make It Ahead — You can prep the caramel swirl and milk the night before. Just add the ice and espresso in the morning. Saves even more time.
Variations & Substitutions
Once you’ve nailed the basic version, here’s how you can mix it up. I’ve tried all of these.
Dirty Caramel Latte — Add a shot of espresso to a regular caramel milk. This is what I do when I need a serious kick.
Chocolate Caramel Latte — Add a teaspoon of chocolate syrup along with the vanilla. It’s like a dessert in a glass.
Matcha Caramel Latte — Swap the espresso for matcha powder whisked with hot water. The earthy green tea pairs surprisingly well with caramel.
Decaf Version — Use decaf espresso or just skip the coffee entirely for a “caramel milk” drink. Perfect for my daughter or for evening treats.
Dairy-Free — Use oat milk or coconut milk. Both work beautifully. Almond milk is thinner but still tasty.
Serving & Storage
How to Serve: I serve this straight up in a tall glass. It’s refreshing and looks great on Instagram (if you’re into that). Add a cinnamon stick or a drizzle of caramel on top for garnish.
Side Dishes: Pair it with a banana, a granola bar, or a piece of toast. Keep it simple. You’re in a rush.
Storage: This drink is best fresh. The ice melts, and the flavors change. Don’t store it in the fridge with ice in it. If you want to prep ahead, mix the milk, vanilla, and caramel in a jar. Keep it in the fridge for up to 2 days. Add fresh ice and espresso when ready to drink.
Nutrition Information
I’m not a nutritionist, but here’s the breakdown if you’re tracking.
Per Serving (based on 1 drink):
– Calories: 150
– Protein: 4g
– Carbs: 22g
– Fiber: 0g
– Sugar: 20g
– Fat: 6g
– Saturated Fat: 3g
– Cholesterol: 10mg
– Sodium: 100mg
What’s Good: It’s a treat, but it’s not terrible. The milk provides some protein and calcium. The caramel and vanilla add flavor without too many calories if you control the portion.
What to Know: It’s higher in sugar due to the syrups. If you’re watching sugar, use sugar-free syrups or reduce the amount. It’s not a health food, but it’s better than a sugary pastry.
My Take: Look, this is a morning treat. It’s not a diet recipe. But it’s way better than buying one at the shop, and it makes my day better. When I want to make it lighter, I use unsweetened almond milk and sugar-free syrup. But usually? I just enjoy it and move on.
Final Thoughts
So that’s my go-to iced vanilla caramel milk latte! I’ve probably talked your ear off at this point, but when you make a recipe this often, you have a lot to say about it.
This has saved my mornings more times than I can count. It’s my answer to “what’s for breakfast” when I’m tired, don’t want to cook, and still want something that tastes really good. My kids are happy, I’m happy, and I’m happy because I’m not stressed about coffee.
Make it yours! Try different milks, swap in your favorite syrups, adjust the sweetness. The best recipes are the ones you adapt to your family’s tastes.
If you make this, drop a comment and let me know what you think! I love hearing how recipes turn out in your kitchen. And if something doesn’t work, tell me that too—I’m here to help troubleshoot.
Happy cooking! And I hope your kitchen smells half as good as mine does right now.
Frequently Asked Questions
Can I use milk instead of oat milk?
Absolutely. Whole milk, almond milk, soy milk, or coconut milk all work. Oat milk is creamier and froths better, but any milk you like will work. Just note that dairy milk might separate slightly if it’s very cold, so stir it well.
Why did my latte turn out watery?
This usually happens if you use too much ice that melts quickly, or if you pour hot espresso over the ice. Always let your espresso cool down first, and use large ice cubes if possible. Also, don’t overfill the glass with ice.
Can I make this ahead for a busy school morning?
Yes! Prep the milk and syrup mixture the night before. Store it in a jar in the fridge. In the morning, just add ice and espresso. It takes 30 seconds. This is my secret to getting out the door on time.
Why did my latte get grainy?
This happens if you add hot espresso to cold milk, or if you use low-quality caramel sauce. Make sure your espresso is cooled, and use a good quality caramel sauce. Stirring gently helps too.
Can I use sugar-free syrup?
Yes, sugar-free vanilla and caramel syrups work fine. They might be slightly thinner, but the flavor is still great. Just taste as you go, since sugar-free syrups can be sweeter than regular ones.
How do I reheat this if I want a hot latte?
You can’t really reheat the iced version. Just skip the ice and cold milk, and brew hot espresso over hot milk. Add the vanilla and caramel to the hot milk. It’s a completely different drink, but still delicious.
Can I double this recipe?
Yes, double everything. Use a larger pitcher or mason jar. The proportions stay the same. I do this when I have guests or when I want to prep for the whole week.
Pin This Recipe!
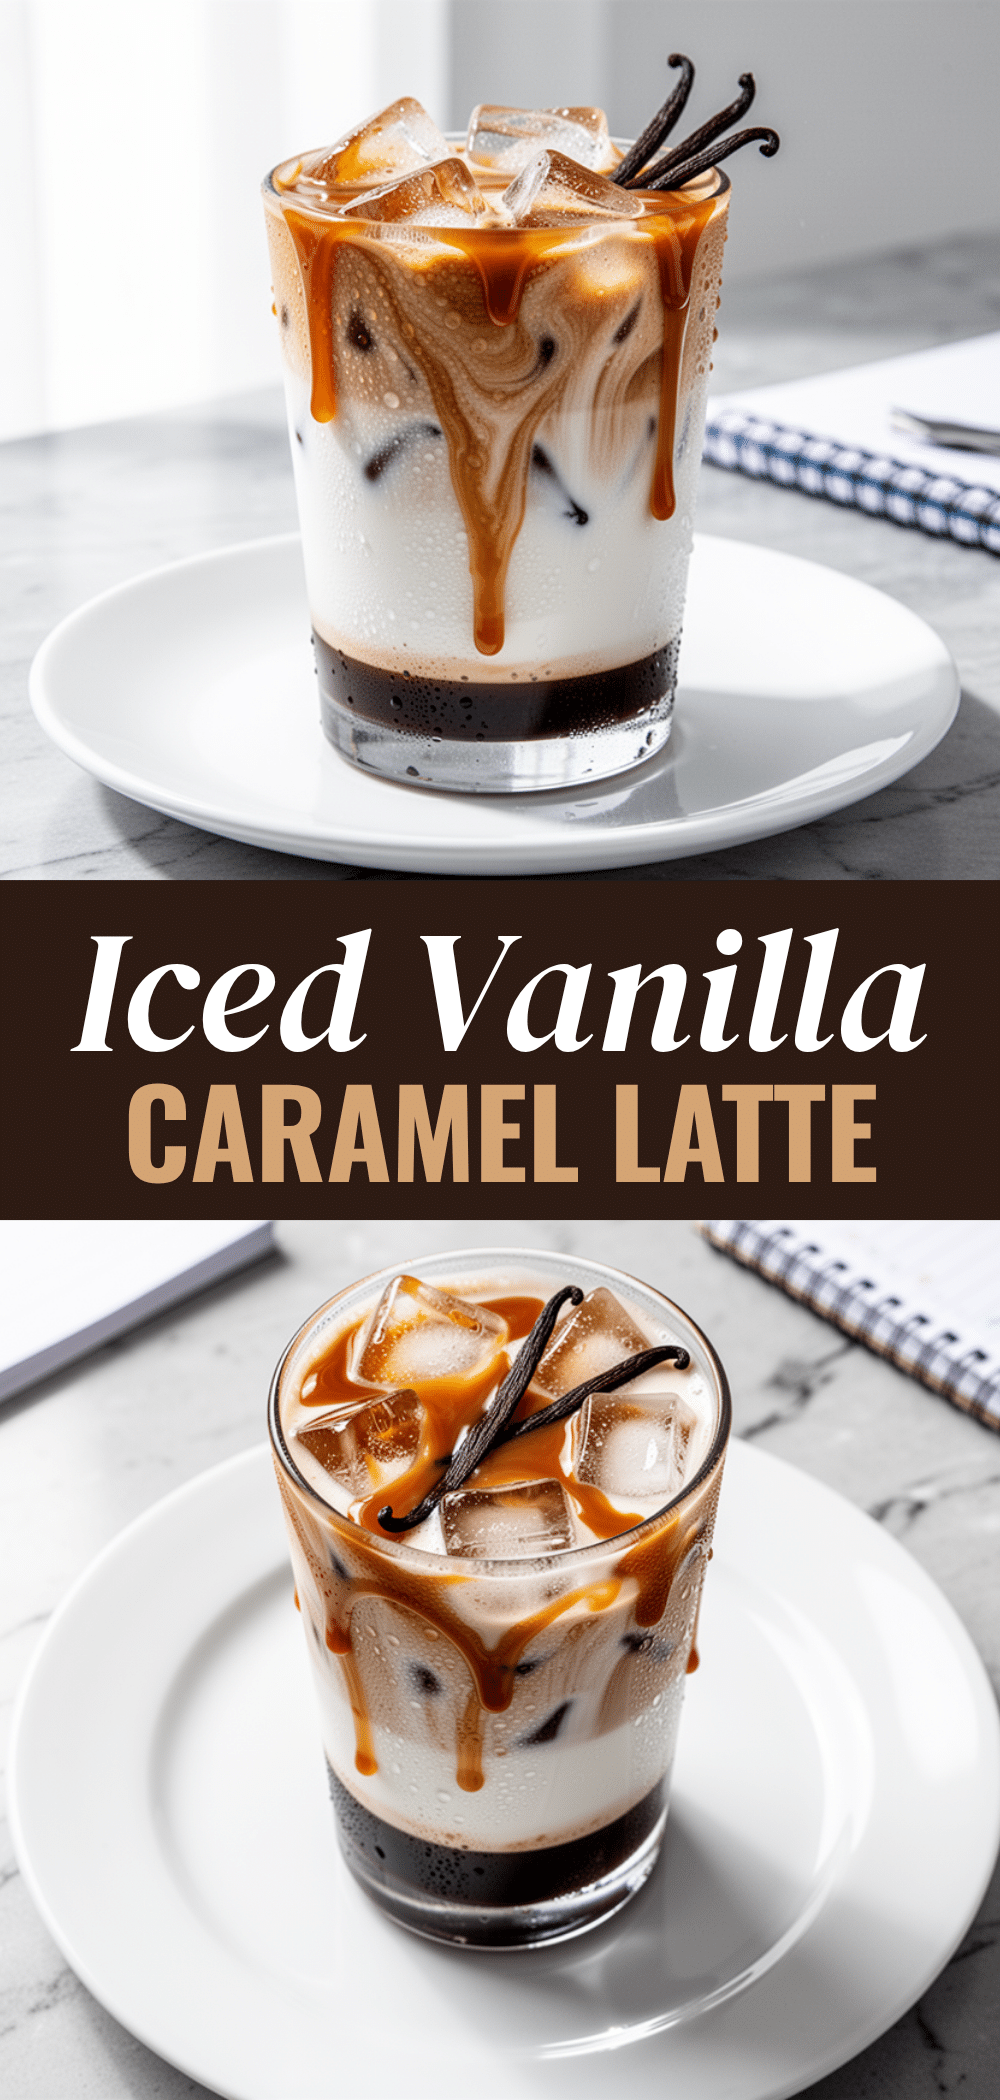
Iced Vanilla Caramel Milk Latte
- Total Time: 5 minutes
- Yield: 1 serving 1x
Description
A creamy, sweet, and comforting 5-minute morning drink made with espresso, oat milk, vanilla syrup, and caramel sauce. It’s customizable, budget-friendly, and perfect for busy mornings.
Ingredients
- 2 shots (2 oz / 60ml) espresso or strong coffee, cooled
- 1 cup (240ml) milk of choice (oat milk recommended)
- 1 tablespoon (15ml) vanilla syrup
- 1 tablespoon (15g) caramel sauce
- 1 cup (roughly 100g) ice cubes
- Whipped cream (optional, for topping)
Instructions
- Drizzle caramel sauce on the inside walls of a tall glass and swirl to create ribbons.
- Fill the glass to the top with ice cubes, packing them in tight.
- Pour the milk over the ice, leaving about an inch of space at the top.
- Add the vanilla syrup to the milk and stir gently to distribute sweetness.
- Pour the cooled espresso slowly over the milk to create a layered effect.
- Stir well before drinking to mix the layers, and top with whipped cream if desired.
Notes
Ensure espresso is cooled to room temperature or chilled before adding to prevent melting the ice too quickly. For a lighter version, use unsweetened almond milk and sugar-free syrups. The milk and syrup mixture can be prepped the night before and stored in the fridge for up to 2 days.
- Prep Time: 5 minutes
- Cook Time: 0 minutes
- Category: Beverage
- Cuisine: American
Nutrition
- Serving Size: 1 tall glass
- Calories: 150
- Sugar: 20
- Sodium: 100
- Fat: 6
- Saturated Fat: 3
- Carbohydrates: 22
- Protein: 4
Keywords: iced latte, vanilla caramel latte, morning drink, coffee recipe, oat milk latte, quick breakfast, caffeine drink, 5 minute recipe



