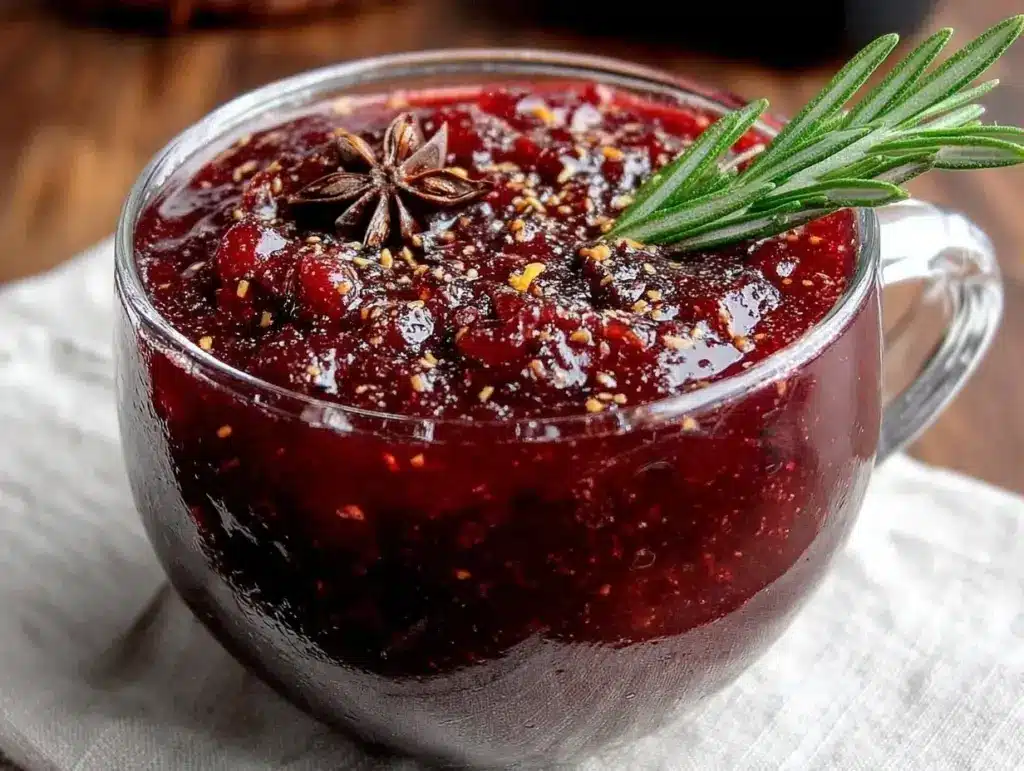
Last November, right in the thick of flu season, I found myself standing in my kitchen at 11 PM, staring at a pot of boiling berries like they owed me money. My youngest had just woken up crying from a fever, my older kid was sneezing into a pile of used tissues, and I was exhausted. I didn’t want to run to the pharmacy for expensive, syrup-filled-with-high-fructose-corn-syrup stuff. I wanted something real. Something that tasted like something my grandmother would approve of, but actually worked.
So I made this homemade elderberry immune syrup. I’ve made it since then—probably thirty times now, through every cold snap and sniffle. It’s become my family’s secret weapon. And here’s the best part: it costs less than a single bottle of store-bought syrup, uses five ingredients you can probably find at any grocery store, and takes about 30 minutes of active work (mostly just waiting for it to simmer).
If you’re looking for a natural way to support your family’s health without breaking the bank, you need to try this. It’s tart, it’s sweet, it’s packed with antioxidants, and honestly? It tastes pretty good on its own. I keep a jar of it on the counter now, right next to the spiced brown sugar chai latte mix, because we go through it fast during the fall and winter months.
Why You’ll Love This Recipe
I know what you’re thinking. “Syrup? For immune support? Really?” Yes, really. But not just because of the health benefits (though those are legit). This recipe has completely changed how I handle cold season in our house.
- Incredibly Cheap — Dried elderberries are a fraction of the cost of supplements. A single batch costs about $3-$5 to make, depending on where you shop, and lasts for weeks. That’s pennies per dose.
- Stupid Simple — You boil water, dump stuff in, simmer, strain, and bottle. There’s no complex technique. If you can make tea, you can make this. I’ve had my 10-year-old help me make it without any supervision.
- Customizable Sweetness — Store-bought syrups are often cloyingly sweet. With this homemade elderberry immune syrup, you control the sugar. I use honey for the kids, but you can use maple syrup or agave if you prefer.
- Great Taste — It’s not medicinal tasting. It’s fruity and rich. My kids actually ask for it. I’ve even drizzled it over silky chocolate mousse for a fancy touch, though usually, it just gets spooned straight into their mouths.
- Long Shelf Life — Because it’s cooked with sugar (or honey) and water, it keeps in the fridge for up to a month. I usually make two batches in October so I’m set for December.
This is the kind of recipe that makes you feel like a prepared, savvy parent. You’re not buying overpriced wellness trends; you’re making something from scratch that actually nourishes your family.
Ingredients You’ll Need
Here’s the thing: this recipe is minimalist by design. You don’t need a pantry full of weird powders or expensive superfoods. Just five simple ingredients.
The Core Ingredients
Dried elderberries (1 cup / 100g) — This is the star. Make sure you buy dried elderberries, not fresh. Fresh elderberries can be toxic if not cooked properly and are hard to find. I buy mine in bulk online or at local health food stores. Look for dark, shriveled berries—those are the good ones. If you can’t find elderberries, vegan lentil bolognese might be a pantry staple you already have, but don’t substitute lentils here! Stick with elderberries for the immune benefits.
Water (4 cups / 960ml) — Just plain old tap water. No need for filtered spring water unless you’re picky. The boiling process purifies it anyway.
Cinnamon stick (1 large stick) — Adds warmth and helps with digestion. I use a whole stick because it infuses flavor without making the syrup gritty. You can also use ½ teaspoon of ground cinnamon, but the stick is easier to strain out.
Star anise (2 pods) — This gives it that subtle, licorice-like depth. It sounds fancy, but it’s cheap. If you don’t have it, don’t worry—it’s optional. It won’t ruin the recipe without it.
Honey or Maple Syrup (1 cup / 240ml) — This is your sweetener and preservative. I prefer raw honey because it has its own antimicrobial properties. Maple syrup works great too and makes it vegan. Don’t skip the sugar/sweetener—it helps preserve the syrup and balances the tartness of the berries.
Optional Boosters
Fresh ginger (1-inch piece, sliced) — If you’re feeling really under the weather, add fresh ginger. It adds a nice zing and helps with nausea.
Orange peel (1 strip) — I sometimes add a strip of organic orange peel for a citrusy aroma. It pairs beautifully with the elderberries.
Equipment Needed
You don’t need fancy gadgets for this. Here’s what I use:
Medium saucepan — A 2-3 quart pot works perfectly. I use a stainless steel pot because it’s easy to clean.
Mesh strainer or cheesecloth — You need something to strain out the tiny berries and spices. A fine-mesh sieve works, but cheesecloth gives you a clearer syrup. I keep a roll of cheesecloth in my drawer specifically for things like this and homemade watermelon mint agua fresca.
Funnel — Optional but helpful. Keeps the syrup out of the sink and into the bottle. I use a small plastic funnel from the kitchen drawer.
Glass jars or bottles — I use old jam jars (cleaned and sterilized) or small glass bottles with lids. Avoid plastic if you can, as the heat can sometimes warp it or leave a residue.
How to Make It: Step-by-Step
Alright, let’s make this! It’s basically a big pot of tea that you turn into syrup. Here’s exactly how I do it.
Step 1: Combine Berries and Spices (2 minutes)
Grab your saucepan and add the dried elderberries, cinnamon stick, star anise, and any optional ginger or orange peel. Pour in the 4 cups of water. Stir it all together so the berries are submerged.
Step 2: Bring to a Boil (5 minutes)
Place the pot on the stove over medium-high heat. Bring it to a rolling boil. Watch it closely so it doesn’t boil over—elderberries can foam up a bit when they first hit the heat. Once it’s bubbling vigorously, reduce the heat to low.
Step 3: Simmer (30-45 minutes)
This is the waiting part. Let the berries simmer gently on low heat for 30 to 45 minutes. You’ll notice the water turning a deep, dark purple. The berries will burst open and shrink. If the water level drops too low (below the berries), add a little more hot water. I usually let it simmer for 45 minutes because I like a stronger concentrate, but 30 minutes is fine if you’re in a hurry.
Step 4: Cool and Strain (15 minutes)
Remove the pot from the heat. Let it cool for about 10-15 minutes. This makes it safer to handle and prevents the honey from losing its beneficial enzymes if you add it immediately. Once it’s cool enough to touch, set up your strainer over a large bowl or jug. Pour the mixture through. If you’re using cheesecloth, twist it up tight and squeeze out every last drop of liquid. The berries hold onto a lot of juice, so don’t be shy with the squeezing.
Step 5: Add Sweetener (2 minutes)
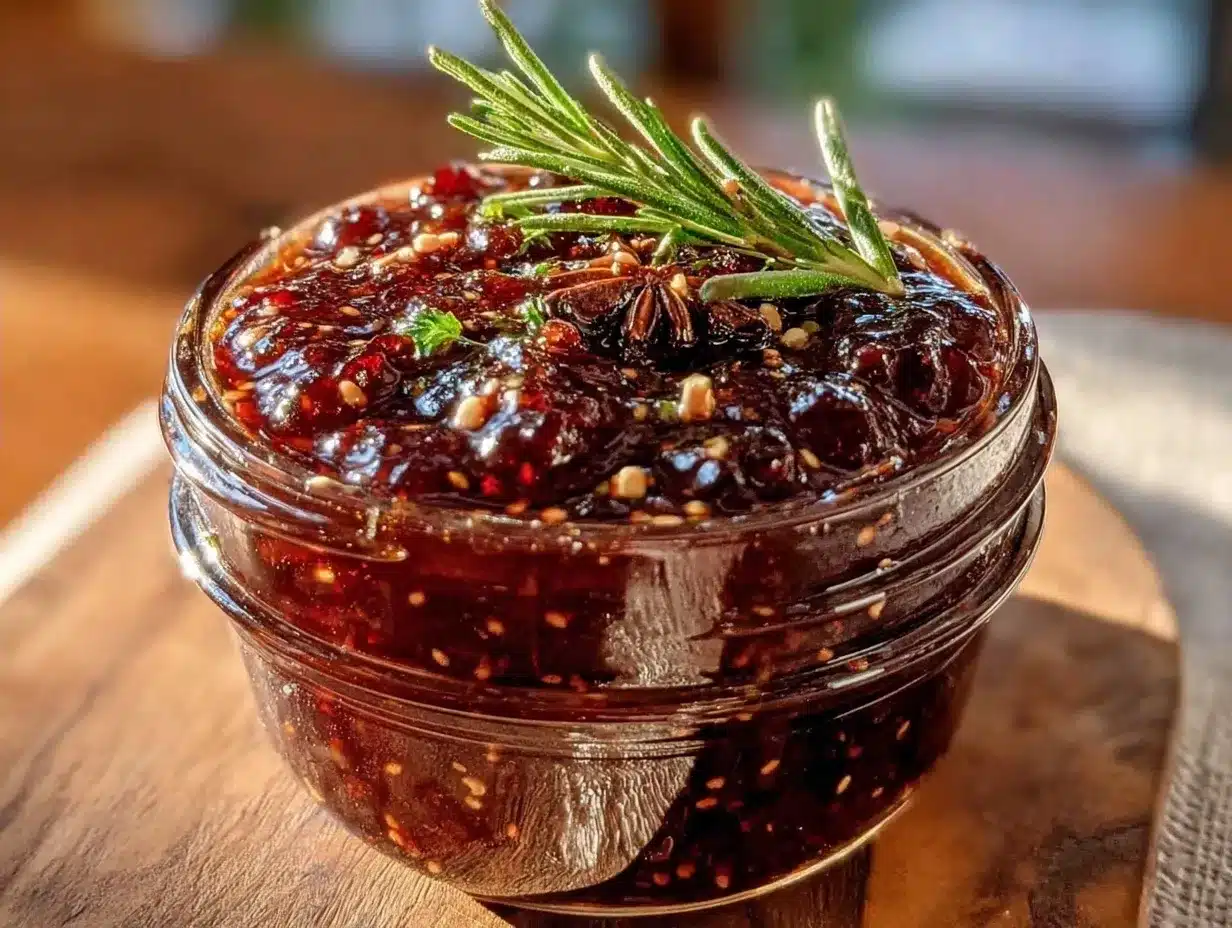
While the liquid is still warm (not boiling hot), stir in the honey or maple syrup. I wait until it’s warm because boiling honey can degrade some of its natural properties. Stir until fully dissolved. The syrup should look glossy and dark, like a rich fruit reduction.
Step 6: Bottle and Store (2 minutes)
Use your funnel to pour the syrup into clean glass jars or bottles. Seal tightly. Let it cool completely to room temperature before putting it in the fridge. This prevents condensation, which can spoil the syrup faster.
Total Time: About 1 hour (5 minutes active, 45 minutes simmering, 10 minutes cooling).
Expert Tips & Tricks
I’ve made this enough times to learn a few hard-earned lessons. Here’s how to avoid my mistakes.
Don’t Skip the Strain
Elderberries are tiny and seedy. If you don’t strain them well, you’ll end up with a gritty syrup that’s unpleasant to drink. I double-strain mine if I’m feeling particular—once through a sieve, then once through cheesecloth. It takes an extra minute but makes the texture silky smooth.
Use Raw Honey
If you’re using honey, make sure it’s raw, unfiltered honey. Processed, pasteurized honey has been heated so much that it loses many of its antimicrobial benefits. You’re making this for health reasons, so use the good stuff.
Adjust the Sweetness
Elderberries are naturally tart. If you’re using honey, start with ¾ cup and taste. Add more if needed. If you’re using maple syrup, it’s less sweet than honey, so you might need a full cup or even a bit more. The syrup should be sweet enough to mask the tartness but not so sweet that it tastes like dessert syrup.
Label Your Jars
It sounds obvious, but I’ve forgotten what’s in jars before. Write the date and contents on a piece of masking tape and stick it on the jar. I usually make this in October and forget about it until January. Labeling saves you from wondering if that dark liquid is elderberry syrup or old balsamic vinegar.
Doubles Easily
If you have the space in your pot, I recommend doubling the recipe. Elderberry syrup goes fast during cold season. I often make two batches at once when I’m at the farmers market and see the dried berries on sale. It saves time on cleanup and ensures I’m stocked up.
Variations & Substitutions
Once you’ve got the basic recipe down, you can tweak it to suit your family’s tastes or health needs.
Vegan Version
Simply swap the honey for maple syrup or agave nectar. It works perfectly and keeps the syrup shelf-stable.
Extra Zing
Add a 1-inch piece of fresh ginger, peeled and sliced, during the simmering step. It adds a spicy kick that’s great for sore throats.
Citrus Twist
Add the zest of one orange and one lemon during the last 5 minutes of simmering. It brightens the flavor and adds extra vitamin C.
Chai Spice Blend
If you don’t have star anise or cinnamon sticks, use 1 tablespoon of chai spice mix. It gives it a warm, cozy flavor that’s similar to creamy iced brown sugar oat milk latte vibes.
No Elderberries?
If you can’t find elderberries, you can make a similar syrup with blackberries or blueberries, but the immune-boosting properties won’t be the same. Elderberries are specific for their high anthocyanin content. Don’t substitute with regular berries if you’re making this for health reasons.
Serving & Storage
How to Serve:
I usually take 1-2 tablespoons of syrup per day for prevention, and up to 1 tablespoon every 2-3 hours when I’m actively sick. I mix it into warm water with lemon, or just spoon it straight into my mouth. My kids love it straight from the spoon—it tastes like berry candy. You can also stir it into salted caramel hot chocolate for a immune-boosting treat on cold days.
Storage:
Store in the refrigerator in an airtight glass jar. It will keep for up to 3-4 weeks. If you notice any mold or off-smells, toss it. The high sugar content preserves it, but it’s still a natural product.
Freezing:
You can freeze this syrup! Pour it into ice cube trays and freeze. Once solid, pop the cubes into a freezer bag. You can grab a cube and throw it into warm water or tea when you need a dose. This extends the shelf life to 6 months.
Pro Tip:
If you’re making this for a gift, use cute small glass bottles with a ribbon tied around the neck. Add a tag with instructions: “Take 1 tablespoon daily for immune support. Shake well before use.” It’s a thoughtful, healthy gift that’s much cheaper than buying it.
Nutrition Information
I’m not a nutritionist, but here’s the general breakdown. This is a concentrated syrup, so serving sizes are small.
Per Serving (1 tablespoon):
– Calories: 30-40 (depending on sweetener)
– Carbs: 8-10g
– Sugar: 8-10g
– Fat: 0g
– Protein: 0g
What’s Good:
– Rich in antioxidants from the elderberries
– Contains vitamin C (especially if you add citrus)
– Raw honey has natural enzymes and antimicrobial properties
– No artificial preservatives or colors
What to Know:
– Higher in sugar than you might expect, but it’s natural sugar from honey/maple syrup. Use sparingly if you’re watching sugar intake.
– Not suitable for infants under 1 year old (due to honey risk of botulism).
My Take:
Look, this isn’t a diet food. It’s a health tonic. The sugar helps preserve it and makes it palatable, but you’re not drinking gallons of it. A tablespoon a day is plenty. If you’re concerned about sugar, reduce the honey amount or use stevia, though the texture might change slightly.
Final Thoughts
So that’s my homemade elderberry immune syrup! It’s become a staple in our house, right alongside our loaded baked potato salad for summer picnics and our better than takeout chicken tikka masala for busy weeknights. It’s that kind of reliable, go-to recipe.
I love that I can make this for a few dollars and feel good about what my family is putting into their bodies. It’s not magic, but it’s a helpful tool in keeping us healthy during flu season. And honestly, having a jar of it in the fridge just makes me feel prepared. Less stress, less running to the store, more peace of mind.
Make it yours! Add ginger, swap the sweetener, or drink it straight. The best recipes are the ones you adapt to your family’s needs. If you make this, drop a comment and let me know how your family likes it! I love hearing how recipes turn out in your kitchen.
Happy cooking! And I hope your kitchen smells half as good as mine does right now (it smells like cinnamon and berries).
Frequently Asked Questions
Can I use fresh elderberries instead of dried?
I don’t recommend it. Fresh elderberries contain cyanogenic glycosides, which can be toxic if not cooked properly. Dried elderberries have had these compounds broken down during the drying process, making them safe to use. If you have access to fresh elderberries from a trusted source, you must cook them thoroughly for at least 30 minutes, but dried is much safer and easier to find.
How long does this syrup last?
In the fridge, it lasts about 3-4 weeks. If you freeze it in ice cube trays, it lasts up to 6 months. Always check for mold or off-smells before using. The sugar content helps preserve it, but it’s still a natural product.
Can I give this to my kids?
Yes, but not for infants under 1 year old due to the honey risk. For kids over 1, I give them 1 teaspoon to 1 tablespoon per day, depending on their age. It’s a great way to get them to take immune support without complaining.
Why did my syrup turn out watery?
If you didn’t simmer it long enough, the berries won’t release all their juices. Simmer for at least 30-45 minutes until the liquid reduces and darkens. Also, make sure you’re squeezing the berries well when straining to get all the concentrated liquid out.
Can I make this without sugar or honey?
You can use a sugar-free sweetener like stevia or monk fruit, but it won’t preserve the syrup as well. Without the sugar, the syrup will spoil faster in the fridge (within 1-2 weeks). If you’re watching sugar, reduce the amount but plan to use it up quickly.
Can I double this recipe?
Absolutely! Just use a larger pot. The cooking times stay the same. I often double it when I’m making it in bulk for the winter. Just make sure you have enough glass jars to store it.
Pin This Recipe!
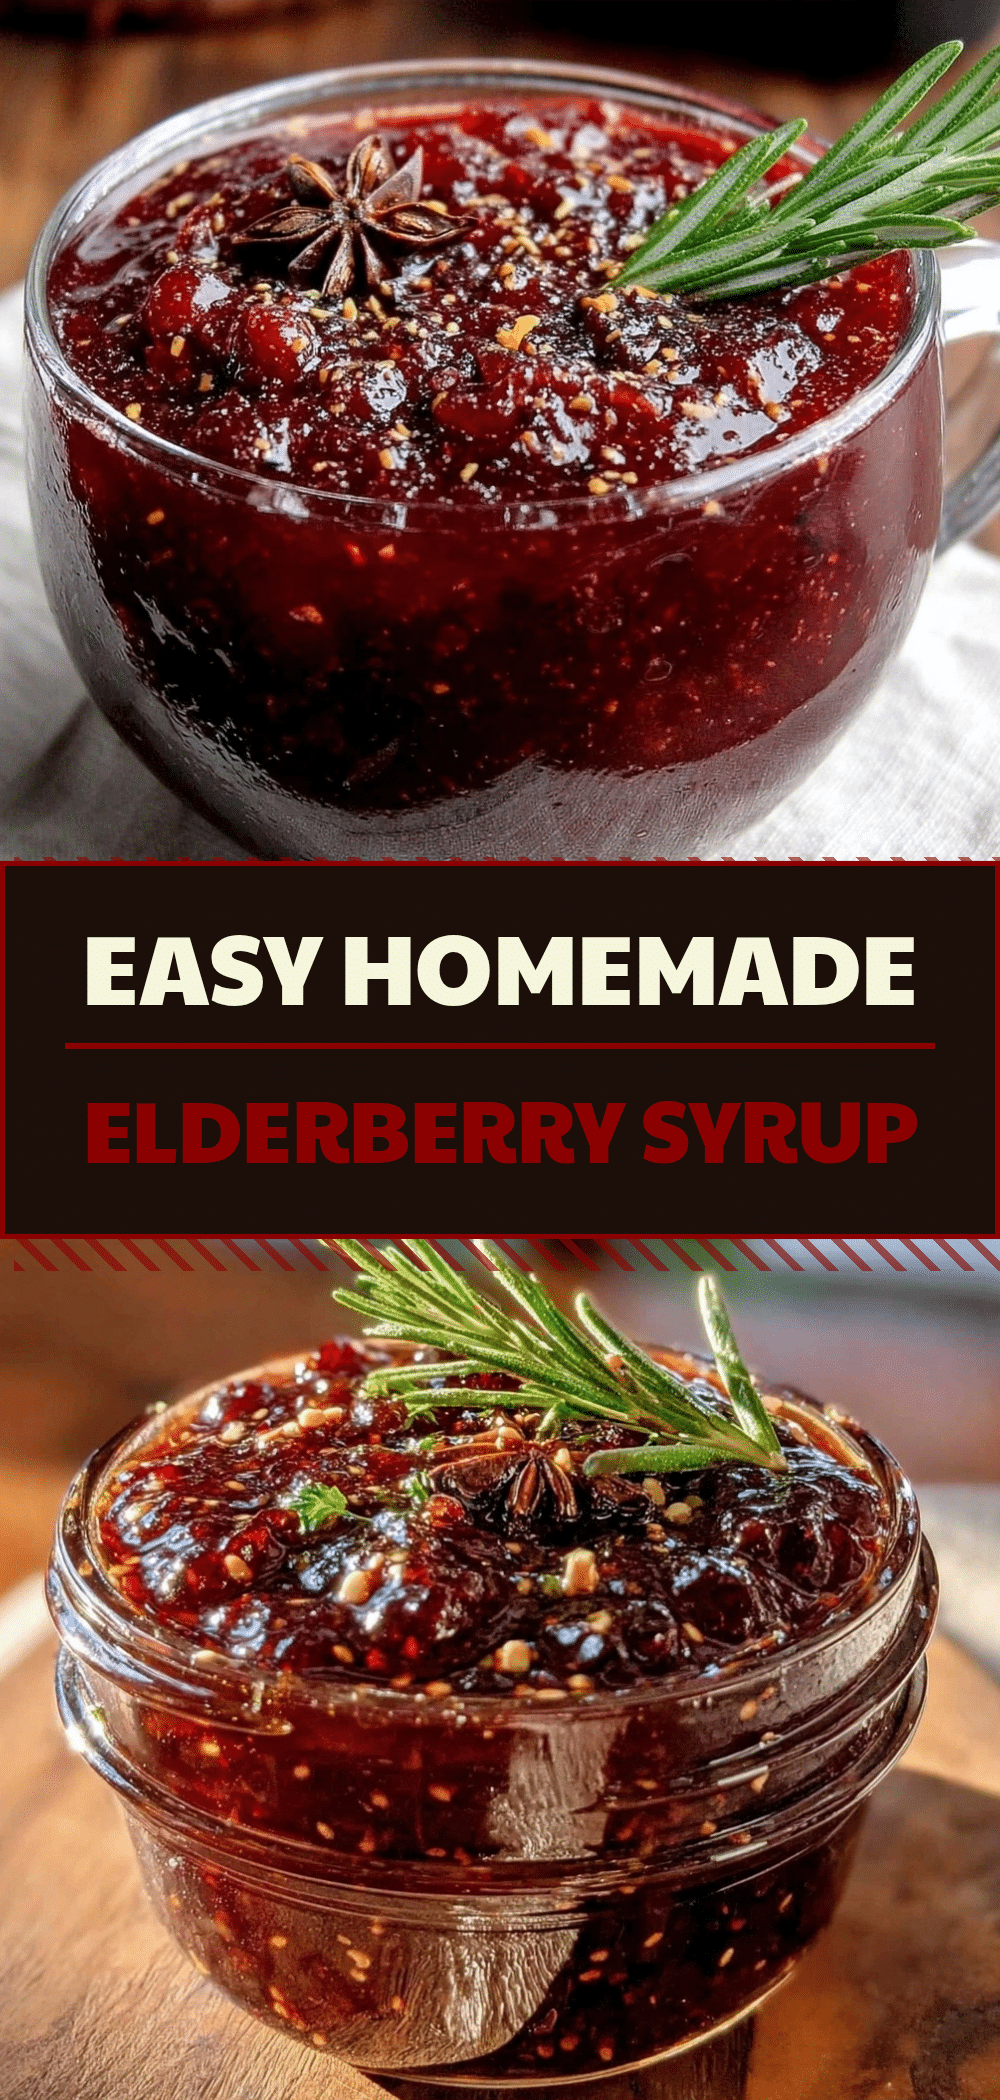
Homemade Elderberry Immune Syrup: 5-Ingredient Budget Friendly Recipe
- Total Time: 1 hour
- Yield: Approximately 2 cups 1x
Description
A simple, budget-friendly homemade elderberry syrup made with just five ingredients. This natural immune booster is tart, sweet, and packed with antioxidants, taking only about 30 minutes of active work to prepare.
Ingredients
- 1 cup dried elderberries (100g)
- 4 cups water (960ml)
- 1 large cinnamon stick
- 2 star anise pods
- 1 cup honey or maple syrup (240ml)
- 1-inch piece fresh ginger, sliced (optional)
- 1 strip orange peel (optional)
Instructions
- Combine dried elderberries, cinnamon stick, star anise, and optional ginger or orange peel in a medium saucepan. Pour in 4 cups of water and stir to submerge the berries.
- Place the pot on the stove over medium-high heat and bring to a rolling boil. Watch closely to prevent boiling over, then reduce heat to low.
- Simmer gently on low heat for 30 to 45 minutes until the liquid turns a deep dark purple and berries burst open. Add hot water if the level drops too low.
- Remove from heat and let cool for 10-15 minutes. Strain the mixture through a fine-mesh sieve or cheesecloth into a large bowl, squeezing the berries to extract all liquid.
- While the liquid is still warm (not boiling), stir in the honey or maple syrup until fully dissolved.
- Pour the syrup into clean glass jars or bottles using a funnel. Let cool completely to room temperature before sealing and refrigerating.
Notes
Do not use fresh elderberries as they can be toxic if not cooked properly; always use dried. If using honey, ensure it is raw to preserve antimicrobial properties. Store in the refrigerator for up to 3-4 weeks, or freeze in ice cube trays for up to 6 months. Not suitable for infants under 1 year old due to honey.
- Prep Time: 5 minutes
- Cook Time: 45 minutes
- Category: Condiments
- Cuisine: American
Nutrition
- Serving Size: 1 tablespoon
- Calories: 35
- Sugar: 9
- Carbohydrates: 9
Keywords: elderberry syrup, immune support, homemade syrup, natural remedy, flu season, budget friendly, 5 ingredient recipe, vegan syrup



