Last October, I found myself standing in my kitchen at 7 PM on a Tuesday, staring at a calendar that screamed “Halloween Parties.” I had four different invitations for that week alone. School bake sales, a neighbor’s trick-or-treat drop-off, a co-worker’s office party, and a small gathering at my own house. The panic was real. I don’t do last-minute baking. If I’m not prepping it on Sunday, it’s not happening. And honestly? I don’t want to be in the kitchen on a Friday night when I could be relaxing.
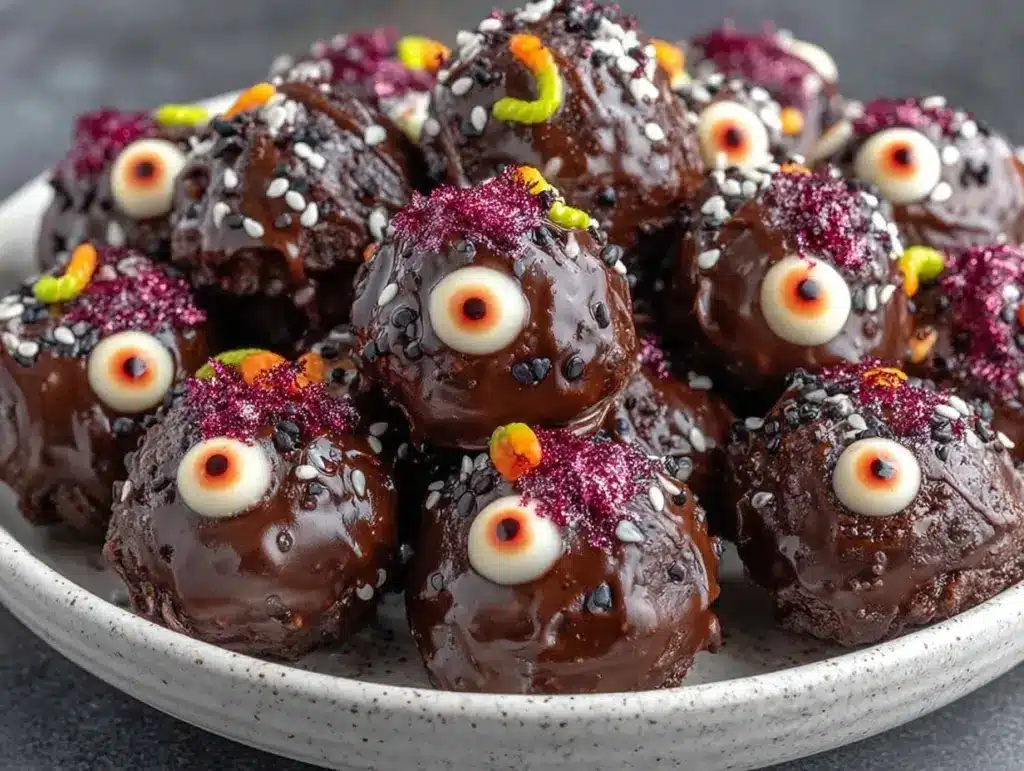
That was the year I discovered the power of the no-bake truffle. Specifically, these Halloween monster eyeball truffles. They are the ultimate meal-prep hack for desserts. You make one big batch, you portion them out, you freeze them, and suddenly you have four distinct party treats ready to go without lifting a finger during the busy week.
I’ve tested this recipe more times than I care to admit because I love having dessert covered. The best part? These aren’t just cookies. They’re rich, chocolatey, no-bake bites that look like something from a high-end bakery but take about 20 minutes of active time to assemble. Plus, they freeze beautifully. That’s the key. You make them once, and you eat (or give away) four times this week.
If you’re tired of scrambling for party snacks, this is your solution. It’s efficient, it’s delicious, and it looks incredibly impressive. Let’s get into how to build this prep plan.
Why You’ll Love This No-Bake Prep Strategy
There are about ten reasons I keep coming back to this truffle recipe, but they all boil down to one thing: control. When you plan ahead, you control the ingredients, the timing, and the stress level. Here’s why this specific approach works so well for busy weeks.
Zero Baking Required — Seriously, if you can melt chocolate and mix ingredients in a bowl, you can make this. I’ve made these while my kids were doing homework at the table. No oven needed means no heating up the house in the fall, and no waiting for racks to cool.
Freezer-Friendly — This is the game-changer. These truffles keep in the freezer for up to three months. I make a double batch in early October, and I have treats ready for every single event throughout the month. You can pull them out 15 minutes before you leave the house, and they’re perfect.
Grab-and-Go Ready — Because they’re bite-sized, they’re the perfect portion for parties. No slicing, no plating, no messy forks. Just drop them in a cupcake liner or a small baggie. It’s the easiest hospitality hack I’ve ever used.
Crowd-Pleaser — I’ve served these to picky eaters, adults who think they “don’t like sweets,” and kids with severe allergies (I often make a nut-free version using sunflower seed butter). Everyone loves them. The texture is fudgy, not dry, and the presentation is fun.
Budget-Smart — You probably have most of these ingredients already. Chocolate, peanut butter, cookies, marshmallows. It’s way cheaper than buying pre-made Halloween treats at the store, and you know exactly what’s in them.
This is my go-to when I need to check “dessert” off the to-do list for multiple events in one week. No stress, no last-minute runs to the grocery store, just reliable, delicious food that makes you look like a hero.
Ingredients You’ll Need for the Prep Batch
Here’s the best part: this is a pantry-friendly recipe. You don’t need anything exotic. I’m particular about a few things here, but mostly, it’s about having the right basics on hand.
Chocolate Chips (2 cups / 340g) — I use semi-sweet chocolate chips. They melt smoothly and have the right balance of sweetness. Dark chocolate works if you prefer less sweet, but semi-sweet is the crowd favorite. Avoid chocolate bars unless you chop them finely; chips have stabilizers that help them hold shape.
Peanut Butter (½ cup / 128g) — Creamy peanut butter is essential. Chunky will make it hard to roll the truffles. Natural peanut butter (the kind that separates) won’t work well because of the oil separation. Stick to a standard brand like Jif or Skippy for consistency. For nut-free versions, use sunflower seed butter or soy nut butter.
Crushed Cookies (2 cups / 150g) — I use Oreo cookies or chocolate sandwich cookies. You need them crushed into fine crumbs. If you have a food processor, this takes seconds. If not, put them in a ziplock bag and crush them with a rolling pin. The cookies provide the bulk and texture.
Marshmallows (1 cup / 70g) — Mini marshmallows are key. They add that chewy, gooey texture inside the truffle. You can melt them into the chocolate or fold them in later. I prefer folding them in for texture contrast.
Vanilla Extract (1 teaspoon) — Just a splash to enhance the chocolate flavor. Don’t skip it.
Salt (½ teaspoon) — A pinch of salt balances the sweetness. Use fine sea salt.
For the “Eyeball” Look:
White Chocolate Chips (½ cup / 85g) — Melted white chocolate to draw the iris and pupil.
Green or Blue Food Coloring Gel — Gel colors work better than liquid because they don’t seize the white chocolate. Just a tiny dab is enough.
Black Food Coloring Gel or Black Candy Melts — For the pupil.
Optional Add-ins:
Crushed Pretzels — For a salty crunch on the outside.
Sprinkles — Orange and black sprinkles for a different look.
I always keep a stash of white chocolate chips and food coloring in the pantry during October. It’s worth the small investment for how much time it saves later.
Equipment Needed
You don’t need fancy equipment for this. Here’s what I actually use.
Double Boiler or Microwave-Safe Bowl — I use a glass bowl over a pot of simmering water for the chocolate. It gives more control than the microwave. If you use the microwave, do it in 30-second intervals. Either way works.
Large Mixing Bowl — Something big enough to hold all the ingredients. I use a 4-quart stainless steel bowl.
Food Processor or Ziplock Bag — For crushing the cookies. A food processor is faster, but a rolling pin and a bag are fine if you’re doing it by hand.
Silicone Spatula — For stirring the chocolate. It scrapes the bowl clean so you don’t waste any.
Small Piping Bag or Ziplock Bag — For drawing the eyeball details. Snip off a tiny corner for control.
Parchment Paper — To line your baking sheet. Essential for easy cleanup.
Airtight Containers or Freezer Bags — For storing and freezing the finished truffles.
That’s it. No stand mixer, no special pans. Just basic kitchen tools.
How to Make It: Step-by-Step
Alright, let’s make this! I’m walking you through exactly how I do it, including the little tricks I’ve picked up over years of party prep.
Step 1: Crush the Cookies (5 minutes)
Place your cookies in a food processor and pulse until they are fine crumbs. If you’re doing it by hand, put them in a ziplock bag, remove the air, and crush them with a rolling pin until there are no large chunks. You want a sand-like texture, not big pieces. Set aside.
Step 2: Melt the Chocolate (5 minutes)
Melt your semi-sweet chocolate chips. If using a double boiler, keep the water at a low simmer, not a boil. Stir constantly until smooth. If using the microwave, heat in 30-second bursts, stirring between each. Do not overheat—chocolate burns easily. Once melted, stir in the peanut butter, vanilla, and salt until fully combined.
Step 3: Combine the Mixture (5 minutes)
Pour the cookie crumbs into the melted chocolate mixture. Stir until everything is evenly coated. The mixture should look like a thick, dark dough. If it’s too dry, add a teaspoon of peanut butter. If it’s too wet, add a few more cookie crumbs. Fold in the mini marshmallows gently so they stay intact.
Step 4: Portion and Roll (10 minutes)
Use a cookie scoop or a tablespoon to portion the mixture into balls. Roll them between your palms to smooth them out. You should get about 24-30 truffles. Place them on a parchment-lined baking sheet. Don’t worry if they’re not perfect spheres yet—they’ll firm up in the fridge.
Step 5: Chill (30 minutes)
Place the tray in the refrigerator for at least 30 minutes. This firms up the chocolate and makes them easier to decorate. If you’re in a hurry, you can freeze them for 15 minutes.
Step 6: Decorate the Eyeballs (10 minutes)
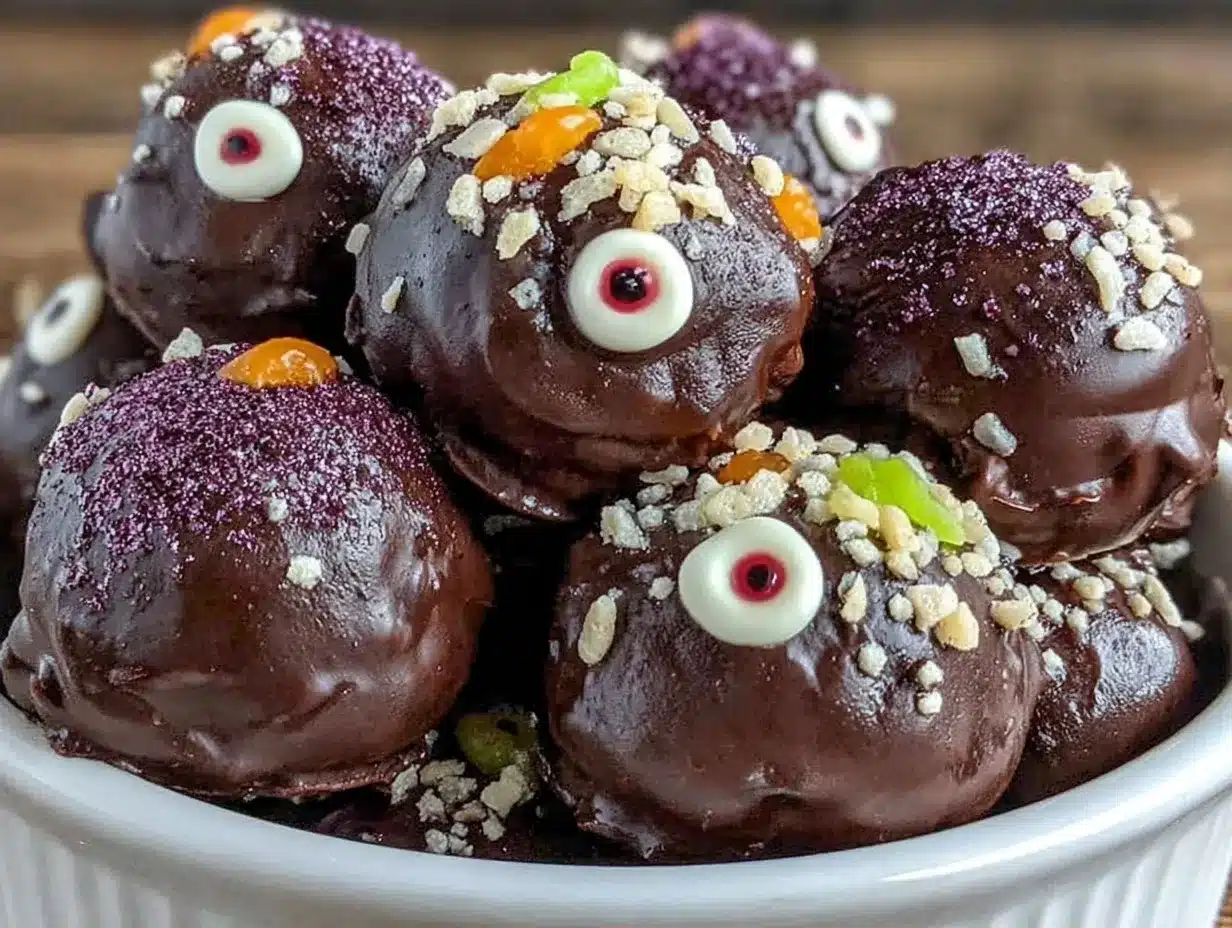
Melt the white chocolate chips separately. Transfer to a small piping bag or a ziplock bag with the corner snipped off. Draw a white circle on each truffle. While the white chocolate is still wet, add a small dot of green or blue food coloring gel in the center to create the iris. Then, add a tiny black dot in the center for the pupil. Let the white chocolate set for 5 minutes.
Step 7: Store or Freeze
Once the decoration is set, place the truffles in an airtight container. Line layers with parchment paper to prevent sticking. They are now ready for your party prep plan.
Total Time: About 35 minutes active, plus 30 minutes chilling.
Expert Tips for Perfect Truffles
Here’s everything I’ve learned from making this dozens of times. These tips will save you from my mistakes.
Keep Your Hands Cool — If your hands are warm, the truffles will melt as you roll them. Keep a bowl of ice water nearby to dip your hands in occasionally. This keeps the chocolate firm and makes rolling much easier.
Don’t Skip the Chill — I know it’s tempting to decorate immediately, but warm truffles will smear the white chocolate. Give them that 30 minutes in the fridge. It’s worth the wait.
Use Gel Food Coloring — Liquid food coloring can make the white chocolate seize and become grainy. Gel coloring is concentrated and doesn’t add extra moisture. Just a tiny bit is enough.
Double the Batch — This recipe doubles easily. I always make a double batch because I know I’ll need more than one set for parties. It takes the same amount of time, just more storage space.
Freeze in Portions — Instead of one big container, freeze them in small batches of 6 or 12. This way, you can pull out exactly what you need for each party without thawing the whole batch.
Variations & Substitutions
Once you’ve nailed the basic version, here’s how you can mix it up. I’ve tried all of these.
Nut-Free Version — Swap peanut butter for sunflower seed butter or soy nut butter. The texture is slightly different but still delicious. Great for school parties.
Gluten-Free Version — Use gluten-free chocolate chips and gluten-free cookies. Most major brands have GF options now. The rest of the recipe is naturally gluten-free.
Pumpkin Spice Eyeballs — Add 1 teaspoon of pumpkin pie spice to the chocolate mixture. Use orange food coloring for the iris. Perfect for autumn vibes.
Mint Monster Eyeballs — Add a few drops of peppermint extract to the chocolate. Use green food coloring for the iris. Like a mint chocolate chip cookie.
Cookie Dough Eyeballs — Replace the crushed cookies with edible cookie dough. This makes them even richer and sweeter.
Serving & Storage
How to Serve:
I usually serve these in cupcake liners in a muffin tin, or in small cellophane bags tied with ribbon. They look festive and are easy to grab. For a table display, I arrange them on a black platter to make the white chocolate pop.
Side Dishes:
These are a dessert, so they pair well with coffee or milk. If you’re making a full spread, they go great with football sunday sheet pan nachos for a sweet and savory contrast.
Storage Instructions:
Refrigerator: Store in an airtight container for up to 1 week. They will firm up further in the cold.
Freezer: Store in an airtight container for up to 3 months. Thaw in the fridge overnight or at room temperature for 15 minutes before serving.
Meal Prep: Make the batch on Sunday. Portion into freezer bags labeled by date. Pull one bag out each morning for the party that night. It’s that simple.
Nutrition Information
I’m not a nutritionist, but here’s the breakdown if you’re tracking.
Per Serving (based on 24 truffles):
- Calories: 120
- Protein: 2g
- Carbs: 14g
- Fiber: 1g
- Sugar: 10g
- Fat: 7g
- Saturated Fat: 4g
- Cholesterol: 2mg
- Sodium: 45mg
What’s Good: They’re bite-sized, so portion control is easy. They don’t require baking, so no extra oil is needed. Can be made nut-free or gluten-free.
What to Know: Higher in sugar from the chocolate and marshmallows. Contains dairy (chocolate) and nuts (unless substituted). Moderate calories per piece, but easy to eat more than one.
My Take: Look, these are treats. They’re meant to be enjoyed at parties. They’re way better than store-bought options, and you know exactly what’s in them. When I make them, I focus on the fun and the convenience, not the diet aspects.
Final Thoughts
So that’s my Halloween monster eyeball truffles! I’ve probably talked your ear off at this point, but when you make a recipe this often, you have a lot to say about it.
This has saved my sanity during Halloween season more times than I can count. It’s my answer to “what do I bring to the party” when I’m tired, don’t want to bake, and still want something that looks really good. My kids are happy, my neighbors are happy, and I’m happy because I’m not stressed about cooking.
Make it yours! Try different colors, swap in your favorite cookies, adjust the sweetness. The best recipes are the ones you adapt to your family’s tastes.
If you make this, drop a comment and let me know what you think! I love hearing how recipes turn out in your kitchen. And if something doesn’t work, tell me that too—I’m here to help troubleshoot.
Happy prep-ing! And I hope your kitchen smells half as good as mine does right now.
Frequently Asked Questions
Can I use dark chocolate instead of semi-sweet?
You can, but the truffles will be less sweet. If you use dark chocolate, you might want to add a little extra peanut butter to balance the bitterness. Semi-sweet is the standard for a reason—it’s the perfect balance for most palates.
Why did my white chocolate seize?
Water is the enemy of chocolate. If even a drop of water got into your white chocolate while melting, it will seize. Make sure your bowl is completely dry, and use gel food coloring, not liquid. If it seizes, add a teaspoon of vegetable oil and stir vigorously—it might save it.
Can I make these ahead of time?
Yes! In fact, they taste better after a day in the fridge or freezer. The flavors meld together, and the texture firms up. I usually make them 2-3 days before the party.
How do I store them for a party?
Keep them in an airtight container in the fridge until you’re ready to serve. If the party is outdoors or in a warm house, keep them in a cooler with ice packs until the last minute.
Can I freeze the decorated truffles?
Absolutely. Freeze them on the tray first, then transfer to a container. The white chocolate decoration holds up well in the freezer. Just thaw them slowly in the fridge to avoid condensation.
What if I don’t have a piping bag?
Use a ziplock bag. Put the melted white chocolate in, snip off a tiny corner, and draw with that. It works just as well and is easier to clean up.
Can I make these without marshmallows?
You can, but the texture will be different. Marshmallows add chewiness. If you omit them, the truffles will be more like a dense fudge ball. I recommend keeping them for the best texture.
Pin This Recipe!
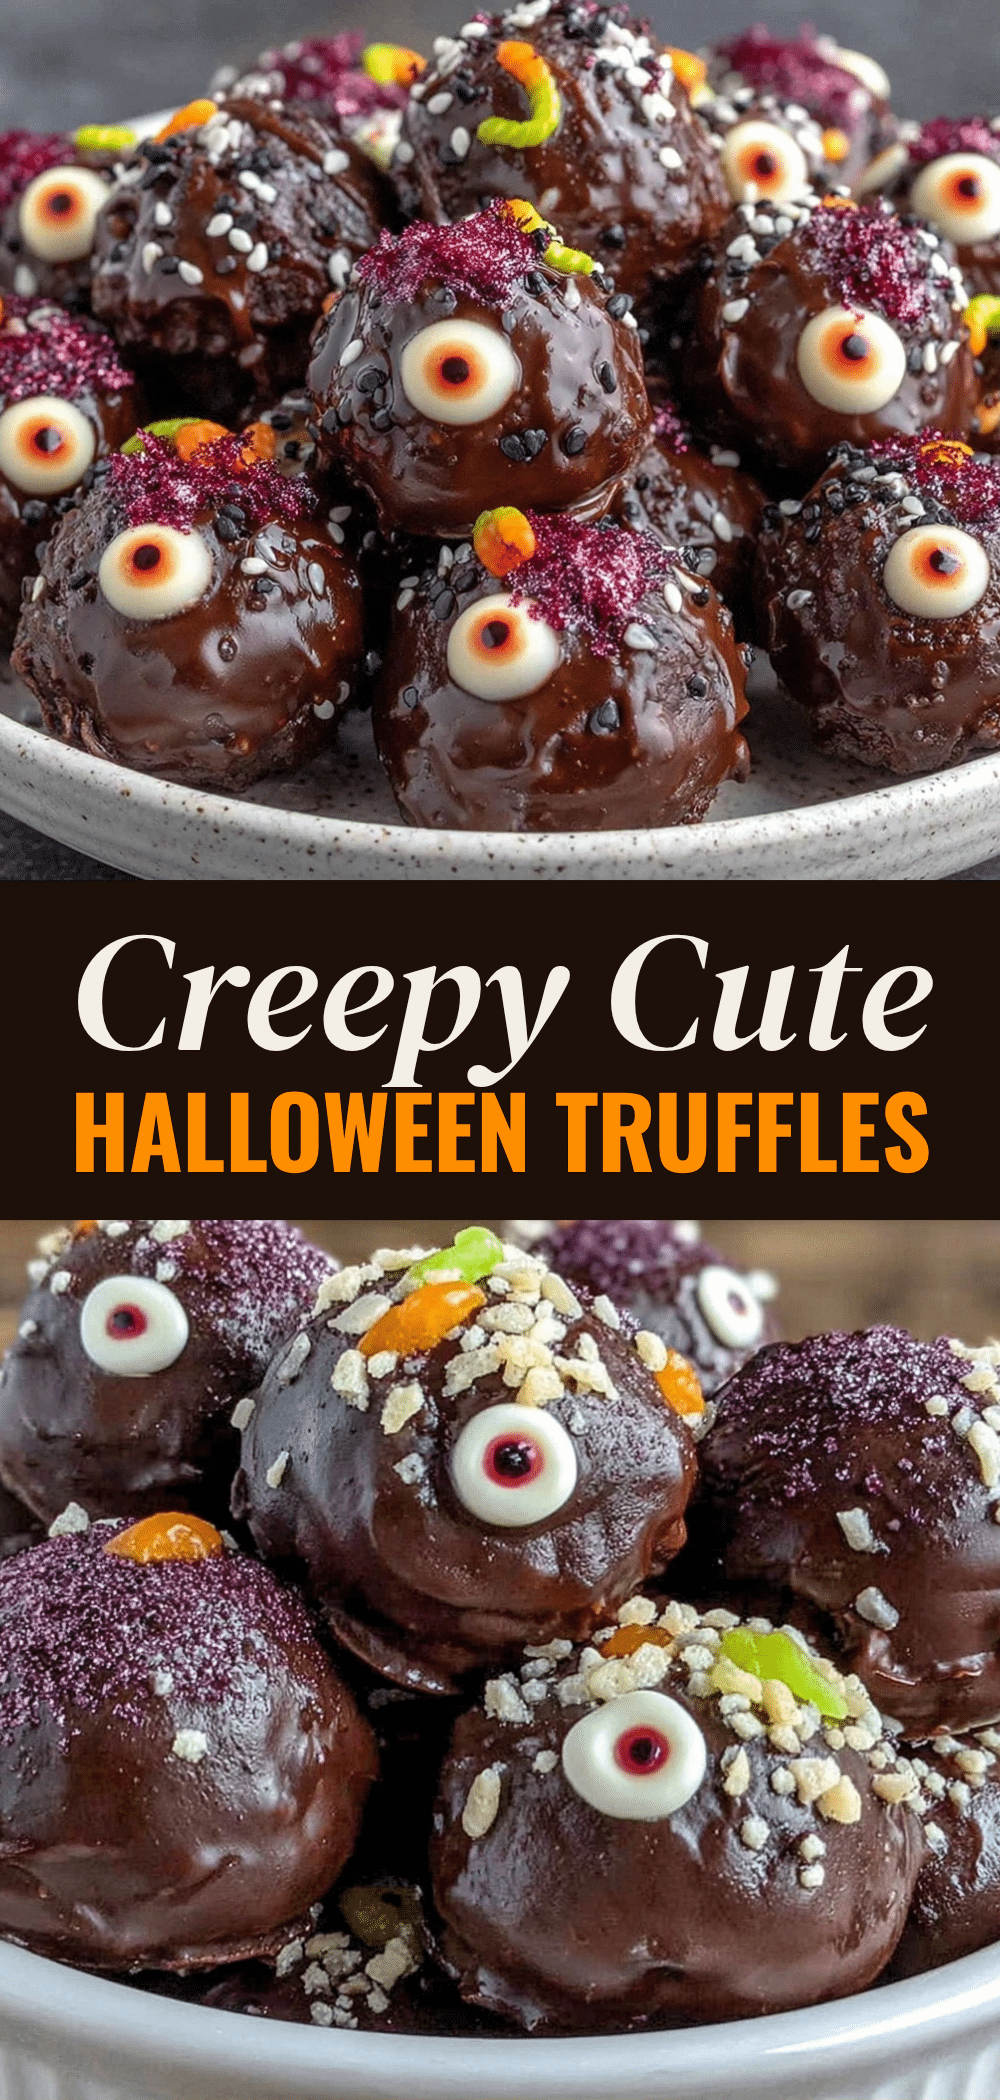

Halloween Monster Eyeball Truffles
- Total Time: 50 minutes
- Yield: 24 servings 1x
Description
No-bake Halloween monster eyeball truffles that are rich, chocolatey, and freeze beautifully. Perfect for meal-prepping multiple party treats with minimal active time.
Ingredients
- 2 cups (340g) semi-sweet chocolate chips
- 1/2 cup (128g) creamy peanut butter
- 2 cups (150g) crushed Oreo or chocolate sandwich cookies
- 1 cup (70g) mini marshmallows
- 1 teaspoon vanilla extract
- 1/2 teaspoon fine sea salt
- 1/2 cup (85g) white chocolate chips
- Green or blue food coloring gel
- Black food coloring gel or black candy melts
Instructions
- Place cookies in a food processor and pulse until fine crumbs, or crush in a ziplock bag with a rolling pin. Set aside.
- Melt semi-sweet chocolate chips using a double boiler or microwave in 30-second intervals, stirring until smooth. Stir in peanut butter, vanilla, and salt until combined.
- Pour cookie crumbs into the chocolate mixture and stir until evenly coated. Fold in mini marshmallows gently.
- Portion mixture into balls using a cookie scoop or tablespoon. Roll between palms to smooth and place on a parchment-lined baking sheet.
- Chill in the refrigerator for at least 30 minutes (or freeze for 15 minutes) to firm up.
- Melt white chocolate chips separately. Transfer to a small piping bag or ziplock bag with a snipped corner.
- Draw a white circle on each chilled truffle. Add a dot of green/blue gel color for the iris, then a tiny black dot for the pupil.
- Let the white chocolate decoration set for 5 minutes.
- Store in an airtight container lined with parchment paper.
Notes
Keep hands cool by dipping in ice water while rolling to prevent melting. Use gel food coloring to avoid seizing the white chocolate. These freeze well for up to 3 months. For nut-free versions, substitute sunflower seed butter. For gluten-free, use GF cookies and chocolate chips.
- Prep Time: 20 minutes
- Cook Time: 0 minutes
- Category: Dessert
- Cuisine: American
Nutrition
- Serving Size: 1 truffle
- Calories: 120
- Sugar: 10
- Sodium: 45
- Fat: 7
- Saturated Fat: 4
- Carbohydrates: 14
- Fiber: 1
- Protein: 2
Keywords: Halloween, no-bake, truffles, monster eyeballs, party snacks, meal prep, chocolate, peanut butter, freezer-friendly



