Last summer, I was staring at a bakery window in a tiny town I’d never visited before, completely torn between a lemon tart and a blueberry scone. I ended up buying both, only to realize within five minutes that the crust was dry and the filling was too sweet. It was a $14 mistake. I got home, threw those sad pastries in the trash, and decided I was done with mediocre gluten-free desserts. I wanted something bright, something that actually tasted like summer, and something that didn’t leave me feeling sluggish or bloated after eating it.
That afternoon, I raided my pantry. I had almond flour, some sad-looking lemons, and a container of blueberries that needed using ASAP. I threw together a batch of what I thought would be a quick shortcut. I wasn’t expecting much. But when I pulled that pan out of the oven, the smell hit me—citrusy, nutty, and sweet in the best possible way. My partner took one bite and stopped mid-chew. “This is better than the bakery,” he said. And honestly? He was right.
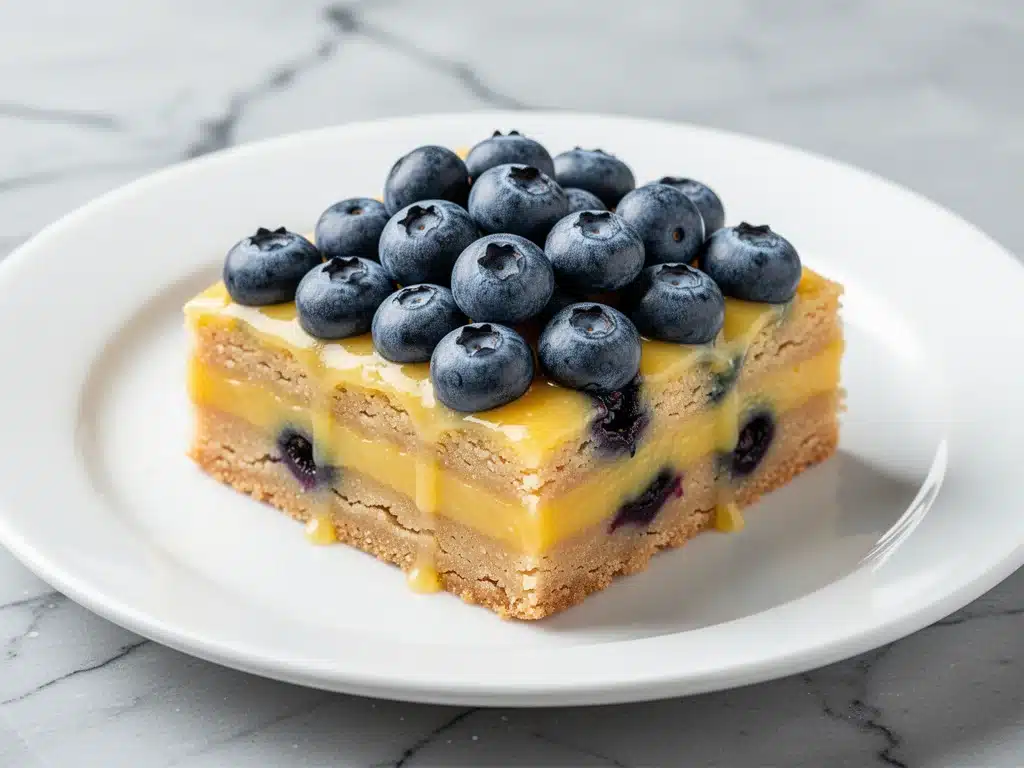
These Gluten-Free Lemon Blueberry Bars have become my absolute obsession. I’ve made them for potlucks, for weekend brunches, and just because I needed a treat on a Tuesday. The almond flour shortbread base is tender and crumbly without being gritty (a common gluten-free complaint), and the lemon-blueberry filling is tangy enough to cut through the sweetness. They are the perfect balance. If you’ve been searching for a gluten-free lemon blueberry bars recipe that actually works, this is it. It’s easy, it’s budget-friendly, and it tastes like you spent hours in the kitchen (even though it doesn’t take nearly that long).
I’ve tested this recipe at least a dozen times, tweaking the lemon-to-sugar ratio and the almond flour texture until it was perfect. It’s become my go-to for any occasion where I want to impress without the stress. Whether you’re gluten-free, cutting back on wheat, or just love a good citrus bar, you’re going to want to make this on repeat.
Why You’ll Love This Recipe
There are a lot of gluten-free dessert recipes out there, but most of them fall into two categories: too cakey or too dry. This gluten-free lemon blueberry bars recipe hits the sweet spot. It’s not a cookie, it’s not a cake, and it’s not a sad imitation of a regular bar. It’s its own thing. Here’s why it’s earned a permanent spot in my weekly baking rotation:
- Crust That Actually Crumbles — The almond flour base is rich and buttery, with a texture that’s closer to a shortbread cookie than a dense gluten-free crumble. I’ve tried recipes using rice flour that felt like eating sand, but this almond flour base is tender and melt-in-your-mouth. It’s the kind of crust you’ll scrape off the pan with your finger.
- Bright, Not Cloying — A lot of lemon bars are just sugar and yellow food coloring. These use fresh lemon juice and zest, so the flavor is vibrant and tangy. The blueberries add bursts of natural sweetness that balance the tartness. It’s sophisticated but not stuffy.
- Gluten-Free Without the Fuss — You don’t need a bag of exotic flours like tapioca, potato starch, and xanthan gum. This recipe relies on just two main dry ingredients: almond flour and cornstarch. If you have those, you’re good to go. No special diet shopping trip required.
- Make-Ahead Friendly — These bars actually improve after sitting in the fridge for a few hours. The flavors meld together, and the texture firms up, making them easier to cut into clean squares. I love making them on Sunday for the week ahead. They keep well in the fridge for up to five days.
- Beautifully Simple — No fancy piping, no complicated layering, no tempering chocolate. Just a press-in crust, a pour-over filling, and a bake. It’s the kind of dessert that looks like you tried really hard, but is incredibly easy to pull together.
I’ve served these to people who aren’t gluten-free, and they’ve been just as impressed as my gluten-free friends. It’s a crowd-pleaser that doesn’t compromise on texture or taste. If you’re looking for a dessert that’s lighter than my ultra-moist carrot cake but just as satisfying, these bars are the answer.
Ingredients You’ll Need
Here’s the best part: you probably already have most of these ingredients. This recipe is designed to use pantry staples and fresh basics, so it’s easy on the wallet and the shopping list. I’m particular about a few things here, so pay close attention to the notes.
For the Almond Flour Shortbread Crust
Blanched almond flour (1 ½ cups / 150g) — This is the star. Use blanched, finely ground almond flour. Don’t use almond meal (which has the skins on) unless you want a speckled, nuttier crust that might be slightly more textured. I buy mine in bulk to save money, but any brand works. Just make sure it’s fresh; rancid almonds will ruin the whole batch.
Unsalted butter (½ cup / 113g, softened) — Softened is key. You want it creamy, not melted. This helps bind the crust together without making it greasy. If you’re in a rush, cut it into cubes and let it sit at room temperature for 20 minutes.
Powdered sugar (¼ cup / 25g) — Also called confectioners’ sugar. This dissolves easily into the butter, creating a smooth, tender crust. Granulated sugar would make the crust crunchy rather than shortbread-like.
Cornstarch (1 tablespoon / 8g) — This is the secret weapon for gluten-free baking. It helps lighten the dense almond flour, giving the crust a more delicate, cake-like crumb instead of a dense brick. It’s a small amount, but it makes a big difference in texture.
Salt (¼ teaspoon) — Just a pinch to balance the sweetness and enhance the nutty flavor of the almonds.
For the Lemon Blueberry Filling
Granulated sugar (1 cup / 200g) — This is the main sweetener for the filling. Don’t reduce it too much, or the bars won’t set properly. The sugar interacts with the eggs and lemon juice to create that jiggly, custard-like texture.
Large eggs (3 large) — Room temperature eggs are best here. They emulsify better with the sugar and butter, leading to a smoother filling. If you’re cold and rushed, just run them under warm water for a minute.
Fresh lemon juice (½ cup / 120ml) — Yes, half a cup. That’s a lot of lemons, usually 3-4 medium ones. Do not use bottled lemon juice. It tastes flat and artificial, and you need that bright, sharp acidity to cut through the sugar. Squeeze them yourself—it’s worth the effort.
Fresh lemon zest (2 tablespoons) — Zest from 2-3 lemons. Only the yellow part! The white pith underneath is bitter. Use a microplane or fine grater for the best results. This is where the intense lemon flavor lives.
All-purpose flour (2 tablespoons / 16g) — Wait, isn’t this gluten-free? Yes! But only 2 tablespoons. This small amount helps stabilize the filling. If you need to be strictly gluten-free, use a 1:1 gluten-free flour blend, but honestly, 2 tablespoons in a whole pan of bars is negligible for most people. If you’re celiac, stick to the GF blend.
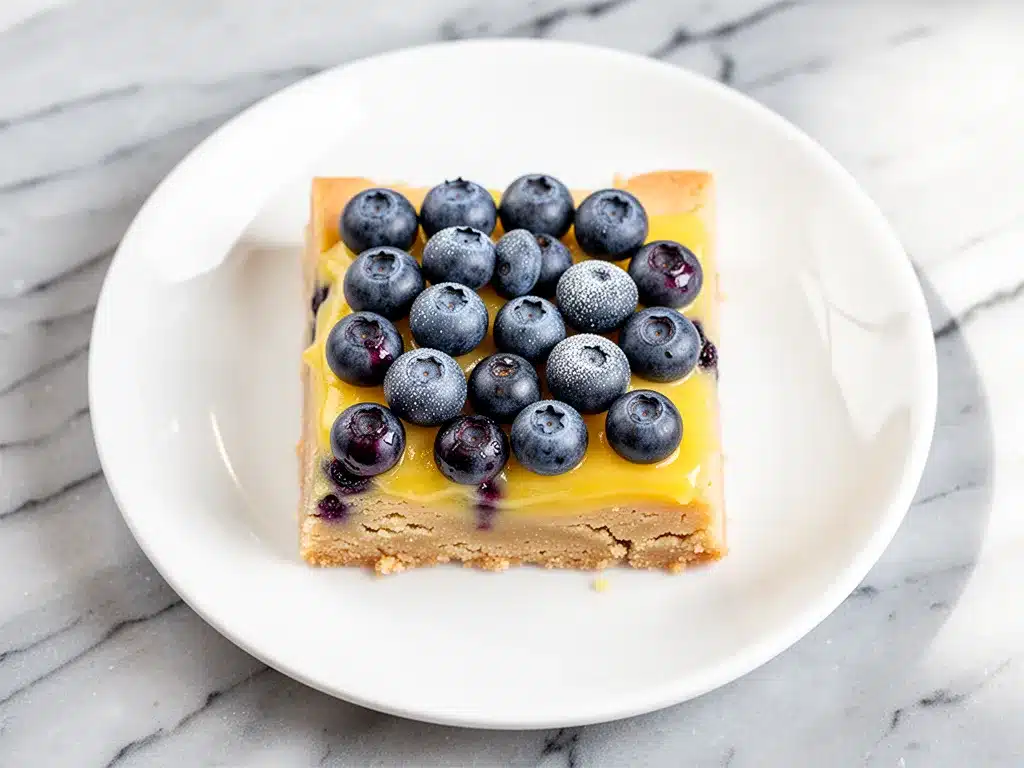
Fresh or frozen blueberries (1 cup / 140g) — Fresh blueberries give you those beautiful bursts of juice. Frozen work too, but don’t thaw them first—just toss them in frozen. They’ll hold their shape better. I use frozen in the winter to save money.
Butter (2 tablespoons / 28g, melted) — This adds richness to the filling and helps it set with a slightly denser, more custard-like texture.
Vanilla extract (1 teaspoon) — Just a hint to round out the flavors. Don’t skip it, but don’t overdo it either.
Equipment Needed
You don’t need a fancy kitchen for this. Here’s what I actually use. It’s pretty standard stuff, so you likely have everything on hand.
8×8 inch baking pan — This is the ideal size. It gives you a good crust-to-filling ratio. If you use a 9×9, the bars will be thinner and might overbake. If you only have a 9×13, double the recipe. I prefer the 8×8 because it’s easier to store and serve smaller portions.
Parchment paper — Essential for easy removal. Line the pan with a sheet of parchment, leaving an overhang on the long sides. This acts as a “sling” so you can lift the entire block of bars out of the pan once they’re cooled. No more digging with a spatula.
Mixing bowls — Two medium bowls. One for the crust, one for the filling. I use glass bowls because they’re easy to clean and don’t retain odors.
Fork or pastry cutter — For mixing the crust. A fork works fine. You’re just combining butter and flour until it looks like coarse crumbs.
Whisk — For the filling. You need to aerate the eggs and sugar, so a whisk is better than a spoon. It ensures the filling is smooth and lump-free.
Zester or microplane — For the lemon zest. A regular grater works, but a microplane gives you finer zest that distributes more evenly and doesn’t leave big chunks of peel.
Cooling rack — To let the bars cool completely. If you cut them while warm, they’ll fall apart. Patience is key here.
How to Make It: Step-by-Step
Alright, let’s make this! I’m walking you through exactly how I do it, including the little tricks I’ve picked up over time. It’s straightforward, but attention to detail makes the difference between good and great.
Step 1: Prep the Pan and Oven (5 minutes)
Preheat your oven to 350°F (175°C). Line your 8×8 inch baking pan with parchment paper. I like to do a cross-hatch: one strip lengthwise, one strip widthwise. Press it down into the corners. This ensures you can lift the bars out later. Lightly spray the parchment with non-stick spray or brush with a little butter.
Step 2: Make the Crust (5 minutes)
In a medium bowl, combine the almond flour, powdered sugar, cornstarch, and salt. Mix with a fork until combined. Add the softened butter and mix until the mixture looks like wet sand. It should hold together when you pinch it. If it’s too dry, add another tablespoon of butter. If it’s too greasy, add a sprinkle of almond flour.
Press the mixture firmly and evenly into the bottom of the prepared pan. Use the bottom of a measuring cup or your fingers to pack it down tight. You want a solid base, not a loose crumble. Bake this for 15 minutes until it’s lightly golden. This pre-bakes the crust so it doesn’t get soggy when you add the wet filling.
Step 3: Make the Filling (5 minutes)
While the crust bakes, make the filling. In a large bowl, whisk the granulated sugar and eggs together vigorously for about 2 minutes. You want the mixture to lighten in color and become slightly frothy. This incorporates air and helps the bars set.
Add the melted butter, lemon juice, lemon zest, vanilla, and 2 tablespoons of all-purpose (or GF) flour. Whisk until smooth and fully combined. There should be no streaks of flour or oil. Taste it—it should be very tart and sweet. Don’t worry, it will mellow out as it bakes.
Step 4: Assemble and Bake (25-30 minutes)
Remove the crust from the oven. Immediately pour the lemon filling over the hot crust. The heat from the crust helps start the setting process. Gently shake the pan to level the filling. Sprinkle the blueberries evenly over the top. They’ll sink in slightly, which is fine.
Return the pan to the oven and bake for 25-30 minutes. You’re looking for a golden edge and a center that is just set. It should still have a slight jiggle in the very middle, like a custard. If it’s completely firm, it’s overbaked and will be dry. The residual heat will finish cooking it.
Step 5: Cool Completely (Crucial Step)
Let the bars cool in the pan on a wire rack for at least 1 hour. Then, I recommend putting them in the fridge for another hour or two. This is non-negotiable. The filling needs to set completely. If you cut them warm, they’ll be a mess. Once cooled, lift them out of the pan using the parchment sling and cut into squares. Dust with powdered sugar if you want a fancy finish.
Expert Tips & Tricks
Here’s everything I’ve learned from making this dozens of times. These tips will save you from my mistakes.
Don’t Skip the Pre-Bake — I know it’s an extra step, but pre-baking the almond flour crust prevents it from becoming gummy. Almond flour has high fat content, which can make it oily if not baked first. Give it those 15 minutes alone.
Room Temperature Eggs — Cold eggs can cause the filling to separate or not emulsify properly. If you forget to take them out, soak them in warm water for 5-10 minutes. It makes a noticeable difference in texture.
Zest Before You Juice — Always zest your lemons before you cut them open to juice them. It’s easier to hold a whole lemon, and you won’t get any white pith in your zest. Also, wash your lemons thoroughly first, since you’re using the skin.
Watch the Oven — Ovens vary. Start checking at 25 minutes. The center should be set but still have a slight jiggle. If it’s liquid, give it 5 more minutes. If it’s firm, take it out. Overbaking is the enemy of moist bars.
Patience is Key — I know it’s tempting to cut into them as soon as they come out of the oven. Don’t. Let them cool completely. The structure needs time to firm up. If you rush this, you’ll get a sticky, broken mess.
Storage Matters — Store these in an airtight container in the fridge. They keep for up to 5 days. If you’re bringing them to a party, take them out 30 minutes before serving to let them come to room temperature. The flavor is best when it’s not cold.
Variations & Substitutions
Once you’ve nailed the basic version, here’s how you can mix it up. I’ve tried all of these, and they’re all winners.
Raspberry Lemon Bars — Swap the blueberries for fresh raspberries. Raspberries are more tart, so you might want to add an extra tablespoon of sugar to the filling. The color contrast with the lemon is stunning.
Lemon Poppy Seed — Skip the berries and add 1 tablespoon of poppy seeds to the filling. It adds a nice crunch and visual appeal. This is a classic combination for a reason.
Coconut Almond — Add ½ cup of shredded coconut to the crust mixture. It adds a tropical twist and extra chewiness. Works beautifully with the lemon.
Gluten-Free Flour Blend — If you’re avoiding almonds, you can use a 1:1 gluten-free flour blend in the crust, but add an extra tablespoon of butter to compensate for the lack of fat. The texture will be more cake-like than shortbread, but still delicious.
Lower Sugar — I don’t recommend reducing the sugar in the filling too much, as it affects the setting. But you can reduce the powdered sugar in the crust by 1 tablespoon if you prefer less sweetness. The filling is tart enough to balance it.
Dairy-Free — Use coconut oil instead of butter in both the crust and filling. It works well, though the flavor will be slightly coconutty. Use a high-quality coconut oil that doesn’t have a strong taste.
Serving & Storage
How to serve these is almost as important as how you make them. I usually serve these straight from the fridge, cut into small squares. They’re rich, so a little goes a long way.
Side Dishes — These pair well with a cup of hot tea or coffee. They’re also great alongside a slice of my pumpkin spice tiramisu if you’re doing a dessert platter. The bright lemon cuts through heavier desserts.
Toppings — I like to dust them with powdered sugar right before serving. It adds a nice visual contrast to the yellow filling. You can also add a sprig of fresh mint or a lemon twist on top for garnish.
Storage — Store in an airtight container in the fridge for up to 5 days. They do not freeze well because the almond flour crust can become crumbly and the filling can separate upon thawing. Stick to the fridge.
Reheating — Do not reheat these. They are best served cool or at room temperature. Heating them will make the filling runny and the crust soft.
Nutrition Information
I’m not a nutritionist, but here’s the breakdown if you’re tracking. These bars are richer than a standard cake due to the almond flour and butter, but they’re also lower in carbs than traditional wheat-based desserts.
Per Serving (based on 16 bars):
- Calories: 180
- Protein: 4g
- Carbs: 14g
- Fiber: 2g
- Sugar: 10g
- Fat: 13g
- Saturated Fat: 5g
What’s good: High in healthy fats from the almonds, decent protein, and lower in net carbs. What to know: It’s still a dessert, so enjoy in moderation. If you’re watching calories, stick to one or two squares.
Final Thoughts
So that’s my go-to gluten-free lemon blueberry bars recipe! I’ve probably talked your ear off at this point, but when you make a recipe this often, you have a lot to say about it. These bars have saved me so many times. They’re my answer to “what dessert can I make that’s gluten-free but still feels special?”
They’re tangy, sweet, nutty, and bursting with summer flavor. I hope you love them as much as I do. Make them for your family, your friends, or just for yourself. You deserve a treat that tastes this good.
If you make this, drop a comment and let me know what you think! I love hearing how recipes turn out in your kitchen. And if something doesn’t work, tell me that too—I’m here to help troubleshoot. Happy baking!
Frequently Asked Questions
Can I use almond meal instead of almond flour?
You can, but the texture will be different. Almond meal has the skins on, so it’s coarser and speckled. The crust will be more rustic and nutty. If you don’t mind the texture, go for it. But for a smooth, tender shortbread, blanched almond flour is best.
Why did my filling stay runny?
This usually happens if the bars are underbaked or if you reduced the sugar too much. The sugar and eggs need to reach a certain temperature to set. Make sure you bake them until the center has a slight jiggle, not liquid movement. Also, let them cool completely in the pan before cutting.
Can I use frozen blueberries?
Yes! Just use them frozen. Do not thaw them first, or they’ll bleed their color into the filling and make it purple. Toss them in frozen, and they’ll hold their shape better. If you use fresh, they’ll be juicier, which is also fine.
How do I store these bars?
Store them in an airtight container in the refrigerator for up to 5 days. They are best served cold or at room temperature. Do not freeze them, as the texture will change.
Can I make these bars ahead of time?
Absolutely. In fact, they’re better made ahead. Make them 1-2 days in advance and let them set in the fridge. This allows the flavors to meld and the texture to firm up. They’ll be ready to serve whenever you need them.
What if I don’t have cornstarch?
You can substitute cornstarch with arrowroot powder or tapioca starch in the crust. It works similarly to lighten the texture. In the filling, the cornstarch helps stabilize, but the eggs and lemon juice are the main setters, so it’s less critical there.
Can I double this recipe?
Yes, but you’ll need a 9×13 inch pan. Increase the baking time by 5-10 minutes, but keep a close eye on them. The center will take longer to set. The ratios stay the same, so just double all ingredients.
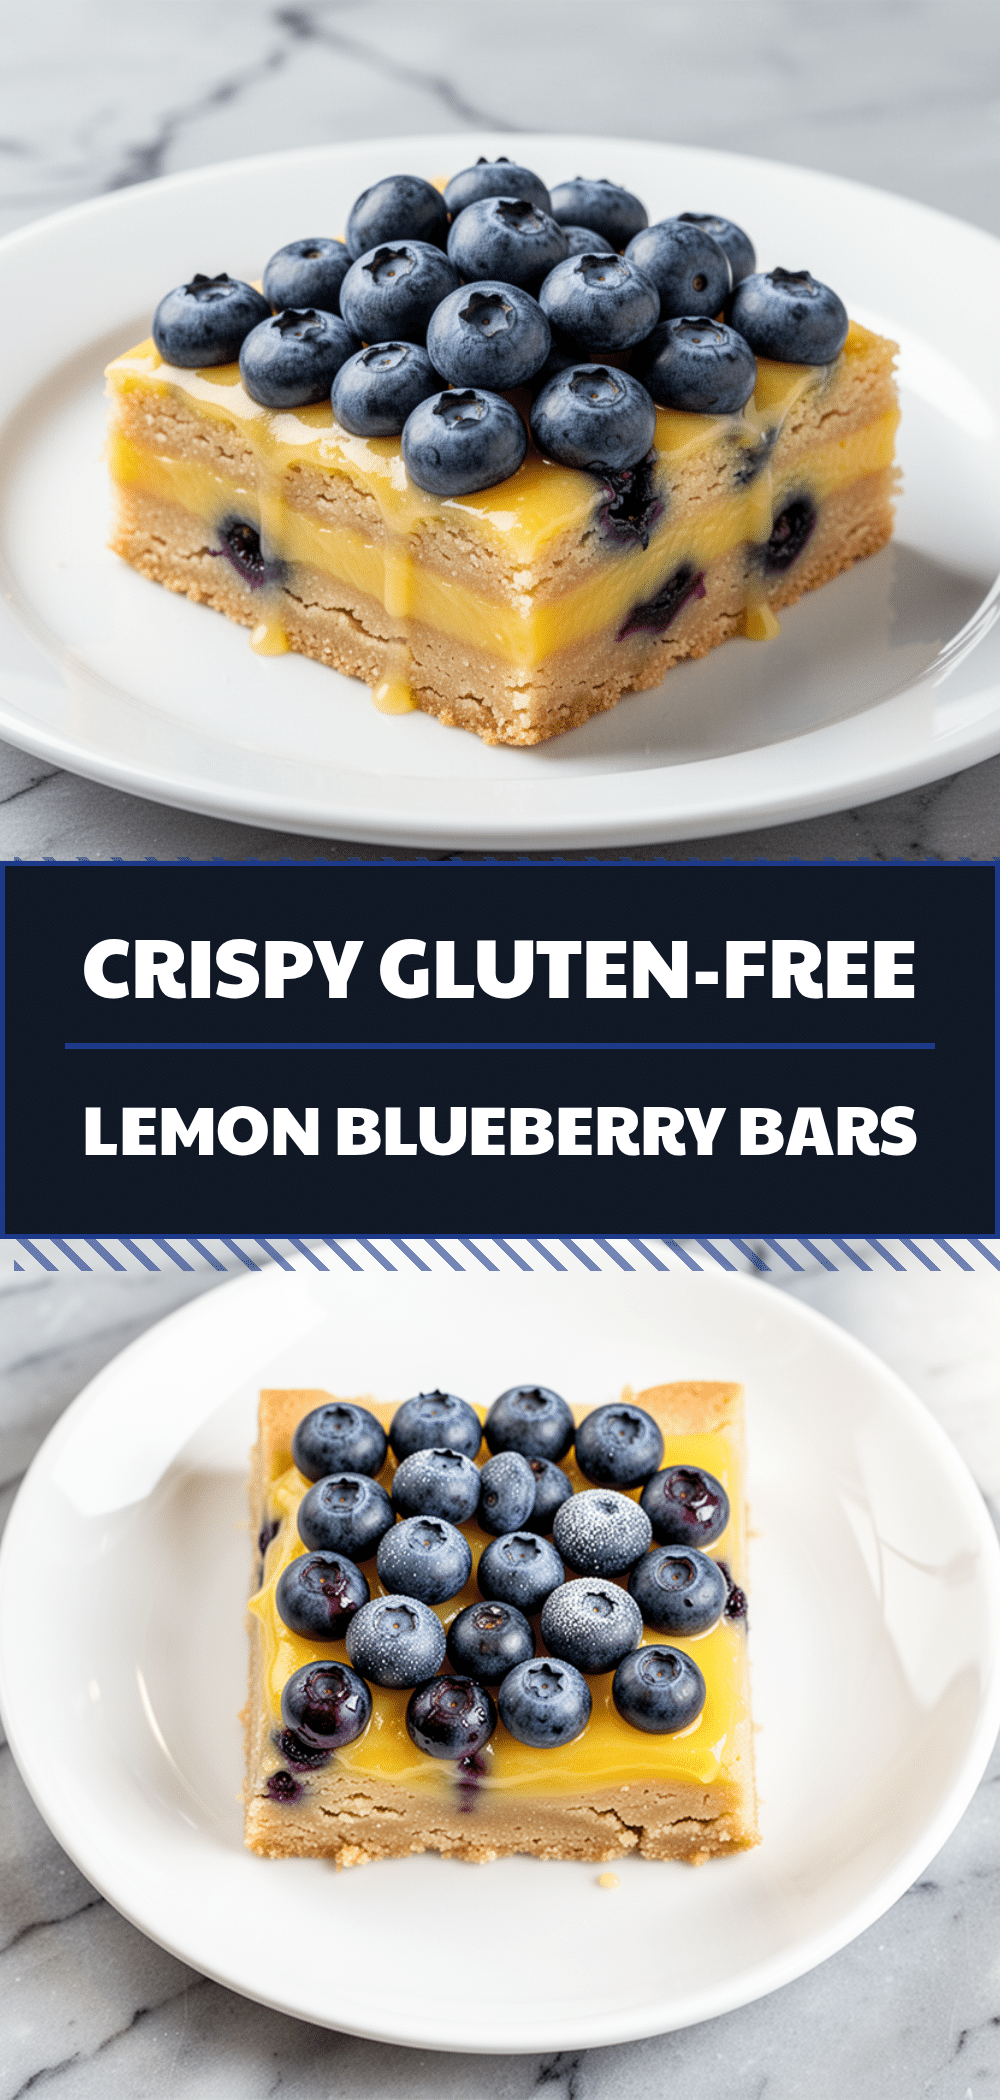
Pin This Recipe!
Gluten-Free Lemon Blueberry Bars: Easy Almond Flour Recipe
- Total Time: 55-60 minutes
- Yield: 16 servings 1x
Description
Tender almond flour shortbread bars topped with a tangy lemon and sweet blueberry custard filling. This gluten-free dessert is easy to make, budget-friendly, and tastes like summer.
Ingredients
- 1 ½ cups blanched almond flour
- ½ cup unsalted butter, softened
- ¼ cup powdered sugar
- 1 tablespoon cornstarch
- ¼ teaspoon salt
- 1 cup granulated sugar
- 3 large eggs, room temperature
- ½ cup fresh lemon juice
- 2 tablespoons fresh lemon zest
- 2 tablespoons all-purpose flour (or 1:1 gluten-free flour blend)
- 1 cup fresh or frozen blueberries
- 2 tablespoons butter, melted
- 1 teaspoon vanilla extract
Instructions
- Preheat oven to 350°F (175°C). Line an 8×8 inch baking pan with parchment paper, leaving an overhang on the long sides, and lightly grease.
- In a medium bowl, combine almond flour, powdered sugar, cornstarch, and salt. Mix with a fork.
- Add softened butter and mix until the mixture resembles wet sand and holds together when pinched.
- Press the crust mixture firmly and evenly into the bottom of the prepared pan.
- Bake the crust for 15 minutes until lightly golden. Remove from oven.
- While the crust bakes, whisk granulated sugar and eggs in a large bowl for 2 minutes until light and frothy.
- Add melted butter, lemon juice, lemon zest, vanilla, and all-purpose flour to the egg mixture. Whisk until smooth.
- Pour the filling over the hot pre-baked crust. Gently shake the pan to level.
- Sprinkle blueberries evenly over the top.
- Bake for 25-30 minutes until edges are golden and the center has a slight jiggle.
- Cool completely in the pan on a wire rack for at least 1 hour, then refrigerate for 1-2 hours until set.
- Lift bars out using parchment sling and cut into squares. Dust with powdered sugar if desired.
Notes
Pre-baking the crust prevents it from becoming gummy. Use room temperature eggs for better emulsification. Zest lemons before juicing. Do not thaw frozen blueberries before adding to prevent bleeding. Bars must cool completely before cutting to ensure they set properly. Store in an airtight container in the fridge for up to 5 days. Do not freeze.
- Prep Time: 15 minutes
- Cook Time: 40-45 minutes
- Category: Dessert
- Cuisine: American
Nutrition
- Serving Size: 1 bar
- Calories: 180
- Sugar: 10
- Fat: 13
- Saturated Fat: 5
- Carbohydrates: 14
- Fiber: 2
- Protein: 4
Keywords: gluten-free, lemon blueberry bars, almond flour, gluten-free dessert, easy baking, summer dessert, nut-free alternative



