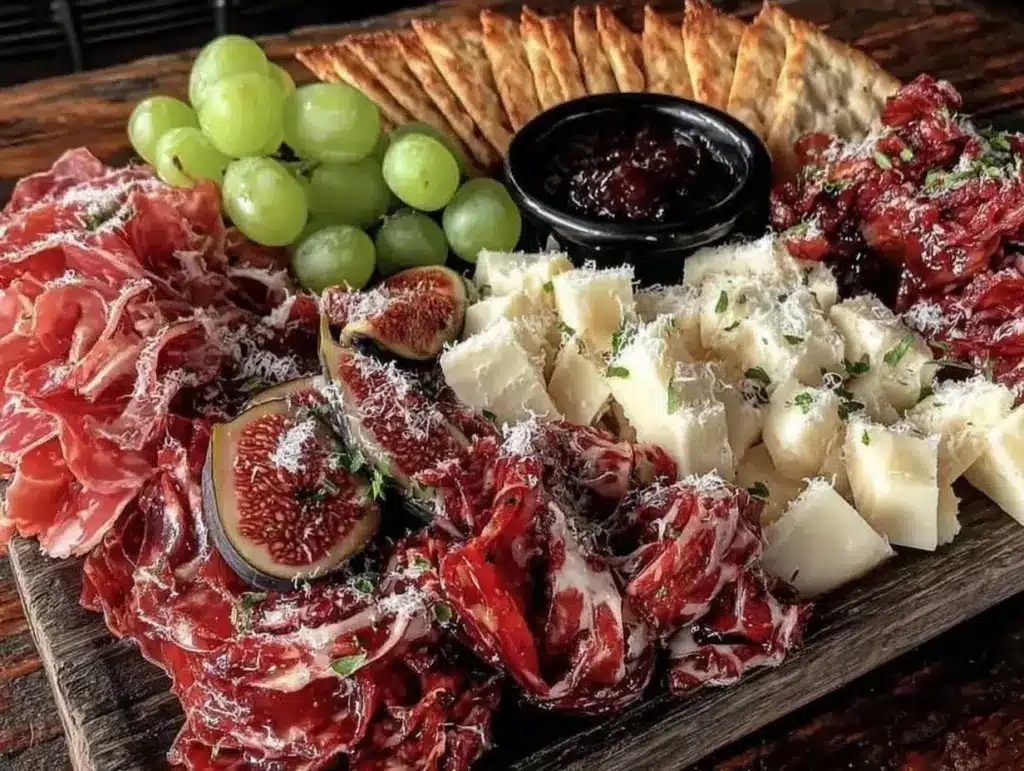
Last Friday, I found myself in that familiar panic: my inbox was full of calendar invites, my bank account was doing that nervous twitch it does before payday, and I still had three people coming over for dinner on Saturday. We’re talking neighbors, a couple of coworkers, and my husband’s mom (who judges everything, especially my hosting skills). I needed a centerpiece. Something that looked like I’d spent hours curating artisanal imports from a specialty shop in Florence, but actually cost less than $20 and could be thrown together while my kids argued over who got the good iPad charger.
Here’s the thing about charcuterie boards: they have a reputation for being expensive. You walk into Whole Foods, see the $12 wedge of aged Gouda and the $8 package of prosciutto, and suddenly you’re ready to cancel dinner plans entirely. But I’ve learned that a stunning board isn’t about the price tag of the ingredients; it’s about the arrangement. It’s about texture, color, and that one or two “wow” items that anchor the whole spread.
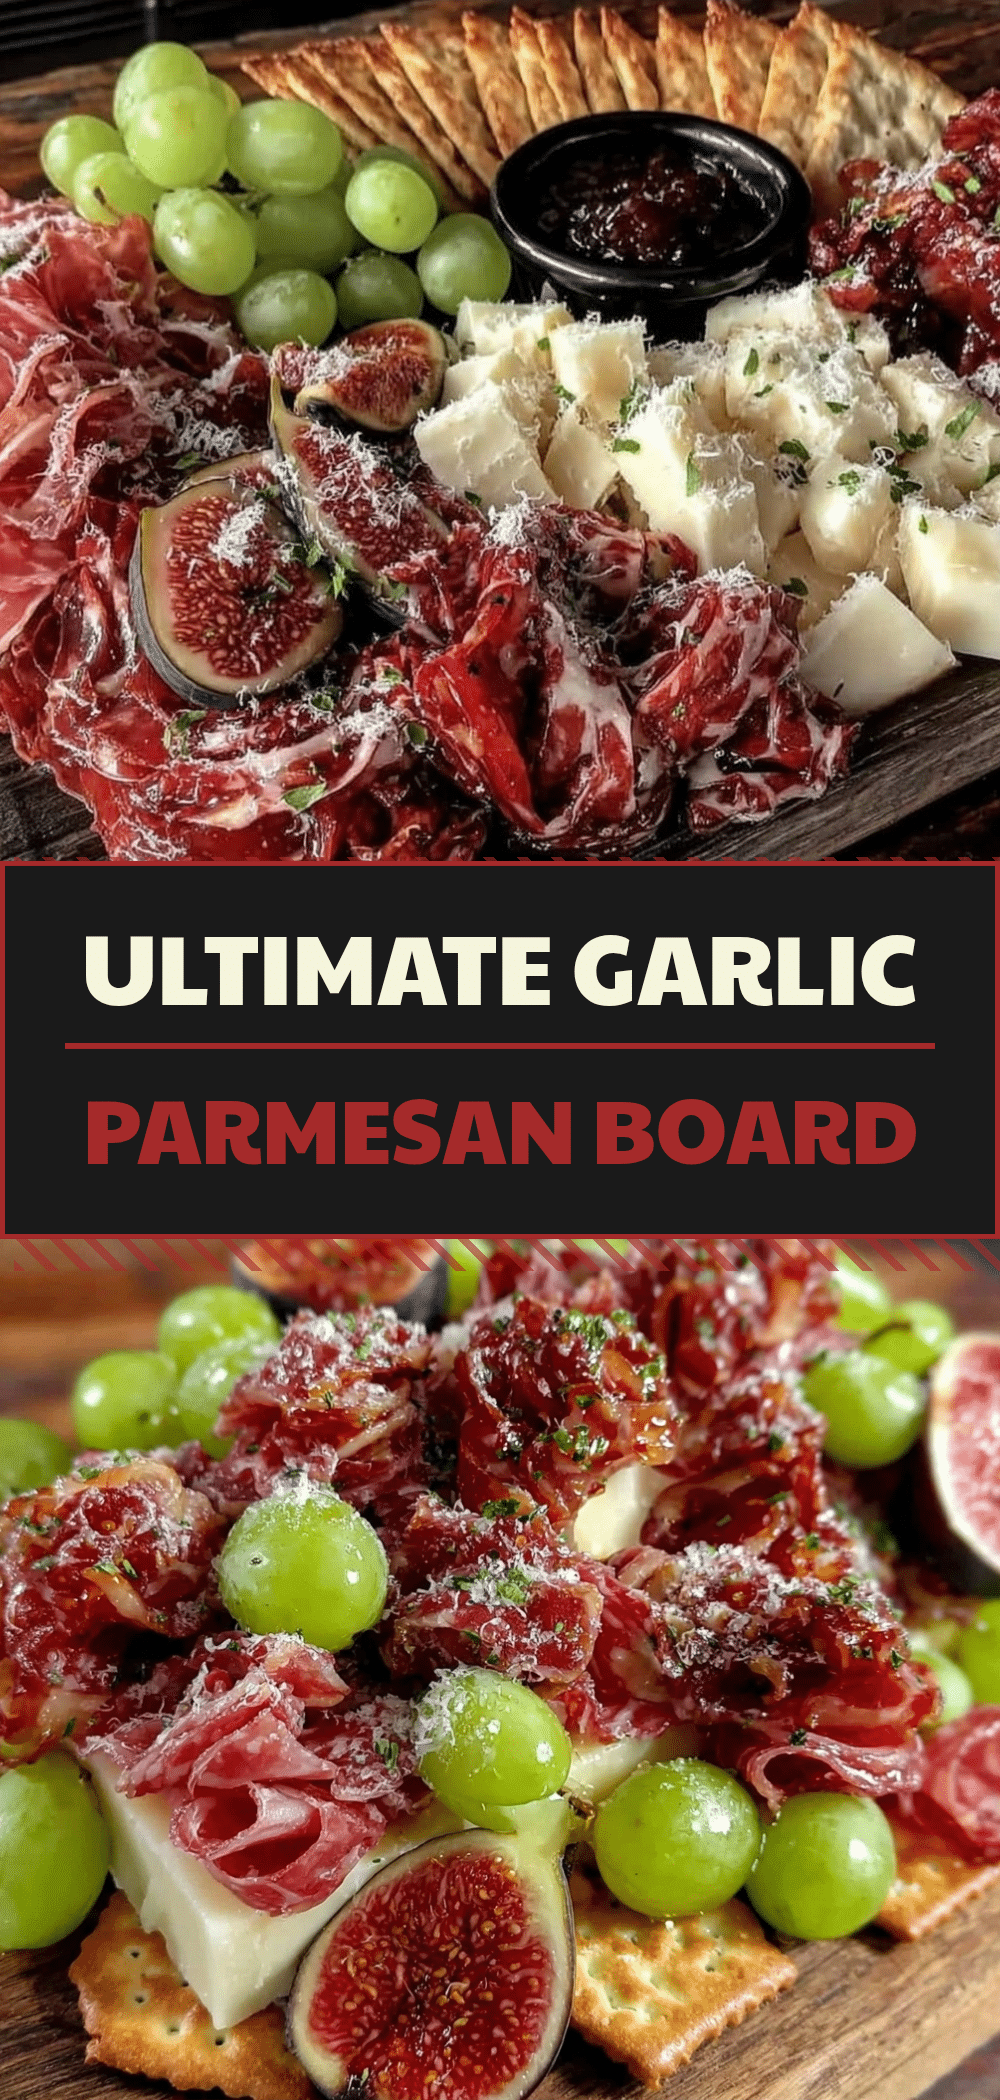
That’s how I created my Garlic Parmesan Charcuterie Board. It’s not a traditional meat-heavy board. It’s vegetarian-friendly, incredibly budget-friendly, and relies on one of my favorite flavor combinations: the salty punch of Parmesan and the aromatic punch of garlic. It’s crunchy, creamy, savory, and sweet all at once. And the best part? You can build this entirely from grocery store staples. No fancy cheese shop required.
I’ve made this board for everything from last-minute playdates to holiday appetizers. Every single time, people ask if I ordered it from a caterer. (I don’t tell them it cost me less than the price of two takeout pizzas.) If you’re looking for a way to entertain without emptying your wallet, this is the move.
Why You’ll Love This Budget-Friendly Board
There are about ten reasons I keep coming back to this garlic Parmesan theme, but let’s be real—you’re here because you need to feed people without going broke. Here’s why this specific setup works so well:
It’s Stupidly Simple to Assemble — Seriously. I don’t mean “easy” in the “you need a culinary degree” way. I mean “I can do this while watching TV” easy. There’s no cooking involved for most of the components. Just slicing, arranging, and maybe a quick toast of some breadcrumbs. It’s the ultimate low-stress hosting hack.
It’s a Pantry Hero — You probably already have half of this on hand. Parmesan cheese (or a hard cheese substitute), olive oil, garlic, crackers, and nuts are things I keep stocked because they’re cheap and versatile. This board turns those basics into a feast. It’s like my loaded baked potato salad but in board form—comforting, cheap, and always a hit.
It Looks Gourmet (But Isn’t) — This is my secret weapon. When I arrange the cheese next to some bright green olives and drizzle a little garlic-infused oil over some toasted croutons, it looks like something from a high-end deli. But it’s just accessible ingredients. It tricks the eye and the palate. You look like a pro, even if you’re pulling this together in 15 minutes.
It’s Flexible for Diets — Not everyone eats meat. Not everyone eats dairy. This board is naturally vegetarian, and with a few swaps, it can be vegan or gluten-free. It’s inclusive without requiring me to build three separate boards. I’ve served this to my gluten-free sister and my carnivore brother, and everyone found something to love.
Makes Amazing Leftovers — Let’s be honest, charcuterie boards often end up with half-eaten cheese and sad crackers. But because this is garlic and Parmesan focused, the leftovers actually taste better the next day. The flavors meld. I’ve been known to scoop the remaining cheese and nut mixture into a baguette for a quick garlic bread sandwich the next lunch. It’s basically a free meal.
Ingredients You’ll Need (The Budget Breakdown)
Here’s the best part: you probably have most of this already. I’m breaking this down by category so you can shop smart. The goal here is to spend your money on the “star” ingredients (the cheese and the garlic) and keep the filler items cheap and abundant.
The Stars: Cheese & Crunch
Parmesan Cheese (1 large wedge, about 8 oz / 225g) — This is the anchor. Don’t buy the pre-grated stuff in the green can. It’s full of anti-caking agents and tastes dusty. Buy a wedge of Parmigiano-Reggiano or a good domestic Parmesan from the deli counter. It’s cheaper per ounce than you think, and it lasts for weeks in the fridge. If you want to save even more, look for Pecorino Romano, which is often cheaper and has a sharper, saltier kick that pairs perfectly with garlic.
Crackers (2 boxes / ~16 oz total) — This is where you save big. Do not buy expensive artisanal crackers. Go for the store brand. Water crackers, wheat thins, or even plain baguette slices from the bakery section (cut into rustic pieces) work perfectly. You want something neutral that won’t compete with the strong garlic flavor. I usually grab two different types—one thin and crisp, one thicker and heartier—for texture contrast.
Nuts (1 bag, ~8 oz / 225g) — Walnuts or almonds are your friends here. Walnuts are cheap and their earthy bitterness balances the salty cheese. Almonds add a nice crunch. You can buy these in the bulk bins if your store has them, which is almost always the cheapest option. Toast them lightly in a dry pan for 2 minutes before adding to the board—it unlocks so much flavor for pennies.
The Flavor Boosters: Garlic & Oil
Fresh Garlic (1 head) — Yes, you need fresh garlic. Jarred garlic just doesn’t have the same punch for a board like this. You’re going to use some raw (minced finely) and some roasted (for a spread). Roasting a whole head of garlic costs about 50 cents and makes a sweet, mellow paste that’s amazing on crackers.
Extra Virgin Olive Oil (1 small bottle) — You don’t need your fancy $30 bottle for this. Just a decent, mid-range olive oil is fine. You’ll be using it to drizzle and maybe to infuse with the garlic. If you have garlic-infused olive oil already, even better, but plain works fine.
Dried Herbs (Rosemary or Thyme) — A little dried rosemary adds that “fancy” look and aroma. It’s a pantry staple for most of us. Sprinkle a few sprigs (or just the leaves) over the board for color and scent.
The Fillers: Sweet & Salty
Grapes or Berries (1 pint) — Grapes are the king of budget fruit. They’re cheap, they don’t need cutting, and their sweetness cuts through the salt of the cheese. Red grapes look nice, but green works too. If it’s berry season and berries are on sale, raspberries are great, but grapes are more budget-friendly year-round.
Marinated Olives (1 jar, ~6 oz) — Look for a jar of mixed olives or just green olives with herbs. They add a briny, savory element that makes the board feel complete. Buying a jar is cheaper than buying individual types.
Mustard (1 small jar) — Whole grain mustard or a cheap dijon. It adds a tangy kick that pairs beautifully with both the cheese and the garlic. A little dollop in a small ramekin looks elegant.
Optional: Crackers/Bread Alternatives — If you’re on a super tight budget, skip the fancy crackers and use sliced baguette or even pretzel crisps. They’re often on sale and add a nice saltiness.
Equipment Needed
You don’t need a fancy wooden board, though it helps. Here’s what I actually use:
A Large Platter or Board — I use a large ceramic platter from the dollar store or a cheap wooden cutting board. If you don’t have a big platter, you can use two medium plates or even a large baking sheet lined with parchment paper. The key is surface area. Spread it out.
A Cheese Knife or Sharp Knife — For slicing the Parmesan wedge. A regular kitchen knife works fine, just be careful. Parmesan is hard, so you need a sharp blade.
A Garlic Press or Microplane — For mincing the fresh garlic. If you don’t have these, just mince it super finely with a knife. You want tiny bits so it distributes evenly.
A Small Bowl for Roasted Garlic — Any small ramekin or bowl will do. You’ll mash the roasted garlic into a paste here.
A Brush or Spoon — For drizzling the olive oil.
Tongs or Small Forks — For serving. I usually throw in two or three small forks or tongs so people can grab their food without touching everything with their hands.
How to Build Your Garlic Parmesan Charcuterie Board
Alright, let’s build this! I’m walking you through exactly how I do it, including the little tricks I’ve picked up to make it look professional.
Step 1: Prep the Garlic (5 minutes)
First, let’s get the garlic ready. Roast one head of garlic if you haven’t already. Preheat your oven to 400°F (200°C). Cut the top off a head of garlic to expose the cloves, drizzle with a little olive oil, wrap in foil, and bake for 30-40 minutes until soft. Let it cool.
While that’s roasting, take two cloves of fresh garlic and mince them as finely as possible. You want almost a paste. This will be sprinkled over the board for a sharp, fresh kick.
Pro Tip: If you’re short on time, skip the roasting and just use the fresh garlic. But roasted garlic adds a creamy, sweet depth that I think is worth the 40 minutes. It’s like a free upgrade.
Step 2: Slice and Arrange the Cheese (5 minutes)
Take your Parmesan wedge. You can leave it in large chunks for a rustic look, or slice it into thin shards if you have a sharp knife. I usually do a mix—leave a few big chunks and slice a few thin pieces. Arrange them in clusters on your board. Don’t spread them out evenly; group them together. It looks more intentional.
Why this matters: Clustering creates visual interest. It draws the eye to the center of the board.
Step 3: Add the Crackers and Nuts (5 minutes)
Place your crackers in a pile or fan them out slightly. Put them on one side of the board, leaving room for the cheese and fruits. Sprinkle your toasted nuts around the cheese and crackers. Scatter them loosely, not in a perfect line. You want it to look like you just tossed them there.
Budget Hack: If you’re running low on crackers, add some pretzel crisps or even popcorn. Yes, popcorn. It’s cheap, crunchy, and fits the savory theme. It’s a bit unconventional, but it works.
Step 4: Create the Garlic Spread (3 minutes)
Squeeze the roasted garlic cloves out of their skins into a small bowl. Mash them with a fork until smooth. Mix in a teaspoon of olive oil and a pinch of salt if needed. Dollop this mixture into a small ramekin or directly onto the board in a small pile. It looks like a gourmet dip.
Visual Cue: The garlic paste should look creamy and pale yellow. It contrasts nicely with the white cheese and green olives.
Step 5: Fill in the Gaps (5 minutes)
Now for the fillers. Place the grapes or berries in the empty spaces. Tuck the olives near the cheese. Add a dollop of mustard in a small dish. Sprinkle the minced fresh garlic over the cheese and crackers. Drizzle a little olive oil over the garlic paste and the nuts.
Pro Tip: Use the dried herbs (rosemary or thyme) to garnish. Place a few sprigs on top of the cheese or near the grapes. It adds a pop of green and makes the whole board smell amazing.
Step 6: Final Touches
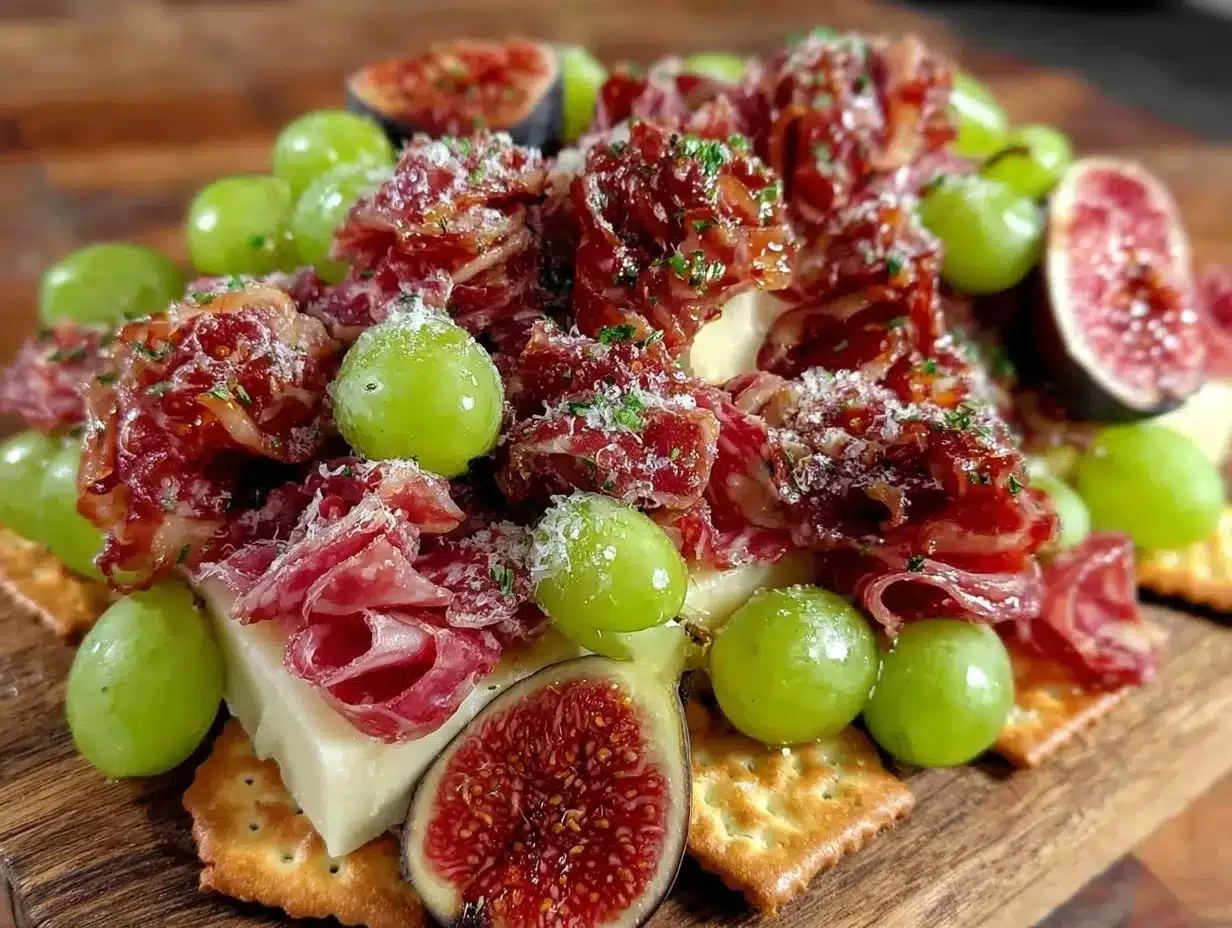
Step back and look. Does it look balanced? Add a few more nuts or a grape here and there if needed. You want a mix of colors: white (cheese), brown (crackers/nuts), green (olives/herbs), and purple/red (grapes). The final board should look abundant and inviting.
Total time: About 20-25 minutes, mostly active.
Expert Tips for a Board That Looks Expensive
Here’s everything I’ve learned from making boards for years. These tips will save you from looking like you just dumped groceries on a plate.
Height is Your Friend — Flat boards look boring. Lean the cheese against something. Prop the crackers up against a bowl. Use small ramekins for dips to create verticality. If you have a few crackers standing up, it adds dimension. It’s like interior design for your snack.
Leave Negative Space — Don’t fill every single inch. Leave some empty space between the items. It makes the board look less cluttered and more elegant. It’s the “less is more” rule of plating.
Use Color Contrast — If you’re using white cheese (Parmesan), add dark olives or red grapes. If you’re using crackers, add green herbs. Contrast makes the food look fresher and more appetizing.
Toast Your Nuts — I can’t stress this enough. Raw nuts are fine, but toasted nuts taste like they cost $10 more. Just put them in a dry pan over medium heat for 2-3 minutes until they smell nutty. It’s a 5-minute upgrade that makes a huge difference.
Label the Dips — If you’re serving this to a crowd, people might not know what the garlic paste is. Put a small toothpick flag or a little note saying “Roasted Garlic Dip.” It’s a nice touch that shows you care.
Make It Ahead — You can prep the garlic and toast the nuts a day in advance. Assemble the board 2 hours before guests arrive. Just add the fresh minced garlic and the drizzle of oil right before serving so it doesn’t get soggy.
Variations & Substitutions
Once you’ve nailed the basic version, here’s how you can mix it up. I’ve tried all of these, and they all work.
Spicy Garlic Version — Add some crushed red pepper flakes to the minced garlic or drizzle a spicy chili oil over the board. It adds a kick that pairs well with the rich cheese. This is great if your crowd likes a little heat.
Honey Garlic Version — Drizzle some honey over the Parmesan and nuts. The sweetness balances the salt and garlic beautifully. It’s a classic combination for a reason.
Vegan Swap — Use a vegan hard cheese (like a cashew-based Parmesan alternative) and skip the honey if you’re strict. The rest of the board is naturally vegan. It’s surprisingly satisfying.
Gluten-Free Option — Swap the crackers for rice crackers or gluten-free crackers. Most nuts, cheese, and fruits are naturally gluten-free, so this is an easy swap.
Protein Boost — Add some sliced salami or prosciutto if you want to make it non-vegetarian. It’s more expensive, but a little goes a long way. I usually add it only if I’m feeding meat-eaters who expect it.
Serving & Storage
How to Serve: — I usually set this board out on the coffee table or dining table as soon as people arrive. It’s a great conversation starter. Pair it with a simple watermelon mint sangria or just some sparkling water with lemon. Keep it light so people can nibble without getting full before dinner.
Storage: — Store any leftover cheese in an airtight container in the fridge. It lasts for weeks. The crackers should be kept in a sealed bag to stay crisp. The olives and grapes can stay out for a few hours, but put them in the fridge if it’s hot. The garlic paste should be stored in the fridge and used within 3 days.
Reheating: — You don’t need to reheat this. It’s best served at room temperature. The flavors are at their peak when the cheese is soft and the crackers are crisp.
Meal Prep: — I often prep the garlic and toast the nuts on Sunday for a board I’ll serve on Friday. It saves so much time on the day of the party. Just assemble and go.
Nutrition Information
I’m not a nutritionist, but here’s the breakdown if you’re tracking. This is per serving (based on 8 servings):
- Calories: 280
- Protein: 12g
- Carbs: 20g
- Fiber: 3g
- Sugar: 5g
- Fat: 18g
- Sodium: 450mg
What’s Good: — Decent protein from the cheese and nuts. Good fats from the olive oil and nuts. It’s satisfying and keeps you full.
What to Know: — Higher in sodium due to the Parmesan and olives. If you’re watching salt, rinse the olives and use low-sodium crackers. It’s not a diet food, but it’s not a cheat meal either. It’s a balanced snack.
Final Thoughts
So that’s my Garlic Parmesan Charcuterie Board! I’ve probably talked your ear off at this point, but when you make a recipe this often, you have a lot to say about it. This board has saved me more times than I can count. It’s my answer to “what do I bring?” or “how do I entertain without spending a fortune?” My guests are happy, my wallet is happy, and I’m happy because I’m not stressed about cooking.
Make it yours! Try different nuts, swap the grapes for apples, or add a different cheese. The best recipes are the ones you adapt to your family’s tastes. If you make this, drop a comment and let me know what you think! I love hearing how recipes turn out in your kitchen. And if something doesn’t work, tell me that too—I’m here to help troubleshoot.
Happy hosting! And I hope your kitchen smells half as good as mine does right now.
Frequently Asked Questions
Can I use pre-grated Parmesan?
You can, but I strongly recommend against it. Pre-grated cheese is coated in cellulose to prevent clumping, which means it doesn’t melt or slice the same way. It also tastes dustier. If you must, use it, but a wedge of real Parmesan makes a huge difference in flavor and presentation. It’s worth the extra 2 minutes to grate it yourself.
How far in advance can I make this board?
You can prep the components (toast nuts, roast garlic, slice cheese) up to 24 hours in advance. Assemble the board 2-3 hours before serving. Add the fresh minced garlic and olive oil drizzle right before guests arrive to keep the flavors bright and the crackers crisp.
Can I make this board vegan?
Yes! Swap the Parmesan for a vegan hard cheese (like a cashew-based alternative) and skip the honey if you’re using it. The rest of the ingredients (crackers, nuts, olives, grapes, garlic) are naturally vegan. It’s surprisingly satisfying and just as delicious.
What if I don’t have a large board?
No problem! Use two medium plates, a large baking sheet, or even a clean cutting board. You can also use a large platter from the dollar store. The key is to spread things out. Don’t cram everything into a small space. More surface area = more elegant look.
Can I add meat to this board?
Absolutely. Add some sliced salami, prosciutto, or ham. It’s more expensive, so add it sparingly. A few slices draped over the cheese or crackers adds a nice protein boost. I usually add it only if I’m feeding meat-eaters who expect it.
Why did my crackers get soggy?
Usually, this happens if you assemble the board too far in advance or if the cheese releases moisture. To prevent this, keep the cheese and wet ingredients (like olives or garlic paste) separate from the crackers until serving time. Or, just eat the soggy crackers—they still taste good!
Pin This Recipe!
Garlic Parmesan Charcuterie Board: 5 Budget Tips
- Total Time: 55 minutes
- Yield: 8 servings 1x
Description
A budget-friendly, vegetarian-friendly charcuterie board featuring roasted garlic, Parmesan cheese, nuts, and fresh herbs. This easy-to-assemble appetizer looks gourmet but costs less than $20.
Ingredients
- 1 large wedge Parmesan cheese (about 8 oz / 225g)
- 2 boxes crackers (approx. 16 oz total, such as water crackers or wheat thins)
- 1 bag nuts (approx. 8 oz / 225g, walnuts or almonds)
- 1 head fresh garlic
- 1 small bottle extra virgin olive oil
- Dried rosemary or thyme
- 1 pint grapes or berries
- 1 jar marinated olives (approx. 6 oz)
- 1 small jar mustard (whole grain or dijon)
Instructions
- Preheat oven to 400°F (200°C). Cut the top off a head of garlic, drizzle with olive oil, wrap in foil, and bake for 30-40 minutes until soft. Let cool.
- Mince two cloves of fresh garlic as finely as possible.
- Slice or chunk the Parmesan cheese. Arrange in clusters on the board.
- Toast nuts in a dry pan over medium heat for 2-3 minutes until fragrant.
- Place crackers in a pile or fanned out on one side of the board.
- Sprinkle toasted nuts around the cheese and crackers.
- Squeeze roasted garlic cloves from skins into a small bowl. Mash into a paste with a fork, mixing in a teaspoon of olive oil and a pinch of salt.
- Dollop the garlic paste into a small ramekin or directly onto the board.
- Fill empty spaces with grapes or berries and tuck olives near the cheese.
- Add a dollop of mustard in a small dish.
- Sprinkle minced fresh garlic over the cheese and crackers.
- Drizzle olive oil over the garlic paste and nuts.
- Garnish with dried rosemary or thyme sprigs.
Notes
For best results, assemble the board 2 hours before serving. Add fresh minced garlic and olive oil drizzle right before guests arrive to prevent crackers from getting soggy. Leftovers can be stored in the fridge; cheese lasts weeks, garlic paste lasts 3 days.
- Prep Time: 15 minutes
- Cook Time: 40 minutes
- Category: Appetizer
- Cuisine: American
Nutrition
- Serving Size: 1 serving
- Calories: 280
- Sugar: 5
- Sodium: 450
- Fat: 18
- Saturated Fat: 5
- Carbohydrates: 20
- Fiber: 3
- Protein: 12
Keywords: charcuterie board, budget recipes, vegetarian appetizer, garlic parmesan, party food, easy hosting, gluten-free options