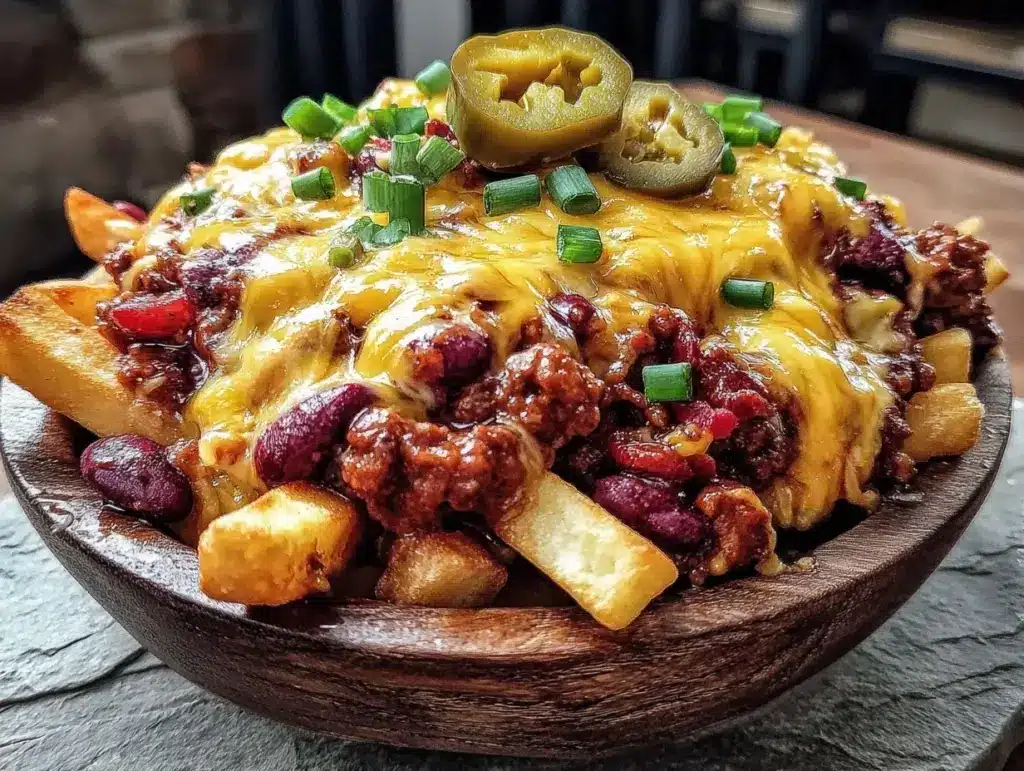
I still remember the first time I tried to feed a crowd of twenty people with just hot dogs and chips. It was a disaster. My husband’s college buddies showed up, the game started, and suddenly everyone was standing around looking at a plate of lukewarm buns with zero enthusiasm. One of my husband’s friends, Mark, looked at me with pity and said, “You know, if you had a tray of chili cheese fries, we’d all be happy right now.”
I laughed it off at the time, but he was right. So, last season, I decided to stop playing it safe. I made a massive batch of Football Tailgate Chili Cheese Fries for the big playoff party. I used up leftover chili, some frozen fries from the back of the freezer, and a bag of cheap cheddar cheese. I expected it to be a quick snack. Instead, it became the centerpiece of the night.
People were lining up for seconds. My husband’s friends who usually complain about “heavy” game day food were asking for the recipe. It wasn’t fancy. It wasn’t gourmet. But it was cheap, it was filling, and it tasted like pure comfort. Since then, I’ve made this Football Tailgate Chili Cheese Fries for every major game. I’ve tweaked the chili, swapped the cheese, and figured out the perfect fry-to-chili ratio. It’s become our family’s unofficial tradition. If you’re looking for a way to stretch a grocery budget while feeding a hungry crowd, this is it.
Why You’ll Love This Recipe
Let’s be real: game day cooking shouldn’t feel like a second job. You want to enjoy the game, not be stuck in the kitchen while everyone else eats. This Football Tailgate Chili Cheese Fries recipe is your ticket to having a stress-free party where the food is the star.
Stupid Simple — Seriously, if you can boil water and melt cheese, you can make this. I’ve had my kids help me assemble the trays while I watched the pre-game show. It’s foolproof.
Extremely Budget-Friendly — This feeds 15-20 people for under $25. That’s less than $1.50 per person. Compare that to buying appetizers at the store or ordering delivery, and you’re saving a fortune. I use pantry staples and frozen fries to keep costs down.
Perfect for Leftovers — And there will be leftovers. A lot of them. This reheats beautifully in the oven. I usually have enough chili and fries left over for a lazy lunch the next day. It’s like having a free meal waiting for you.
Customizable for Everyone — Picky eaters? No problem. You can set out different toppings so everyone can build their own. It’s interactive without being complicated.
Make-Ahead Friendly — You can make the chili days in advance. In fact, the chili tastes better the next day. This means your Sunday is free to relax, not cook.
This is my go-to when I need to feed a crowd without breaking the bank or my back. It’s reliable, delicious, and always a hit.
Ingredients You’ll Need
Here’s the best part: you probably have most of this already in your pantry or freezer. I’m particular about a few things, but mostly, this is about using what you have and stretching it as far as possible.
For the Chili
Ground beef (2 pounds / 900g) — I use 80/20 lean beef because the fat adds flavor. If you want to save money, you can mix in ground turkey or even use less beef and add more beans. I’ve done it, and it still works.
Onion (1 large, diced / about 300g) — Yellow onion is my go-to. It’s cheap and sweetens the chili as it cooks.
Garlic (4 cloves, minced / about 2 tablespoons) — Fresh garlic makes a huge difference. I mince it myself, but if you’re in a rush, jarred works in a pinch.
Tomato sauce (2 cans, 15oz each / 425g each) — The base of the chili. I buy the store brand to save money. It’s exactly the same as the name brand.
Tomato paste (1 can, 6oz / 170g) — This adds depth and richness. Don’t skip it. It makes the chili taste like it simmered for hours.
Chili powder (2 tablespoons) — Use a good quality blend. If you only have cumin or paprika, you can mix those, but chili powder is easier.
Bean (2 cans, 15oz each / 425g each) — Kidney beans or pinto beans. Rinse and drain them. This is the secret to stretching the chili. Beans are cheap and filling.
Beef broth (1 cup / 240ml) — Low sodium is best so you can control the salt. Water works too if you’re on a tight budget.
Optional Add-ins:
Green bell pepper (1 diced) — Adds a nice crunch.
Corn (1 cup frozen) — My kids love the sweetness.
Jalapeños (1 can, sliced) — For a spicy kick.
For the Fries and Toppings
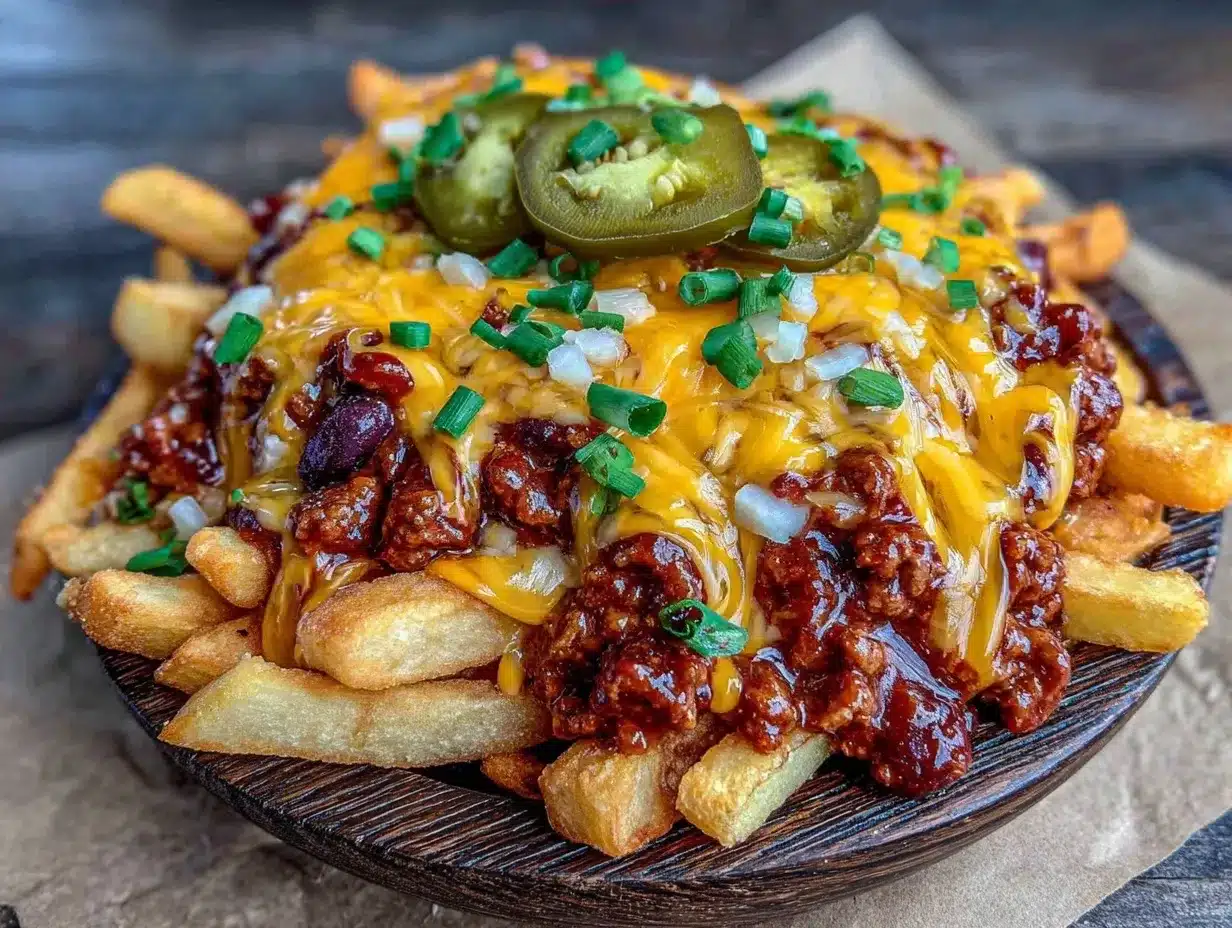
Frozen french fries (4-5 pounds / 1.8-2.3kg) — I use thick-cut steak fries or crinkle-cut. They hold up better under the toppings. Don’t use thin shoestring fries; they get soggy too fast.
Cheddar cheese (2-3 cups, shredded / 200-300g) — Buy a block and shred it yourself. Pre-shredded cheese has anti-caking agents that prevent it from melting smoothly. I buy the family-size block of sharp cheddar. It’s cheaper and tastes better.
Green onions (1 bunch, sliced) — For that fresh, sharp bite on top. Cheap and colorful.
Sour cream (1 cup / 240g) — Optional, but it adds a cool contrast to the hot chili and spicy cheese.
Scallions or cilantro (optional) — Fresh herbs make it look like you went to a restaurant.
Pro Tips for Shopping
- Buy in bulk: If you have a Costco or Sam’s Club membership, buy the ground beef and cheese in bulk. It saves a lot over time.
- Store brands: For the canned tomatoes and beans, store brands are perfectly fine. You won’t taste the difference.
- Frozen veggies: If fresh onions or peppers are expensive, use frozen. They’re pre-chopped and just as good.
Equipment Needed
You don’t need fancy equipment for this. Here’s what I actually use.
Large stockpot or Dutch oven — I use a 6-quart pot. It needs to fit 2 pounds of meat and all the canned goods comfortably. My old stainless steel pot works fine.
Large skillet — For browning the beef. A 12-inch skillet is ideal. I prefer cast iron, but any heavy-bottomed pan works.
Baking sheets or hotel pans — You’ll need large trays to hold the fries. I use two large baking sheets. If you’re feeding a huge crowd, hotel pans (like you see in buffets) are great because they’re deep and hold more.
Colander — For draining the beans. Or just use the lid to drain—I do this when I’m lazy.
Wooden spoon — For stirring the chili. Silicone works too. Don’t use metal on non-stick.
Microplane or box grater — For grating the cheese. Or food processor if you’re grating lots of cheese.
Optional but nice:
Immersion blender — If you like your chili smooth, you can blend part of it. I don’t usually bother, but it’s an option.
How to Make It: Step-by-Step
Alright, let’s make this! I’m walking you through exactly how I do it, including the little tricks I’ve picked up.
Step 1: Make the Chili (30 minutes active, 1 hour simmering)
Start with the chili. It takes the longest, so get it going first. Heat a large pot over medium heat. Add a little oil if your beef is lean, otherwise, the fat will do the job. Add the diced onion and cook for 3-4 minutes until soft and translucent.
Add the minced garlic and cook for 1 minute, stirring constantly. The garlic should smell amazing but not brown—browned garlic tastes bitter.
Add the ground beef. Break it up with your wooden spoon as it cooks. Cook until it’s no longer pink, about 5-7 minutes. Drain excess grease if there’s a lot, but leave a little for flavor.
Stir in the tomato paste and cook for 1 minute. This “toasts” the paste and removes the metallic taste. Then add the tomato sauce, beef broth, chili powder, cumin, salt, and pepper. Stir well.
Add the drained beans. Bring the mixture to a boil, then reduce heat to low. Cover and let it simmer for at least 30 minutes, preferably an hour. This lets the flavors meld. If you’re short on time, 30 minutes works. If you can make it the night before, even better.
Step 2: Prep the Fries (20 minutes)
While the chili simmers, prep the fries. Preheat your oven to 425°F (220°C). Line your baking sheets with parchment paper or foil for easy cleanup. Spread the frozen fries in a single layer. Don’t overcrowd the pans, or they’ll steam instead of crisp.
Bake the fries according to package directions, usually 20-25 minutes, flipping halfway through. You want them golden and crispy. If you’re using a lot of fries, do two batches.
Step 3: Assemble the Chili Cheese Fries (10 minutes)
Once the fries are done, take them out of the oven. Keep them warm in a low oven (200°F) if you’re assembling in batches.
Spread the hot fries on your serving platters or baking sheets. Ladle the hot chili generously over the fries. You want a good ratio—don’t skimp on the chili.
Immediately sprinkle the shredded cheese over the hot chili and fries. The residual heat will start to melt the cheese. If it’s not melting enough, put the trays back in the oven for 2-3 minutes until the cheese is bubbly and golden.
Step 4: Add Toppings and Serve
Remove from the oven. Top with sliced green onions, a dollop of sour cream, and any other extras like jalapeños or cilantro. Serve immediately while the fries are still crispy and the cheese is gooey.
Total Time: About 1 hour 30 minutes (including simmering time). But most of that is hands-off.
Built-in Troubleshooting:
– Chili too thick? Add a splash of water or broth.
– Chili too thin? Simmer uncovered for 10 more minutes.
– Fries soggy? Make sure they’re crispy before adding toppings. Serve immediately.
Expert Tips & Tricks
Here’s everything I’ve learned from making this dozens of times. These tips will save you from my mistakes.
Save That Leftover Chili
This is the #1 tip. Chili freezes beautifully. I always make a double batch. Freeze the extra in portion-sized containers. It’s perfect for quick lunches or adding to hearty slow cooker beef chili variations later. Having leftover chili means you can make this Football Tailgate Chili Cheese Fries in half the time next game day.
Don’t Skimp on Seasoning
Your chili should taste bold. Taste it before serving. If it needs more salt, add it. If it needs more heat, add cayenne or hot sauce. The cheese and sour cream will mellow it out slightly, so don’t be afraid to season generously.
Shred Your Own Cheese
Pre-shredded cheese has cellulose added to prevent clumping. This means it doesn’t melt as smoothly. Buy a block of cheddar and shred it. It takes 5 minutes and makes a huge difference in texture.
Keep Fries Crispy
The enemy of chili cheese fries is soggy fries. Make sure your fries are crispy before adding toppings. If you’re serving a large crowd, keep the fries warm in a low oven (200°F) and assemble just before serving. Or, serve the chili in bowls on the side so people can dip their own fries. This is a great option for loaded baked potato salad fans who prefer separate components.
Use a Sheet Pan Strategy
If you’re feeding 20 people, don’t try to serve it all from one pot. Use multiple baking sheets or hotel pans. It makes serving easier and keeps the food warmer longer. Line the pans with foil for easy cleanup.
Add Texture
If you like extra crunch, add crushed tortilla chips or fried onions on top. It adds a nice texture contrast to the soft fries and chili.
Variations & Substitutions
Once you’ve nailed the basic version, here’s how you can mix it up. I’ve tried all of these.
Turkey Chili Version
Swap ground beef for ground turkey. It’s leaner and lower in calories. I add a little extra cumin and smoked paprika to make up for the lost beef flavor. My husband prefers this version when we’re trying to eat lighter.
Vegetarian Chili
Skip the meat and add an extra can of beans. Use vegetable broth instead of beef broth. Add corn and diced bell peppers for bulk. It’s hearty and delicious. I’ve served this to my vegetarian friend, and she loved it.
Bacon Chili Cheese Fries
Add cooked, crumbled bacon on top. The smoky, salty bacon pairs perfectly with the sweet chili. It’s a game-changer.
Buffalo Chicken Version
Use shredded rotisserie chicken instead of beef chili. Toss the chicken in buffalo sauce and mix with some of the chili sauce. Top with blue cheese crumbles instead of cheddar. This is a great way to use up leftover chicken.
Tex-Mex Style
Add black beans and corn to the chili. Top with jalapeños, cilantro, and a squeeze of lime. It’s bright and flavorful.
Dietary Modifications:
– Gluten-Free: This recipe is naturally gluten-free. Just check your chili powder and broth labels to be sure.
– Dairy-Free: Use dairy-free cheese shreds and skip the sour cream. It’s not quite the same, but it works.
– Lower-Carb: Use zucchini fries or broccoli florets instead of potatoes. Reduce the chili portion size.
Pro Tricks I’ve Learned:
- For Extra Flavor: Toast the spices in the oil before adding the meat. It releases more flavor.
- For Better Texture: Let the chili sit for 10 minutes after cooking before serving. It thickens up nicely.
- Make-Ahead Strategy: Make the chili 2-3 days ahead. It tastes better the next day. Reheat gently before serving.
Serving & Storage
I usually serve this straight from the baking sheets at the party table—it looks rustic and stays warm. But here are other ways I’ve enjoyed it:
Side Dishes:
– Cornbread (classic pairing)
– Simple green salad with ranch dressing
– Coleslaw (adds a nice crunch)
– Corn chips for extra dipping
Toppings Bar:
When I have guests, I put out: extra cheese, sour cream, jalapeños, green onions, hot sauce, and crushed tortilla chips. Everyone customizes their bowl.
Wine Pairing:
Not a wine expert, but my wine-snob friend says a bold Zinfandel or a cold beer works great with this. Keep it simple.
Storage Instructions:
Refrigerator:
Store chili in an airtight container for up to 5 days. The fries are best eaten fresh, but you can store them in the fridge for 1-2 days. They’ll lose some crispiness.
Reheating:
Best method for chili: Add to a pot over low heat, stirring occasionally. Add a splash of water if it’s too thick.
Best method for fries: Spread on a baking sheet and reheat in the oven at 400°F for 5-10 minutes. This restores the crispiness. Don’t microwave fries—they’ll get soggy.
Freezing:
Chili freezes beautifully for up to 3 months. Thaw in the fridge overnight and reheat. Fries do not freeze well after cooking. Freeze the raw fries if you want to prep ahead.
Meal Prep:
Make the chili on Sunday, store in the fridge. Cook and bake fries fresh on game day. Takes 30 minutes and tastes way better than reheated leftovers.
Pro tip: If you have leftover chili, use it to make a quick one-pot creamy cajun sausage pasta or serve over rice for a different meal. It’s versatile.
Nutrition Information
I’m not a nutritionist, but here’s the breakdown if you’re tracking. Keep in mind, this is a indulgent game day food, so portions matter.
Per Serving (based on 20 servings, approx. 1 cup chili and 1/2 cup fries):
- Calories: 450
- Protein: 22g
- Carbs: 40g
- Fiber: 5g
- Sugar: 4g
- Fat: 22g
- Saturated Fat: 10g
- Cholesterol: 60mg
- Sodium: 800mg
What’s Good:
– Decent protein from beef and beans
– Fiber from beans and veggies
– Can add vegetables to boost nutrition
What to Know:
– Higher in calories from cheese and fries
– Contains dairy and gluten
– Moderate sodium (use low-sodium broth to reduce)
My Take:
Look, this is comfort food with cheese and fries. It’s not a diet recipe. But it’s way better than takeout, costs less, and I know exactly what’s in it. When I want to make it lighter, I use the turkey chili version and load up on vegetables. But usually? I just eat a reasonable portion and enjoy it.
Final Thoughts
So that’s my go-to Football Tailgate Chili Cheese Fries! I’ve probably talked your ear off at this point, but when you make a recipe this often, you have a lot to say about it.
This has saved game days more times than I can count. It’s my answer to “what’s for the crowd” when I’m tired, don’t want takeout, and still want something that tastes really good. My husband’s friends are happy, my kids are happy, and I’m happy because I’m not stressed about cooking.
Make it yours! Try different add-ins, swap in your favorite vegetables, adjust the spice level. The best recipes are the ones you adapt to your family’s tastes. If you make this, drop a comment and let me know what you think! I love hearing how recipes turn out in your kitchen. And if something doesn’t work, tell me that too—I’m here to help troubleshoot.
Happy cooking! And I hope your kitchen smells half as good as mine does right now.
Frequently Asked Questions
Can I use fresh potatoes instead of frozen fries?
You can, but it takes more work. Cut russet potatoes into thick strips, soak them in cold water for 30 minutes to remove starch, pat dry, and bake at 425°F for 25-30 minutes. They’ll be crispier than frozen, but frozen is just easier for game day. I usually stick with frozen for the convenience.
My chili came out watery—what happened?
Usually means you didn’t simmer it long enough, or you added too much liquid. Let the chili simmer uncovered for 15-20 minutes to reduce. The beans also release starch, which helps thicken it. If it’s still too thin, add a tablespoon of cornstarch mixed with water and stir it in.
Can I make this ahead for a party?
Absolutely. Make the chili up to 3 days ahead and store in the fridge. Bake the fries fresh right before serving (takes 20 minutes). Reheat the chili gently and assemble. It won’t be quite as good as fresh, but it’s close and saves you stress during the party. I do this all the time.
Can I freeze the chili?
Yes! Chili freezes beautifully for up to 3 months. Let it cool completely, then transfer to airtight containers or freezer bags. Thaw in the fridge overnight and reheat on the stove. I always make a double batch for this reason.
Can I use cheese sauce instead of shredded cheese?
You can, but it’s heavier and can make the fries soggy faster. Shredded cheese melts into the hot chili and fries, creating a better texture. If you want a cheese sauce, use a mild cheddar sauce and drizzle it lightly. But I prefer the shredded cheese method.
How do I reheat leftovers without it getting dry?
Add a splash of water or broth to the chili in a pot and heat gently over low heat, stirring frequently. For the fries, reheat them in the oven at 400°F for 5-10 minutes to restore crispiness. Don’t microwave the fries—they’ll get tough.
Can I double this recipe?
Yes! Double the chili ingredients and use a larger pot. The cooking times stay the same. I do this when I’m feeding a crowd. Just make sure your pot is big enough for the chili—you might need to use two pots or a very large stockpot.
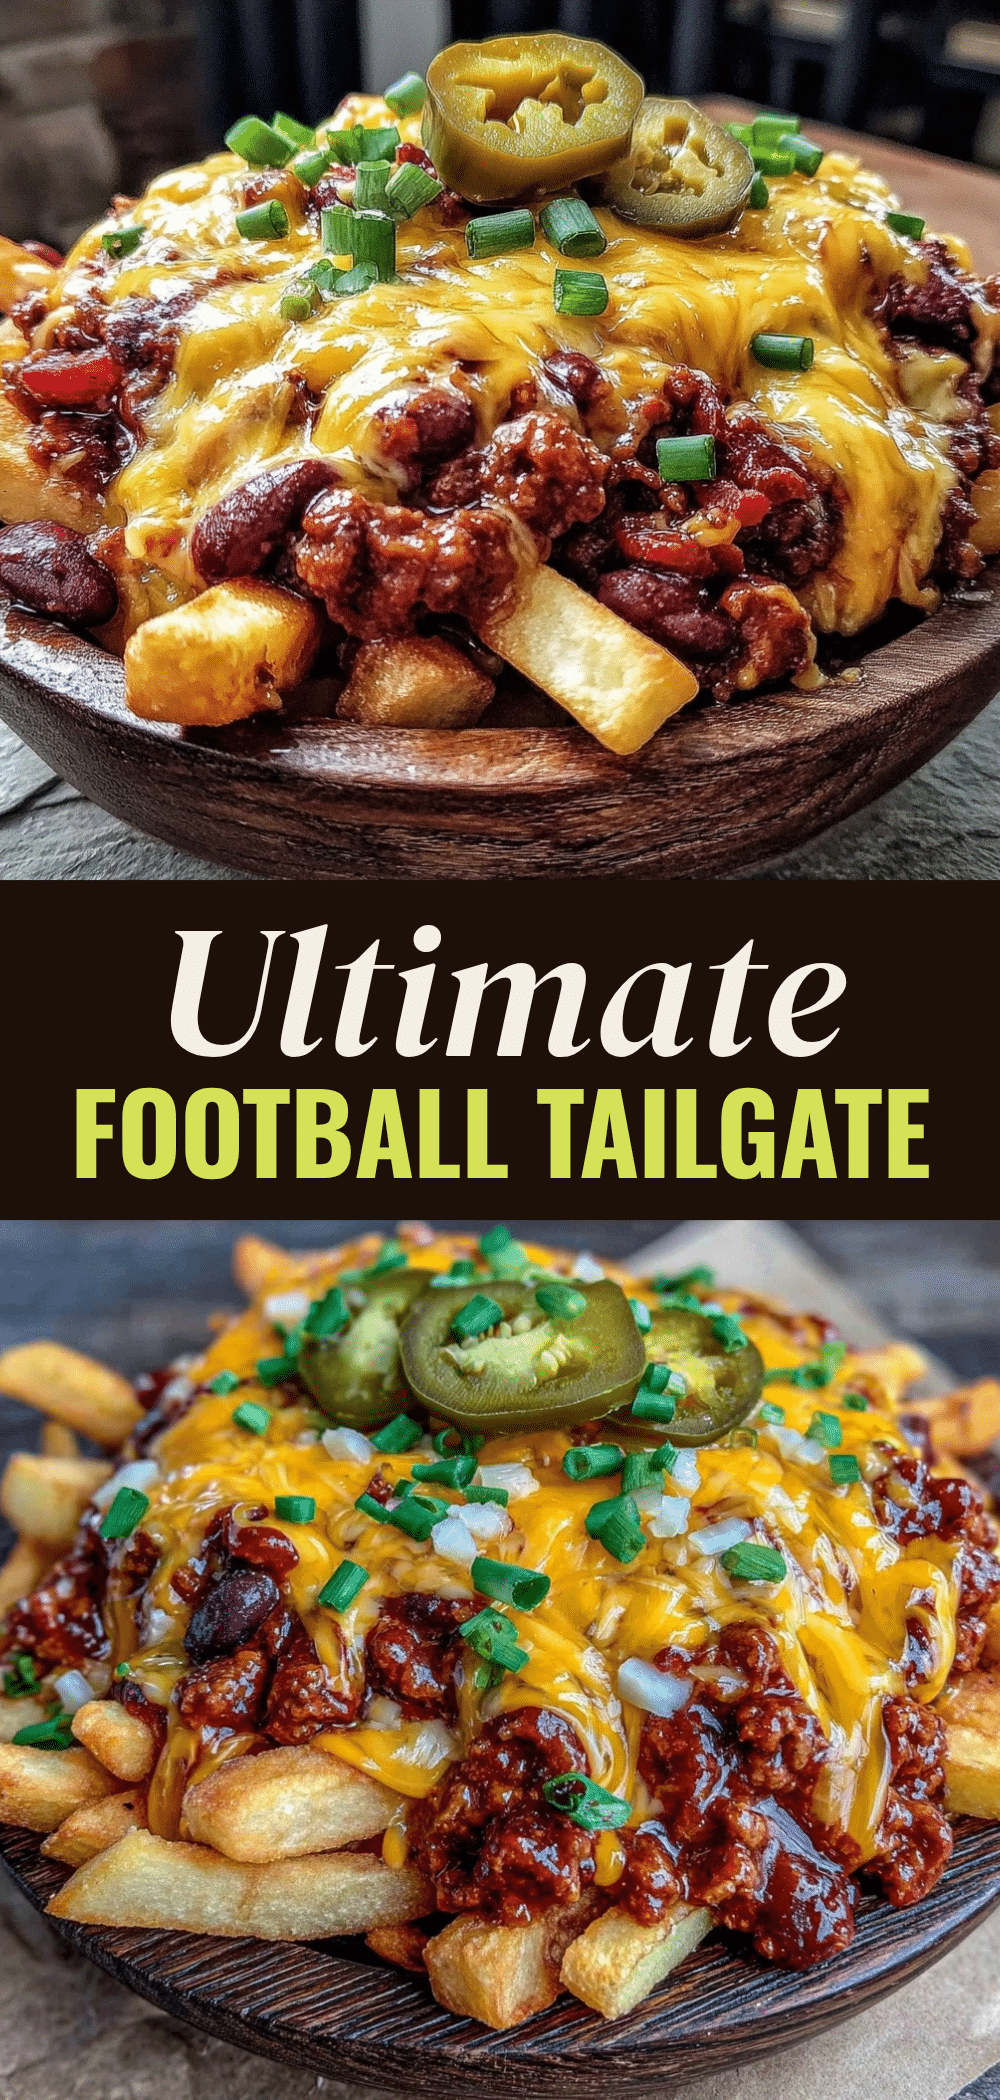
Pin This Recipe!
Football Tailgate Chili Cheese Fries: Easy Budget Game Day Crowd Pleaser
- Total Time: 1 hour 30 minutes
- Yield: 20 servings 1x
Description
A stress-free, budget-friendly recipe for feeding a crowd with crispy baked fries topped with hearty homemade chili, melted cheddar cheese, and fresh toppings.
Ingredients
- 2 pounds ground beef (80/20 lean)
- 1 large yellow onion, diced
- 4 cloves garlic, minced
- 2 cans (15oz each) tomato sauce
- 1 can (6oz) tomato paste
- 2 tablespoons chili powder
- 2 cans (15oz each) kidney or pinto beans, rinsed and drained
- 1 cup beef broth (low sodium)
- 4–5 pounds frozen french fries (thick-cut or crinkle-cut)
- 2–3 cups sharp cheddar cheese, shredded
- 1 bunch green onions, sliced
- 1 cup sour cream (optional)
- Oil for cooking
- Salt and pepper to taste
Instructions
- Heat a large pot or Dutch oven over medium heat. Add diced onion and cook for 3-4 minutes until soft.
- Add minced garlic and cook for 1 minute until fragrant.
- Add ground beef, breaking it up with a wooden spoon, and cook until no longer pink (5-7 minutes). Drain excess grease if necessary.
- Stir in tomato paste and cook for 1 minute.
- Add tomato sauce, beef broth, chili powder, salt, and pepper. Stir well.
- Add drained beans and bring to a boil, then reduce heat to low. Cover and simmer for at least 30 minutes (preferably 1 hour).
- Preheat oven to 425°F (220°C). Line baking sheets with parchment paper or foil.
- Spread frozen fries in a single layer on baking sheets and bake for 20-25 minutes, flipping halfway, until golden and crispy.
- Spread hot fries on serving platters or baking sheets.
- Ladle hot chili generously over the fries.
- Sprinkle shredded cheese over the hot chili and fries. Return to oven for 2-3 minutes if needed to melt cheese.
- Top with green onions, sour cream, and other desired toppings. Serve immediately.
Notes
Chili freezes beautifully for up to 3 months. Fries are best eaten fresh but can be reheated in the oven at 400°F to restore crispiness. Do not microwave fries as they will become soggy. For a lighter version, swap ground beef for ground turkey.
- Prep Time: 30 minutes
- Cook Time: 1 hour
- Category: Main Course
- Cuisine: American
Nutrition
- Serving Size: Approx. 1 cup chili
- Calories: 450
- Sugar: 4
- Sodium: 800
- Fat: 22
- Saturated Fat: 10
- Carbohydrates: 40
- Fiber: 5
- Protein: 22
Keywords: chili cheese fries, game day food, tailgate recipes, budget meals, crowd pleaser, easy dinner, football party food



