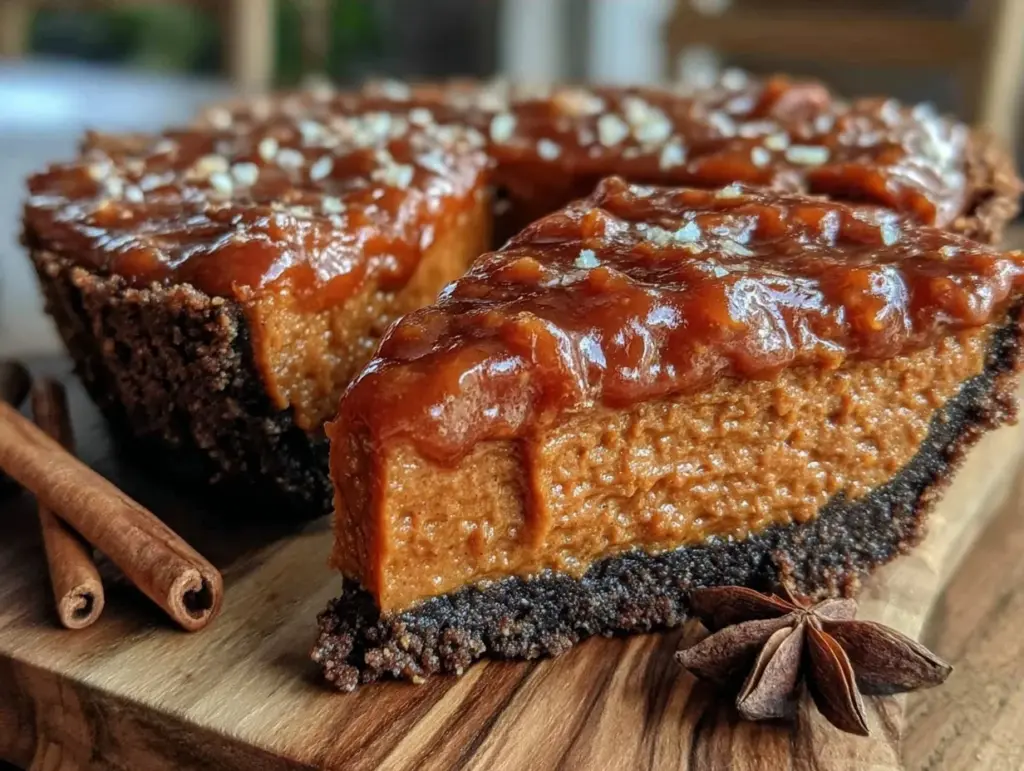
Last Thanksgiving, I was staring at a fully loaded grill, smoke still curling off the brisket I’d just pulled, and I had this overwhelming urge to cook something sweet. Usually, that means firing up the oven. But the house was already hot, the kitchen was cramped with family, and I just didn’t want to deal with the heat indoors. So, I did something that made my in-laws do a double-take: I set up a no-bake pumpkin pie on the side burner of the grill.
Now, I know what you’re thinking. No-bake pie? On a grill? Isn’t that just… weird? Maybe. But here’s the thing—it actually works better than you’d expect. The gingersnap crust gets a little toasted from the ambient heat, the filling stays perfectly chilled but sets firm, and you get this subtle, smoky depth that just isn’t there when you bake it in a conventional oven. It’s the perfect way to keep the kitchen free for the turkey and sides while you handle the finale.
This fall no-bake pumpkin pie with gingersnap crust has become my secret weapon for holiday gatherings. It’s creamy, it’s spiced, it’s got that crunch I’m obsessed with, and it doesn’t require me to stand over a hot oven for 45 minutes. I’ve tested this method on everything from a standard charcoal grill to my pellet smoker, and it’s consistently the star of the dessert table. If you’ve been looking for a way to shake up your holiday dessert routine, this is it.
Why You’ll Love This No-Bake Pumpkin Pie
There are about ten reasons I keep coming back to this recipe, but let’s be real—it’s mostly because it’s stupidly easy and it tastes incredible. I’ve served this to picky eaters who usually turn their noses up at “healthy” or “light” desserts, and they always ask for the recipe. Here’s why this specific version wins every time:
Zero Oven Drama — Seriously. If you can mix ingredients in a bowl and press them into a pan, you can make this. I’ve walked my teenage nephew through it over FaceTime while I was managing the grill. There’s no baking, no burning the edges, no wondering if the center is set.
The Gingersnap Crunch — This is the game-changer. A lot of no-bake crusts are just crushed cookies and butter. This one uses real gingersnap cookies, which gives it that spicy, molasses-rich flavor that pairs perfectly with the pumpkin. Plus, the crust holds up beautifully in the fridge without getting soggy.
Grill-Friendly Prep — I love that I can prep this pie in the morning, pack it in a cooler, and just set it on the cooler lid or a side shelf while I finish the main course. It’s low-stress hosting at its finest. I don’t have to rush to get it in the oven before the turkey comes out.
Make-Ahead Magic — This pie actually tastes better the next day. The flavors meld together, the crust softens just enough, and the spice profile becomes more pronounced. I usually make it the night before, so I don’t have to stress on Thanksgiving Day. It’s my answer to “what’s for dessert?” when I’m already tired from cooking the main meal.
Smoky Depth — Even though it’s no-bake, if you let it sit near the grill for the last hour of cooking, it picks up a tiny hint of smoke. It’s subtle, but it adds a layer of complexity that makes people ask, “Did you bake this?” The answer is always no. And that’s the best part.
Ingredients You’ll Need
Here’s the best part: you probably have most of this already in your pantry or fridge. I’m particular about three ingredients here, and I’ll tell you exactly why. This isn’t a complicated recipe, so don’t overthink the shopping list.
Gingersnap Cookies (2 cups / about 240g) — Don’t use ginger molasses cookies—they’re too soft and sweet. You need true gingersnaps. They’re crisp, spicy, and hold up better when crushed. I buy them in the big canisters at the grocery store. If you can’t find them, you can use cranberry orange shortbread for a different twist, but gingersnap is the classic.
Unsalted Butter (½ cup / 113g) — Melted. This binds the crust. Don’t use margarine. I use salted butter if I’m in a hurry, but just reduce the added salt in the filling slightly. Real butter makes a huge difference in flavor.
Heavy Cream (2 cups / 480ml) — Full-fat only. This is what gives the filling that rich, creamy texture. If you’re worried about calories, you can use half-and-half, but it won’t be as thick. I whip it to stiff peaks, so you need the fat content to hold the air.
Cream Cheese (8 oz / 225g) — Full-fat, softened. This is the secret to a firm set without baking. It adds tanginess that cuts through the sweetness of the pumpkin. Make sure it’s room temperature so it blends smoothly.
Pumpkin Puree (15 oz / 425g can) — Not pumpkin pie filling. Pure pumpkin. Pie filling has sugar and spices added, which will throw off the balance. I keep a can of Libby’s or a similar brand stocked in the fall. It’s cheap and reliable.
Granulated Sugar (½ cup / 100g) — Adjust based on how sweet your pumpkin puree is. Some brands are sweeter than others. Start with ½ cup and taste the mixture before you whip it in.
Pumpkin Pie Spice (2 teaspoons) — Or make your own mix of cinnamon, ginger, nutmeg, and cloves. I usually just grab the pre-mixed canister. It’s consistent and easy.
Vanilla Extract (1 teaspoon) — Pure vanilla, please. I’ve tried imitation, and it tastes chemical. You don’t need much, but good vanilla makes a difference.
Whipped Cream (for topping) — Or store-bought, if you’re lazy. I usually make my own by whipping 1 cup heavy cream with 1 tablespoon sugar and ½ teaspoon vanilla until stiff. It’s faster than you think.
Optional: Dark Chocolate Shavings — I like to add these on top for a bit of contrast. The bitterness balances the sweet pumpkin. It’s not traditional, but I love it.
Equipment Needed
You don’t need fancy equipment for this. Here’s what I actually use.
Food Processor — For crushing the cookies. It’s the fastest way. If you don’t have one, put the cookies in a zip-top bag and crush them with a rolling pin. It takes a few minutes, but it works.
9-Inch Springform Pan — This is crucial. A springform pan releases the pie easily, so you don’t have to dig it out. It also looks nicer when you serve it. If you don’t have one, a regular pie plate works, but it’s harder to remove slices cleanly.
Electric Mixer or Stand Mixer — For whipping the cream cheese and cream. Hand mixer works fine. If you’re doing it by hand, you’ll need strong arms, but it’s doable.
Large Mixing Bowls — Two of them. One for the crust, one for the filling.
Spatula — For folding the whipped cream into the pumpkin mixture. A silicone spatula is best because it scrapes the bowl clean.
Grill Thermometer — Not strictly necessary since you’re not baking, but good to have if you’re letting the pie sit near the grill for that smoky hint. Keep the grill at a low temp, around 200°F.
How to Make It: Step-by-Step
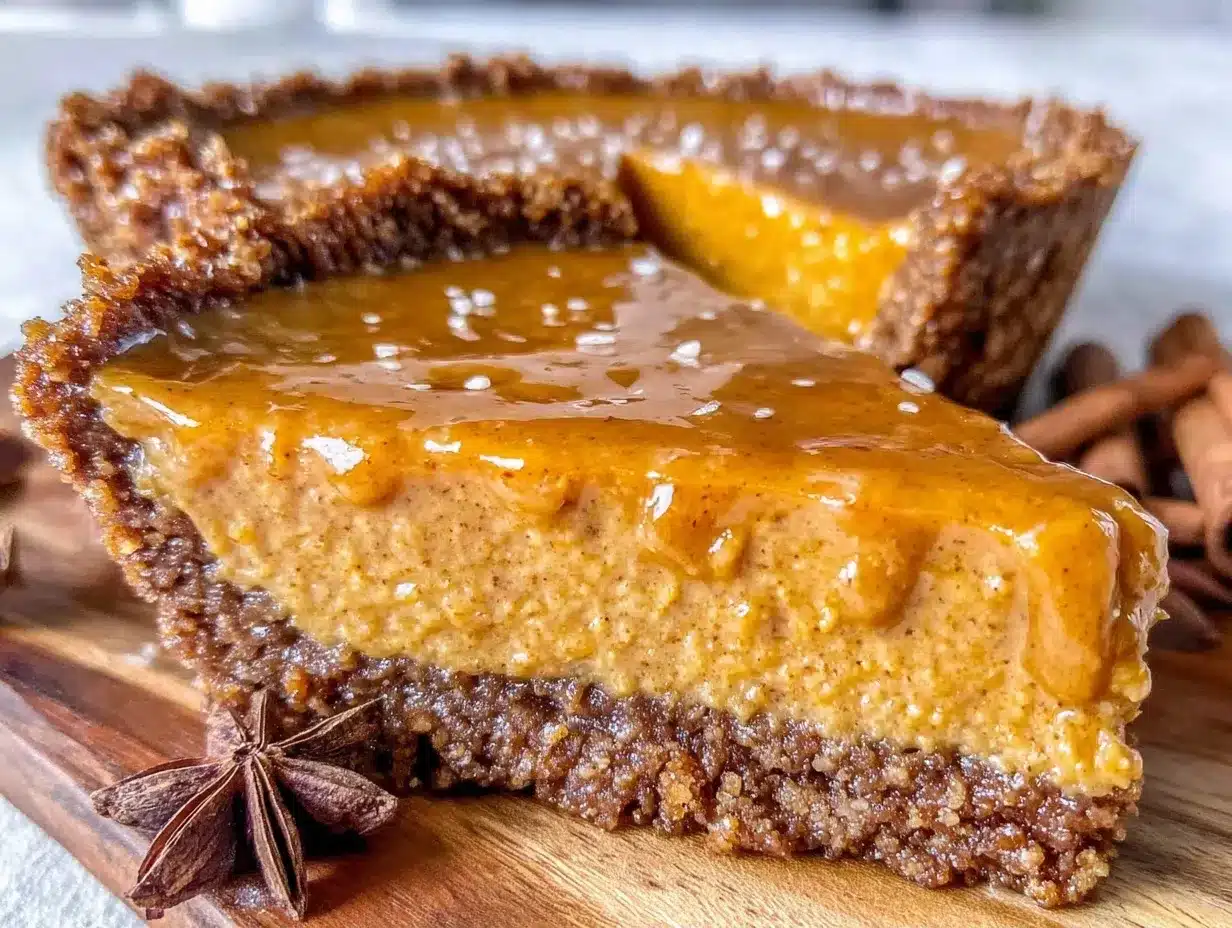
Alright, let’s make this! I’m walking you through exactly how I do it, including the little tricks I’ve picked up from making this dozens of times.
Step 1: Prep Your Crust (5 minutes)
Crush your gingersnap cookies into fine crumbs. I pulse them in a food processor until they look like sand. Don’t over-process them into a paste—that’s cookie butter, and we don’t want that. Mix the crumbs with the melted butter until it looks like wet sand. Press this firmly into the bottom and up the sides of your springform pan. Use the bottom of a measuring cup to pack it down tight. This prevents crumbling later. Place the crust in the fridge to set while you make the filling.
Step 2: Whip the Cream (3 minutes)
In a large bowl, whip the cold heavy cream until you have stiff peaks. This means when you lift the beaters, the cream stands up straight. Don’t over-whip it into butter, but don’t under-whip it either. It needs to hold its structure. Set this aside in the fridge. This is the light, airy part of the pie.
Step 3: Mix the Filling Base (5 minutes)
In another large bowl, beat the softened cream cheese until smooth. Add the sugar, pumpkin puree, pumpkin pie spice, and vanilla. Mix until everything is fully combined and no lumps remain. Taste it now. If it’s not sweet enough, add a little more sugar. If it’s too spicy, add a splash more cream. This is your chance to adjust before it sets.
Step 4: Fold It Together (3 minutes)
Gently fold the whipped cream into the pumpkin mixture. Use a spatula and lift from the bottom, turning the bowl over. Do this until just combined. You want to keep as much air in the cream as possible. Over-mixing will deflate it, and your pie will be dense. Stop when you see no white streaks.
Step 5: Assemble and Chill (4+ hours)
Pour the filling into the chilled crust. Smooth the top with your spatula. Now, here’s the fun part. If you’re grilling, place the pie on the side shelf of the grill or in a cooler next to the grill. Let it sit there for the last hour of your cook. The ambient heat from the grill helps set the crust slightly and adds that subtle smoke. If you’re not grilling, just put it in the fridge. It needs at least 4 hours to set, but overnight is best.
Step 6: Serve
Release the springform ring. Top with whipped cream, a sprinkle of pumpkin pie spice, and maybe some chocolate shavings. Slice with a warm knife for clean cuts. Serve immediately.
Expert Tips & Tricks
Here’s everything I’ve learned from making this dozens of times. These tips will save you from my mistakes.
Keep Everything Cold — The cream cheese should be room temp, but the heavy cream must be ice cold. If the cream is warm, it won’t whip. I keep my bowl and beaters in the fridge for 15 minutes before whipping. This is non-negotiable.
Don’t Skimp on the Spice — Pumpkin is mild. The spice is what makes it taste like pumpkin pie. Don’t be shy with the pumpkin pie spice. If you’re making your own, add a pinch of cardamom for extra depth.
The Grill Trick — If you’re using the grill method, make sure the pie is covered tightly with foil. You don’t want grill ash or debris falling into it. Also, keep the grill lid closed. You’re using the ambient heat, not direct flame.
Crust Crumbling? — If your crust crumbles when you slice it, you didn’t pack it down hard enough in Step 1. Or your butter was too cool. Make sure the butter is fully melted and mixed evenly. Press it down like you’re making a pie crust, not just sprinkling it in.
Too Soft? — If the pie is too soft to slice, it didn’t chill long enough. Or you under-whipped the cream. Next time, whip it stiffer and chill it longer. Overnight is always safe.
Pro Trick: Toast the Cookies — For extra flavor, spread the gingersnap crumbs on a baking sheet and toast them in the oven at 350°F for 5 minutes before mixing with butter. It enhances the molasses flavor. I do this when I’m feeling fancy.
Variations & Substitutions
Once you’ve nailed the basic version, here’s how you can mix it up. I’ve tried all of these.
Chocolate Gingersnap — Mix ½ cup chocolate chips into the crust. It’s like a gingerbread cookie dessert. My kids love this version.
Maple Pecan — Add ½ cup chopped pecans to the crust and 1 teaspoon maple extract to the filling. It’s richer and nuttier. Great for fall.
Coconut Cream — Use full-fat coconut cream instead of dairy heavy cream for a dairy-free option. It’s thicker and has a tropical twist. Not traditional, but surprisingly good.
Spiced Rum — Add 2 tablespoons of spiced rum to the filling. It’s an adult version. The alcohol cooks out slightly, leaving just the flavor. I serve this to my husband’s friends.
Gluten-Free — Use gluten-free gingersnap cookies. They’re widely available now. Just check the label—they can be softer, so you might need a bit more butter in the crust.
Lower Sugar — Use a sugar substitute like erythritol or monk fruit. It works in the filling, but the crust will be less sweet. I use Lakanto brand. It’s not exactly the same, but it’s acceptable.
Serving & Storage
How to serve this beauty.
Side Dishes — This pie is rich, so pair it with something light. A simple green salad with a vinaigrette works well. Or serve it alongside some grilled apple cheddar sandwiches for a savory-sweet contrast. It’s unexpected, but it works.
Wine Pairing — Not a wine expert, but a late-harvest Riesling or a Port works great with this. The sweetness matches the pie, and the acidity cuts the richness.
Refrigerator — Store in the springform pan, covered with plastic wrap, for up to 5 days. It actually gets better after day 2.
Freezing — You can freeze this pie! Wrap it tightly in plastic and then foil. It lasts up to 3 months. Thaw in the fridge overnight. The texture might be slightly softer, but it’s still delicious. I freeze extras for Christmas.
Reheating — Don’t reheat this pie. It’s a chilled dessert. Serve it cold. If you want it slightly softer, let it sit at room temperature for 10 minutes before serving.
Nutrition Information
I’m not a nutritionist, but here’s the breakdown if you’re tracking. This is a rich dessert, so portion control is key.
Per Serving (based on 8 slices):
– Calories: 380
– Protein: 6g
– Carbs: 35g
– Fiber: 2g
– Sugar: 22g
– Fat: 24g
– Saturated Fat: 14g
– Cholesterol: 70mg
– Sodium: 220mg
What’s Good: It’s lower in carbs than a baked pie because there’s no flour in the crust. The cream cheese adds protein.
What to Know: It’s high in fat and sugar from the cream and cookies. It’s not a diet food, but it’s a treat. Enjoy it mindfully.
Final Thoughts
So that’s my fall no-bake pumpkin pie with gingersnap crust! I’ve probably talked your ear off at this point, but when you make a recipe this often, you have a lot to say about it.
This has saved my holiday dinners more times than I can count. It’s my answer to “what’s for dessert?” when I’m tired, don’t want to bake, and still want something that tastes really good. My family is happy, my guests are impressed, and I’m happy because I’m not stressed about cooking.
Make it yours! Try different add-ins, swap in your favorite spices, or experiment with the grill method. The best recipes are the ones you adapt to your family’s tastes.
If you make this, drop a comment and let me know what you think! I love hearing how recipes turn out in your kitchen. And if something doesn’t work, tell me that too—I’m here to help troubleshoot.
Happy cooking! And I hope your kitchen smells half as good as mine does right now.
Frequently Asked Questions
Can I use fresh pumpkin instead of canned?
You can, but it’s a lot of work. You need to roast the pumpkin, puree it, and then drain it to remove excess water. Canned pumpkin is already cooked and drained, so it’s much easier. If you use fresh, make sure it’s very thick, or your pie will be watery.
Why did my crust fall apart?
Usually, this means you didn’t use enough butter, or you didn’t press it down firmly enough. The butter acts as the glue. Make sure it’s fully mixed with the crumbs, and press it down with a flat-bottomed glass or measuring cup. Also, let it chill for at least 30 minutes before adding the filling.
Can I make this in a regular pie dish?
Yes, but it’s harder to remove slices cleanly. A springform pan is best because it releases the sides. If you use a regular pie dish, just slice it directly in the dish. It’s not as pretty, but it tastes the same.
Does the grill method really make a difference?
It’s subtle, but yes. The ambient heat helps set the crust slightly faster, and the smoke adds a tiny bit of depth. It’s not essential, but if you’re already grilling, it’s a fun way to use the space. Just keep the pie covered and away from direct flame.
Can I double this recipe?
Absolutely! Double everything and use a 10-inch springform pan. The cooking times stay the same. I do this when I’m feeding a crowd. Just make sure your fridge has space for it.
What if I don’t have pumpkin pie spice?
You can make your own. Mix 1 teaspoon cinnamon, ½ teaspoon ginger, ¼ teaspoon nutmeg, and ¼ teaspoon cloves. It’s close enough to the commercial blend. I usually do this when I run out.
Can I use almond milk instead of heavy cream?
You can, but it won’t whip up. You’ll need to use a different thickening agent, like gelatin or cornstarch. I haven’t tested this version, so I’d stick with heavy cream for the best texture. If you’re dairy-free, use coconut cream, which whips similarly.
Pin This Recipe!
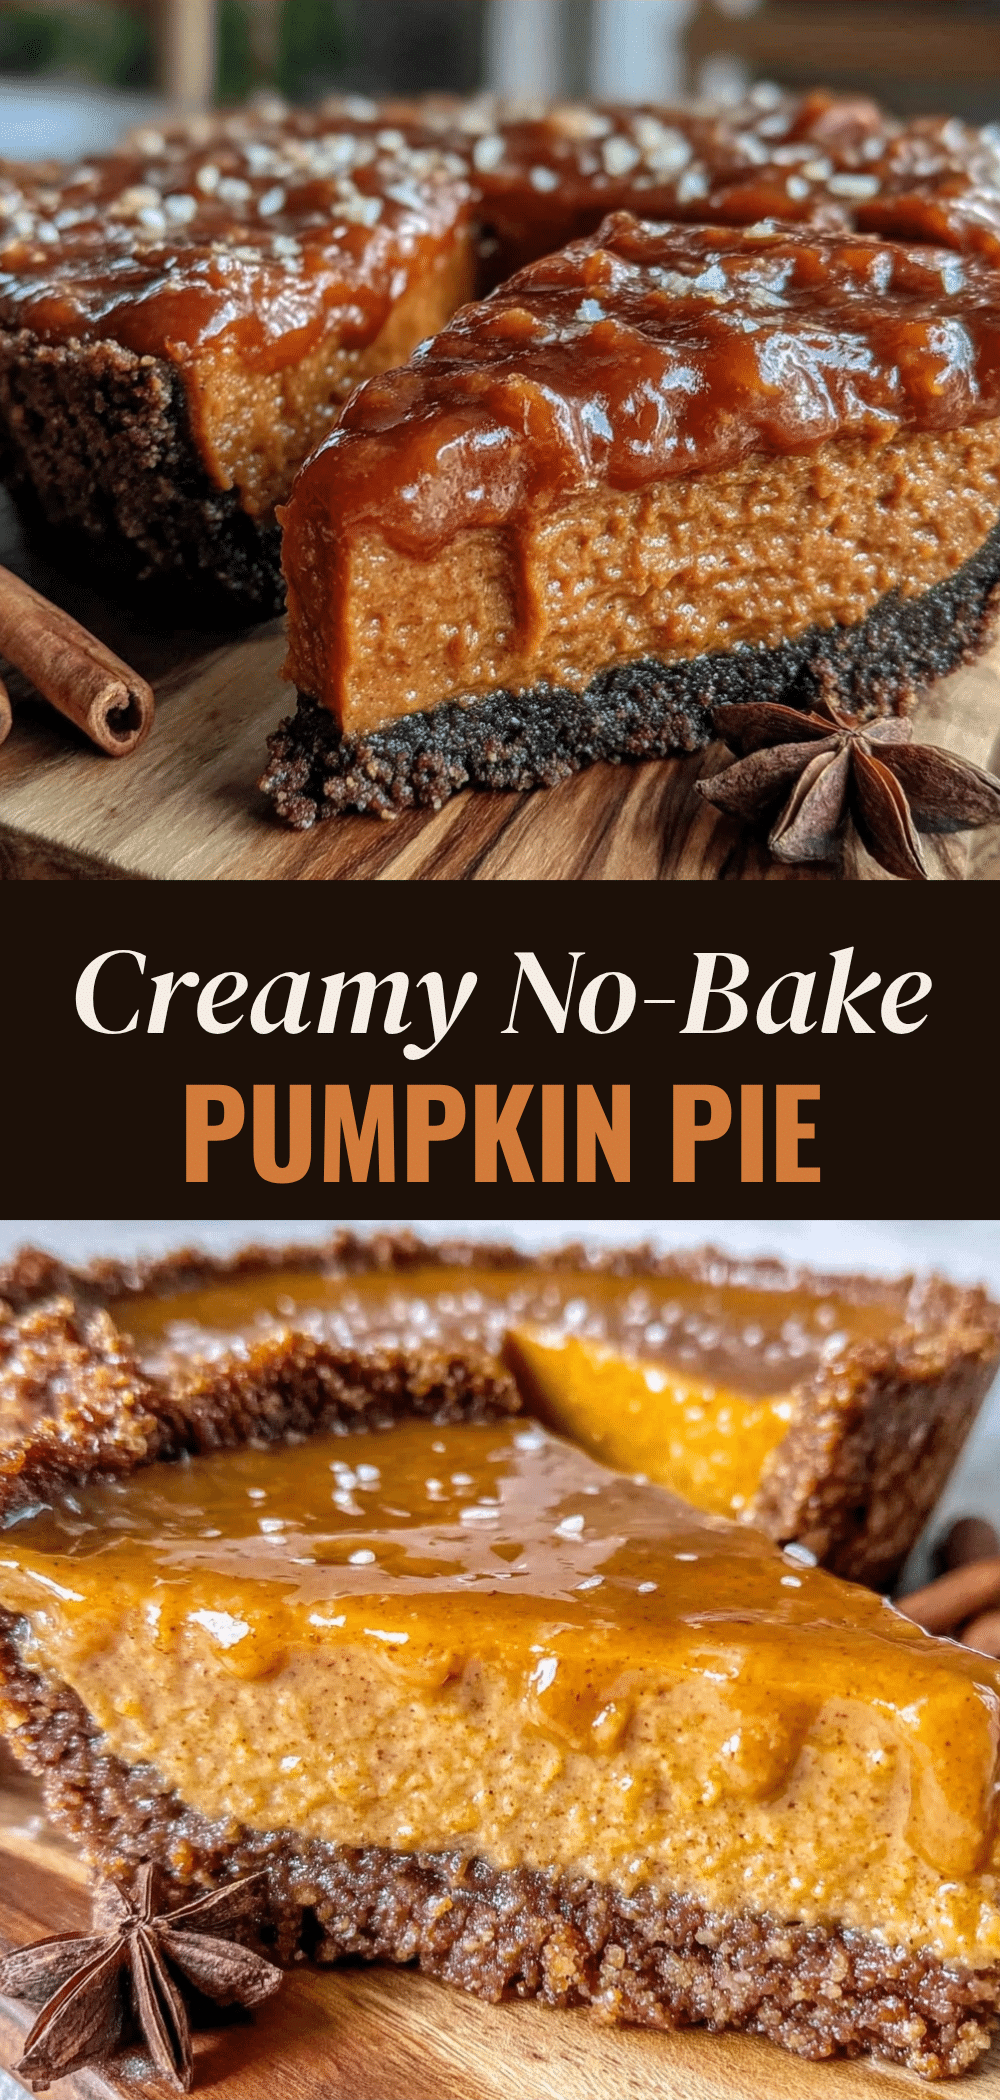
Fall No-Bake Pumpkin Pie: Grill It This Holiday
- Total Time: 4 hours 16 minutes
- Yield: 8 servings 1x
Description
A creamy, spiced no-bake pumpkin pie with a toasted gingersnap crust that picks up subtle smoky depth from the grill, keeping your kitchen cool during holiday meals.
Ingredients
- 2 cups (240g) gingersnap cookies, crushed into fine crumbs
- 1/2 cup (113g) unsalted butter, melted
- 2 cups (480ml) heavy cream, cold
- 8 oz (225g) cream cheese, full-fat and softened
- 15 oz (425g) can pumpkin puree
- 1/2 cup (100g) granulated sugar
- 2 teaspoons pumpkin pie spice
- 1 teaspoon vanilla extract
- Whipped cream for topping
- Optional: Dark chocolate shavings
Instructions
- Crush gingersnap cookies into fine crumbs using a food processor. Mix with melted butter until resembling wet sand.
- Press the crust mixture firmly into the bottom and up the sides of a 9-inch springform pan. Chill in the fridge while making the filling.
- In a large bowl, whip the cold heavy cream until stiff peaks form. Set aside in the fridge.
- In another large bowl, beat the softened cream cheese until smooth. Add sugar, pumpkin puree, pumpkin pie spice, and vanilla. Mix until combined and smooth.
- Gently fold the whipped cream into the pumpkin mixture until just combined, being careful not to deflate the cream.
- Pour the filling into the chilled crust and smooth the top.
- Chill for at least 4 hours or overnight. For a smoky flavor, place the pie on the grill side shelf or near the grill for the last hour of cooking, covered tightly with foil.
- Release the springform ring, top with whipped cream and optional chocolate shavings, and serve.
Notes
Keep heavy cream ice cold for best whipping results. The pie tastes better the next day as flavors meld. If using the grill method, ensure the pie is covered with foil to prevent debris from falling in. Do not reheat; serve chilled.
- Prep Time: 16 minutes
- Cook Time: 0 minutes
- Category: Dessert
- Cuisine: American
Nutrition
- Serving Size: 1 slice
- Calories: 380
- Sugar: 22
- Sodium: 220
- Fat: 24
- Saturated Fat: 14
- Carbohydrates: 35
- Fiber: 2
- Protein: 6
Keywords: no-bake pumpkin pie, gingersnap crust, grill dessert, holiday dessert, fall recipes, pumpkin pie, no oven dessert



