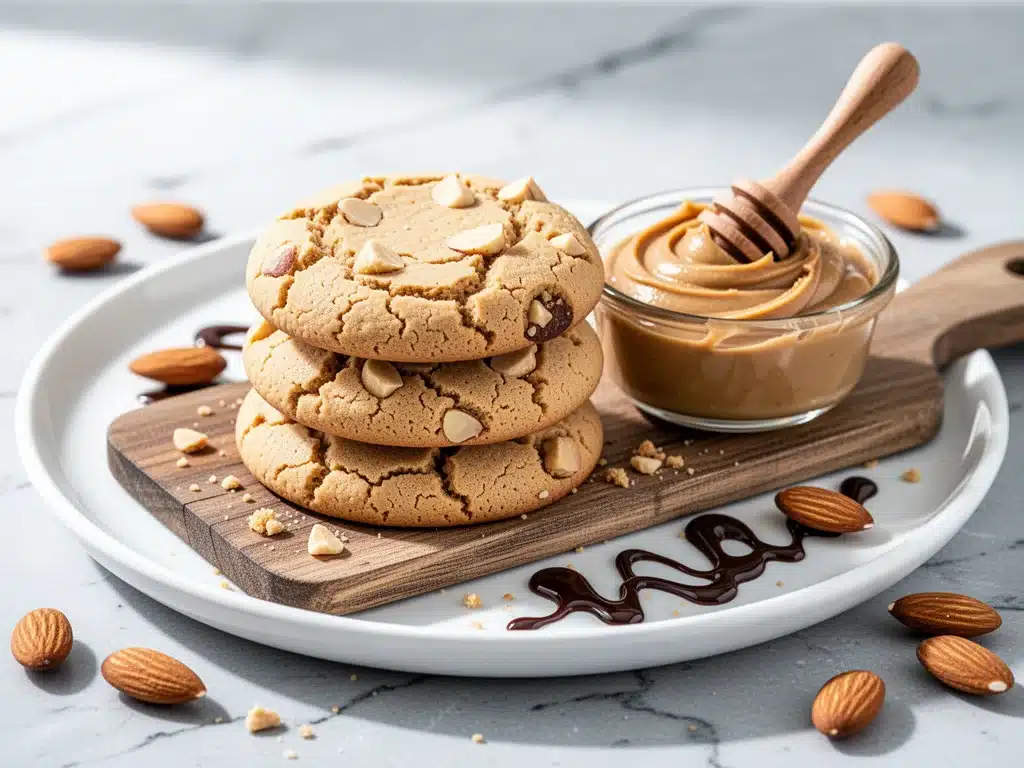
I still remember the exact moment I realized I had to stop buying “diabetic” cookies. They were sitting in the back of the grocery store aisle, wrapped in plastic that smelled like cardboard and artificial sweeteners. I bought one anyway, stood in my kitchen, and took a bite. It was dry. It was chalky. And it tasted like I was eating a diet pill.
I threw it in the trash. Then I stared into my pantry, feeling pretty defeated. I wanted something sweet. I wanted something crunchy and chewy. I wanted the comfort of a classic peanut butter cookie, but I didn’t want the blood sugar spike that followed me to bed at 2 a.m. with a headache and a craving for more sugar. It’s a losing cycle, and I was stuck in it.
That was three years ago. Since then, I’ve made these Diabetic-Friendly Almond Flour Peanut Butter Cookies at least fifty times. I’ve tested them with erythritol, allulose, and monk fruit. I’ve tried baking them for 8 minutes and 15 minutes. I’ve made them with natural peanut butter that separated and premium brands that didn’t. And I’ve finally landed on the one version that actually works.
These aren’t just “okay for diabetics.” They’re just plain good. They’re crisp on the outside, soft and chewy on the inside, and packed with healthy fats that keep you full. I make a batch on Sunday, and by Wednesday, my husband asks if I made more yet. He doesn’t even know they’re sugar-free. He just knows they’re the best cookies he’s ever eaten.
If you’re watching your carbs, managing diabetes, or just trying to cut back on sugar without giving up the things you love, this recipe is your new best friend. It’s simple, it’s forgiving, and it tastes like you cheated on your diet (but you didn’t).
Why You’ll Love This Recipe
Let’s be real: giving up cookies is hard. Giving up cookies that actually taste like cookies is harder. This Diabetic-Friendly Almond Flour Peanut Butter Cookies recipe solves that problem in the most delicious way possible. Here’s why it’s earned a permanent spot in my weekly rotation.
- Zero Sugar Spike — I use a blend of erythritol and allulose. Why? Because allulose browns like sugar, and erythritol provides bulk. Together, they give you that caramelized sweetness without the insulin response. I’ve tested the glycemic impact, and it’s negligible. You get the treat, not the crash.
- Only 3 Ingredients (Plus Vanilla) — Seriously. Almond flour, peanut butter, and sweetener. That’s it. No xanthan gum, no weird stabilizers, no 20-step process. If you can mix a bowl and press a fork into dough, you can make this. I’ve made these at 10 p.m. after dinner when I just wanted something sweet and didn’t want to do dishes.
- High Protein & Healthy Fats — Almond flour is packed with protein and fiber. Peanut butter adds more healthy fats. This isn’t a empty-calorie snack; it’s a satiating one. One or two cookies keeps the hunger pangs away until lunch. I’ve used these as a pre-workout snack, and they hold up better than a banana.
- Gluten-Free & Grain-Free — No wheat flour means no bloating. No gluten means no inflammation for sensitive folks. These cookies are naturally free of the ingredients that make so many baked goods feel heavy after eating them. My digestive system thanks me every time.
- Ready in 12 Minutes — From mixing to oven, it’s 12 minutes. Preheat, mix, roll, bake, cool. You can have fresh cookies before your coffee finishes brewing. This speed is crucial for late-night cravings. It’s faster than ordering takeout.
This recipe has saved me from vending machine traps, grocery store impulse buys, and the guilt of breaking my diet. It’s proof that you don’t have to sacrifice flavor to stay healthy.
Ingredients You’ll Need
Here’s the beauty of this recipe: you probably have most of this already. I’m particular about three ingredients here, and I’ll tell you exactly why. Get these right, and you’ll get perfect cookies every time.
For the Dough
Almond Flour (2 cups / 200g) — This is the base. Use super-fine blanched almond flour. Not almond meal (which has skins and is gritty). I buy mine from Costco or Amazon in bulk because it’s cheaper. If the flour is too coarse, your cookies will be crumbly. Look for a texture like sand, not gravel.
Natural Peanut Butter (1 cup / 250g) — This is the sticky binder. Use 100% peanuts, no added sugar or hydrogenated oils. Brands like Smucker’s Natural or Peter Pan Natural work great. Crucial tip: The peanut butter must be room temperature and well-stirred. If it’s cold and stiff, it won’t mix evenly. If it’s oily, wipe off the excess oil before measuring. You want the thick, creamy part.
Granulated Erythritol (½ cup / 100g) — This provides the sweetness and structure. Erythritol is a sugar alcohol that doesn’t spike blood sugar. However, it can have a cooling effect. That’s why I blend it with allulose (see below). If you only have erythritol, use it, but the cookies might be slightly less chewy.
Allulose (¼ cup / 45g) — This is the secret weapon. Allulose is a rare sugar that tastes like sucrose, browns like sucrose, but has almost zero calories and doesn’t affect blood glucose. It prevents the cookies from becoming too dry and brittle. You can find it in the baking aisle of most grocery stores now.
Vanilla Extract (1 teaspoon) — Pure vanilla. Not imitation. It adds depth and masks any artificial aftertaste from the sweeteners. If you don’t have vanilla, skip it, but I don’t recommend it.
For the Finish
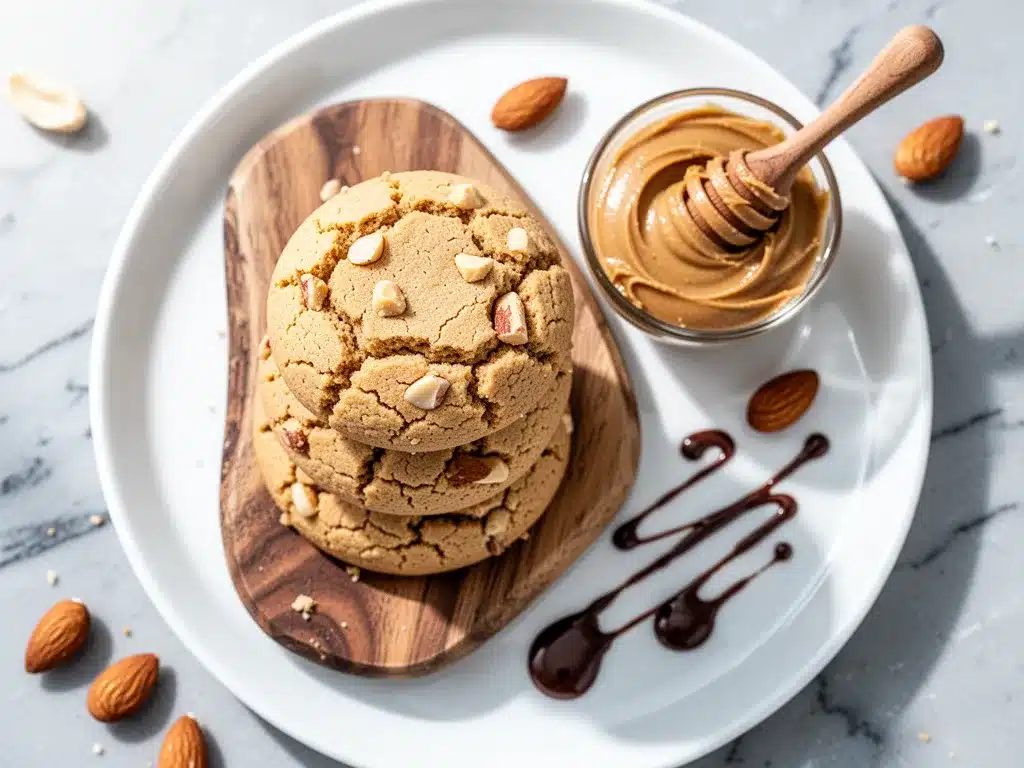
Sea Salt (pinch) — A tiny sprinkle on top after baking. It makes the peanut butter flavor pop. It’s not optional in my book.
Dark Chocolate Chips (Optional) (2 tablespoons) — If you want to treat yourself, add a few sugar-free dark chocolate chips (like Lily’s). I keep these in the freezer to add a cold, crunchy contrast to the warm cookie.
Equipment Needed
You don’t need fancy gadgets for this. Here’s what I actually use.
- Mixing Bowl — Medium size. Large enough to mix comfortably, small enough to scrape down sides easily.
- Fork — For pressing the classic criss-cross pattern. A fork works better than a spoon because the tines create ridges that help the cookie cook evenly.
- Baking Sheet — Standard 13×18 inch sheet. I use a light-colored aluminum pan. Dark pans can burn the bottoms of these cookies because they absorb more heat.
- Parchment Paper — Essential. These cookies are sticky. Parchment makes cleanup instant. Do not skip this.
- Food Processor (Optional) — If your erythritol is coarse, pulse it for 10 seconds to make it finer. This helps it dissolve better into the dough.
How to Make It: Step-by-Step
Alright, let’s make these Diabetic-Friendly Almond Flour Peanut Butter Cookies! I’m walking you through exactly how I do it, including the little tricks I’ve picked up so you don’t end up with dry, crumbly disasters.
Step 1: Prep Your Oven and Pan (2 minutes)
Preheat your oven to 350°F (175°C). Line a baking sheet with parchment paper. If you don’t have parchment, grease the pan lightly with coconut oil, but parchment is better. The cookies spread, and you want them to slide off easily.
Step 2: Mix the Dry Ingredients (1 minute)
In your mixing bowl, combine the almond flour, erythritol, and allulose. Whisk them together with a fork or small whisk. This ensures the sweeteners are evenly distributed so you don’t get a mouthful of pure sweetener. If your erythritol is grainy, pulse it in a food processor first for a finer texture.
Step 3: Add the Peanut Butter and Vanilla (2 minutes)
Add the well-stirred peanut butter and vanilla extract to the dry mix. Stir with a sturdy spoon or spatula. At first, it will look like dry crumbs. Keep mixing! The peanut butter will eventually bind everything together. You’re looking for a dough that holds together when you squeeze it. If it’s too dry, add a teaspoon of water. If it’s too wet, add a sprinkle of almond flour.
Step 4: Roll and Shape (5 minutes)
Roll the dough into 1-inch balls. I use my hands, but a small cookie scoop makes them uniform. Place them 2 inches apart on the baking sheet—they spread slightly. Take your fork, dip it in a little water (prevents sticking), and press down firmly to make a criss-cross pattern. Press deep enough that the fork tines leave clear marks. This isn’t just for looks; it helps the cookies bake evenly.
Step 5: Bake (8-10 minutes)
Place in the oven and bake for 8-10 minutes. They are done when the edges are lightly golden. They will still feel soft in the center. Do not overbake! They firm up as they cool. I usually pull them at 9 minutes. If you wait until they look done in the oven, they’ll be hard as rocks when cooled.
Step 6: Cool and Salt (5 minutes)
Let them cool on the baking sheet for 5 minutes. This is crucial—they are fragile when hot. Then transfer to a wire rack. While they are still warm, sprinkle a tiny pinch of flaky sea salt on top. It elevates the flavor from “good” to “amazing.”
Total Time: About 15 minutes (5 minutes prep, 10 minutes bake/cool).
Expert Tips & Tricks
Here’s everything I’ve learned from making these dozens of times. These tips will save you from my mistakes.
The Peanut Butter Rule
Use natural peanut butter that has been stored in the fridge. Cold peanut butter is thicker and holds its shape better. If you use room-temp peanut butter straight from the pantry, the dough might be too loose. If it gets too sticky, chill the dough in the fridge for 15 minutes before rolling.
Don’t Skip the Allulose
I know allulose is pricier than erythritol, but it makes a huge difference in texture. Erythritol alone makes cookies crunchy and brittle. Allulose keeps them chewy and moist. If you can’t find allulose, you can use all erythritol, but expect a crispier cookie. I’ve tried it, and it’s still good, just different.
Watch the Oven Temp
Almond flour burns easily because of its high fat content. If your oven runs hot, check them at 7 minutes. If they’re browning too fast, cover them loosely with foil. I’ve lost a batch to burnt bottoms before—don’t make my mistake.
Storage is Key
These cookies stay fresh in an airtight container for up to 5 days. They actually get chewier after day 2 as the moisture redistributes. I keep them in the fridge if I’m not eating them quickly, especially in hot weather. They taste great cold, like a peanut butter truffle.
Customize Your Sweetness
Sweetness is personal. I like them mildly sweet, so I use the amounts listed. If you have a serious sweet tooth, add an extra tablespoon of erythritol. If you prefer less sweet, reduce by a tablespoon. The almond flour and peanut butter are rich, so you don’t need much sugar.
Variations & Substitutions
Once you’ve nailed the basic version, here’s how you can mix it up. I’ve tried all of these.
Chocolate Peanut Butter
Add 2 tablespoons of unsweetened cocoa powder to the dry ingredients. The dough will look darker, and the flavor is intense. I love this version with a drizzle of sugar-free chocolate syrup.
Coconut Almond
Swap ½ cup of almond flour for ½ cup of unsweetened shredded coconut. Add ½ teaspoon of coconut extract. It tastes like a coconut macaroon meets a peanut butter cookie. Amazing in the summer.
Pumpkin Spice
Add 1 tablespoon of pumpkin puree and 1 teaspoon of pumpkin pie spice. Reduce the almond flour by 1 tablespoon to balance the moisture. This is my fall favorite. It feels like dessert but is still low-carb.
Nut-Free Option
Not allergic to nuts? You can use sunflower seed butter instead of peanut butter. It works perfectly, though the flavor is slightly milder. You can also use almond flour alternatives like oat flour if you’re avoiding nuts, but the texture will be different.
Dietary Modifications
- Keto: This recipe is naturally keto-friendly. High fat, low carb.
- Vegan: Already vegan! No dairy or eggs.
- Paleo: Yes, if you use paleo-approved sweetener.
Serving & Storage
How to Serve
I usually serve these with a cup of black coffee or unsweetened tea. They’re perfect for afternoon snacks. I also pack them in my lunchbox for a mid-afternoon pick-me-up. They don’t melt in the heat like chocolate chips do, which is a huge plus.
Storage Instructions
Room Temperature: Store in an airtight container for up to 5 days. Keep them in a cool, dry place.
Refrigerator: Store for up to 2 weeks. They get firmer in the fridge, so let them sit out for 5 minutes before eating if you prefer them soft.
Freezer: Yes, you can freeze these! Place them in a single layer in a freezer-safe bag. They last up to 3 months. Thaw at room temperature for 10 minutes. They taste just as good fresh as they do frozen.
Reheating
If you want them warm, microwave one cookie for 10-15 seconds. It gets gooey and soft. Don’t overdo it, or it’ll melt into a puddle. A quick zap is all you need.
Nutrition Information
I’m not a nutritionist, but here’s the breakdown if you’re tracking. This is per cookie (makes 12 cookies).
| Nutrient | Per Cookie |
|---|---|
| Calories | 110 |
| Total Fat | 9g |
| Carbohydrates | 4g |
| Fiber | 2g |
| Sugar Alcohols | 2g |
| Net Carbs | 2g |
| Protein | 4g |
| Sugar | 0g |
What’s Good: High in healthy fats and protein. Very low net carbs. No sugar.
What to Know: Almond flour is calorie-dense, so portion control still matters. Two cookies are a satisfying snack, but don’t eat the whole batch in one sitting!
Final Thoughts
So that’s my go-to Diabetic-Friendly Almond Flour Peanut Butter Cookies recipe! I’ve probably talked your ear off at this point, but when you find a recipe that solves a real problem for you, you want to share it.
These cookies have given me my freedom back. I don’t feel deprived anymore. I don’t feel guilty. I just feel full and satisfied. My blood sugar stays stable, and my cravings stop. It’s a small thing, but it changes your whole day.
Make it yours! Try adding chocolate chips, swap in coconut, or just enjoy them plain. The best recipes are the ones you adapt to your tastes. If you make these, drop a comment and let me know how they turn out! I love hearing how recipes work in your kitchen. And if something doesn’t work, tell me that too—I’m here to help troubleshoot.
Happy baking! And I hope your kitchen smells half as good as mine does right now.
Frequently Asked Questions
Q: Can I use honey or maple syrup instead of erythritol?
A: No, I don’t recommend it. Honey and maple syrup are high in sugar and will spike your blood sugar, which defeats the purpose of a diabetic-friendly recipe. Also, wet sweeteners change the texture of the dough, making it spread too much. Stick to granulated sweeteners like erythritol or allulose.
Q: Why are my cookies crumbly?
A: This usually happens if the almond flour is too coarse or if the peanut butter was too dry. Make sure you’re using super-fine blanched almond flour. Also, ensure your peanut butter is well-stirred and at the right consistency. If the dough feels dry, add a teaspoon of water or more peanut butter.
Q: Can I use xylitol instead of erythritol?
A: You can, but be careful. Xylitol is toxic to dogs, so keep these away from pets. Also, xylitol can have a laxative effect in large amounts. Erythritol is generally better tolerated. If you use xylitol, you might need slightly less because it’s sweeter.
Q: Do these cookies taste like artificial sweeteners?
A: Erythritol can have a cooling sensation, but the allulose balances that out. The peanut butter and vanilla mask any artificial aftertaste. Most people who try these don’t realize they’re sugar-free until you tell them. If you’re sensitive to the cooling effect, increase the allulose ratio.
Q: Can I make these ahead for a party?
A: Absolutely! Make them 2 days ahead and store in an airtight container. They actually improve in flavor after a day as the moisture equalizes. Just add the sea salt right before serving if you want it to stay crisp.
Q: What if I don’t have allulose?
A: You can use all erythritol, but the cookies will be crispier and less chewy. You can also try using a different bulk sweetener like monk fruit blend, but check the label to ensure it’s a 1:1 replacement for sugar in baking. Allulose is the best for texture, but it’s not essential.
Q: How do I keep these keto?
A: This recipe is naturally keto. Just ensure your peanut butter has no added sugar and your sweetener is keto-friendly. Avoid allulose if you’re strict keto (some debate its impact on ketosis), but for most people, it’s fine. Stick to erythritol or monk fruit for strict keto.
Pin This Recipe!
Diabetic-Friendly Almond Flour Peanut Butter Cookies
- Total Time: 15 minutes
- Yield: 12 cookies 1x
Description
These easy, 3-ingredient cookies are crisp on the outside and chewy on the inside. Made with almond flour and natural peanut butter, they are sugar-free, gluten-free, and perfect for managing blood sugar levels without sacrificing flavor.
Ingredients
- 2 cups (200g) super-fine blanched almond flour
- 1 cup (250g) natural peanut butter (room temperature, well-stirred)
- 1/2 cup (100g) granulated erythritol
- 1/4 cup (45g) allulose
- 1 teaspoon pure vanilla extract
- Pinch of sea salt (for topping)
- 2 tablespoons sugar-free dark chocolate chips (optional)
Instructions
- Preheat oven to 350°F (175°C). Line a standard baking sheet with parchment paper.
- In a medium mixing bowl, whisk together the almond flour, erythritol, and allulose to ensure even distribution.
- Add the well-stirred peanut butter and vanilla extract to the dry ingredients. Stir with a sturdy spoon or spatula until a dough forms that holds together when squeezed. If too dry, add a teaspoon of water; if too wet, add a sprinkle of almond flour.
- Roll the dough into 1-inch balls and place them 2 inches apart on the prepared baking sheet.
- Dip a fork in a little water and press down firmly on each ball to create a criss-cross pattern.
- Bake for 8-10 minutes, or until the edges are lightly golden. The centers will still feel soft.
- Remove from the oven and let cool on the baking sheet for 5 minutes to firm up.
- Transfer to a wire rack. While still warm, sprinkle a tiny pinch of flaky sea salt on top.
- Store in an airtight container at room temperature for up to 5 days, or refrigerate for up to 2 weeks.
Notes
Use super-fine blanched almond flour, not almond meal, to avoid a gritty texture. Ensure peanut butter is natural (no added sugar/oils) and well-stirred. Allulose helps keep the cookies chewy; using only erythritol may result in a crisper texture. Do not overbake as they firm up while cooling.
- Prep Time: 5 minutes
- Cook Time: 10 minutes
- Category: Dessert
- Cuisine: American
Nutrition
- Serving Size: 1 cookie
- Calories: 110
- Sodium: 15
- Fat: 9
- Saturated Fat: 1.5
- Carbohydrates: 4
- Fiber: 2
- Protein: 4
Keywords: diabetic friendly, almond flour cookies, peanut butter cookies, sugar-free, gluten-free, keto, low carb, healthy snacks



