It was 10:30 PM on a Tuesday, the kind of night where the house is finally quiet, the kids are asleep, and I’m staring into the abyss of the refrigerator like it holds the answers to life’s biggest mysteries. I wasn’t hungry, exactly. I was just… craving something. Something that tasted like a celebration but required zero effort.
That’s when I decided to make this chocolate lava cake. I’d seen the videos on Pinterest—those gorgeous, slow-motion shots of the dark, gooey center oozing out onto the plate—and I’d always assumed it was a trick. Like, surely you have to be a professional pastry chef to get that molten center without ending up with a solid brick of chocolate or a raw egg custard disaster. I’d tried once before and ended up with four dense chocolate cookies that tasted like disappointment.
But that night, desperate for a sugar fix that didn’t involve opening a bag of chips, I threw together ingredients I already had. I didn’t measure the butter precisely. I guessed on the chocolate. I set the timer for six minutes because my intuition screamed “six.”
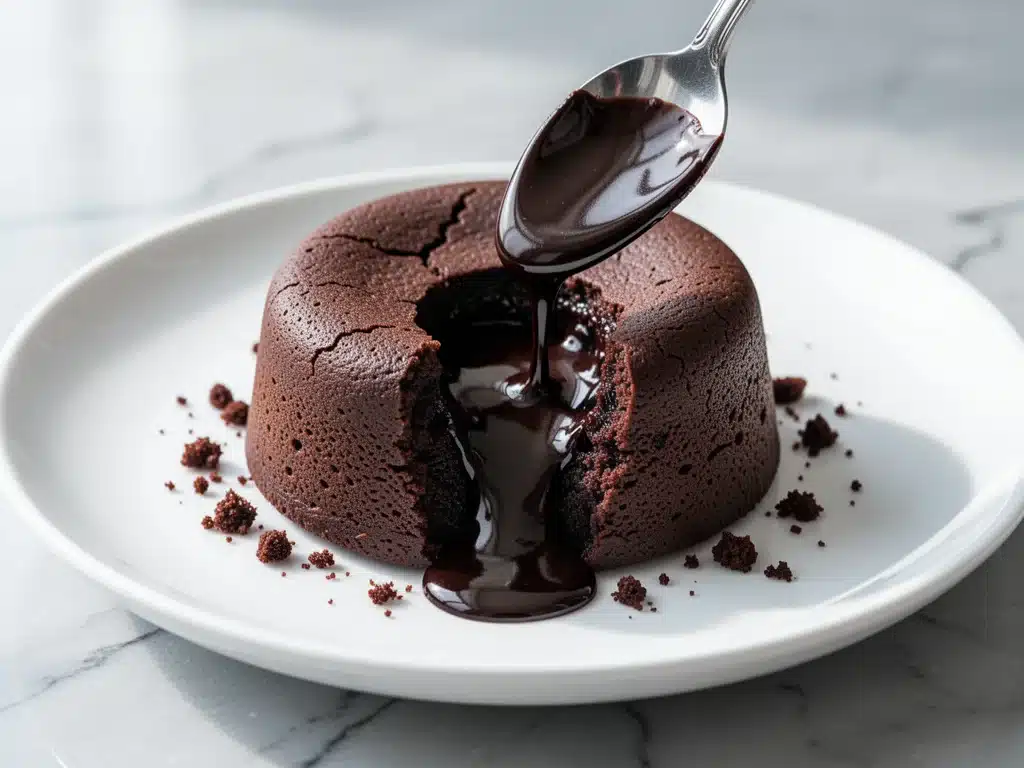
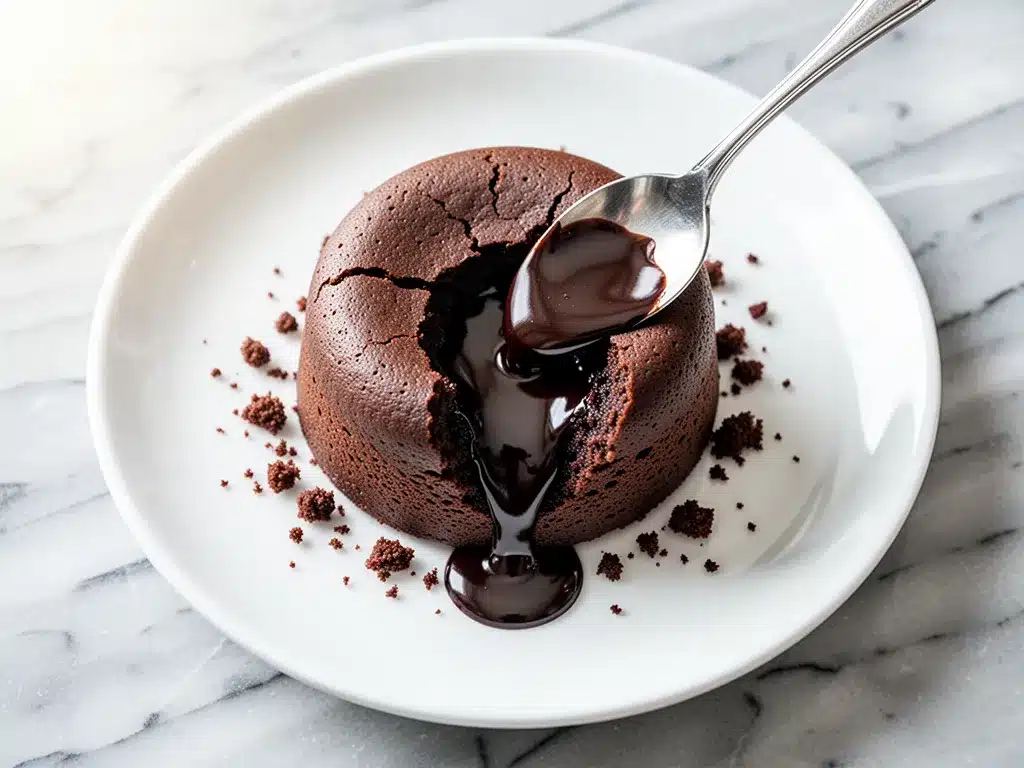
I pulled them out, waited thirty seconds (the hardest part of the recipe), and inhaled the ramekins. I flipped them onto a plate. And then it happened. That magical, terrifying, beautiful moment where the cake holds its shape for a split second, and then—*whoosh*—rich, warm, molten chocolate spills out like a lava flow.
I took a bite. My husband, who had wandered in smelling the chocolate, looked at me with half-closed eyes and said, “That’s it. You’re making this every week.” He was right. This decadent chocolate lava cake with rich molten center has become my go-to when I want to feel fancy but have no energy. It’s foolproof, it’s fast, and honestly? It’s the best thing you’ll eat all week.
Why You’ll Love This Chocolate Lava Cake Recipe
Look, I get it. Dessert can be stressful. You don’t want to spend hours baking, and you definitely don’t want to deal with a kitchen that looks like a flour bomb went off. This recipe is different. It’s not just a dessert; it’s a mood lifter.
Here’s why this specific version of the chocolate lava cake keeps me coming back:
- It’s actually fast. From bowl to oven to mouth takes about 25 minutes. The active time is maybe 10 minutes. The rest is just waiting for the oven to do its thing. I can mix this batter while I’m scrolling through Instagram or listening to a podcast.
- The “fail-proof” factor. The secret isn’t a fancy technique; it’s timing. Once you nail that 6-minute window, you can make these in your sleep. I’ve made them tired, I’ve made them distracted, and they’ve all turned out perfectly.
- It feels expensive. There is something deeply satisfying about serving a dessert that looks like it came from a high-end Parisian bistro, but costs less than $2 per person to make. My friends think I’m a wizard when I pull these out of the oven.
- Leftovers? Don’t need them. You won’t have any. These are meant to be eaten immediately, hot, while the center is still liquid gold. There is no “tomorrow’s lunch” with this one. It’s a one-and-done experience.
- Minimal cleanup. You’re using ramekins (or a muffin tin if you’re being lazy), one mixing bowl, and a whisk. That’s it. No complex piping, no intricate decorations. Just pure, unadulterated chocolate.
Whether it’s a date night, a birthday, or just a Tuesday night where you need to remind yourself that life is sweet, this recipe delivers. It’s reliable, it’s delicious, and it never judges you for eating two.
Ingredients You’ll Need
Here’s the thing about this chocolate lava cake: you probably already have most of this in your kitchen. It’s a pantry staple recipe that relies on quality chocolate rather than a dozen exotic ingredients. Let’s break down what you need and why I’m particular about each one.
For the Chocolate Base
Dark chocolate chips or chunks (6 ounces / 170g) — This is the star of the show. I don’t use baking bars because chips melt more evenly and consistently. Look for a brand with at least 60% cocoa. Ghirardelli or Lindt work great. Do not use white chocolate or milk chocolate unless you want it too sweet. You want that deep, rich bitterness to balance the sugar.
Unsalted butter (½ cup / 113g) — Yes, a whole half cup. This provides the richness and helps create that silky texture. Don’t skimp on the butter here; it’s what makes the center “lava” instead of “cake.” If you’re out, you can use oil, but the flavor won’t be as good. I always keep butter in the fridge for this.
Granulated sugar (1 cup / 200g) — Standard white sugar. Some people use brown sugar for a caramel note, but I prefer white because it lets the chocolate flavor shine. It also helps create that crisp outer crust.
Large eggs (2 whole) — Room temperature is best. If your eggs are cold, they’ll shock the warm chocolate. Just pull them out of the fridge 15 minutes before you start. These provide the structure and the protein that allows the center to stay liquid.
Egg yolks (2 extra yolks) — This is the secret weapon. The extra yolks add fat and richness, making the center gooier. It sounds like a lot of eggs, but it’s what creates that custard-like texture.
Vanilla extract (1 teaspoon) — Pure vanilla, please. Artificial stuff tastes harsh in simple desserts. Just a teaspoon to round out the flavors.
For the Structure
All-purpose flour (2 tablespoons / 16g) — Only two tablespoons! This is why it’s not a cake. The flour provides just enough structure to hold the shape without drying out the center. Over-measuring here is the #1 mistake people make. Use the spoon-and-level method, don’t scoop.
Cocoa powder (1 tablespoon / 5g) — Unsweetened cocoa powder adds an extra hit of chocolate flavor. I use Hershey’s or Dutch-processed for a deeper color. It’s optional if you’re super short on ingredients, but it helps.
Cocoa powder for dusting — You’ll need a little extra to grease the ramekins. This prevents sticking and adds a nice dusting on top when you serve.
Pinch of salt — Never skip the salt. It enhances the chocolate flavor. If you use unsalted butter, this is crucial.
For Serving
Ice cream or whipped cream — Vanilla bean ice cream is classic. The cold temperature against the hot cake is a textural dream. Whipped cream works too if you want it lighter.
Fresh berries — Raspberries or strawberries add a tart contrast that cuts through the richness. I usually just throw a few on the plate for color.
Edible flowers or powdered sugar — Optional, but if you’re posting this on Instagram (and you will), a little dusting of powdered sugar looks gorgeous against the dark chocolate.
Equipment Needed
You don’t need a fancy kitchen to make this. Here’s what I actually use, along with some honest thoughts on alternatives.
6 Ramekins (6-ounce size) — This is the traditional vessel. I love the individual presentation. It feels fancy. You can find these at any thrift store for cheap if you don’t want to buy a new set. Make sure they’re oven-safe ceramic.
Muffin tin (optional) — If you don’t have ramekins, you can use a muffin tin. The cakes will be smaller and cook slightly faster (check at 5 minutes). They’re easier to grab and go, but less “fancy.”
Medium mixing bowl — Just a standard bowl for melting the chocolate and butter. Microwave-safe is best.
Small saucepan — If you don’t like using the microwave, you can melt the butter and chocolate over a double boiler. It’s slower but gives you more control. I usually just microwave it because I’m impatient.
Whisk — A simple wire whisk is perfect for beating the eggs and sugar. You want to incorporate air, so don’t be shy with the whisking.
Measuring cups and spoons — Precision matters here, especially with the flour. I use a set of stainless steel measuring spoons because they don’t warp.
Pastry brush — I use a silicone pastry brush to grease the ramekins. It’s easier to get into the corners than a paper towel. But honestly? A paper towel with a little butter works fine too.
Timer — Your phone timer. Do not guess. Set it for 6 minutes and walk away. This is non-negotiable.
How to Make It: Step-by-Step
Alright, let’s get cooking. This is easier than it looks, but there are a few tricks to ensure you get that perfect molten center every single time. I’m walking you through exactly how I do it.
Step 1: Prep Your Ramekins (2 minutes)
Before you do anything else, get your ramekins ready. Take a small piece of butter and rub it all over the inside of each ramekin. Make sure you hit every corner and the rim. Then, sprinkle in a teaspoon of cocoa powder. Tap and rotate the ramekin to coat the buttered sides evenly. Tap out the excess cocoa powder into the trash. This step is crucial—it prevents the cake from sticking and adds a nice chocolatey crust.
Pro Tip: If you’re making these ahead, you can prep the ramekins and leave them out, but cover them with plastic wrap so they don’t dry out.
Step 2: Melt the Chocolate and Butter (2 minutes)
Chop your chocolate into small pieces if they’re large chunks. This helps it melt faster. Put the chocolate and butter in a microwave-safe bowl. Microwave on high for 30 seconds. Stir. If it’s not fully melted, microwave for another 15 seconds. Stir again. Repeat until smooth. You want a glossy, smooth mixture. Do not burn the chocolate—if it gets too hot, it will seize up. If you’re using a double boiler, melt over simmering water, stirring constantly, until smooth.
Step 3: Whisk Eggs and Sugar (2 minutes)
In a separate medium bowl, whisk the whole eggs, extra egg yolks, and sugar together vigorously. You want to whisk for about a minute until the mixture is pale and slightly thickened. This incorporates air, which helps the cake rise. Add the vanilla extract and salt. Whisk to combine.
Step 4: Combine Wet and Dry (1 minute)
Pour the melted chocolate mixture into the egg mixture. Whisk gently but thoroughly until combined. The batter will look thick and glossy. Sift in the flour and cocoa powder. Fold them in with a spatula or whisk until just combined. Do not overmix. You want a smooth, thick batter. If you see lumps of flour, keep folding gently. The batter should look like thick cake batter, not runny.
Step 5: Fill the Ramekins (1 minute)
Divide the batter evenly among the 6 prepared ramekins. Use a spoon or a small ice cream scoop for even distribution. The ramekins should be about ¾ full. Smooth the tops with a spatula if they’re uneven.
Step 6: The Bake (6 minutes)
Preheat your oven to 425°F (220°C). This high heat is key. It sets the outside quickly while leaving the inside raw. Place the ramekins on a baking sheet (for easy transport) and put them in the oven. Set your timer for exactly 6 minutes.
The Visual Cues: At 6 minutes, the edges of the cake should be puffed up and set, but the center should still look soft and slightly jiggly when you shake the pan. It should not look wet or liquidy on top, but it definitely shouldn’t look dry. If it looks dry, you’ve overbaked it. If it looks like raw batter, you need 30 more seconds.
Step 7: The Wait (1 minute)
This is the hardest part. Remove the ramekins from the oven and let them sit for exactly 1 minute. This allows the cake to set just enough so it doesn’t collapse when you flip it, but keeps the center molten. Do not skip this step.
Step 8: The Flip (1 minute)
Place a small plate over the top of a ramekin. Hold the plate and ramekin firmly together. With confidence, flip them over. Gently lift the ramekin. The cake should slide out onto the plate. If it sticks, give it a gentle tap on the bottom. If it’s really stuck, you can use a butter knife to loosen the edges before flipping.
Serve immediately. The lava will start to flow out as soon as you flip it.
Expert Tips & Tricks
I’ve made these dozens of times, and I’ve made every mistake in the book. Here’s how to avoid them and get restaurant-quality results.
Timing is everything. I cannot stress this enough. 6 minutes is the sweet spot for most ovens. If your oven runs hot, start checking at 5 minutes. If it runs cold, go to 6:30. But 6 minutes is your baseline. Overbaking by even 30 seconds can turn the center from molten to cakey.
Use good chocolate. This is the main flavor. If you use cheap, waxy chocolate chips, the lava will taste waxy. Use real chocolate bars or high-quality chips. It makes a world of difference.
Don’t overmix the flour. Once you add the flour, mix just until it disappears. Overmixing develops gluten, which makes the cake tough and dense instead of tender and gooey.
Room temperature ingredients. Cold eggs can cause the chocolate to seize or not incorporate properly. Let your eggs sit out while you prep. It’s a small step that ensures a smooth batter.
The “Freezer Trick.” If you’re hosting a dinner party, you can fill the ramekins with batter up to 24 hours in advance. Cover them tightly with plastic wrap and freeze them. When it’s time to serve, take them out and bake for 7-8 minutes (add 1-2 minutes to the time). This is a lifesaver for entertaining.
Check your oven temp. Oven temperatures can vary. If your lava cakes are consistently turning out cakey, your oven might be too hot. Try lowering the temp to 400°F and baking for 7 minutes. If they’re raw, your oven might be too cold. Increase to 450°F.
Don’t panic if it leaks. If the lava flows out too fast, it’s not a failure. It’s just a very generous lava flow. Serve it with a spoon and enjoy the mess.
Variations & Substitutions
Once you’ve mastered the classic chocolate version, here are some ways to mix it up. I’ve tested all of these, and they’re all delicious.
White Chocolate Lava Cake: Substitute the dark chocolate with white chocolate chips. You’ll need to reduce the sugar slightly (use ¾ cup) because white chocolate is sweeter. The result is a creamy, vanilla-forward dessert.
Espresso Lava Cake: Add 1 teaspoon of instant espresso powder to the melted chocolate. It intensifies the chocolate flavor without making it taste like coffee. Perfect for coffee lovers.
Sea Salt Caramel: After flipping the cake onto the plate, drizzle warm caramel sauce over the top and sprinkle with flaky sea salt. This is my personal favorite variation. The salt cuts the sweetness perfectly.
Mini Muffin Tin Version: Use a mini muffin tin and bake for 4-5 minutes. These are perfect for parties and appetizers. They’re cute, bite-sized, and disappear fast.
Gluten-Free: Substitute the all-purpose flour with a 1:1 gluten-free flour blend. The texture will be slightly different but still delicious. You might need to add ½ minute to the baking time.
Dairy-Free: Use dairy-free chocolate chips and coconut oil instead of butter. The texture will be slightly less rich, but it still works. Serve with coconut whipped cream.
Vegan: This is harder because eggs are key to the structure. You can try using flax eggs (1 tbsp ground flax + 3 tbsp water per egg), but the texture will be denser. I recommend using a specific vegan lava cake recipe for better results, but this method can work in a pinch.
Serving & Storage
How to Serve: These are best served immediately while hot. I usually put a scoop of vanilla ice cream in the center of the plate, then flip the cake on top. The contrast of hot cake and cold ice cream is pure heaven. Garnish with fresh raspberries or a dusting of powdered sugar for presentation.
Storage: You cannot store leftover batter for long—it will separate. If you have leftover baked cakes (unlikely), store them in an airtight container in the fridge for up to 2 days. Reheat in the microwave for 20-30 seconds to warm the center. They won’t be as gooey, but they’re still good.
Freezing: You can freeze the unbaked batter in the ramekins for up to 1 month. Thaw in the fridge overnight before baking. Do not bake from frozen; add 2-3 minutes to the baking time.
Meal Prep: As mentioned, this is the best dessert for meal prep. Prep the ramekins on Sunday, freeze them, and bake on demand during the week. It’s the ultimate weeknight dessert hack.
Nutrition Information
I’m not a nutritionist, but here’s the breakdown if you’re tracking. Keep in mind that this is a rich, indulgent dessert, so portions are small.
Per serving (based on 6 servings, with ice cream):
- Calories: 380
- Protein: 6g
- Carbs: 42g
- Fiber: 2g
- Sugar: 32g
- Fat: 22g
- Saturated Fat: 13g
- Cholesterol: 110mg
- Sodium: 80mg
It’s high in sugar and fat, which is expected for a chocolate lava cake. But it’s also relatively low in carbs compared to other desserts because there’s no flour-heavy batter. It’s a treat to be enjoyed in moderation.
Final Thoughts
So that’s my take on the ultimate chocolate lava cake. It’s simple, it’s fast, and it’s absolutely delicious. I’ve made this recipe more times than I can count, and it never gets old. There’s something magical about that first bite—the warmth, the gooeyness, the richness. It’s comfort food at its finest.
If you’re hesitant to try it because you think it’s too hard, I promise you, it’s not. Just follow the timing, use good chocolate, and don’t be afraid of the mess. You’ll be amazed at how easy it is to create a dessert that tastes like you spent hours in the kitchen.
Make it yours! Try different toppings, experiment with flavors, or just enjoy it plain. The best recipes are the ones you adapt to your tastes. And if you make this, I’d love to hear how it turns out. Drop a comment below and let me know your favorite topping!
Happy baking! I hope your kitchen smells like heaven.
Frequently Asked Questions
Why is my lava cake not molten?
This usually means you overbaked it. Check your oven temperature with an oven thermometer—it might be running hotter than you think. Next time, reduce the baking time by 30 seconds. Also, make sure you’re using the correct size ramekins. Smaller ramekins cook faster.
Can I make this ahead of time?
Yes! Fill the ramekins with batter, cover tightly with plastic wrap, and freeze for up to 1 month. When ready to bake, thaw in the fridge overnight, then bake for 7-8 minutes. You can also refrigerate the batter for up to 24 hours before baking.
Can I use a muffin tin instead of ramekins?
Absolutely. Use a standard muffin tin and bake for 5-6 minutes. The cakes will be smaller and might need slightly less time. They’re great for parties because they’re easier to serve.
What kind of chocolate should I use?
Use high-quality dark chocolate with at least 60% cocoa. Chocolate chips work well because they melt evenly. Avoid baking bars if they’re very hard to chop, as they might not melt as smoothly. Do not use milk chocolate unless you want it very sweet.
Can I double the recipe?
Yes, but make sure you have enough ramekins or a large enough muffin tin. The baking time will remain the same. Just keep an eye on them, as ovens can have hot spots.
Why did my cake stick to the ramekin?
You likely didn’t grease the ramekin thoroughly enough. Make sure to butter every corner and dust with cocoa powder. If it’s already stuck, run a butter knife around the edge gently before flipping.
Can I use almond flour?
You can, but you’ll need to adjust the amount. Almond flour absorbs more moisture. Start with 1 tablespoon and see how the batter consistency looks. It might be slightly denser, but still delicious.
Pin This Recipe!
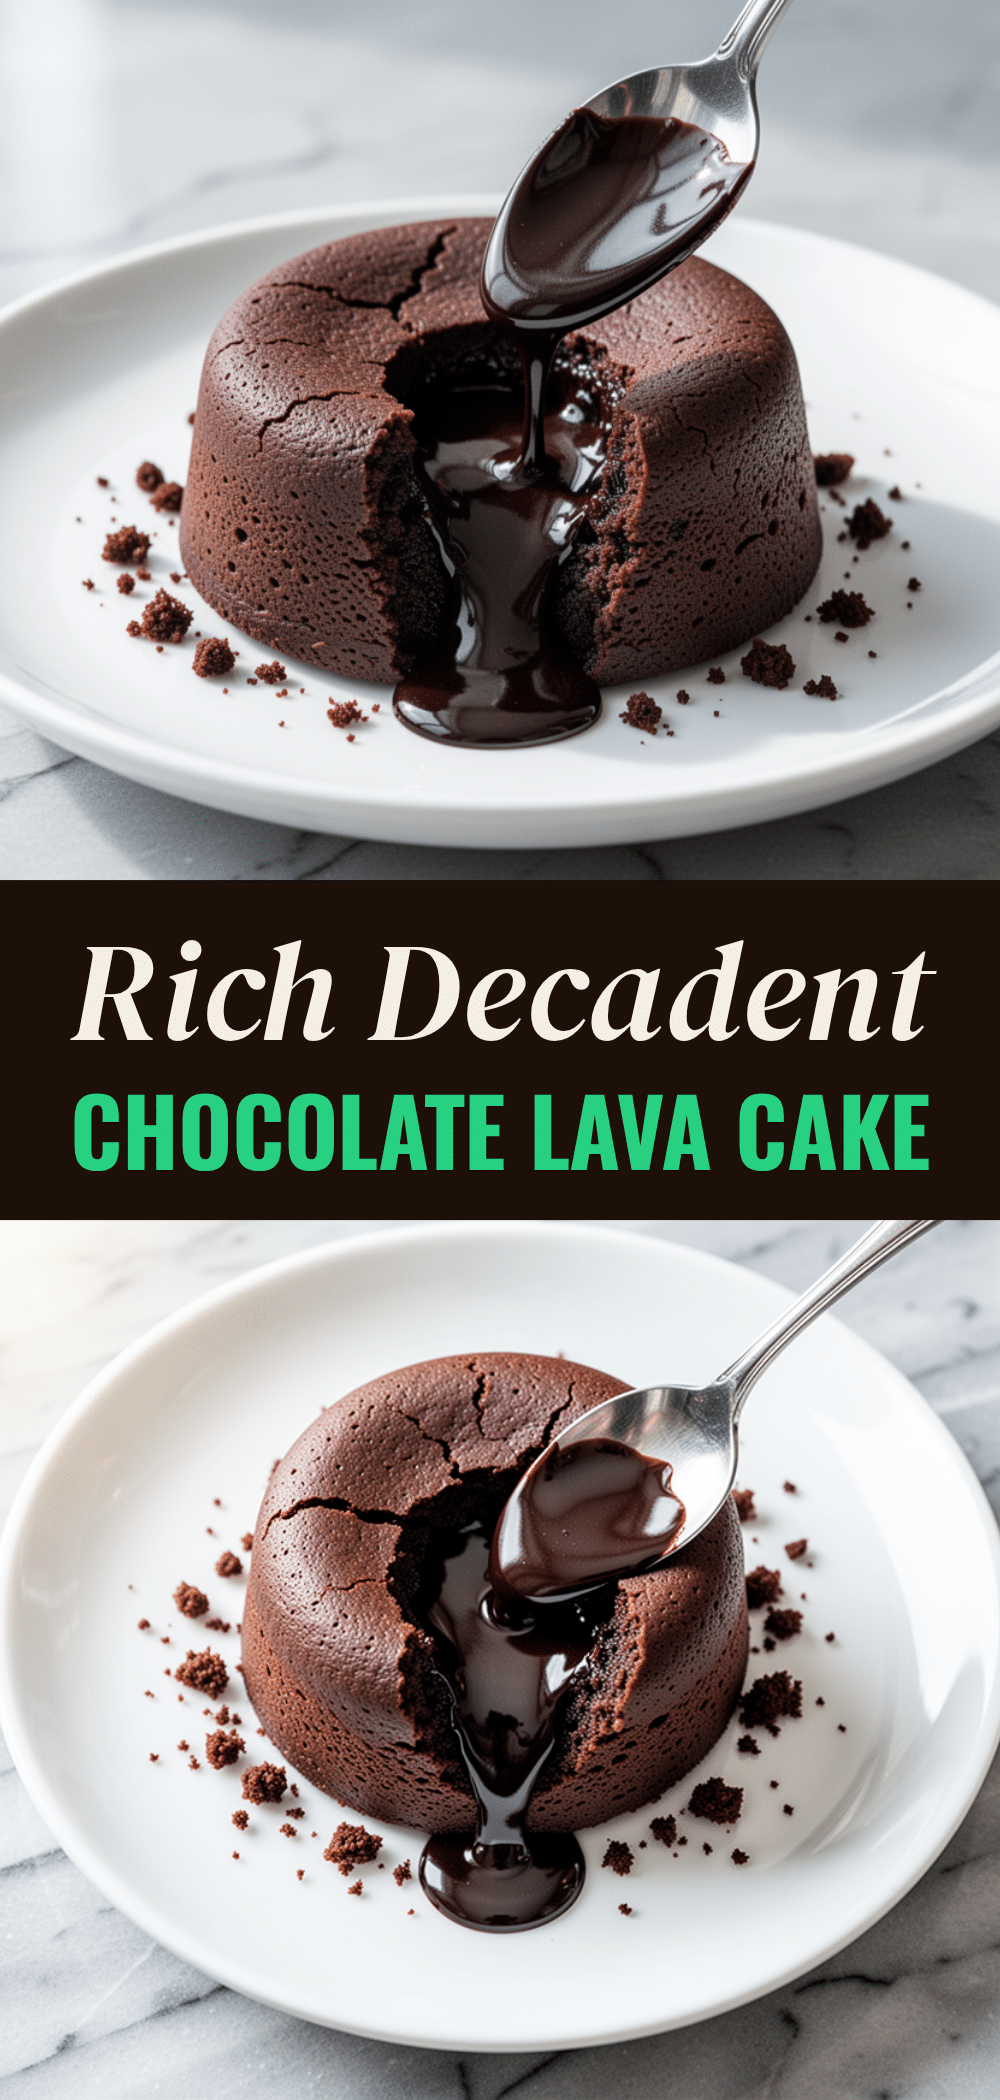
Decadent Chocolate Lava Cake: The Best Easy Recipe
- Total Time: 25 minutes
- Yield: 6 servings 1x
Description
A foolproof, fast, and decadent chocolate lava cake with a rich, molten center. This easy dessert feels fancy but requires minimal effort and cleanup, making it perfect for weeknight treats or special occasions.
Ingredients
- 6 ounces (170g) dark chocolate chips or chunks (at least 60% cocoa)
- ½ cup (113g) unsalted butter
- 1 cup (200g) granulated sugar
- 2 large eggs, room temperature
- 2 extra egg yolks, room temperature
- 1 teaspoon pure vanilla extract
- 2 tablespoons (16g) all-purpose flour
- 1 tablespoon (5g) unsweetened cocoa powder
- Cocoa powder for dusting ramekins
- Pinch of salt
- Vanilla bean ice cream or whipped cream for serving
- Fresh berries (raspberries or strawberries) for garnish
Instructions
- Preheat oven to 425°F (220°C).
- Grease 6 ramekins (6-ounce size) with butter, ensuring all corners and rims are coated. Dust with cocoa powder, tapping out excess.
- In a microwave-safe bowl, combine chopped chocolate and butter. Microwave on high for 30 seconds, stir, then continue in 15-second intervals until smooth and glossy. Alternatively, melt over a double boiler.
- In a separate medium bowl, vigorously whisk whole eggs, extra egg yolks, and sugar for about 1 minute until pale and thickened. Add vanilla extract and salt; whisk to combine.
- Pour the melted chocolate mixture into the egg mixture and whisk gently until combined.
- Sift in flour and cocoa powder. Fold in gently with a spatula or whisk until just combined. Do not overmix.
- Divide batter evenly among prepared ramekins, filling them about ¾ full.
- Place ramekins on a baking sheet and bake for exactly 6 minutes. Edges should be set but center soft and jiggly.
- Remove from oven and let rest for exactly 1 minute.
- Place a small plate over a ramekin, hold firmly, and flip over. Lift ramekin to release cake. Serve immediately.
Notes
Timing is critical; 6 minutes is the sweet spot for most ovens. If your oven runs hot, check at 5 minutes. For meal prep, fill ramekins up to 24 hours in advance, cover, and freeze. Bake frozen cakes for 7-8 minutes. Ensure eggs are room temperature to prevent chocolate from seizing. Do not overmix the flour to avoid a dense texture.
- Prep Time: 10 minutes
- Cook Time: 6 minutes
- Category: Dessert
- Cuisine: French
Nutrition
- Serving Size: 1 cake per serving
- Calories: 380
- Sugar: 32
- Sodium: 80
- Fat: 22
- Saturated Fat: 13
- Carbohydrates: 42
- Fiber: 2
- Protein: 6
Keywords: chocolate lava cake, molten chocolate cake, easy dessert, quick dessert, romantic dinner, gluten-free option, vegan option



