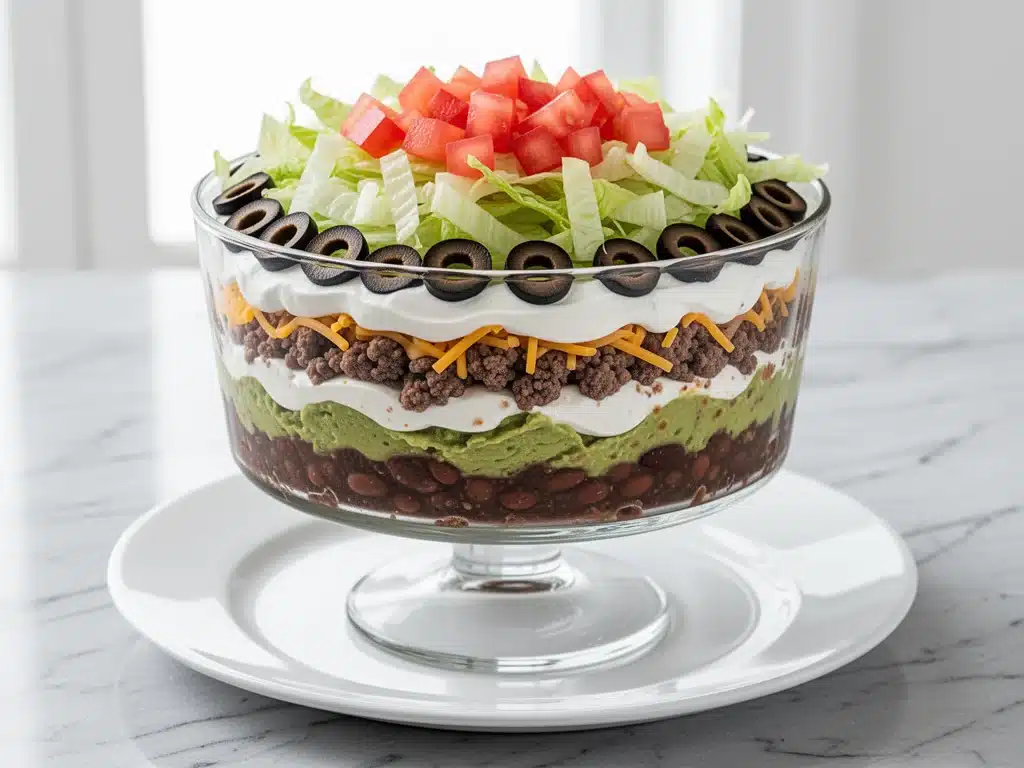
It was 7:30 PM on a Saturday, and I was staring at a half-empty pantry like it owed me money. My friends were supposed to arrive in two hours for the big game, and my plan had been “store-bought chips and a sad bag of cheese.” But then I remembered the seven-layer taco dip I’d made at a Super Bowl party three years ago—the one that disappeared in twenty minutes while everyone stood around the counter picking at it with tortilla chips.
I hadn’t made it since. Not because I didn’t love it, but because I assumed it was too much work. Wrong. So totally wrong.
I threw together what I thought would be a mediocre dip in under thirty minutes. Thirty minutes later, my husband asked me to add it to our regular rotation. That’s how I discovered that sometimes the best recipes happen when you’re not overthinking it. This creamy seven-layer taco dip has become our go-to for every gathering since—that’s game days, birthday parties, random Tuesday snacks, you name it. I’ve made it at least a dozen times since that Tuesday, tweaking it each time until it was perfect.
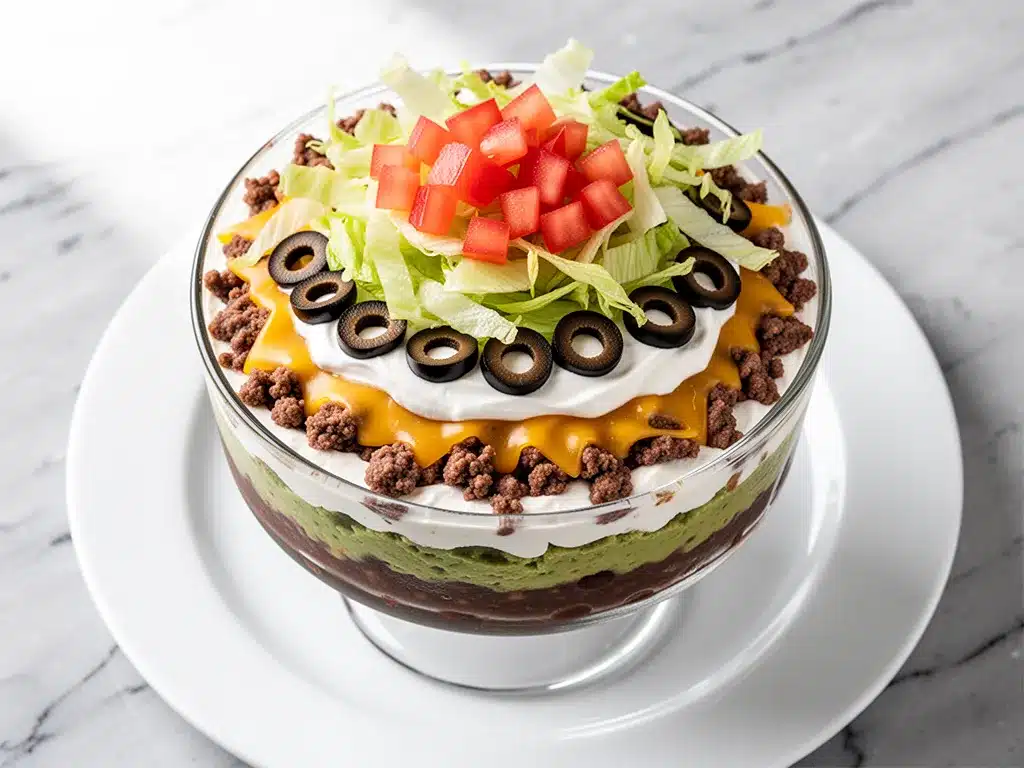
There’s something deeply satisfying about building a dip layer by layer. It’s like edible architecture. You start with a sturdy base, add some protein, then creaminess, then crunch, and finish with fresh color. By the time you’re done, you’ve got a dish that looks as impressive as it tastes. And the best part? You don’t need to be a chef to pull it off. If you can scoop, spread, and sprinkle, you can master this.
People always ask me for the recipe when they see it at parties. They think it’s some fancy restaurant appetizer. It’s not. It’s just good ingredients, layered with intention, and served with confidence. Let’s get into why this dip is about to become your new best friend.
Why You’ll Love This Creamy Seven Layer Taco Dip
This recipe has completely changed our party hosting routine. I used to stress about whether there would be enough food, or if people would actually eat the stuff I made. With this dip? No stress. Just pure, delicious satisfaction.
Here are the big reasons I keep making this, over and over again:
- Stupid Simple — Seriously, if you can boil water and chop an onion, you can make this. I’ve walked my teenage son through it over FaceTime. He made it for his friends last week and got nothing but compliments.
- Lightning Fast — 30 minutes from start to finish, and only 10 of those are active cooking. I make this on weeknights when I get home at 7pm and need something that feels special but doesn’t take all night.
- Visual Impact — People love seeing the layers. It looks like you spent hours on it, but you didn’t. It’s a party trick that pays off.
- Crowd-Pleaser — I’ve served this to my vegetarian sister, my gluten-free neighbor, and my I-only-eat-chicken dad (with modifications). Everyone loved it. It’s one of those rare dishes that satisfies picky eaters and foodies alike.
- Makes Amazing Leftovers — Actually tastes better the next day. I deliberately make extra for lunch throughout the week. The flavors meld together overnight and it’s even more delicious.
- Budget-Smart — Feeds 8-10 people for under $20. That’s less than one meal at a fast-food place for the whole group.
This is my go-to when I need dinner to just work. No complicated techniques, no weird ingredients, just reliable, delicious food that makes everyone happy. It’s the kind of dish that brings people together, literally and figuratively.
Ingredients You’ll Need for the Perfect Layers
Here’s the best part: you probably have most of this already. The beauty of this dip is that it uses simple, everyday ingredients, but the way you layer them creates something special. I’m particular about three ingredients here, and I’ll tell you exactly why.
For the Base: The Bean Layer
Refried beans (15 oz / 425g) — This is your foundation. Use a good quality brand like Old El Paso or make your own if you’re feeling fancy. The beans need to be thick and creamy. If your beans are too thin, they’ll make the dip watery. I like to warm them up slightly before spreading so they’re easier to work with.
Seasoning mix (1 packet / 25g) — Or make your own with cumin, chili powder, garlic powder, and paprika. I usually just use the packet because it’s consistent. If you’re watching sodium, look for a low-sodium version.
For the Creaminess: The Sour Cream Layer
Sour cream (1 cup / 240g) — Full-fat only. Light sour cream can separate and look weird. I’ve tried it, and I won’t do it again. If you want to lighten it up, mix half sour cream and half Greek yogurt, but know that it won’t be quite as rich.
Taco seasoning (2 tablespoons) — This gets mixed into the sour cream to create that signature flavor. Don’t skip this step. It’s what makes the dip taste like actual tacos, not just a random mix of ingredients.
For the Protein: The Meat Layer
Ground beef (1 pound / 450g) — 80/20 fat ratio is ideal for flavor. Drain well after cooking. If your meat is too greasy, your dip will be oily. I usually cook it with diced onions and garlic for extra flavor, then drain everything thoroughly.
Shredded cheese (2 cups / 200g) — Mexican blend or cheddar. I buy blocks and shred my own because pre-shredded cheese has anti-caking agents that make it melt poorly. Freshly shredded cheese gives you that gooey, melty goodness.
For the Crunch: The Veggie Layers
Black beans (15 oz / 425g, drained and rinsed) — These add texture and protein. They’re a nice contrast to the creamy layers. Make sure you rinse them well so they don’t add extra sodium.
Diced tomatoes (1 cup / 150g, drained) — Use canned diced tomatoes, but drain them really well. If they’re too wet, your dip will be soupy. I usually press them against the side of the colander to get out as much liquid as possible.
Green onions (4-5 stalks, chopped) — These add a fresh, sharp bite that cuts through the richness. I use both the white and green parts. The white parts have a stronger onion flavor, while the green parts are milder.
Fresh cilantro (½ cup, chopped) — Optional but highly recommended. It adds brightness and freshness. If you’re not a cilantro fan, skip it, but most people love it.
For Serving
Tortilla chips — Use sturdy, thick chips. Thin chips will break and fall apart. I like to serve them on the side so people can scoop without making a mess.
Equipment Needed
You don’t need fancy equipment for this. Here’s what I actually use:
Large skillet — 12-inch works best for cooking the ground beef. I prefer stainless steel or cast iron, but non-stick works too.
Colander — For draining the beans and tomatoes. Or just use the lid to drain—I do this when I’m lazy.
Measuring cups and spoons — Pretty standard stuff. Dollar store versions work fine.
Serving dish — A large, shallow dish works best. I use a 9×13 inch baking dish or a large platter. It needs to be big enough to show off all the layers.
Knife and cutting board — For chopping the green onions and cilantro. Sharp knives make this easier.
Spatula — For spreading the layers evenly. A flat spatula works best.
How to Make It: Step-by-Step
Alright, let’s make this! I’m walking you through exactly how I do it, including the little tricks I’ve picked up.
Step 1: Cook the Ground Beef (10 minutes)
Heat a large skillet over medium-high heat. Add the ground beef and cook, breaking it up with a spoon, until browned and cooked through. Add diced onions and garlic in the last 2 minutes if you want extra flavor. Drain well. This is crucial—any excess grease will make your dip oily. Pat the meat dry with paper towels if needed.
Step 2: Prepare the Bean Base (5 minutes)
In a medium bowl, mix the refried beans with the taco seasoning. If the beans are too thick, add a splash of water or milk to thin them out. They should be spreadable but not runny. Spread this mixture evenly over the bottom of your serving dish. This is your foundation, so make it even.
Step 3: Add the Meat Layer (2 minutes)
Spread the cooked ground beef evenly over the bean layer. Make sure it’s distributed evenly so every bite has some meat. If you have any juices left in the bowl, pour them over the top for extra flavor.
Step 4: Create the Creamy Layer (3 minutes)
In a separate bowl, mix the sour cream with 2 tablespoons of taco seasoning. This mixture should be smooth and creamy. Spread it evenly over the meat layer. If you’re using Greek yogurt, mix it with the sour cream for the best texture.
Step 5: Add the Black Beans (2 minutes)
Drain and rinse the black beans well. Spread them evenly over the sour cream layer. These add a nice crunch and protein boost. Make sure they’re evenly distributed so you get a bit in every bite.
Step 6: Top with Cheese (1 minute)
Spread the shredded cheese evenly over the black beans. This layer will melt slightly if you let the dip sit at room temperature, creating a delicious, gooey texture. Don’t skip this step—it’s what makes the dip feel indulgent.
Step 7: Finish with Fresh Veggies (2 minutes)
Sprinkle the diced tomatoes, green onions, and cilantro over the cheese layer. These add freshness and color. If you’re serving this immediately, the colors will be vibrant and bright. If you’re making it ahead, the tomatoes might release some liquid, so add them just before serving if possible.
Step 8: Serve and Enjoy
Serve immediately with tortilla chips. The dip is best when it’s fresh, but it can sit at room temperature for up to 2 hours. If you’re serving it at a party, put it on a separate table so people can gather around and build their own bites.
Total Time: About 30 minutes (10 minutes active, 20 minutes mostly hands-off)
Expert Tips & Tricks
Here’s everything I’ve learned from making this dozens of times. These tips will save you from my mistakes.
Drain Everything Well
This is the #1 tip. Wet ingredients are the enemy of a good dip. Drain your tomatoes, black beans, and ground beef thoroughly. I usually press the tomatoes against the side of the colander to get out as much liquid as possible. If your dip is watery, it’s because something wasn’t drained well enough.
Season Each Layer
Don’t just season the sour cream. A little seasoning goes a long way. I sprinkle a pinch of cumin on the bean layer and a little chili powder on the cheese layer. It adds depth and makes every bite flavorful.
Use Fresh Cheese
Pre-shredded cheese has anti-caking agents that make it melt poorly. Grate your own from a block—takes 3 minutes and makes a huge difference. My husband can tell when I’ve been lazy and used pre-shredded. It’s worth the extra effort.
Room Temperature Ingredients
Cold ingredients can make the dip separate. I take my sour cream and cheese out of the fridge 15 minutes before cooking. If I forget, I microwave the sour cream for 15 seconds to take the chill off.
Make-Ahead Strategy
Make the dip up to 2 days ahead and store in the fridge. Add the fresh veggies (tomatoes, green onions, cilantro) just before serving. The base layers will hold up well, but the fresh ingredients will lose their crunch if they sit too long.
Pro Trick for Extra Flavor
Add a splash of lime juice to the sour cream mixture. It brightens everything up and cuts through the richness. It’s a small touch that makes a big difference.
Variations & Substitutions
Once you’ve nailed the basic version, here’s how you can mix it up. I’ve tried all of these.
Chicken Version
Replace the ground beef with shredded rotisserie chicken. Cook it with taco seasoning for extra flavor. This is lighter and still delicious. My husband prefers this version when he’s watching his calories.
Vegetarian Version
Skip the meat entirely. Add an extra can of black beans and some sautéed mushrooms for texture. It’s filling and flavorful. I serve this to my vegetarian friends and they love it.
Spicy Version
Add diced jalapeños to the sour cream layer or sprinkle crushed red pepper flakes on top. If you like heat, this is the way to go. I usually add a diced jalapeño to the ground beef while it’s cooking.
Lighter Version
Use Greek yogurt instead of sour cream and low-fat cheese. It’s thinner but still good. I make this when I’m trying to be “healthy.” It’s not quite as rich, but it’s still delicious.
Bean-Free Version
Skip the refried beans and use a layer of refried pinto beans or even a layer of guacamole. It’s a nice change of pace. I’ve tried guacamole and it’s amazing.
Serving & Storage
How to Serve
I usually serve this straight from the counter at the dinner table—it looks rustic and stays warm. But here are other ways I’ve enjoyed it:
- Side Dishes — Serve with a simple green salad or some roasted vegetables. It’s a complete meal in itself.
- Toppings Bar — When I have guests, I put out extra cheese, jalapeños, sour cream, and hot sauce. Everyone customizes their bowl.
- Wine Pairing — Not a wine expert, but my wine-snob friend says a crisp Sauvignon Blanc or a light red like Pinot Noir works great with this.
Storage Instructions
Refrigerator: Store in an airtight container for up to 3 days. The flavors will meld together and it might taste even better the next day.
Reheating: This dip is best served cold or at room temperature. If you need to warm it, do so gently in the oven at 300°F for 10-15 minutes. Don’t microwave it—it can make the cheese grainy.
Freezing: Honestly, this doesn’t freeze well because of the dairy. The sour cream separates when thawed. Make it fresh or store in the fridge for up to 3 days.
Nutrition Information
I’m not a nutritionist, but here’s the breakdown if you’re tracking.
Per Serving (based on 8 servings):
- Calories: 320
- Protein: 18g
- Carbs: 22g
- Fiber: 6g
- Sugar: 4g
- Fat: 18g
- Saturated Fat: 9g
- Cholesterol: 50mg
- Sodium: 450mg
What’s Good:
- Decent protein from the meat and beans
- Calcium from the cheese
- Fiber from the beans and vegetables
- More filling than it looks
What to Know:
- Higher in calories from cheese and sour cream
- Contains dairy
- Moderate sodium (use low-sodium beans to reduce)
Look, this is comfort food. It’s not a diet recipe. But it’s way better than takeout, costs less, and I know exactly what’s in it. When I want to make it lighter, I use the Greek yogurt version and load up on vegetables. But usually? I just eat a reasonable portion and enjoy it.
Final Thoughts
So that’s my go-to creamy seven-layer taco dip! I’ve probably talked your ear off at this point, but when you make a recipe this often, you have a lot to say about it.
This has saved party planning more times than I can count. It’s my answer to “what’s for appetizers” when I’m tired, don’t want takeout, and still want something that tastes really good. My kids are happy, my friends are happy, and I’m happy because I’m not stressed about cooking.
Make it yours! Try different add-ins, swap in your favorite vegetables, adjust the spice level. The best recipes are the ones you adapt to your family’s tastes. If you make this, drop a comment and let me know what you think! I love hearing how recipes turn out in your kitchen. And if something doesn’t work, tell me that too—I’m here to help troubleshoot.
Happy cooking! And I hope your kitchen smells half as good as mine does right now.
Frequently Asked Questions
Can I use canned refried beans?
Yes! In fact, that’s what I usually do. Just make sure they’re the right consistency. If they’re too thick, add a splash of water or milk to thin them out. If they’re too thin, cook them down slightly on the stove to thicken them.
Why did my dip turn out watery?
Usually means you didn’t drain the ingredients well enough. Drain your tomatoes, black beans, and ground beef thoroughly. I usually press the tomatoes against the side of the colander to get out as much liquid as possible. If it’s already watery, let it sit in the fridge for an hour to thicken up.
Can I make this ahead for a party?
Absolutely! Make the dip up to 2 days ahead and store in the fridge. Add the fresh veggies (tomatoes, green onions, cilantro) just before serving. The base layers will hold up well, but the fresh ingredients will lose their crunch if they sit too long.
Can I use ground turkey instead of beef?
Yes! Ground turkey works great. Just make sure to drain it well, as it can be leaner than beef. I usually add a little extra seasoning to compensate for the milder flavor.
How long does this dip last in the fridge?
Up to 3 days. Store in an airtight container. The flavors will meld together and it might taste even better the next day. Don’t freeze it—the dairy will separate.
Can I make this vegetarian?
Yes! Skip the meat and add an extra can of black beans or some sautéed mushrooms for texture. It’s filling and flavorful. I serve this to my vegetarian friends and they love it.
What kind of chips should I serve with this?
Use sturdy, thick chips. Thin chips will break and fall apart. I like to serve them on the side so people can scoop without making a mess. Tortilla chips are classic, but pita chips or plantain chips also work well.
Pin This Recipe!
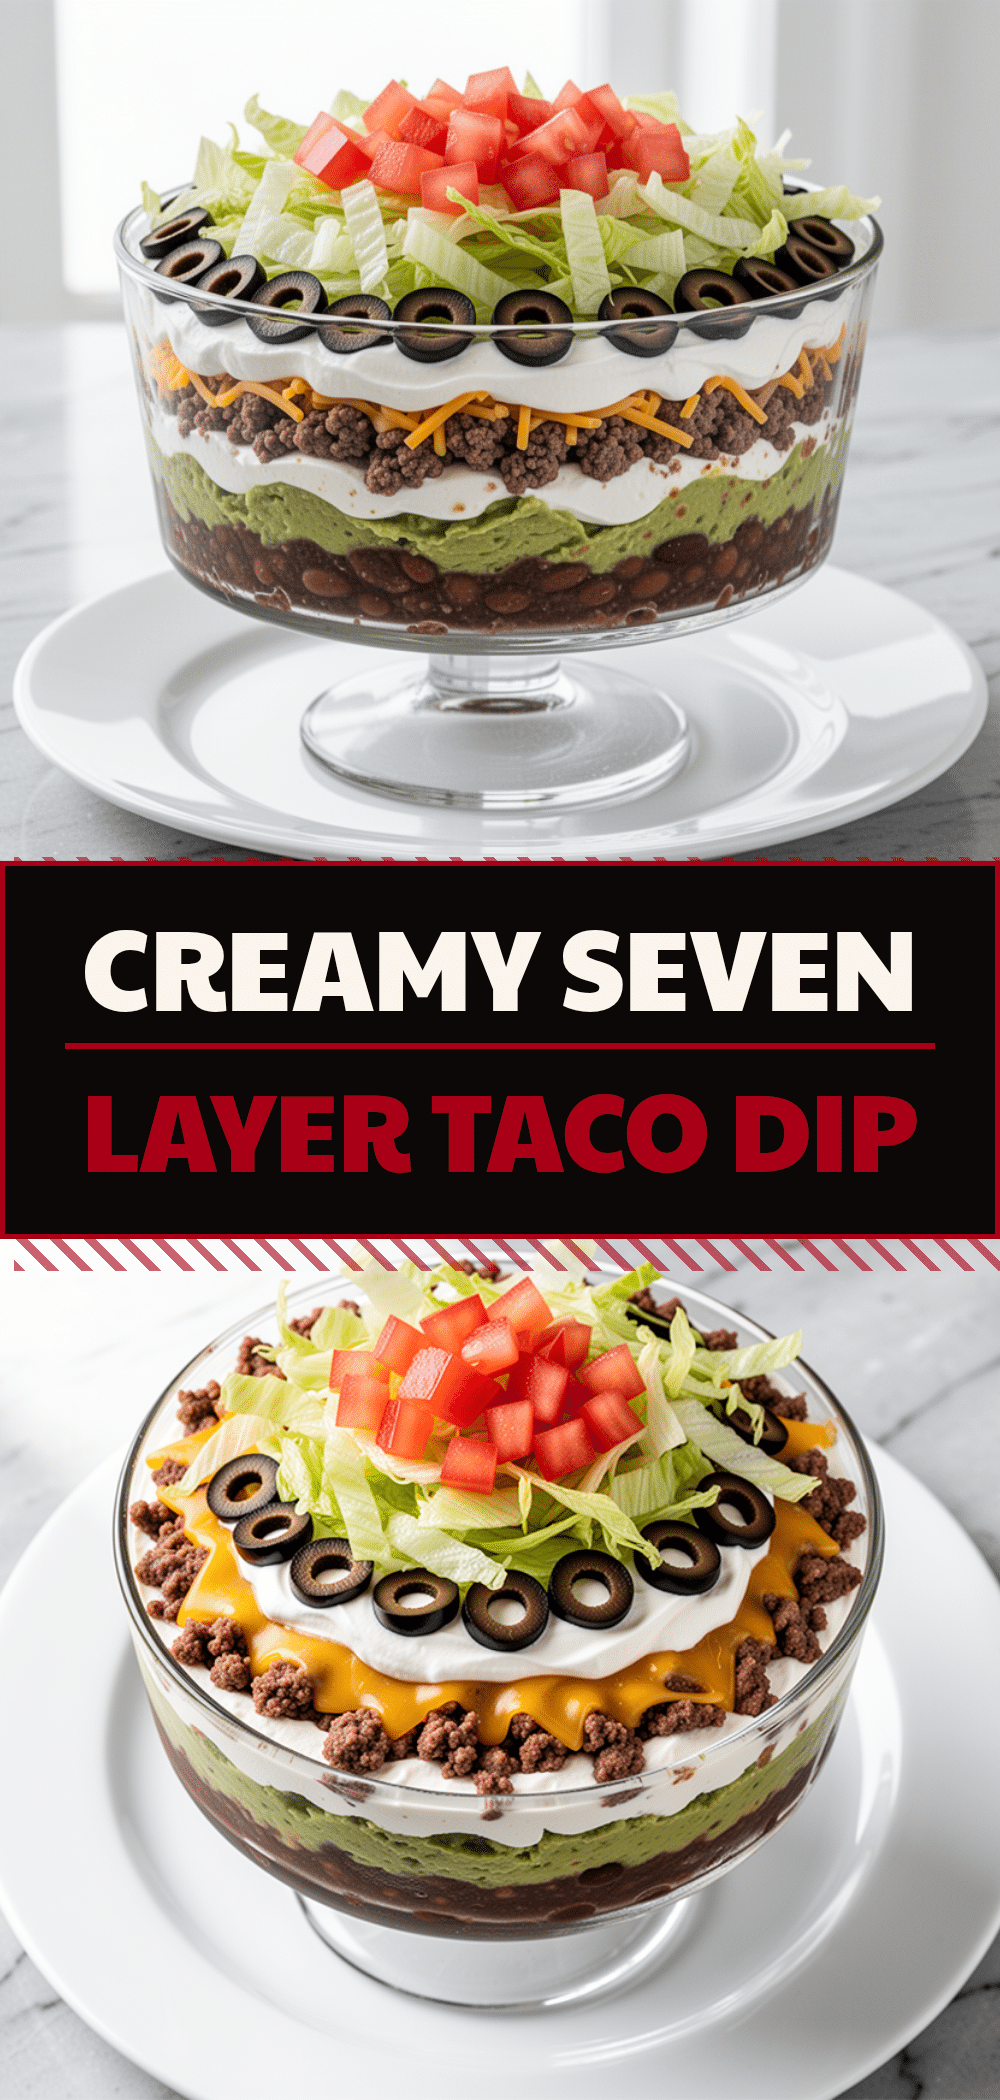
Creamy Seven Layer Taco Dip
- Total Time: 30 minutes
- Yield: 8 servings 1x
Description
A crowd-pleasing, easy-to-make appetizer featuring eight distinct layers of seasoned beans, ground beef, creamy sour cream mixture, cheese, and fresh vegetables. Perfect for parties and game days.
Ingredients
- 15 oz (425g) refried beans
- 1 packet (25g) taco seasoning mix
- 1 cup (240g) full-fat sour cream
- 2 tablespoons taco seasoning
- 1 pound (450g) ground beef (80/20 fat ratio)
- 2 cups (200g) shredded Mexican blend or cheddar cheese
- 15 oz (425g) black beans, drained and rinsed
- 1 cup (150g) diced tomatoes, drained
- 4–5 stalks green onions, chopped
- ½ cup fresh cilantro, chopped
- Tortilla chips for serving
Instructions
- Heat a large skillet over medium-high heat. Add ground beef and cook, breaking it up, until browned and cooked through. Add diced onions and garlic in the last 2 minutes if desired. Drain well and pat dry to remove excess grease.
- In a medium bowl, mix refried beans with 1 packet of taco seasoning. If too thick, add a splash of water or milk. Spread evenly over the bottom of a 9×13 inch serving dish.
- Spread the cooked ground beef evenly over the bean layer.
- In a separate bowl, mix sour cream with 2 tablespoons of taco seasoning until smooth. Spread evenly over the meat layer.
- Drain and rinse black beans well. Spread evenly over the sour cream layer.
- Sprinkle shredded cheese evenly over the black beans.
- Top with diced tomatoes, green onions, and cilantro.
- Serve immediately with sturdy tortilla chips.
Notes
Drain all wet ingredients (tomatoes, beans, beef) thoroughly to prevent a watery dip. Use fresh shredded cheese for better melting. For make-ahead, prepare base layers up to 2 days in advance and add fresh veggies just before serving. Do not freeze as dairy will separate.
- Prep Time: 10 minutes
- Cook Time: 10 minutes
- Category: Appetizer
- Cuisine: Mexican
Nutrition
- Serving Size: 1 serving
- Calories: 320
- Sugar: 4
- Sodium: 450
- Fat: 18
- Saturated Fat: 9
- Carbohydrates: 22
- Fiber: 6
- Protein: 18
Keywords: taco dip, seven layer dip, party appetizer, easy dip, game day food, creamy dip, crowd pleaser



