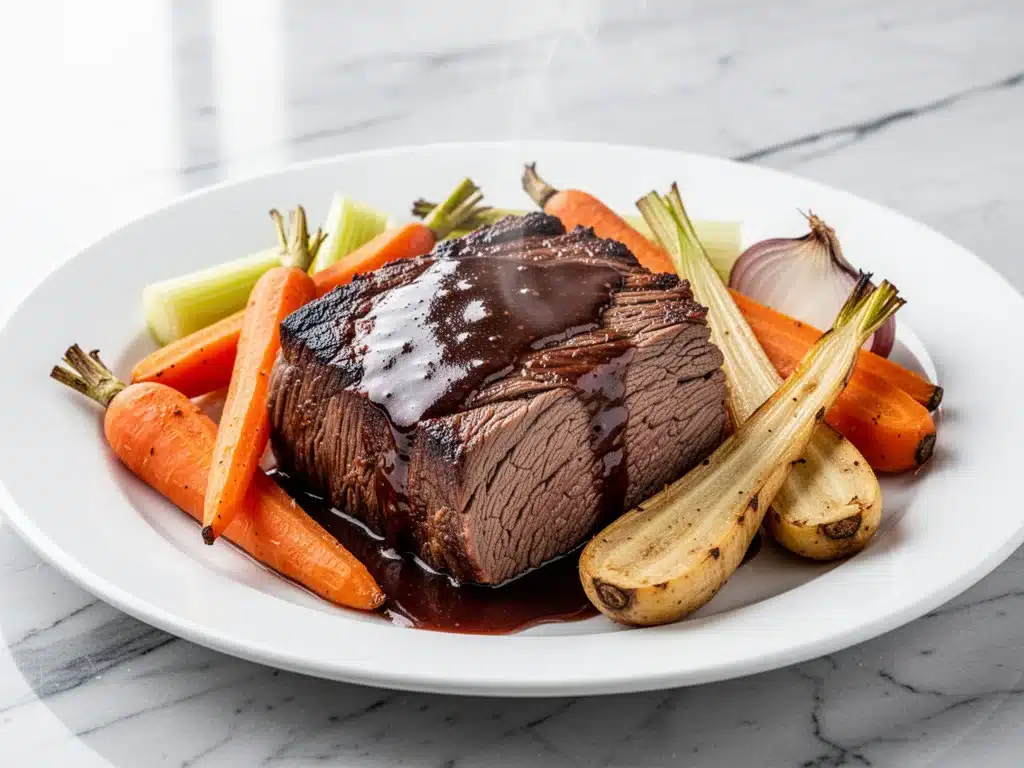
I still remember the exact moment I realized store-bought pot roast was a lie. It was a rainy November Tuesday, and I was too tired to cook, so I ordered a “slow-cooked beef dish” from that popular chain down the street. It arrived in a cardboard boat, lukewarm, with carrots that looked like they’d been boiled to death and beef that tasted like it had been sitting in a locker since 1998. I took one bite, pushed the plate away, and decided right then and there that I needed to reclaim Sundays for my family.
I didn’t want fancy restaurant food. I wanted comfort. I wanted that deep, savory hug of flavor that makes you want to take off your shoes, put on sweatpants, and stay in bed if you could. I wanted a Classic Beef Pot Roast that actually tasted like home, not a factory.
For the next three months, I failed. Miserably. I tried throwing everything into a pot and walking away. I tried searing for five minutes (too little time). I tried using cheap wine (it tasted like vinegar). I tried rushing it (it was tough as leather). But then, I stopped trying to be clever and started respecting the ingredients. I learned that the secret isn’t the appliance—it’s the patience, the sear, and the wine.
This isn’t just a recipe. It’s my redemption story for Sunday dinners. It’s the Classic Beef Pot Roast with Red Wine and Root Vegetables that finally earned its place on our weekly rotation. And honestly? It’s better than takeout every single time. Not because it’s healthier, but because it’s made with love, a good bottle of wine, and zero rush. If you’ve ever come home exhausted and wondered “what’s for dinner,” this is your answer. It’s easier than you think, smells incredible, and the leftovers are legendary.
Why You’ll Love This Pot Roast
There are about a dozen reasons I keep making this, but let’s be real—you don’t need more complicated recipes. You need one that works. Here’s why this Classic Beef Pot Roast with Red Wine and Root Vegetables has become my non-negotiable Sunday staple:
Melt-In-Your-Mouth Tender — I’m talking about beef so tender you can cut it with a fork, but not so mushy it falls apart. The low-and-slow method breaks down the connective tissue without turning the meat into stringy confetti. I’ve tested this timing multiple times, and 3 hours in the slow cooker is the sweet spot.
Rich, Restaurant-Quality Gravy — Most people throw away the liquid in slow cooker recipes. Big mistake. That liquid is liquid gold. By reducing it on the stove at the end, you get a thick, glossy, wine-infused gravy that makes everyone ask for extra bread. It’s the kind of sauce that makes you lick your plate.
Set It and Forget It (Mostly) — Yes, you have to sear the meat (and you will), but after that? It’s hands-off. I can help my kids with homework, answer emails, or just nap while this cooks. It’s the ultimate low-stress dinner for busy parents.
Uses Cheap Cuts of Meat — This recipe doesn’t require expensive ribeyes or tenderloins. It uses chuck roast, which is affordable, flavorful, and practically made for braising. You’re getting a gourmet result without the gourmet price tag.
Perfect Leftovers — The next day, the flavors have melded even more. I eat this cold on sandwiches (yes, cold pot roast sandwiches are a thing and they are amazing) or reheat it with mashed potatoes. It’s meal prep done right.
This is my go-to when I need dinner to just work. No complicated techniques, no weird ingredients, just reliable, delicious food that makes everyone happy.
Ingredients You’ll Need
Here’s the best part: you probably have most of this already. This isn’t a recipe that requires a trip to three different specialty stores. It’s pantry-friendly, with just a few key items that make all the difference.
For the Beef and Sear
Chuck Roast (3-4 pounds / 1.4-1.8kg) — This is the star. Look for a roast with good marbling (white flecks of fat throughout). Boneless is easier to slice later. If it’s too lean, it’ll be dry. If it’s too fatty, it’ll be greasy. Aim for the middle. I buy this at the butcher counter and ask them to trim the excess hard fat, but leave the marbling.
Vegetable Oil (2 tablespoons) — For searing. I use avocado oil or canola. You need a high smoke point. Olive oil will burn.
Salt and Black Pepper — Generous amounts. Season the meat like you’re salting a steak. This creates the crust.
For the Aromatics
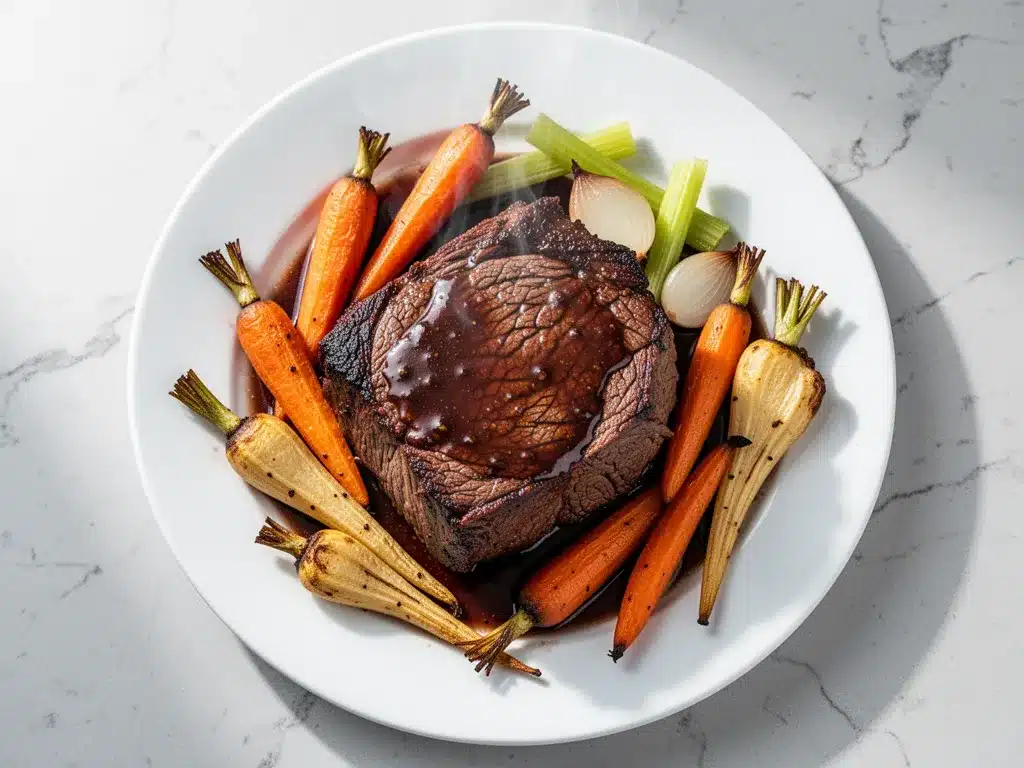
Yellow Onions (2 medium, chopped / about 300g) — Don’t skip the onions. They caramelize and become sweet, dissolving into the sauce. I chop them roughly—big chunks are fine. They’ll break down.
Garlic (6 cloves, minced / about 2 tablespoons) — Fresh only. Jarred garlic tastes metallic in long-cooked dishes. Minced by hand or press. Don’t skimp. Garlic is the backbone of this flavor.
Red Wine (1 cup / 240ml) — This is crucial. Use a dry red wine you’d actually drink. Cabernet Sauvignon or Merlot work best. Do NOT use “cooking wine” from the vinegar aisle. It tastes salty and awful. If you don’t drink wine, use beef broth plus a tablespoon of balsamic vinegar for acidity.
Beef Broth (1 cup / 240ml) — Low-sodium is best so you can control the salt. I use Better Than Bouillon paste because it’s richer than carton broth. But carton works if that’s what you have.
For the Vegetables
Carrots (4 large, cut into 2-inch chunks / about 300g) — Cut them thick. If they’re thin, they’ll turn to mush. 2-inch chunks hold their shape. I peel them, but leave the skin on if they’re organic and scrubbed well.
Potatoes (1.5 pounds / 700g, cut into 1.5-inch cubes) — Yukon Gold or Russet. Yukon Gold holds its shape better and has a buttery taste. Russets get fluffier. I prefer Yukon Gold for this.
Parsnips (2 medium, cut into chunks / optional) — I love the sweetness of parsnips. They’re like carrots’ sweeter cousins. If you don’t have them, just add more carrots or potatoes.
For the Flavor Boosters
Tomato Paste (2 tablespoons) — This adds depth and richness. It’s not about tomato flavor; it’s about umami. Cook it with the onions for a minute to deepen the flavor.
Worcestershire Sauce (1 tablespoon) — A splash of this adds that savory, tangy backbone. It’s a secret weapon in braises.
Fresh Thyme (4-5 sprigs) — Fresh is better than dried here. The leaves release a subtle floral note. Tie them with kitchen twine so you can remove them later, or just leave them in and pick them out.
Bay Leaves (2 leaves) — Classic aromatic. Remove before serving.
Heavy Cream (½ cup / 120ml, optional) — For finishing the gravy. Adds silkiness. I use it sometimes, but it’s not mandatory.
Equipment Needed
You don’t need fancy equipment for this. Here’s what I actually use. If you don’t have these exact items, you can substitute.
Slow Cooker (Crock-Pot) — I use a 6-quart model. It needs to fit the roast and vegetables comfortably with some room for liquid. If you’re using a 4-quart, you might need to double the veggies or use a smaller roast.
Large Skillet (Cast Iron or Stainless Steel) — For searing the beef. I prefer cast iron because it holds heat well, which helps get a good crust. Non-stick works, but you won’t get as good of a sear.
Sharp Chef’s Knife — For chopping onions, carrots, and potatoes. A dull knife will make you cry more—learned this the hard way.
Measuring Cups and Spoons — Standard stuff. Dollar store versions work fine.
Wooden Spoon or Silicone Spatula — For stirring. Don’t use metal on non-stick.
Slotted Spoon — For removing the beef and veggies from the slow cooker. Or just use a regular spoon if you’re careful.
Small Saucepan — For reducing the gravy at the end. If you don’t have one, you can use the skillet you seared the beef in.
Optional but nice:
- Kitchen Twine — To tie the thyme sprigs. Makes removing them easier.
- Strainer — If you want a completely smooth gravy, you can strain the veggies out before reducing the liquid.
How to Make It: Step-by-Step
Alright, let’s make this! I’m walking you through exactly how I do it, including the little tricks I’ve picked up. This process takes about 30 minutes of active work, then you wait.
Step 1: Prep and Season the Beef (10 minutes)
Take your chuck roast out of the fridge and let it sit for 20 minutes while you chop veggies. Cold meat searing in a hot pan lowers the pan temperature too much. Pat the roast completely dry with paper towels. This is crucial—wet meat steams instead of sears. Season generously with salt and pepper on all sides. I use about 1 teaspoon of salt and ½ teaspoon of pepper per pound.
Step 2: Sear the Meat (5-7 minutes)
Heat the vegetable oil in your large skillet over medium-high heat. When the oil shimmers but isn’t smoking, add the roast. Sear for 3-4 minutes per side, rotating if needed, until you have a deep brown crust. Don’t rush this. The Maillard reaction (that browning) is where half the flavor comes from. If the roast is too big for the pan, sear in two batches. Remove the meat to a plate. Don’t wipe out the pan—that brown stuff stuck to the bottom is flavor gold.
Step 3: Sauté the Aromatics (3 minutes)
In the same skillet, add the chopped onions. Cook for 2-3 minutes until they start to soften. Add the minced garlic and tomato paste. Stir constantly for 1 minute. The tomato paste should darken slightly, almost looking like it’s frying. This cooks out the raw tomato taste. Pour in the red wine to deglaze the pan, scraping up all those brown bits with a wooden spoon. Let the wine simmer for 1 minute to cook off the alcohol.
Step 4: Assemble in the Slow Cooker (5 minutes)
Place the chopped carrots, potatoes, and parsnips in the bottom of your slow cooker. They’ll act as a rack for the meat. Place the seared roast on top of the vegetables. Pour the wine-onion mixture from the skillet over the meat. Add the beef broth, Worcestershire sauce, thyme sprigs, and bay leaves. The liquid should come about halfway up the roast, not cover it completely. Cover and cook on LOW for 7-8 hours or HIGH for 3-4 hours. I recommend LOW for the best texture.
Step 5: Check for Doneness (10 minutes before end)
The meat is done when it’s fork-tender. Insert a fork into the thickest part and twist—it should slide in with no resistance. If it’s still tough, give it another hour. The vegetables should be tender but not disintegrated. If they’re getting too soft, remove them with a slotted spoon and set aside.
Step 6: Make the Gravy (10 minutes)
This is the step that makes it “better than takeout.” Remove the meat and veggies to a serving platter and tent with foil. Pour the cooking liquid into a saucepan. Skim off the excess fat from the top with a spoon. Bring to a simmer. In a small bowl, mix 1 tablespoon of cornstarch with 2 tablespoons of cold water to make a slurry. Whisk the slurry into the simmering liquid. Cook for 2-3 minutes until thickened. If you want a richer gravy, stir in the heavy cream now. Taste and adjust salt and pepper.
Step 7: Serve
Slice the roast against the grain (this is important for tenderness). Arrange on a platter with the vegetables. Spoon the hot gravy over everything. Serve with crusty bread, mashed potatoes, or rice to soak up the sauce.
Expert Tips & Tricks
Here’s everything I’ve learned from making this dozens of times. These tips will save you from my mistakes.
Don’t Skip the Sear
I know it’s extra cleanup, but searing the meat creates a complex, roasted flavor that you just can’t get by dumping raw meat into the slow cooker. It’s the difference between “okay” and “amazing.”
Cut Vegetables Uniformly
If your potato chunks are tiny and your carrots are huge, the carrots will be raw when the potatoes are mush. Cut everything to similar sizes for even cooking.
Use Low-Sodium Broth
Slow cooking concentrates flavors, including salt. If you use high-sodium broth, your final dish might be too salty to eat. You can always add salt at the end, but you can’t take it away.
Remove the Thyme
If you leave the thyme sprigs in for 8 hours, the leaves can turn bitter. Tie them with twine and remove them before serving, or just pick them out.
Slice Against the Grain
Look at the direction the muscle fibers run in the roast. Cut perpendicular to that direction. This shortens the fibers, making each bite tender. Slicing with the grain makes the meat chewy, no matter how long you cook it.
Skim the Fat
After cooking, a layer of fat will rise to the top of the liquid. Skim it off with a spoon before making the gravy. It makes the gravy cleaner and less greasy.
Variations & Substitutions
Once you’ve nailed the basic version, here’s how you can mix it up. I’ve tried all of these.
Gluten-Free Version
Use gluten-free beef broth and swap the cornstarch for arrowroot powder or tapioca starch. Everything else is naturally gluten-free.
Lighter Version
Skip the heavy cream in the gravy. Use a slurry of cornstarch and water only. It’s still delicious, just less rich. I make this when I’m trying to be “healthy,” though let’s be honest, it’s still comfort food.
Herb Swap
Don’t have fresh thyme? Use 1 teaspoon of dried thyme. Add it with the broth. Rosemary also works well—use 1 teaspoon dried or 2 sprigs fresh. Just don’t use both; they can clash.
Root Veggie Swap
Love beets? Add 2 medium beets, peeled and cubed. They add a beautiful color and earthy sweetness. Turnips work too, but they can get slightly bitter if overcooked. Add them in the last hour.
No Slow Cooker? Oven Method
You can make this in the oven. Sear the meat, put everything in a Dutch oven, cover tightly, and cook at 325°F (165°C) for 3-4 hours. The result is nearly identical.
Serving & Storage
How to Serve:
I usually serve this straight from the platter at the dinner table. It looks rustic and stays warm. Pair it with garlic bread, a simple green salad with vinaigrette, or creamy mashed potatoes. The gravy is the star, so have something to soak it up.
Refrigerator:
Store in an airtight container for up to 4 days. The meat actually gets more flavorful after a day or two as the spices meld.
Reheating:
Best method: Reheat gently on the stove in a skillet with a splash of broth or water. This keeps the meat moist. Microwave method: Heat in 30-second intervals, stirring between. Add a splash of water if it’s dry. Never reheat in the slow cooker pot on “warm” for hours—it keeps cooking and can dry out.
Freezing:
Yes, this freezes well! Cool completely, then freeze in portions for up to 3 months. Thaw in the fridge overnight. Note: Potatoes can get slightly grainy when frozen and thawed, but they’re still edible. If you want to avoid this, freeze the meat and gravy separately and add fresh potatoes when reheating.
Nutrition Information
I’m not a nutritionist, but here’s the breakdown if you’re tracking. This is per serving (based on 6 servings).
- Calories: 480
- Protein: 35g
- Carbs: 32g
- Fiber: 4g
- Sugar: 6g
- Fat: 22g
- Saturated Fat: 8g
- Cholesterol: 95mg
- Sodium: 650mg (varies by broth)
It’s a hearty meal with good protein and complex carbs from the vegetables. If you’re watching sodium, use low-sodium broth and skip the added salt at the end. It’s not a diet recipe, but it’s wholesome, real food.
Final Thoughts
So that’s my go-to Classic Beef Pot Roast with Red Wine and Root Vegetables! I’ve probably talked your ear off at this point, but when you make a recipe this often, you have a lot to say about it.
This has saved weeknight dinners (okay, Sunday dinners) more times than I can count. It’s my answer to “what’s for dinner” when I’m tired, don’t want takeout, and still want something that tastes really good. My kids are happy, my husband’s happy, and I’m happy because I’m not stressed about cooking.
Make it yours! Try different root vegetables, swap the wine for something else, or add more garlic (though more is always better in my opinion). The best recipes are the ones you adapt to your family’s tastes.
If you make this, drop a comment and let me know what you think! I love hearing how recipes turn out in your kitchen. And if something doesn’t work, tell me that too—I’m here to help troubleshoot.
Happy cooking! And I hope your kitchen smells half as good as mine does right now.
Frequently Asked Questions
Can I use a different cut of meat?
Chuck roast is the best because of its fat content. You can use brisket, but it’s leaner and can dry out. You can use round roast, but it’s very lean and needs careful monitoring. Avoid lean cuts like sirloin—they’ll be tough. Stick with chuck.
Why is my pot roast still tough after 3 hours?
Three hours on HIGH might not be enough for a large roast. Connective tissue needs time to break down. Try cooking on LOW for 7-8 hours. If you’re on HIGH, check it at 4 hours. If it’s still tough, give it another hour. Low and slow is the key.
Can I put frozen vegetables in the slow cooker?
It’s not recommended. Frozen veggies release too much water and turn to mush. Fresh vegetables hold their shape and texture much better. If you must use frozen, add them in the last hour of cooking.
Does the red wine taste strong in the final dish?
No. The alcohol cooks off, and the wine reduces into a rich, savory sauce. You’ll taste the depth and acidity, but not a boozy punch. If you’re cooking for kids, don’t worry—it’s fine.
Can I make this in a pressure cooker (Instant Pot)?
Yes! Sear the meat, add ingredients, and cook on High Pressure for 35-40 minutes, then natural release for 15 minutes. Then do the gravy step on Sauté mode. It’s faster but doesn’t have the same deep, melded flavor as slow cooking.
How do I store leftovers?
Store in an airtight container in the fridge for up to 4 days. The meat and gravy store well together. Reheat gently on the stove.
Can I double this recipe?
You can, but you need a large enough slow cooker. If you double it, you might need to add more time. Check for doneness with a fork. Don’t overcrowd the pot, or the meat won’t cook evenly.
Pin This Recipe!
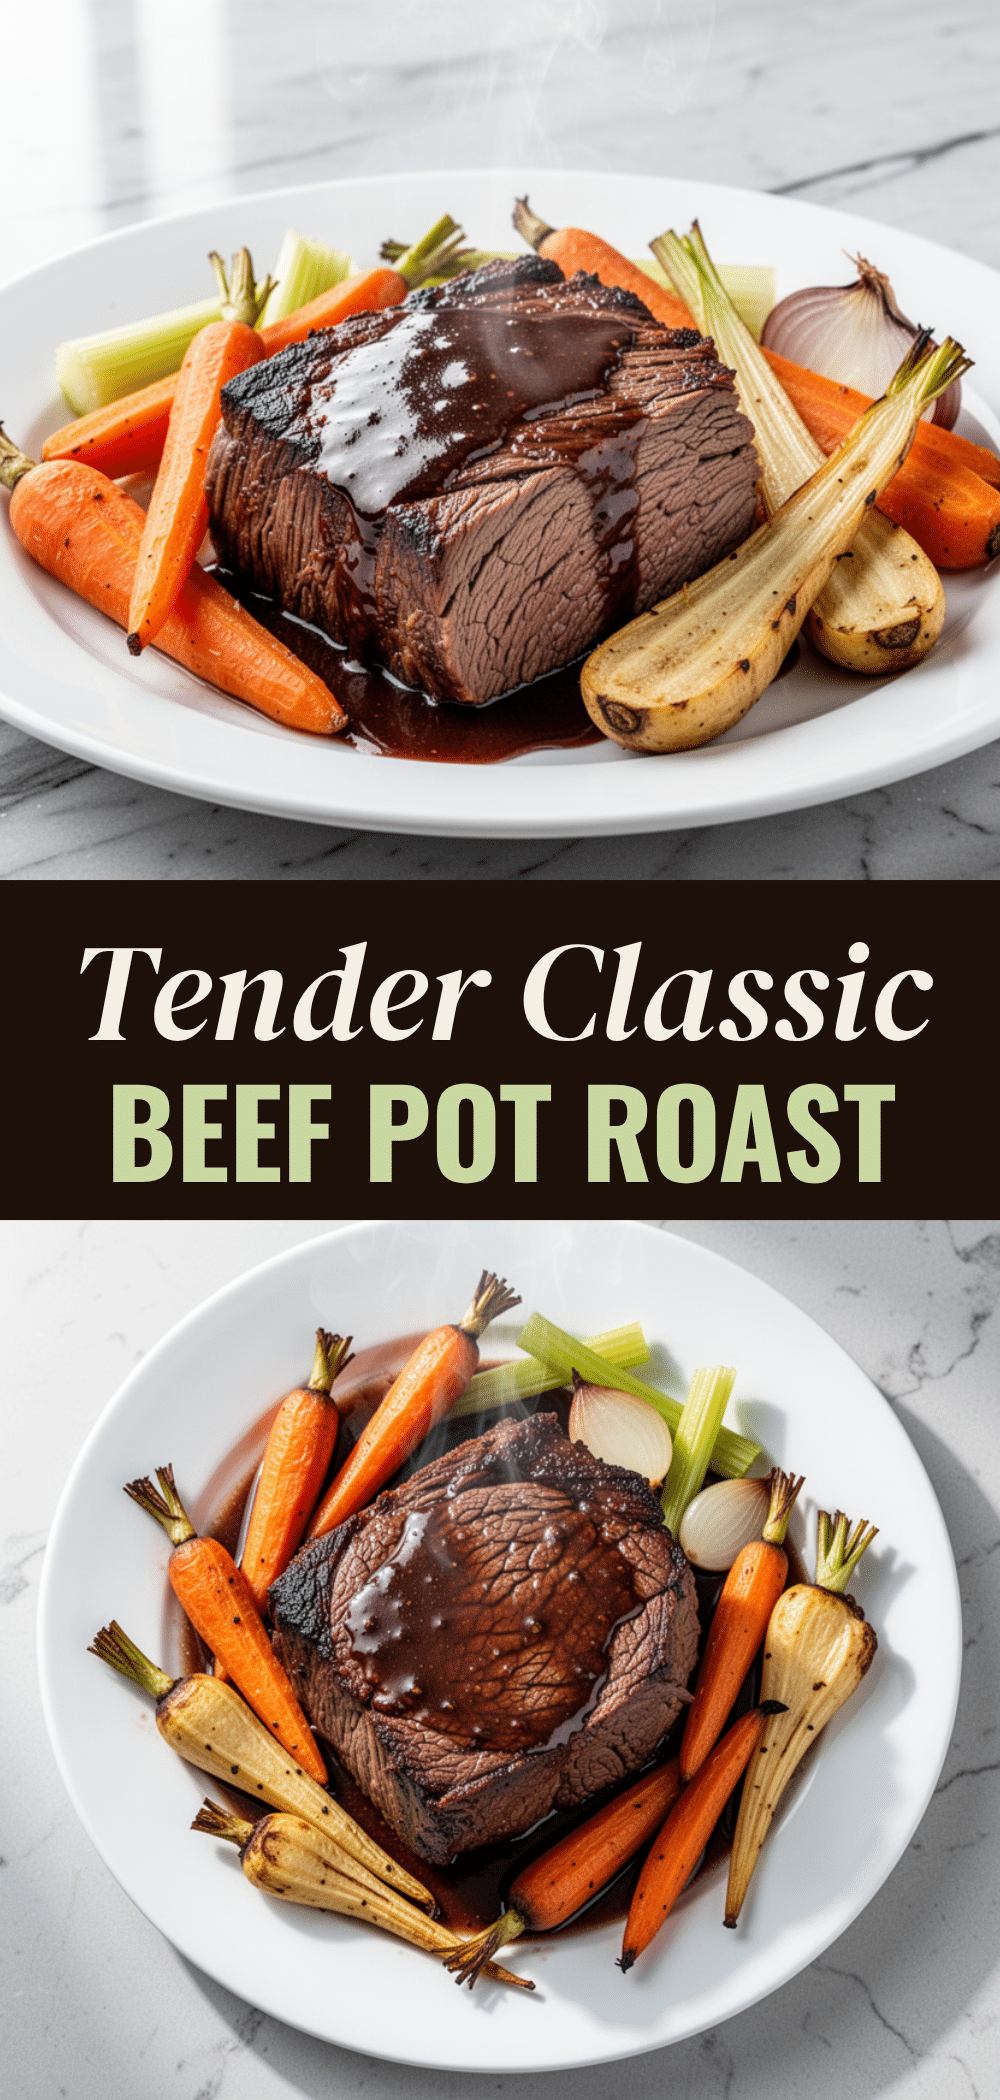
Classic Beef Pot Roast with Red Wine and Root Vegetables
- Total Time: 3 hours 30 minutes
- Yield: 6 servings 1x
Description
A tender, melt-in-your-mouth slow cooker pot roast made with chuck roast, red wine, and root vegetables, featuring a rich, restaurant-quality gravy.
Ingredients
- 3–4 pounds Chuck Roast (boneless, trimmed of excess hard fat)
- 2 tablespoons Vegetable Oil (avocado or canola)
- Salt and Black Pepper (generous amounts)
- 2 medium Yellow Onions (chopped)
- 6 cloves Garlic (minced)
- 1 cup Dry Red Wine (Cabernet Sauvignon or Merlot)
- 1 cup Beef Broth (low-sodium)
- 4 large Carrots (cut into 2-inch chunks)
- 1.5 pounds Potatoes (Yukon Gold or Russet, cut into 1.5-inch cubes)
- 2 medium Parsnips (cut into chunks, optional)
- 2 tablespoons Tomato Paste
- 1 tablespoon Worcestershire Sauce
- 4–5 sprigs Fresh Thyme
- 2 Bay Leaves
- 1 tablespoon Cornstarch mixed with 2 tablespoons cold water (for slurry)
- ½ cup Heavy Cream (optional, for gravy)
Instructions
- Pat the chuck roast dry with paper towels and season generously with salt and pepper on all sides.
- Heat vegetable oil in a large skillet over medium-high heat. Sear the roast for 3-4 minutes per side until a deep brown crust forms. Remove meat to a plate.
- In the same skillet, sauté onions for 2-3 minutes until softened. Add garlic and tomato paste, stirring for 1 minute until the paste darkens.
- Deglaze the pan with red wine, scraping up brown bits. Simmer for 1 minute to cook off alcohol.
- Place carrots, potatoes, and parsnips in the bottom of a 6-quart slow cooker. Place the seared roast on top.
- Pour the wine-onion mixture over the meat. Add beef broth, Worcestershire sauce, thyme sprigs, and bay leaves. Liquid should come halfway up the roast.
- Cover and cook on LOW for 7-8 hours or HIGH for 3-4 hours until meat is fork-tender.
- Remove meat and vegetables to a platter. Skim excess fat from the cooking liquid.
- Simmer the liquid in a saucepan. Whisk in the cornstarch slurry and cook for 2-3 minutes until thickened. Stir in heavy cream if using.
- Slice the roast against the grain and serve with vegetables and gravy.
Notes
Do not skip the sear for maximum flavor. Cut vegetables uniformly for even cooking. Slice meat against the grain for tenderness. Skim fat from the gravy for a cleaner taste. Leftovers freeze well for up to 3 months.
- Prep Time: 30 minutes
- Cook Time: 3 hours
- Category: Main Course
- Cuisine: American
Nutrition
- Serving Size: 1 slice of roast wit
- Calories: 480
- Sugar: 6
- Sodium: 650
- Fat: 22
- Saturated Fat: 8
- Carbohydrates: 32
- Fiber: 4
- Protein: 35
Keywords: pot roast, slow cooker, beef recipe, comfort food, red wine sauce, root vegetables, chuck roast, easy dinner



