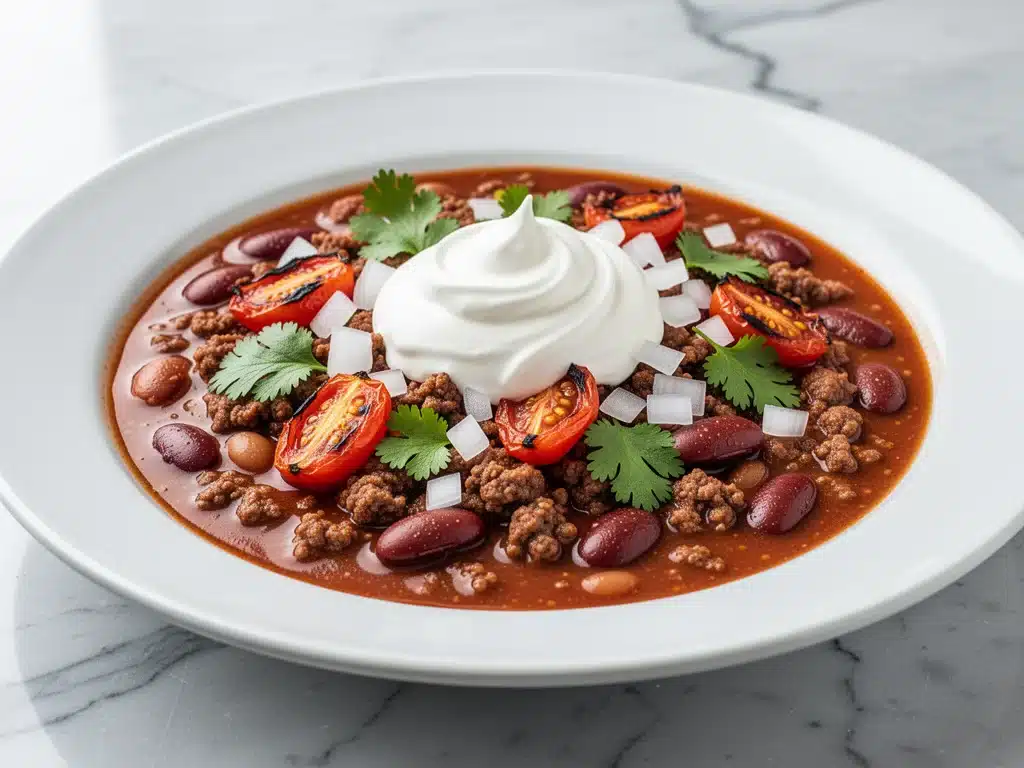
I used to think chili was something you made on a lazy Saturday afternoon while watching football. You know the vibe: pot on the stove, TV blaring, maybe a beer in hand. But three years ago, I had a revelation that completely changed how I approach this dish. I was running late for a last-minute dinner date, my pantry was looking sad, and I threw together a batch of chili in about 30 minutes using whatever I had. I added a can of fire-roasted tomatoes because I was out of regular ones, and I threw in a little extra cumin because I like it warm.
When I tasted it, I was shocked. It wasn’t just “good for a quick meal.” It was deep, smoky, complex, and absolutely incredible. It tasted like I’d been simmering it for six hours. That was the moment I realized that the secret to the best beef chili isn’t necessarily time—it’s the ingredients you choose. Specifically, those fire-roasted tomatoes.
Since then, I’ve made this Classic Beef Chili with Fire-Roasted Tomatoes at least once a month. It’s become my go-to answer for “What’s for dinner?” when I’m tired, when guests show up unexpectedly, or when I just need something that feels like a hug in a bowl. It’s hearty enough to satisfy a hungry teenager but comforting enough to warm you up on a chilly evening. And the best part? It comes together faster than ordering takeout.
I’ve tested this recipe dozens of times, tweaking the spice levels and the ratio of meat to beans to find that perfect balance. This isn’t just chili; it’s my family’s favorite comfort food. If you’ve ever struggled with bland, watery chili, this is the one that will change your mind. Let’s get into why this specific version is so good and how you can make it tonight.
Why You’ll Love This Recipe
There are a hundred chili recipes out there. So why this one? Well, I’ve made them all, and this is the only one I keep coming back to. Here’s the real deal on why this Classic Beef Chili with Fire-Roasted Tomatoes deserves a spot in your weekly rotation.
- It’s Actually Fast — Seriously, 30 minutes from start to finish. I know what you’re thinking: “Chili takes hours.” Not this version. By using ground beef instead of a tough chuck roast that needs slow-cooking, we cut the time in half without sacrificing flavor. I make this on Tuesday nights when I get home from work at 6:30 PM and I’m starving.
- Deep, Smoky Flavor — The fire-roasted tomatoes are the game-changer. They bring this charred, smoky sweetness that you just can’t get from canned diced tomatoes. It adds a layer of complexity that makes people ask, “What’s in this? It tastes amazing.” No one suspects it’s just a quick weeknight meal.
- Perfect for Meal Prep — I deliberately make extra because I know it tastes even better the next day. The flavors meld together overnight, and by lunchtime on Wednesday, it’s richer and more flavorful than when I made it. I pack it in containers, and it reheats beautifully in the microwave.
- Customizable Heat — Whether you like it mild for the kids or spicy for you, this recipe lets you control the heat. I serve it with hot sauce on the side, but you can also toss in some jalapeños while it cooks if you’re feeling brave. My picky eater loves it mild, while I’m dumping in the cayenne.
- One-Pot Wonder — Cleanup is minimal. You brown the meat in the pot, sauté the veggies in the same pot, add the liquids, and let it simmer. One pot means one less dish in the sink. My husband appreciates this more than he lets on.
This chili is my answer to “I’m tired but I want good food.” It’s reliable, it’s delicious, and it makes my kitchen smell like a cozy autumn evening. Once you try it, you’ll see why it’s become a staple in our house.
Ingredients You’ll Need
Here’s the best part: you probably have most of these ingredients already. I’m not asking you to go to three different stores for obscure spices. This is pantry-friendly comfort food. I’m particular about a few things here, and I’ll tell you exactly why.
For the Base
Ground Beef (1.5 lbs / 680g) — I use 80/20 lean-to-fat ratio. Yes, you want the fat. It keeps the meat juicy and adds flavor. If you use extra lean, the chili can taste dry. Drain the excess fat if you want, but leave a little bit for richness.
Onion (1 large yellow onion, diced / about 300g) — Yellow onions give the best savory depth. I dice them small so they melt into the sauce. If you’re not a fan of big chunks of onion, this works perfectly.
Garlic (4 cloves, minced / about 2 tablespoons) — Fresh garlic is non-negotiable. Jarred garlic just doesn’t have the same punch in a dish like this. Mince it yourself; it takes two minutes.
Fire-Roasted Tomatoes (2 cans, 14.5 oz each) — This is the star. Look for brands like Muir Glen or Hunt’s Fire-Roasted. They’re packed with liquid and charred flavor. Don’t drain them! The liquid adds body and smokiness to the chili.
Tomato Paste (2 tablespoons) — This concentrates the tomato flavor and helps thicken the sauce. It’s a small ingredient that makes a big difference.
For the Spice Blend

Chili Powder (2 tablespoons) — Not just any chili powder. I prefer a blend like McCormick or a custom mix. It provides the base earthy flavor. Don’t confuse this with ground chilies.
Cumin (1 tablespoon, ground) — Cumin is the soul of chili. It’s warm, earthy, and essential. If you skip it, it’s just spicy tomato soup. Use fresh cumin if you can; old cumin loses its punch.
Smoked Paprika (1 teaspoon) — This doubles down on the smoky flavor from the tomatoes. It’s optional but highly recommended for that BBQ-like depth.
Cayenne Pepper (½ teaspoon, optional) — For heat. Start with this amount and adjust to taste. I add more if I want it to kick.
Salt and Black Pepper (to taste) — I start with 1 teaspoon of salt and ½ teaspoon of pepper, then adjust at the end. Always taste before serving.
For the Finish
Black Beans (1 can, 15 oz / 400g, drained and rinsed) — I like black beans for their texture. They hold their shape better than kidney beans in a quick chili. Rinse them well to remove the canned taste.
Beef Broth (1 cup / 240ml) — Adds liquid and savory depth. Use low-sodium so you can control the saltiness.
Brown Sugar (1 teaspoon) — This is my secret weapon. It balances the acidity of the tomatoes and the heat of the spices. You won’t taste “sweet,” but it makes the flavors pop.
Optional Toppings — Shredded cheddar cheese, sour cream, chopped green onions, cilantro, and tortilla chips. I usually put out a bowl of toppings so everyone can customize their bowl.
Equipment Needed
You don’t need fancy equipment for this. Here’s what I actually use.
Large Dutch Oven or Heavy-Bottomed Pot — I use a 6-quart Dutch oven. It needs to fit 1.5 pounds of beef plus all the veggies and liquids comfortably. A heavy-bottomed pot prevents burning, which is crucial when browning meat.
Wooden Spoon — For stirring and scraping up the browned bits (fond) from the bottom of the pot. Those bits are pure flavor.
Sharp Knife and Cutting Board — For dicing the onion and mincing the garlic. A sharp knife makes this task much easier and safer.
Measuring Spoons — For the spices. Consistency is key, so measure them out.
Can Opener — Obvious, but don’t forget it!
Colander — For rinsing the beans.
That’s it. No fancy gadgets. Just good old-fashioned pot-and-spoon cooking.
How to Make It: Step-by-Step
Alright, let’s make this! I’m walking you through exactly how I do it, including the little tricks I’ve picked up over the years.
Step 1: Prep Your Ingredients (5 minutes)
Before you turn on the stove, chop your onion, mince your garlic, and drain your beans. I know it seems fussy, but it makes the actual cooking way less stressful. Once you start browning the meat, things move fast. Measure out your spices too. Having everything ready means you won’t burn the garlic while you’re looking for the cumin.
Step 2: Brown the Beef (5-7 minutes)
Heat your Dutch oven over medium-high heat. Add the ground beef, breaking it up with your wooden spoon as it cooks. Cook until it’s no longer pink, about 5-7 minutes. You want some browning, not just gray meat. If there’s a lot of excess fat, drain it off, but leave about a tablespoon for flavor. Remove the beef from the pot and set it aside on a plate. Don’t skip this step—it prevents the chili from being greasy.
Step 3: Sauté the Aromatics (3-4 minutes)
In the same pot (with that flavorful beef fat), add the diced onion. Cook over medium heat for 3-4 minutes until softened and translucent. Add the minced garlic and cook for another 30 seconds, just until fragrant. Watch closely—garlic burns quickly and tastes bitter. If it starts to brown, take it off the heat immediately.
Step 4: Bloom the Spices (1 minute)
Add the chili powder, cumin, smoked paprika, and cayenne to the pot. Stir constantly for about 1 minute. This “blooms” the spices, releasing their essential oils and deepening their flavor. It’s a small step that makes a huge difference. You’ll smell an incredible aroma filling your kitchen.
Step 5: Build the Chili (15 minutes)
Stir in the tomato paste and cook for 1 minute to caramelize it slightly. Then, add the fire-roasted tomatoes (with their juices), beef broth, and brown sugar. Scrape up any browned bits from the bottom of the pot with your spoon. Return the cooked beef to the pot. Bring it to a boil, then reduce the heat to low.
Step 6: Simmer and Settle (5-10 minutes)
Let the chili simmer uncovered for 5-10 minutes. This isn’t a long simmer, but it’s enough time for the flavors to marry and the sauce to thicken slightly. Stir occasionally. If it looks too thick, add a splash more broth. If it’s too thin, let it simmer a bit longer.
Step 7: Add the Beans and Finish
Stir in the drained black beans. Let them heat through for 2-3 minutes. Taste the chili. This is the most important step. Add salt and black pepper to taste. If it needs more heat, add cayenne. If it’s too acidic, add a pinch more sugar. Adjust until it tastes perfect to you.
Total Time: About 30 minutes (10 minutes active, 20 minutes mostly hands-off).
Expert Tips & Tricks
Here’s everything I’ve learned from making this dozens of times. These tips will save you from my mistakes.
Don’t Skip the Bloom
Adding spices to the hot oil/fat before adding liquids is crucial. It unlocks their full flavor potential. I’ve made chili with spices added later, and it just tastes flat. Take the extra minute to bloom them.
Use Good Fire-Roasted Tomatoes
Not all fire-roasted tomatoes are equal. I’ve tried cheap brands, and they can taste metallic or too watery. Stick with a reputable brand. The quality of the tomatoes really shines in this recipe since they’re the main flavor driver.
Balance is Key
Chili is a battle between acid (tomatoes), heat (chili powder/cayenne), and sweetness (sugar/brown sugar). If it tastes too sharp, add sugar. If it tastes too flat, add acid (a splash of vinegar) or salt. Taste as you go.
Let It Rest
If you can wait, let the chili sit for 10-15 minutes after cooking before serving. It thickens up and the flavors become more cohesive. I know it’s hard to resist, but patience pays off.
Common Mistakes
- Sauce too watery: You didn’t simmer it long enough, or you used canned tomatoes with too much liquid. Simmer uncovered to reduce.
- Too spicy: Add a dollop of sour cream or a pinch of sugar to balance the heat.
- Too salty: This happens if you use canned broth with high sodium. Use low-sodium broth and control your salt.
Variations & Substitutions
Once you’ve nailed the basic version, here’s how you can mix it up. I’ve tried all of these.
Vegetarian Version
Skip the beef and use 2 cans of mixed beans (black, kidney, pinto). Add a diced bell pepper for extra veggie bulk. Use vegetable broth instead of beef broth. It’s still hearty and delicious.
Chicken Chili
Substitute the ground beef with shredded cooked chicken. Add it at the end just to heat through. It’s lighter but still flavorful.
Spicy Kick
Add a diced jalapeño with the onions, or increase the cayenne to 1 teaspoon. For extra heat, serve with hot sauce on the side.
Beanless Chili
If you’re avoiding beans, just increase the beef to 2 pounds and add a can of diced tomatoes for extra bulk. It’s a “Texas-style” chili.
Gluten-Free
This recipe is naturally gluten-free, but check your chili powder and broth labels to ensure they’re certified GF. Some blends contain wheat flour as an anti-caking agent.
Serving & Storage
I usually serve this straight from the pot at the dinner table. It’s rustic and inviting. But here are some ways I’ve enjoyed it.
How to Serve
Top with shredded cheddar cheese, a dollop of sour cream, chopped green onions, and fresh cilantro. Tortilla chips on the side are a must for dipping. I also like to serve it over baked potatoes or with cornbread on the side. If you want something lighter, serve it with a simple green salad. It pairs well with a cold beer or a glass of red wine.
Storage Instructions
Refrigerator: Store in an airtight container for up to 4 days. The flavors actually get better after a day or two.
Freezing: This freezes beautifully for up to 3 months. Let it cool completely, then transfer to freezer bags or containers. Thaw in the fridge overnight and reheat on the stove. It might separate a little, but a good stir will bring it back together.
Reheating: Reheat gently on the stove over medium-low heat, adding a splash of water or broth if it’s too thick. Microwave works too, but stir halfway through to ensure even heating.
Nutrition Information
I’m not a nutritionist, but here’s the breakdown if you’re tracking. Per serving (based on 6 servings):
Calories: 380
Protein: 28g
Carbs: 22g
Fiber: 6g
Fat: 18g
Sodium: 650mg
This is a protein-packed meal with good fiber from the beans. It’s hearty and satisfying. If you’re watching calories, use leaner beef and skip the high-calorie toppings. But honestly? It’s comfort food. Enjoy it in moderation and savor the flavors.
Final Thoughts
So that’s my Classic Beef Chili with Fire-Roasted Tomatoes! It’s become such a staple in our home that I forget how special it is until I make something else. It’s the kind of recipe that just works. It’s forgiving, it’s fast, and it’s delicious. My kids ask for it regularly, and my friends always ask for the recipe when they come over.
If you try this, I’d love to hear how it turns out. Drop a comment and let me know what toppings you added. Did you make it spicy? Did you use beans? I love hearing how you adapt recipes to your family’s tastes.
Happy cooking! I hope your kitchen smells amazing and your belly is full.
Frequently Asked Questions
Can I use regular canned tomatoes instead of fire-roasted?
You can, but the flavor won’t be the same. Fire-roasted tomatoes have a charred, smoky depth that regular ones lack. If you only have regular tomatoes, try adding a teaspoon of smoked paprika and a splash of liquid smoke to mimic the flavor. But if you can, stick with fire-roasted.
Why is my chili too watery?
This usually happens if you don’t simmer it long enough, or if the canned tomatoes have too much liquid. Simmer the chili uncovered for 10-15 minutes to reduce the liquid. You can also add a tablespoon of tomato paste to thicken it.
Can I make this in a slow cooker?
Absolutely! Brown the beef and sauté the onions in a pan first, then transfer everything to the slow cooker. Cook on low for 6-8 hours or high for 3-4 hours. It’s a great option if you want to prep in the morning.
Is this chili spicy?
It’s mildly spicy by default. The chili powder and cayenne give it a warm kick, but it’s not blazing hot. You can control the heat by adjusting the amount of cayenne or adding jalapeños. Serve it with hot sauce if you want more heat.
Can I double this recipe?
Yes, just use a larger pot. The cooking times stay roughly the same, but you might need to stir more frequently to prevent burning. I often double this on Sundays for meal prep.
What’s the best way to reheat leftovers?
Stovetop is best. Reheat gently in a saucepan over medium-low heat, adding a splash of water or broth if it’s too thick. Microwave works too, but stir every 30 seconds to ensure even heating.
Can I freeze this chili?
Yes, it freezes very well. Let it cool completely, then transfer to freezer-safe containers or bags. It will keep for up to 3 months. Thaw in the fridge overnight before reheating.
Pin This Recipe!
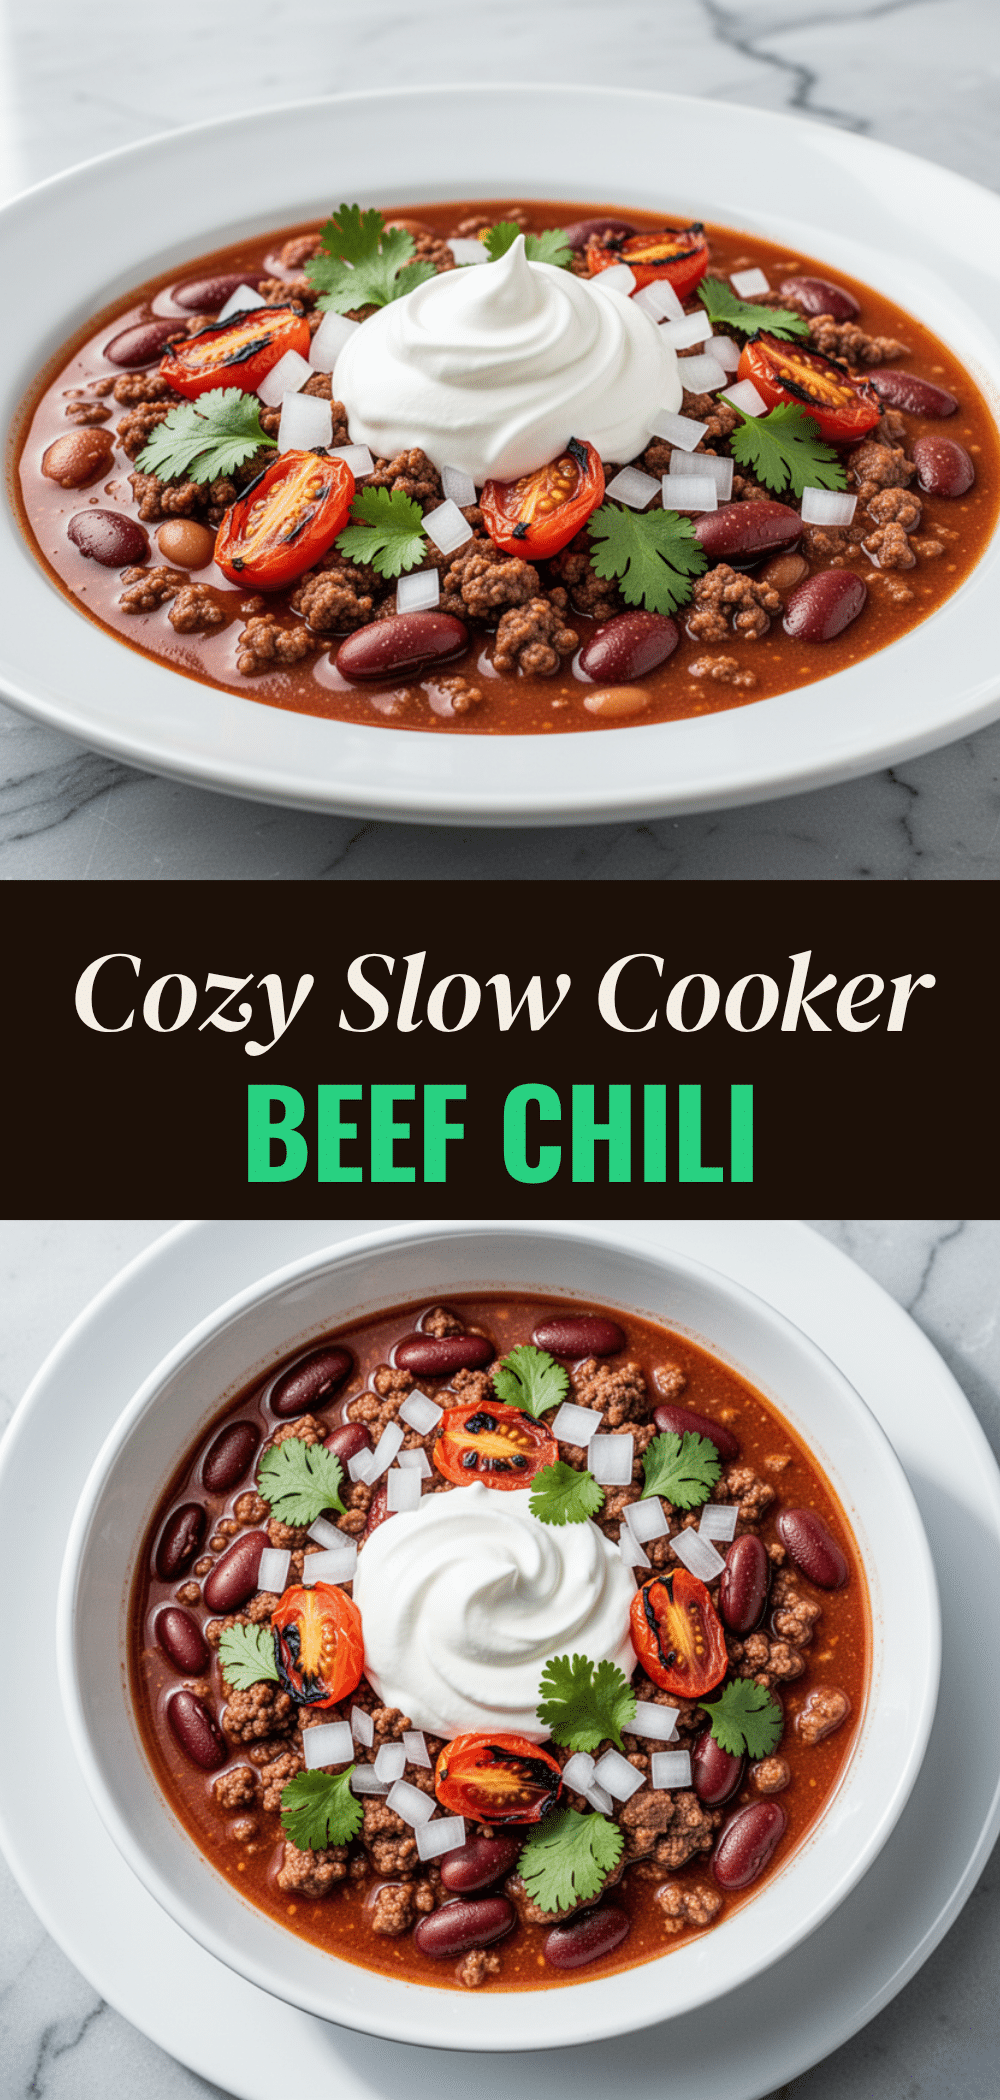

Classic Beef Chili with Fire-Roasted Tomatoes
- Total Time: 30 minutes
- Yield: 6 servings 1x
Description
A quick, 30-minute comfort food recipe featuring deep, smoky flavors from fire-roasted tomatoes and ground beef. This one-pot meal is customizable for heat and perfect for meal prep.
Ingredients
- 1.5 lbs ground beef (80/20 lean-to-fat ratio)
- 1 large yellow onion, diced
- 4 cloves garlic, minced
- 2 cans (14.5 oz each) fire-roasted tomatoes, undrained
- 2 tablespoons tomato paste
- 2 tablespoons chili powder
- 1 tablespoon ground cumin
- 1 teaspoon smoked paprika
- 1/2 teaspoon cayenne pepper (optional)
- 1 teaspoon salt (plus more to taste)
- 1/2 teaspoon black pepper (plus more to taste)
- 1 can (15 oz) black beans, drained and rinsed
- 1 cup beef broth (low-sodium)
- 1 teaspoon brown sugar
Instructions
- Prep ingredients: Dice onion, mince garlic, and drain/rinse beans.
- Heat a large Dutch oven or heavy-bottomed pot over medium-high heat. Add ground beef and break it up with a wooden spoon. Cook until browned and no longer pink (5-7 minutes). Drain excess fat, leaving about 1 tablespoon, then remove beef and set aside.
- In the same pot, add diced onion and cook over medium heat for 3-4 minutes until softened. Add minced garlic and cook for 30 seconds until fragrant.
- Add chili powder, cumin, smoked paprika, and cayenne to the pot. Stir constantly for 1 minute to bloom the spices.
- Stir in tomato paste and cook for 1 minute. Add fire-roasted tomatoes (with juices), beef broth, and brown sugar. Scrape up browned bits from the bottom of the pot.
- Return the cooked beef to the pot. Bring to a boil, then reduce heat to low.
- Simmer uncovered for 5-10 minutes to thicken the sauce and meld flavors.
- Stir in the drained black beans and heat through for 2-3 minutes.
- Taste and adjust seasoning with salt, pepper, or additional cayenne as needed. Let rest for 10-15 minutes before serving.
Notes
For best results, use reputable brands of fire-roasted tomatoes. Bloom the spices in the fat before adding liquids to unlock full flavor. If the chili is too watery, simmer longer uncovered. If too spicy, add a dollop of sour cream or a pinch of sugar. This recipe is naturally gluten-free, but check labels on chili powder and broth.
- Prep Time: 10 minutes
- Cook Time: 20 minutes
- Category: Main Course
- Cuisine: American
Nutrition
- Serving Size: 1 bowl
- Calories: 380
- Sugar: 4
- Sodium: 650
- Fat: 18
- Saturated Fat: 7
- Carbohydrates: 22
- Fiber: 6
- Protein: 28
Keywords: beef chili, fire-roasted tomatoes, quick dinner, comfort food, one-pot meal, meal prep, spicy chili, ground beef recipe



