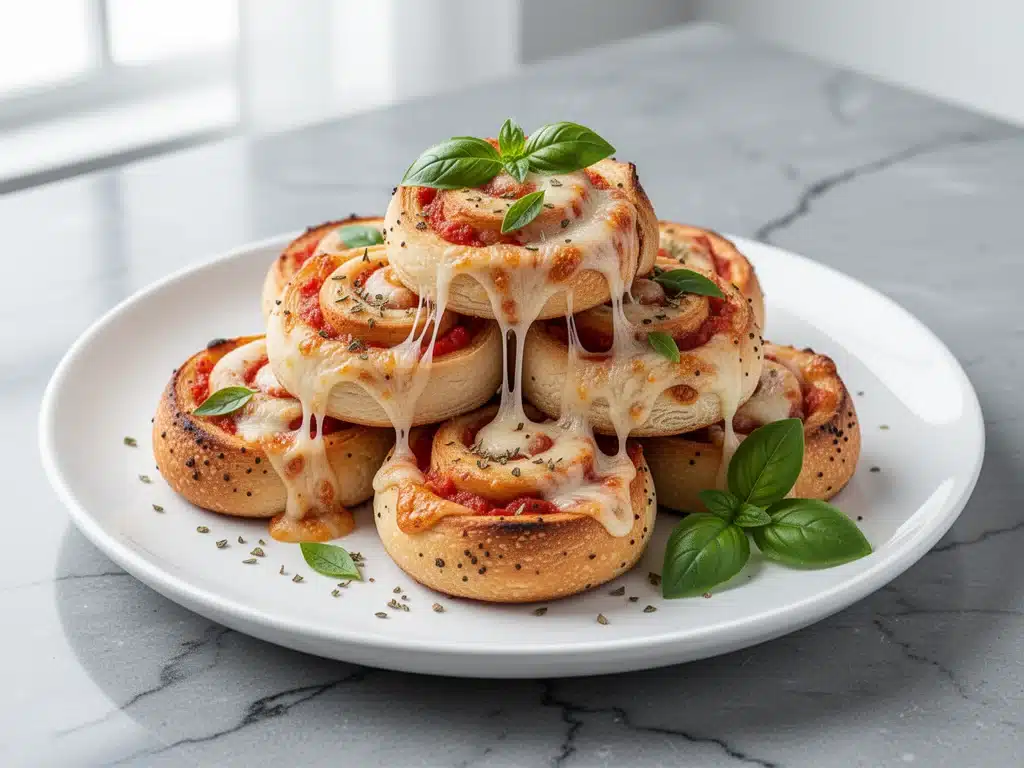
It was 7:15 AM on a Tuesday in September, and I was staring at a pile of empty lunchboxes like they were personal insults. My kids had just started second and fourth grade, which apparently comes with a strict “no junk food” policy and a very specific demand for “cool” snacks. I had twenty minutes before the school bus horn blared, a half-empty jar of marinara sauce in the fridge, and a stack of refrigerated pizza dough that was slowly losing its promise. I needed something fast, something they’d actually eat, and something that didn’t involve me packing a sad ham sandwich for the third day in a row.
I grabbed the dough, a block of mozzarella, and that leftover sauce. I rolled it out, slapped on the cheese, rolled it up tight, sliced it into coins, and threw them in the oven. By the time I was brushing hair and finding shoes, the kitchen smelled like a pizzeria. My kids came downstairs, saw the golden spirals, and immediately forgot about the “cool” snacks they wanted. They ate every single one. And the best part? There were leftovers. Actual, perfect leftovers that tasted great cold for lunch the next day.
That accidental Tuesday morning birthed my go-to Back-to-School Cheesy Pizza Pinwheel Bites. I’ve made this recipe dozens of times since then—sometimes for weeknight dinners when we’re too tired to cook, sometimes for packed lunches, and sometimes just because my husband craves them. It’s the ultimate hack for busy families. You use store-bought dough to save time, you load it with cheese (because, let’s be honest, that’s the point), and you get these cute, portable bites that disappear faster than you can slice them. If you’re drowning in the morning rush or just need a reliable weeknight dinner that doesn’t involve a mountain of dishes, this is your new best friend.
Why You’ll Love This Pinwheel Recipe
There are about ten reasons I keep coming back to this recipe, but let’s be real: it’s not just about the taste (though the taste is incredible). It’s about how it fits into the chaotic reality of modern family life. Here’s why these cheesy pizza pinwheel bites have earned a permanent spot in our weekly rotation.
- Stupid Simple — Seriously, if you can roll out dough and sprinkle cheese, you can make this. I’ve walked my teenage son through it over FaceTime while I was at work. There’s no complex technique here. No kneading, no proofing, no waiting hours for yeast to work. Just roll, spread, roll, slice, and bake.
- Lightning Fast — 30 minutes from start to finish, and only 10 of those are active cooking. I make this on weeknights when I get home at 7pm, throw it in the oven, and use that time to help with homework or take a shower. The kids can even help prep if they’re old enough to handle the knife (under supervision, of course).
- Lunchbox Friendly — These are the perfect size for bento boxes or standard lunch bags. They don’t leak sauce all over the sandwich bag (a common tragedy with regular pizza slices). They hold their shape, they taste good cold or room temperature, and they don’t get soggy. My kids actually ask for these specifically for Friday lunches.
- Crowd-Pleaser — I’ve served these to my vegetarian sister, my neighbor who is picky about crusts, and my dad who thinks “real” pizza needs pepperoni. Everyone loved it. The spiral shape is fun for kids, but the cheesy, buttery flavor satisfies the adults too.
- Makes Amazing Leftovers — Actually tastes better the next day. The cheese sets slightly, making it easier to handle. I deliberately make double the batch on Sunday so I have breakfast options for Monday morning. Yes, you can eat these for breakfast. Don’t judge me.
- Budget-Smart — Feeds 4-6 people for under $10. Dough is cheap, sauce is cheap, and cheese is on sale. That’s less than one meal at a fast-food place, and way healthier than the drive-thru alternative.
This is my go-to when I need dinner to just work. No complicated techniques, no weird ingredients, just reliable, delicious food that makes everyone happy.
Ingredients You’ll Need
Here’s the best part: you probably have most of this already. This isn’t a recipe that requires a trip to three different specialty stores. It’s built on pantry staples and freezer basics. I’m particular about three ingredients here, and I’ll tell you exactly why.
For the Base
Refrigerated pizza dough (1 standard tube, about 14oz / 397g) — I use the Pillsbury or store-brand variety found in the refrigerated section. Do not use canned biscuit dough; it’s too dense. Do not use frozen dough unless you thaw it completely the night before. Fresh refrigerated dough is the key to that soft, bread-like interior. If you can’t find tubes, a 1-pound ball of dough from the deli counter works too.
Marinara sauce (½ cup / 120g) — Don’t overthink this. Any good-quality jarred sauce works. I prefer a simple tomato basil sauce without too many herbs so it doesn’t compete with the cheese. If you have homemade sauce, use it! But honestly, the jarred stuff is fine and saves time.
Butter (2 tablespoons / 30g, melted) — This is the secret weapon. Brushing the outside with melted butter before baking gives you that golden, bakery-style crust. It adds richness and helps the garlic powder stick.
For the Filling
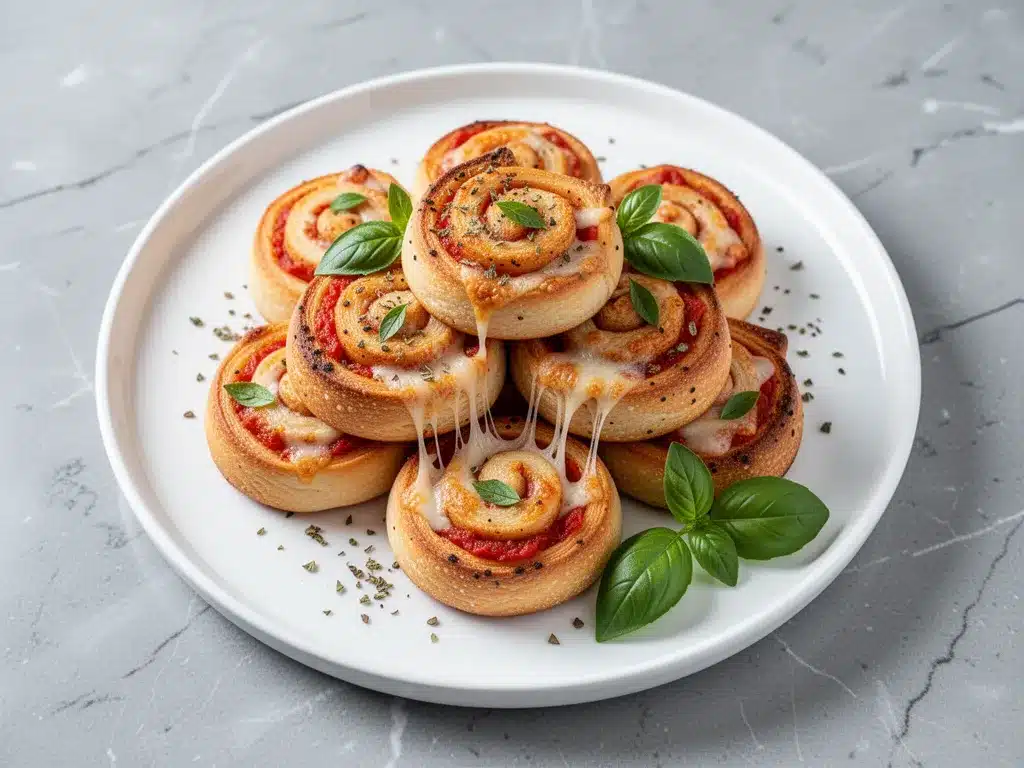
Mozzarella cheese (2 cups / 200g, shredded) — Buy the block and shred it yourself. Pre-shredded cheese is coated in cellulose (potato starch) to prevent clumping, which stops it from melting smoothly. I’ve tasted the difference. It takes two minutes to shred a block, and the gooeyness is worth it.
Garlic powder (1 teaspoon) — Not fresh garlic. Fresh garlic burns easily and can get soggy. Garlic powder distributes evenly and gives that classic pizza flavor without the texture issues.
Dried oregano (1 teaspoon) — The soul of pizza. If you don’t have oregano, Italian seasoning works, but oregano is non-negotiable for the authentic taste.
Red pepper flakes (½ teaspoon, optional) — For a little kick. My kids hate spice, so I sprinkle this on half the pinwheels. If you like heat, go for it.
Optional Add-ins
Pepperoni slices (½ cup) — If you want to get fancy. I usually skip them because they can curl up and burn, but some people love them. If you add them, lay them flat before rolling.
Fresh basil (2 tablespoons, chopped) — Sprinkle this on after baking for a fresh burst of flavor. It looks pretty and tastes amazing.
Parmesan cheese (¼ cup, grated) — Sprinkle this on top before baking for a salty, crispy crust. It adds a nice contrast to the melty mozzarella inside.
Equipment Needed
You don’t need fancy equipment for this. Here’s what I actually use.
9×13 inch baking dish — I use a glass Pyrex dish. It heats evenly and makes cleanup easy. A metal pan works too, but glass gives a slightly softer crust which I prefer for these bites.
Rolling pin — Any rolling pin works. I use a wooden one, but even a bottle of wine works in a pinch (just make sure it’s clean!).
Sharp knife or pizza cutter — A pizza cutter is great for slicing the rolled log, but a sharp chef’s knife works better for clean cuts. A dull knife will squish the pinwheels.
Pastry brush — For the butter. Or just use a silicone spatula. I have a cheap brush from the dollar store that I use for everything.
Measuring spoons — Pretty standard stuff. Dollar store versions work fine.
Sheet of parchment paper — Optional, but I line my baking dish with it to prevent sticking. It makes cleanup a breeze. If you don’t have parchment, lightly grease the dish with butter or oil.
Small bowl — For mixing the butter and garlic powder.
Optional but nice:
- Kitchen scale — If you want precise sizing, but eyeballing is fine for this recipe.
- Offset spatula — Makes spreading the sauce easier, but a regular spoon works.
How to Make It: Step-by-Step
Alright, let’s make this! I’m walking you through exactly how I do it, including the little tricks I’ve picked up.
Step 1: Prep Your Oven and Pan (2 minutes)
Preheat your oven to 375°F (190°C). Line a 9×13 inch baking dish with parchment paper or grease it lightly with butter. This step is crucial because these pinwheels can stick if the pan isn’t prepared well. I always line mine; it saves me from scrubbing baked-on cheese later.
Step 2: Roll Out the Dough (3 minutes)
Unroll the pizza dough onto a lightly floured surface. It’s going to want to spring back. Don’t fight it aggressively. Let it rest for a minute if it’s resisting, then gently roll it into a rectangle, roughly 9×13 inches. If it tears, just patch it with your fingers. It’ll hold together in the oven. The goal is a relatively even thickness so they bake uniformly.
Step 3: Spread the Sauce and Cheese (5 minutes)
Spread the marinara sauce evenly over the dough, leaving a half-inch border on all sides. This border is important; if you get sauce on the edges, the roll will stick to itself in a weird way. Sprinkle the garlic powder and oregano over the sauce. Then, add the shredded mozzarella. Use your hands to distribute it evenly. Don’t be shy with the cheese; that’s the good stuff.
Step 4: Roll It Up (2 minutes)
Starting from the long side, tightly roll the dough up into a log. Use your fingers to tuck the ends in slightly so they don’t unravel. Once rolled, pinch the seam shut. If you’re worried about it opening, press the seam down firmly. Now, take your sharp knife or pizza cutter and slice the log into 1-inch thick rounds. You should get about 12-15 pinwheels. Place them cut-side up in the prepared baking dish. They’ll spread slightly, so leave a little space between them.
Step 5: The Butter Bath (2 minutes)
In a small bowl, mix the melted butter with the red pepper flakes (if using). Brush the tops of each pinwheel generously with the butter. This is what gives them that golden, appetizing color. If you’re adding Parmesan, sprinkle it on now. The butter helps the Parmesan stick and brown nicely.
Step 6: Bake Until Golden (15-18 minutes)
Place the dish in the preheated oven. Bake for 15-18 minutes, or until the tops are golden brown and the cheese is bubbling. I usually check them at 15 minutes. If you like a crispier crust, you can broil them for the last 1-2 minutes, but watch them closely—they burn fast. The smell will fill your house, and your kids will probably start begging before they’re done.
Step 7: Cool and Serve
Let them cool in the pan for 5 minutes. This is the hardest part, I know. But if you pull them out immediately, the cheese will be molten lava and will spill out. Letting them rest allows the cheese to set slightly. Serve warm with extra marinara for dipping.
Total Time: About 30 minutes (10 minutes active, 20 minutes baking)
Built-in Troubleshooting
- Pinwheels unrolled? Your roll wasn’t tight enough. Next time, roll tighter and pinch the seam.
- Sauce leaked out? You put too much sauce. Use a thin layer. The sauce will bubble up a bit, which is fine.
- Crust is too hard? You baked them too long or the oven was too hot. Check at 15 minutes.
- Pinwheels stuck together? You didn’t leave enough space in the pan. Use a larger pan or make fewer at a time.
Expert Tips & Tricks
Here’s everything I’ve learned from making this dozens of times. These tips will save you from my mistakes.
Don’t Skimp on the Roll
The tighter you roll, the better the layers. If the roll is loose, the pinwheels will look flat and the cheese will spill out everywhere. Roll it like a sleeping bag—tight and snug.
Cold Dough is Easier to Handle
If your dough is warm and sticky, pop it in the fridge for 10 minutes before rolling. Cold dough is less likely to tear and holds its shape better. I’ve learned this the hard way with a sticky mess on my counter.
Use a Sharp Knife
A dull knife will squish the dough and make the layers merge. A sharp knife or pizza cutter gives you clean cuts. If you don’t have a sharp knife, use dental floss! (Okay, maybe that’s too weird, but it works for cheesecakes. For this, just sharpen your knife.)
Customize the Sauce
Don’t like marinara? Try Alfredo sauce for white pizza pinwheels. Or pesto for a fresh, green twist. I’ve made pesto versions, and they’re amazing. Just reduce the garlic powder since pesto already has garlic.
Make-Ahead Strategy
You can assemble these and refrigerate them for up to 24 hours before baking. Cover with plastic wrap. This is perfect for meal prep. Pull them out of the fridge in the morning, let them sit for 15 minutes while you get ready, then bake. Or bake them, let them cool, and freeze them for later.
Pro Trick for Crispy Tops
Brush the tops with olive oil instead of butter for a crispier, less rich crust. Or mix the butter with a little parmesan for a savory, crunchy topping.
Variations & Substitutions
Once you’ve nailed the basic version, here’s how you can mix it up. I’ve tried all of these.
Meat Lover’s
Add cooked crumbled bacon, sausage, or ham before adding the cheese. I usually use pre-cooked sausage to save time. Just make sure the meat is cooked and cooled before adding it, or the moisture will make the dough soggy.
Veggie Loaded
Sauté sliced mushrooms, bell peppers, and onions before adding them. Raw vegetables release too much water. Sautéed veggies add flavor without making the pinwheels wet. Spinach works too, but squeeze out the excess moisture first.
White Pizza
Skip the marinara. Spread a layer of ricotta cheese mixed with a little garlic and olive oil. Top with mozzarella and spinach. It’s creamy, rich, and delicious.
BBQ Chicken
Swap marinara for BBQ sauce. Add shredded cooked chicken and red onion. Top with mozzarella. It’s a totally different vibe, but just as good.
Dietary Modifications
- Gluten-Free — Use gluten-free pizza dough. It’s stickier, so use plenty of flour on your hands. The taste is surprisingly good.
- Dairy-Free — Use dairy-free butter and dairy-free mozzarella. It melts differently, but it works. I’ve used Violife cheese, which melts pretty well.
- Lower-Carb — Use low-carb tortillas instead of dough. Roll them up and slice. It’s a quick hack, but the texture is different.
Serving & Storage
I usually serve these straight from the baking dish at the dinner table—it looks rustic and stays warm. But here are other ways I’ve enjoyed them.
How to Serve
With extra marinara for dipping, obviously. But they’re also great with ranch dressing or garlic aioli. If you have guests, set up a dipping bar with different sauces. It’s fun and interactive.
Side Dishes
- Simple green salad with balsamic vinaigrette
- Roasted broccoli or green beans
- Fruit salad (for balance)
Storage Instructions
Refrigerator: Store in an airtight container for up to 4 days. The crust will soften slightly, but they’re still delicious. Reheat in the oven or toaster oven to crisp them back up. Microwave works, but the crust gets chewy.
Freezing: These freeze beautifully! Bake them, let them cool completely, then freeze in a single layer on a baking sheet. Once frozen, transfer to a freezer bag. They’ll keep for up to 3 months. Reheat from frozen in the oven at 350°F for 10-15 minutes. They taste almost as good as fresh.
Meal Prep: Make a big batch on Sunday, freeze them, and grab a few for lunch during the week. It’s the ultimate time-saver. I pack 4-5 pinwheels in a container with a small cup of sauce for dipping. It’s a hit with my kids.
Nutrition Information
I’m not a nutritionist, but here’s the breakdown if you’re tracking.
Per Serving (based on 12 pinwheels, 2 pinwheels per serving):
- Calories: 180
- Protein: 7g
- Carbs: 22g
- Fiber: 1g
- Sugar: 2g
- Fat: 8g
- Saturated Fat: 4g
- Cholesterol: 20mg
- Sodium: 350mg
What’s Good:
- Decent protein from cheese
- Calcium from mozzarella
- Portion-controlled (if you don’t eat the whole batch)
What to Know:
- Higher in sodium from sauce and dough
- Contains gluten and dairy
- Can be made lighter by using less cheese or whole wheat dough
Look, this is comfort food. It’s not a diet recipe. But it’s way better than processed snacks, and it’s made with ingredients you can pronounce. When I want to make it lighter, I use whole wheat dough and less cheese. But usually? I just eat a reasonable portion and enjoy it.
Final Thoughts
So that’s my go-to Back-to-School Cheesy Pizza Pinwheel Bites! I’ve probably talked your ear off at this point, but when you make a recipe this often, you have a lot to say about it.
This has saved weeknight dinners more times than I can count. It’s my answer to “what’s for dinner” when I’m tired, don’t want takeout, and still want something that tastes really good. My kids are happy, my husband’s happy, and I’m happy because I’m not stressed about cooking.
Make it yours! Try different add-ins, swap in your favorite vegetables, adjust the garlic (though more is always better in my opinion). The best recipes are the ones you adapt to your family’s tastes.
If you make this, drop a comment and let me know what you think! I love hearing how recipes turn out in your kitchen. And if something doesn’t work, tell me that too—I’m here to help troubleshoot.
Happy cooking! And I hope your kitchen smells half as good as mine does right now.
Frequently Asked Questions
Can I use frozen pizza dough?
Yes, but you need to thaw it completely the night before in the fridge. If you try to roll frozen dough, it will crack and break. Thawed dough works just as well as refrigerated dough, but it might be slightly stickier. Dust your hands with extra flour if needed.
Why did my pinwheels unravel in the oven?
This usually happens if the roll wasn’t tight enough, or if you didn’t pinch the seam shut. Next time, roll tighter and use your fingers to press the seam firmly. You can also use a toothpick to hold the seam in place while baking, but I usually find that rolling tighter solves the problem.
Can I make these ahead for a dinner party?
Absolutely. Assemble the pinwheels, cover with plastic wrap, and refrigerate for up to 24 hours. When you’re ready to serve, take them out of the fridge, let them sit for 15 minutes, then bake as directed. You might need to add 2-3 minutes to the baking time since they’re cold. This is a great strategy for hosting because you can prep everything the day before.
Can I freeze the unbaked pinwheels?
Yes! Arrange the unbaked pinwheels on a baking sheet and freeze until solid. Then transfer to a freezer bag. When you’re ready to bake, place them on a baking sheet and bake directly from frozen, adding 5-7 minutes to the baking time. They come out crispy and golden.
What if I don’t have a 9×13 dish?
You can use a large baking sheet. Just make sure the pinwheels aren’t touching each other, or they’ll stick together. You might need to bake in two batches if your sheet is small. The cooking time will be similar, but keep an eye on them since they’re closer to the heating element.
Can I use different cheese?
Yes! You can use a blend of mozzarella and cheddar for a sharper flavor. Or use provolone for a milder taste. Just avoid cheeses that don’t melt well, like feta or queso fresco. Stick to melty cheeses for the best texture.
How do I reheat leftovers without them getting dry?
The best method is the oven or toaster oven. Reheat at 350°F for 5-10 minutes. This restores the crispiness. The microwave will make them chewy and soft. If you must use the microwave, do it in short bursts (30 seconds) and let them rest for a minute. But honestly, the oven is worth the extra minute.
Pin This Recipe!
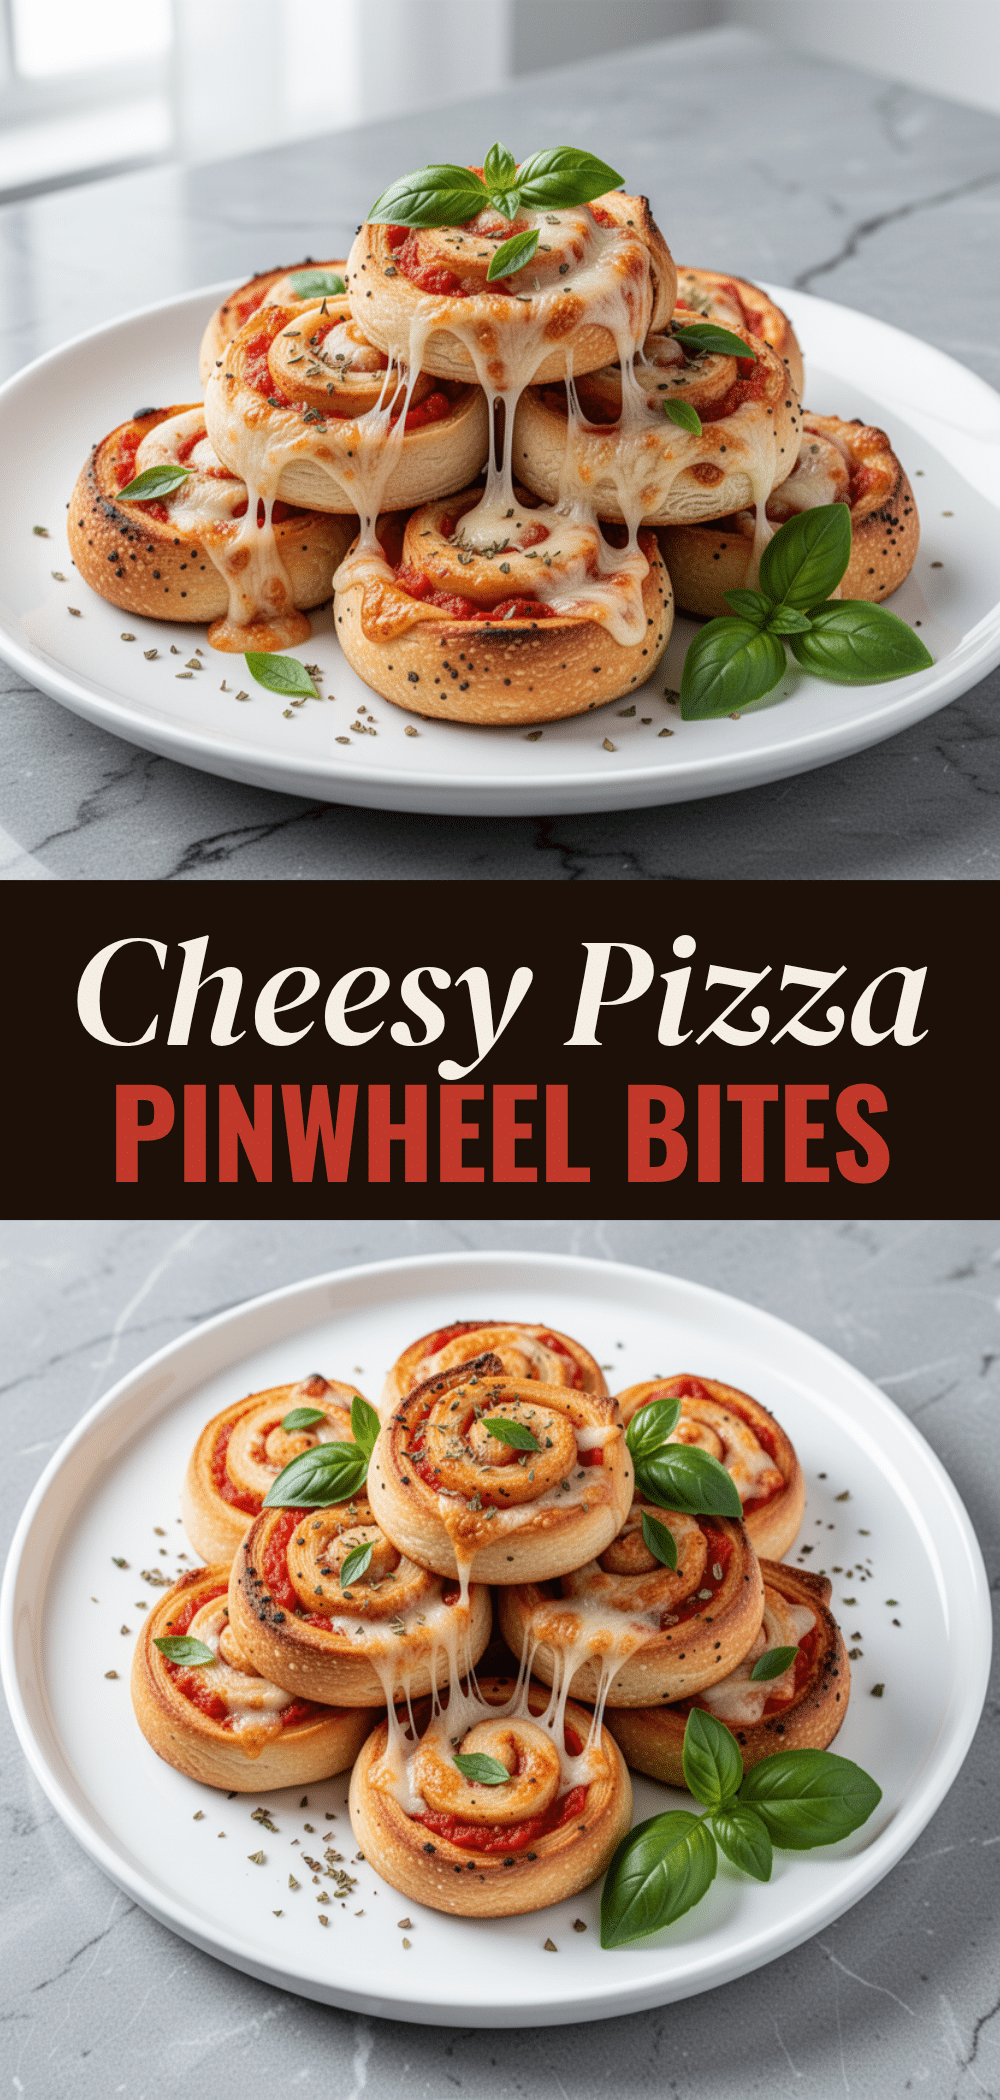
Cheesy Pizza Pinwheel Bites: Easy Back-to-School Lunch
- Total Time: 30 minutes
- Yield: 12-15 pinwheels (4-6 servings) 1x
Description
A quick and easy recipe for cheesy pizza pinwheel bites made with refrigerated dough, perfect for busy weeknights, school lunches, or meal prep. These portable, crowd-pleasing bites are ready in 30 minutes and taste great warm or cold.
Ingredients
- 1 standard tube (14oz / 397g) refrigerated pizza dough
- ½ cup (120g) marinara sauce
- 2 tablespoons (30g) butter, melted
- 2 cups (200g) mozzarella cheese, shredded
- 1 teaspoon garlic powder
- 1 teaspoon dried oregano
- ½ teaspoon red pepper flakes (optional)
- ½ cup pepperoni slices (optional)
- 2 tablespoons fresh basil, chopped (optional)
- ¼ cup parmesan cheese, grated (optional)
Instructions
- Preheat oven to 375°F (190°C). Line a 9×13 inch baking dish with parchment paper or grease lightly with butter.
- Unroll pizza dough onto a lightly floured surface and roll into a 9×13 inch rectangle. If it resists, let it rest for a minute before rolling.
- Spread marinara sauce evenly over the dough, leaving a half-inch border on all sides. Sprinkle with garlic powder and oregano.
- Distribute shredded mozzarella evenly over the sauce. Add optional pepperoni if using.
- Starting from the long side, tightly roll the dough into a log. Pinch the seam shut and tuck in the ends.
- Slice the log into 1-inch thick rounds (about 12-15 pinwheels). Place cut-side up in the prepared baking dish, leaving space between them.
- Mix melted butter with red pepper flakes (if using). Brush the tops of each pinwheel generously with the butter mixture. Sprinkle with parmesan if using.
- Bake for 15-18 minutes until tops are golden brown and cheese is bubbling. Optional: broil for 1-2 minutes for extra crispiness, watching closely.
- Let cool in the pan for 5 minutes to allow cheese to set before serving.
Notes
For best results, use fresh refrigerated dough rather than canned biscuits or frozen dough (unless fully thawed). Shred your own mozzarella for better melting. If the dough is warm and sticky, chill it for 10 minutes before rolling. These can be made ahead and refrigerated for up to 24 hours before baking, or frozen after baking for up to 3 months.
- Prep Time: 10 minutes
- Cook Time: 20 minutes
- Category: Main Course
- Cuisine: American
Nutrition
- Serving Size: 2 pinwheels per serv
- Calories: 180
- Sugar: 2
- Sodium: 350
- Fat: 8
- Saturated Fat: 4
- Carbohydrates: 22
- Fiber: 1
- Protein: 7
Keywords: pizza pinwheels, back-to-school lunch, easy dinner, kid-friendly recipes, meal prep, refrigerated dough, cheesy bites, weeknight dinner



