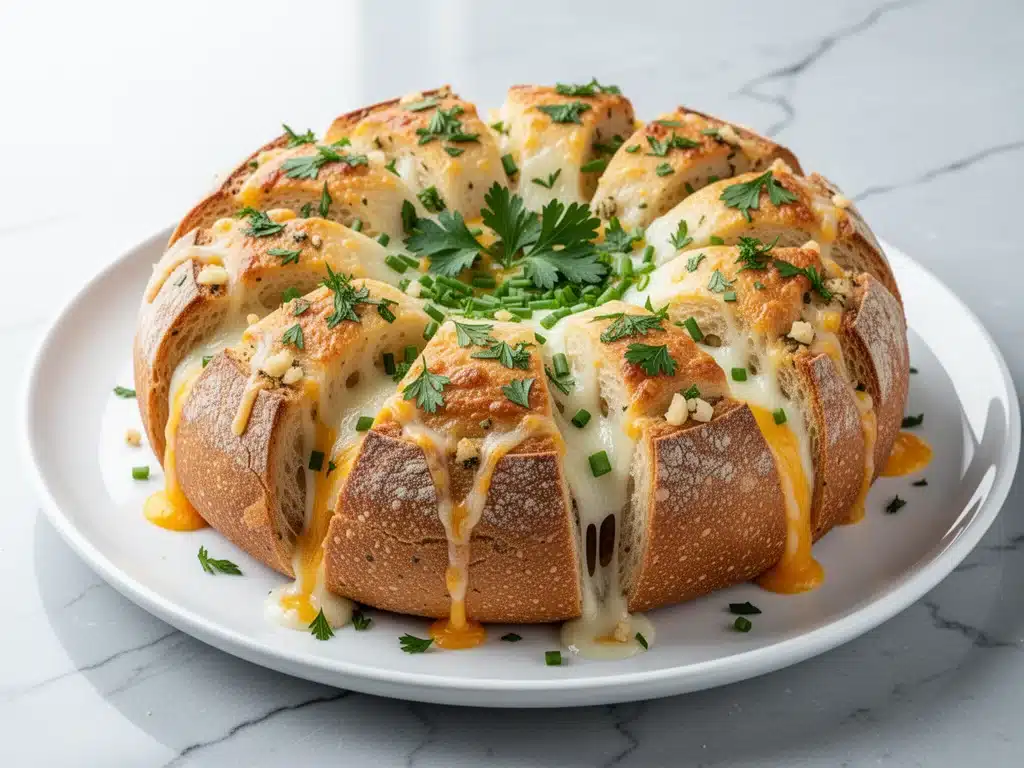
It was 7:00 PM on a Friday, and I was standing in my kitchen holding a loaf of bread, a stick of butter, and a profound sense of panic. My husband had texted ten minutes earlier: “We’re bringing six more people. Be ready!” Six people. I had exactly forty-five minutes to turn a sad, slightly stale sourdough loaf into something that looked like I’d spent hours planning a dinner party. I didn’t have time for a roast, I didn’t have time for a complex appetizer, and I definitely didn’t have time to panic.
So I did what any desperate home cook does: I grabbed the garlic, the cheese, and the herbs from the pantry and started hacking at the bread. I wasn’t aiming for elegance. I was aiming for survival. And you know what? It worked so well that the “unexpected guests” are still asking me for the recipe three weeks later.
That was the birth of my go-to Cheesy Garlic Pull-Apart Bread with Fresh Herbs. It’s not just a recipe; it’s a lifesaver. It’s the dish that sits on the counter, steaming and fragrant, acting as both the first impression of your hospitality and the comfort food that keeps people lingering at the table. There’s something primal and satisfying about tearing off a chunk of hot, cheesy bread with your hands. It breaks the ice. It starts conversations. It makes even the most awkward gathering feel like a cozy family night.
I’ve made this pull-apart bread for everything from Super Bowl parties to holiday brunches, and I’ve tweaked it so many times that I’ve got the technique down to a science. It’s hands-down the best party appetizer because it’s interactive, incredibly forgiving, and tastes like a warm hug. If you’ve been searching for the ultimate crowd-pleaser that doesn’t require culinary school, you’re in the right place. Let’s make some magic.
Why You’ll Love This Cheesy Garlic Pull-Apart Bread
I’m not exaggerating when I say this bread has single-handedly upgraded my hosting game. It’s the kind of dish that gets compliments before anyone even takes a bite of the main course. Here’s why I keep coming back to it, and why you will too:
- Zero Stress, Maximum Reward — Seriously, if you can spread butter on a bagel, you can make this. I’ve made this while helping my kids with homework, and it still came out perfectly golden and gooey. No fancy techniques, no precision timing. Just chop, spread, bake, and serve.
- It’s a Conversation Starter — There’s something about pull-apart bread that forces people to interact. You can’t just stand in the corner eating a plate of food; you have to reach in, grab a piece, and maybe even pass the basket around. It breaks the ice faster than any small talk ever could.
- Uses Up Leftovers — This is the secret weapon. If you have a half-loaf of baguette, a day-old sourdough, or even a slightly stale ciabatta, this recipe saves it. I’ve used everything from fresh bakery loaves to discount-store bread that was about to go bad. The garlic butter mixture revives it, and the cheese makes it taste intentional, not like a salvage job.
- Customizable to Any Diet — Love spice? Add red pepper flakes. Hate garlic? Swap it for rosemary and lemon zest. Vegan? Use dairy-free butter and cheese. I’ve made this for my gluten-free friend by using a gluten-free loaf, and she didn’t even notice the difference in texture. It’s incredibly adaptable.
- Makes You Look Like a Pro — Let’s be real: it looks impressive. That golden, bubbly top with the herbs scattered on top? It looks like something from a high-end bistro. But the truth is, it’s just bread and cheese. It’s the easiest way to look like you spent all day in the kitchen.
This is my answer to “what should I bring?” or “what should I serve?” when I’m short on time but long on desire to impress. It’s reliable, delicious, and always disappears. Trust me, you’ll want to make a double batch.
Ingredients You’ll Need
Here’s the best part: you probably have most of this already in your kitchen. I’m particular about a few things, but for the most part, this is simple, accessible stuff. I’ve broken it down so you know exactly what to buy and what to skip.
For the Bread Base
One large loaf of French bread or baguette (about 1.5 lbs / 680g) — I prefer a crusty loaf with a soft interior. A round boule works too, but a long loaf is easier to slice horizontally. Avoid soft sandwich bread; it’ll get mushy. Look for something with a bit of chew.
Unsalted butter (1 cup / 225g, softened) — This is the vehicle for all the flavor. Use real butter, not margarine. Soften it at room temperature for 30 minutes so it’s easy to mix. If you’re in a rush, microwave it in 10-second bursts, but don’t melt it into oil.
Garlic (8-10 cloves, minced / about ¼ cup) — Yes, that’s a lot of garlic. Don’t skimp. Fresh garlic is non-negotiable here. Jarred garlic has a weird metallic taste that clashes with the butter. If you’re worried about breath, just promise to serve it with mints later. (I usually do.)
For the Cheese & Herb Mix
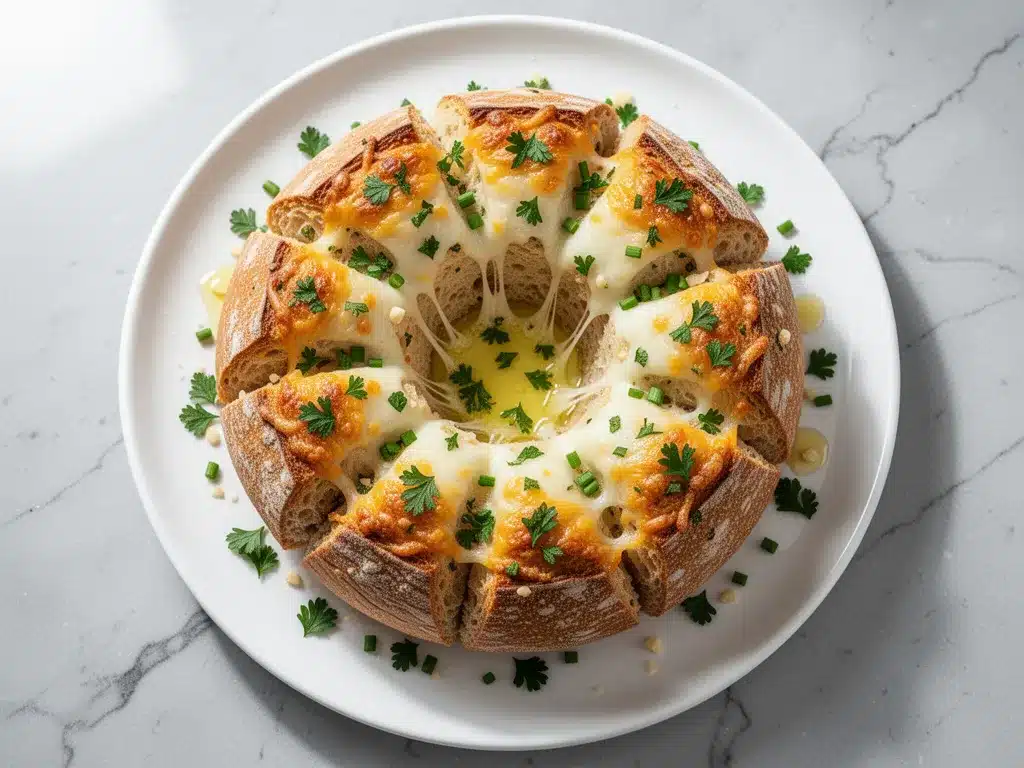
Shredded mozzarella cheese (2 cups / 200g) — I buy a block and shred it myself. Pre-shredded cheese has cellulose that prevents it from melting smoothly. You want that gooey, stretchy pull, not clumpy bits. Mozzarella is mild and melts beautifully.
Grated Parmesan cheese (½ cup / 50g) — This adds the salty, umami punch. Again, grate it from a block. It melts faster and tastes sharper than the pre-grated stuff. It balances the mild mozzarella perfectly.
Fresh parsley (½ cup, finely chopped) — Flat-leaf parsley is best. It has a cleaner, fresher taste than curly parsley. If you can’t find fresh, use 2 tablespoons of dried, but fresh is so much better. It adds that pop of green that makes the bread look appetizing.
Fresh chives (¼ cup, chopped) — Optional, but highly recommended. They add a mild oniony bite that complements the garlic. If you don’t like chives, just use more parsley.
Red pepper flakes (1 teaspoon) — Optional, but I always add them. They add a subtle heat that cuts through the richness of the cheese and butter. Adjust to your spice tolerance.
For the Finish
Sea salt flakes (a pinch) — Just a light sprinkle on top after baking to enhance the flavors.
Extra olive oil (for brushing) — A light brush on the cut sides before adding the cheese helps them crisp up.
Quick Tip: I keep a stash of frozen chopped parsley in my freezer. It’s not as vibrant as fresh, but it works in a pinch. For this recipe, though, I always try to use fresh herbs because the flavor difference is night and day.
Equipment Needed
You don’t need fancy equipment for this. Here’s what I actually use in my kitchen:
Serrated bread knife — This is crucial. You need to slice the loaf horizontally without crushing it. A dull knife will squish the bread; a serrated one glides through. If you don’t have one, ask your local bakery to slice it for you.
Large mixing bowl — Any bowl that’s big enough to hold the butter, garlic, and herbs. I use a medium-sized glass bowl.
Large baking sheet — Or a 9×13 inch baking dish. I prefer a baking sheet because it allows air circulation, which helps the bottom crisp up. Line it with parchment paper for easy cleanup.
Box grater — For shredding the cheese. Or use a food processor if you’re lazy (but be careful not to over-process).
Small spatula — For spreading the garlic butter mixture. A butter knife works too, but a spatula gives you more control.
Pastry brush — Optional, but nice for brushing the bread with olive oil before adding cheese.
Small oven-safe skillet — If you don’t have a large baking sheet, you can bake it in a skillet, but you’ll need to arrange the pieces carefully. A skillet is great if you’re serving it directly from the pan.
How to Make It: Step-by-Step
Alright, let’s make this! I’m walking you through exactly how I do it, including the little tricks I’ve picked up over years of making this cheesy garlic pull-apart bread.
Step 1: Prep Your Oven and Pan (5 minutes)
Preheat your oven to 375°F (190°C). Line a large baking sheet with parchment paper or lightly grease it with butter. This prevents sticking and makes cleanup a breeze. I always prep the pan first because once you start slicing the bread, things move fast.
Step 2: Slice the Bread (5 minutes)
Place the loaf on a cutting board. Using your serrated knife, slice the loaf horizontally through the middle, creating a top half and a bottom half. Keep the halves intact—you’re not slicing it into individual rolls yet. If your loaf is very large, you might need to cut it lengthwise as well to create quarters, but for a standard baguette, horizontal slicing is perfect.
Step 3: Make the Garlic Butter Mixture (5 minutes)
In your mixing bowl, combine the softened butter, minced garlic, chopped parsley, chives, and red pepper flakes. Mix until well combined. The mixture should be fragrant and green-speckled. Taste it (yes, really) and adjust salt if needed. Remember, the butter will spread on the bread, so you want it to be slightly saltier than you think.
Step 4: Spread the Butter (5 minutes)
Spread the garlic butter mixture generously over the cut sides of both the top and bottom halves of the bread. Don’t be shy—this is where the flavor lives. Make sure you get into the crevices. If the bread is dry, you might need a bit more butter. I usually save a tablespoon of the mixture to brush on top later.
Step 5: Slice into Squares (5 minutes)
Now, here’s the fun part. Cut the bread into squares. Make cuts about 1 inch apart horizontally and vertically. Do not cut all the way through the bottom crust! You want to create a grid of squares that are connected at the base. This allows the bread to pull apart easily while holding together during baking. If you cut all the way through, the pieces will separate and burn.
Step 6: Add the Cheese (5 minutes)
Generously sprinkle the shredded mozzarella and grated Parmesan over the cut sides of the bread. Get in between the squares with your fingers to ensure the cheese gets into the gaps. This creates those delicious cheesy bridges between the pieces. Don’t skimp on the cheese; this is the good stuff.
Step 7: Bake Until Golden (15-20 minutes)
Place the baking sheet in the oven and bake for 15-20 minutes. You’re looking for the bread to be golden brown and the cheese to be bubbly and slightly browned in spots. If you want extra crispiness, you can broil for the last 1-2 minutes, but watch it like a hawk because cheese burns fast.
Step 8: Rest and Serve (5 minutes)
Remove from the oven and let it rest for 5 minutes. This allows the cheese to set slightly so it’s easier to pull apart. Brush the top with a little olive oil if you want extra shine. Serve warm, straight from the pan. It’s best eaten with your hands.
Pro Tip: If you’re making this ahead, you can assemble it up to 4 hours before baking. Cover it tightly with plastic wrap and refrigerate. Take it out 30 minutes before baking to let it come to room temperature. This helps it bake evenly.
Expert Tips & Tricks
Here’s everything I’ve learned from making this dozens of times. These tips will save you from my mistakes.
Don’t Cut All the Way Through
This is the #1 mistake people make. If you cut all the way through the bottom, the pieces will separate and the edges will burn. You want a grid that’s connected at the base. Use a gentle sawing motion with your serrated knife, and stop when you feel the blade hit the cutting board.
Softened Butter is Key
If your butter is cold, it’ll be impossible to spread evenly. You’ll end up with clumps of butter and bare spots of bread. Soften it for 30 minutes at room temperature. If you forget, microwave it in 5-second bursts until it’s soft but not melted.
Shred Your Own Cheese
Pre-shredded cheese has anti-caking agents that prevent it from melting smoothly. You want that gooey, stretchy pull. Buy a block of mozzarella and grate it yourself. It takes 2 minutes and makes a huge difference in texture.
Use Fresh Herbs
Dried herbs work in a pinch, but fresh parsley and chives add a brightness that dried herbs just can’t match. The chlorophyll in fresh herbs also makes the bread look vibrant and appetizing. If you can’t find fresh, use a mix of dried parsley and a little dried basil for flavor.
Broil with Caution
I love the browned spots on top, but cheese burns fast. If you broil, keep the oven door slightly ajar and watch it constantly. It only takes 1-2 minutes to go from perfect to charcoal.
Make It Ahead
You can assemble the entire bread up to 4 hours before baking. Cover it tightly with plastic wrap and refrigerate. This is great for party prep. Just take it out 30 minutes before baking to let it come to room temperature.
Variations & Substitutions
Once you’ve nailed the basic version, here’s how you can mix it up. I’ve tried all of these, and they’re all winners.
Jalapeño Popper Version
Add ½ cup diced jalapeños and 4oz cream cheese (softened) to the butter mixture. Top with cheddar cheese instead of mozzarella. It’s spicy, creamy, and perfect for game day.
Italian Sausage & Pepper
Sauté 1 cup crumbled Italian sausage and ½ cup diced bell peppers. Mix into the butter before spreading. Top with provolone cheese. It’s heartier and more like a pizza.
Spinach & Artichoke
Mix 1 cup chopped spinach and ½ cup chopped artichoke hearts (drained) into the butter. Top with mozzarella and Parmesan. It’s like a dip come to life.
Herb & Olive
Add ½ cup chopped Kalamata olives and 1 teaspoon dried oregano to the butter. Top with feta cheese. It’s Mediterranean-inspired and slightly salty.
Vegan Version
Use vegan butter and vegan cheese shreds. Many brands now melt well, but test them first. Top with nutritional yeast for a cheesy flavor. It’s surprisingly good.
Gluten-Free
Use a gluten-free baguette or loaf. Many brands work well, but check the ingredients to ensure it’s sturdy enough to hold the butter. You might need to use slightly more butter to prevent drying.
Serving & Storage
How to Serve
I usually serve this straight from the baking sheet at the dinner table—it looks rustic and stays warm. But here are other ways I’ve enjoyed it:
- With Soup or Salad — It’s perfect alongside a tomato soup or a Caesar salad. The bread soaks up the dressing beautifully.
- As a Main for Lunch — Pair it with a simple green salad and some fruit for a light but satisfying lunch.
- Party Platter — Arrange it on a large platter with dips like marinara, ranch, or hummus on the side.
Storage Instructions
Refrigerator: Store leftovers in an airtight container for up to 3 days. The bread will firm up, but it’s still good.
Reheating: Best method: Wrap in foil and heat in a 350°F oven for 10-15 minutes. This restores the crispness. Microwave method: Heat in 30-second intervals, but it will get chewy. I don’t recommend microwaving if you want the best texture.
Freezing: You can freeze assembled (unbaked) bread for up to 1 month. Wrap tightly in plastic and foil. Thaw overnight in the fridge before baking. Do not freeze baked bread; it will become stale and dry.
Nutrition Information
I’m not a nutritionist, but here’s the breakdown if you’re tracking. This is per serving (based on 12 squares).
| Nutrient | Amount |
|---|---|
| Calories | 280 |
| Protein | 10g |
| Carbs | 28g |
| Fiber | 1g |
| Sugar | 2g |
| Fat | 16g |
| Saturated Fat | 9g |
| Cholesterol | 40mg |
| Sodium | 450mg |
It’s rich, obviously, from the butter and cheese. But it’s also filling. A few squares are plenty. If you want to lighten it up, use less butter and more veggies, or try the vegan version. But honestly? This is comfort food. Enjoy it without guilt.
Final Thoughts
So that’s my cheesy garlic pull-apart bread! I’ve probably talked your ear off at this point, but when you make a recipe this often, you have a lot to say about it. This bread has saved my social life more times than I can count. It’s my answer to “what do I bring?” when I’m tired, don’t want to cook a big meal, and still want to impress.
Make it yours! Try different herbs, swap in your favorite cheeses, or add some heat. The best recipes are the ones you adapt to your family’s tastes. If you make this, drop a comment and let me know what you think! I love hearing how recipes turn out in your kitchen. And if something doesn’t work, tell me that too—I’m here to help troubleshoot.
Happy baking! And I hope your kitchen smells half as good as mine does right now.
Frequently Asked Questions
Can I use frozen bread?
Yes, but thaw it completely first. Frozen bread can be soggy if you don’t thaw it properly. Let it sit at room temperature for a few hours before slicing. If it’s still cold, the butter won’t spread evenly.
Why did my bread get soggy?
This usually happens if the bread is too dense or if you used too much butter. Use a crusty loaf with a dry interior. Also, make sure you’re not using melted butter; softened butter is best. If the bread is too soft, bake it longer to crisp it up.
Can I make this ahead for a party?
Yes! Assemble it up to 4 hours before baking. Cover tightly with plastic wrap and refrigerate. Take it out 30 minutes before baking to let it come to room temperature. This helps it bake evenly and prevents the cheese from seizing.
What cheese is best for this?
Mozzarella is the classic choice because it melts beautifully. But you can use provolone, cheddar, or gouda for different flavors. A mix of mozzarella and Parmesan is my favorite for balance.
Can I use dried herbs instead of fresh?
You can, but the flavor will be less bright. Use 1 tablespoon of dried herbs for every ¼ cup of fresh. Add them to the butter mixture and let it sit for 10 minutes to rehydrate before spreading.
How do I reheat leftovers without them getting dry?
Wrap in foil and heat in a 350°F oven for 10-15 minutes. This restores the moisture and crispness. Avoid the microwave, as it makes the bread chewy and the cheese rubbery.
Pin This Recipe!
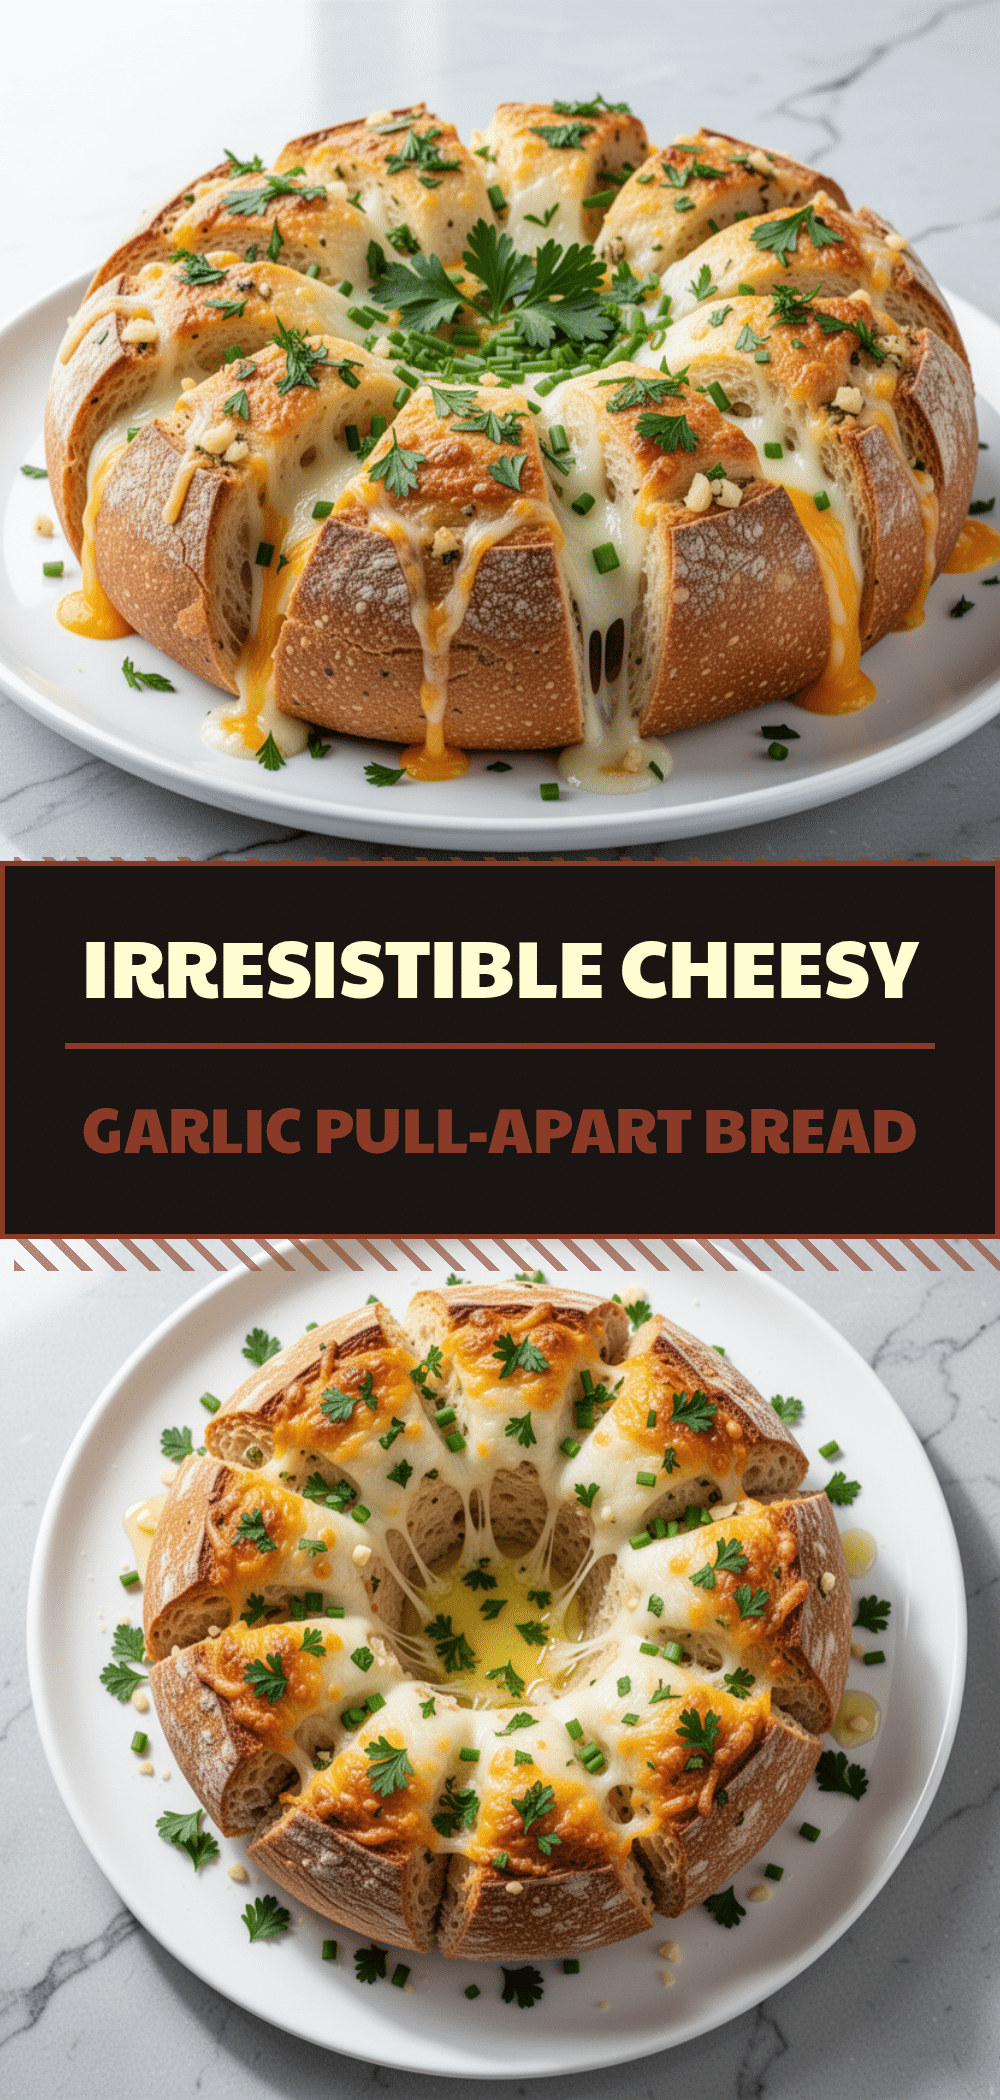

Cheesy Garlic Pull-Apart Bread with Fresh Herbs
- Total Time: 40 minutes
- Yield: 12 servings 1x
Description
A stress-free, interactive party appetizer made with a crusty loaf of bread, garlic butter, and melted cheese. Perfect for unexpected guests or game day.
Ingredients
- 1 large loaf of French bread or baguette (about 1.5 lbs / 680g)
- 1 cup (225g) unsalted butter, softened
- 8–10 cloves garlic, minced (about ¼ cup)
- 2 cups (200g) shredded mozzarella cheese
- ½ cup (50g) grated Parmesan cheese
- ½ cup finely chopped fresh flat-leaf parsley
- ¼ cup chopped fresh chives (optional)
- 1 teaspoon red pepper flakes (optional)
- Pinch of sea salt flakes
- Extra olive oil for brushing
Instructions
- Preheat oven to 375°F (190°C). Line a large baking sheet with parchment paper.
- Slice the bread loaf horizontally through the middle to create a top and bottom half, keeping them intact.
- In a large mixing bowl, combine softened butter, minced garlic, parsley, chives, and red pepper flakes. Mix until well combined.
- Spread the garlic butter mixture generously over the cut sides of both bread halves.
- Cut the bread into 1-inch squares horizontally and vertically, but do not cut all the way through the bottom crust.
- Sprinkle shredded mozzarella and grated Parmesan cheese over the cut sides, getting cheese into the gaps between squares.
- Bake for 15-20 minutes until the bread is golden brown and the cheese is bubbly. Optionally broil for 1-2 minutes for extra browning.
- Let rest for 5 minutes before serving warm.
Notes
Do not cut all the way through the bottom crust to keep the bread connected. Softened butter is key for even spreading. Shred your own cheese for better melting. Can be assembled up to 4 hours ahead and refrigerated.
- Prep Time: 20 minutes
- Cook Time: 20 minutes
- Category: Appetizer
- Cuisine: American
Nutrition
- Serving Size: 1 square
- Calories: 280
- Sugar: 2
- Sodium: 450
- Fat: 16
- Saturated Fat: 9
- Carbohydrates: 28
- Fiber: 1
- Protein: 10
Keywords: garlic bread, pull-apart bread, party appetizer, cheesy bread, easy recipe, holiday appetizer, game day food



