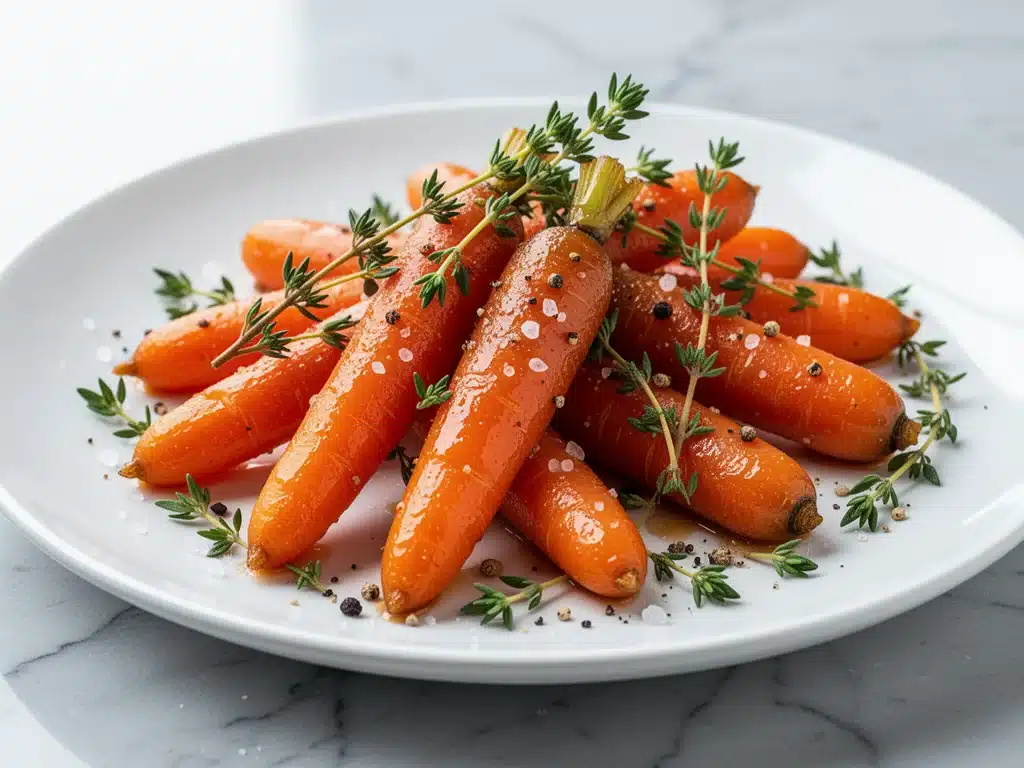
Let’s be real for a second. I have a love-hate relationship with vegetables. Specifically, the ones that come out of the oven looking sad, shriveled, and completely flavorless. For years, my go-to method was “boil until soft, drain, sprinkle with salt, pray.” It worked in a survival sense, but it never made anyone ask for seconds. And if there’s one rule in my house, it’s that if no one asks for seconds, I did something wrong.
That changed last Thanksgiving. I was stressed, the turkey was taking forever, and I had a bag of carrots sitting on the counter that were starting to get fuzzy. I didn’t have time for a complicated recipe. I didn’t have time to roast them at 450 degrees until they caramelized perfectly. I just had 15 minutes before everyone sat down. So, I threw them in a skillet with butter, brown sugar, and a handful of thyme I’d picked from the garden (which was still alive, miraculously).
When I tasted them, I actually stopped chewing. They were sweet, savory, tender but not mushy, and that fresh thyme cut through the sugar in a way that felt sophisticated but was stupidly simple. My picky eater nephew, who usually picks around the carrots like they’re contaminated, asked for the “sweet orange ones.” (They weren’t orange. They were just glazed.)
That was three years ago. Brown sugar glazed carrots with fresh thyme have been a permanent fixture in my rotation. I make them for weeknight dinners, Sunday brunches, holiday tables, and even when I just want a snack that feels slightly indulgent. I’ve tested this method dozens of times—sometimes rushing, sometimes taking my time—and I’ve learned exactly how to get that perfect balance of sweet and herbal without the carrots turning into mush or the sugar burning.
If you’ve been struggling to make vegetables something your family actually looks forward to, you need to try this. It’s not just a side dish; it’s a game-changer for how your family perceives dinner. Let me show you how I do it.
Why You’ll Love This Recipe
There are a hundred carrot recipes out there. Honey glazed, orange glazed, maple glazed. But this specific combination of brown sugar and fresh thyme hits a different note. It’s complex, it’s comforting, and it’s ridiculously easy. Here’s why this brown sugar glazed carrots with fresh thyme recipe has earned a permanent spot in my kitchen:
- It’s actually fast. Seriously. From chopping to plating, this takes about 20 minutes. That’s faster than ordering takeout and waiting for the driver. I make this on Tuesday nights when I’m exhausted and just want to throw something together that tastes like I cared.
- The flavor profile is balanced. Too much sugar makes veggies taste like dessert. Too much thyme makes them taste like medicine. This ratio? Perfect. The brown sugar gives a deep, molasses-like sweetness, while the thyme adds an earthy, pine-like brightness that keeps it savory. It’s the best of both worlds.
- It’s kid-approved (mostly). My kids aren’t vegetable enthusiasts, but they love the glossy, sweet coating. The thyme is subtle enough that they don’t notice it, but it adds a layer of flavor that makes adults feel like they’re eating something fancy. It’s a win-win.
- It’s forgiving. You don’t need to be a precise chef for this. If your carrots are a little thicker, they just take two minutes longer. If you forget the thyme, it’s still good (though you’ll miss out on that aromatic magic). This recipe is built for real life, not just Instagram photos.
- It pairs with literally anything. Chicken? Perfect. Steak? Great. Roast pork? Amazing. Even leftover pizza the next night (yes, I’ve done it). It’s the most versatile side dish in my repertoire.
This isn’t just about eating your veggies. It’s about enjoying them. It’s about that moment when you take a bite and realize, “Wait, I actually like this.” That’s the magic of brown sugar glazed carrots with fresh thyme.
Ingredients You’ll Need
Here’s the best part: you probably have most of this already in your pantry and fridge. I’m not asking you to buy anything fancy. Just grab these basics:
For the Carrots
Large carrots (2 pounds / approx. 900g) — I prefer large carrots because they hold their shape better during cooking. Small baby carrots work, but they cook faster and can get mushy if you’re not watching them. Peel them if they’re older or have a tough skin; if they’re young and fresh, scrubbing them well is enough.
Butter (3 tablespoons / 45g) — Unsalted is best so you can control the salt level. I use regular butter, not clarified or ghee. The milk solids in butter help create that rich, golden glaze. If you’re dairy-free, swap this for olive oil or a vegan butter substitute, though the flavor profile will change slightly.
Brown sugar (3 tablespoons / 35g) — Light or dark brown sugar both work. Dark brown has a stronger molasses flavor, which I love, but light brown is milder. The key is that it needs to be packed when you measure it. Loose sugar won’t create the same thick glaze.
Chicken broth or vegetable broth (¼ cup / 60ml) — This is the secret weapon. It steams the carrots gently while they cook, ensuring they’re tender all the way through before the sugar caramelizes. Use low-sodium broth so you can control the saltiness. Water works in a pinch, but broth adds depth.
Fresh thyme (2 tablespoons, leaves stripped) — Fresh thyme is non-negotiable here. Dried thyme is too dusty and lacks that bright, floral aroma. Strip the leaves from the stems. If you can’t find fresh, you can use 1 teaspoon of dried thyme, but add it later in the cooking process to avoid burning.
Salt and black pepper — Kosher salt is my go-to. Use about ½ teaspoon of salt and a fresh crack of black pepper. The pepper adds a tiny bit of heat that contrasts with the sweet sugar.
Optional Add-ins
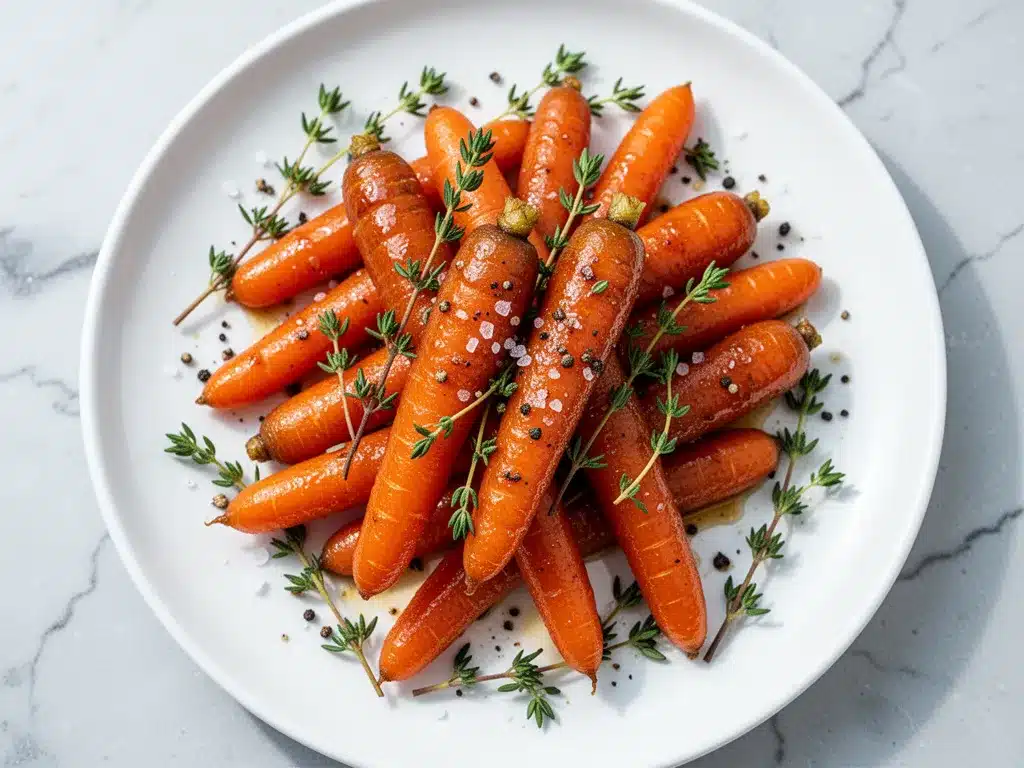
Maple syrup (1 teaspoon) — If you want extra richness, add a teaspoon of maple syrup along with the brown sugar. It adds a different kind of sweetness that’s great for holiday meals.
Lemon zest (1 teaspoon) — A little zest added at the end brightens everything up. It cuts through the heaviness of the butter and sugar. I do this when I want the carrots to feel lighter.
Chopped parsley (1 tablespoon) — For color. Thyme is green, but parsley adds a fresh, bright green contrast that looks beautiful on the plate.
Equipment Needed
You don’t need fancy gadgets for this. Here’s what I actually use:
Large skillet (10-12 inch) — This is crucial. You need enough surface area for the carrots to sit in a single layer (or close to it). If they’re piled too high, they steam instead of glaze, and you won’t get that caramelized edge. I use a large stainless steel skillet because it heats evenly and I can see the glaze forming.
Peeler — A standard Y-peeler works fine. I peel my carrots because I prefer the smoother texture, but if you’re short on time, skipping the peel is fine. Just scrub them really well.
Sharp knife and cutting board — For slicing the carrots. I slice them on a bias (at an angle), which creates more surface area for the glaze to stick to. It also looks nicer.
Spatula or wooden spoon — For stirring. You’ll need something sturdy to toss the carrots in the glaze without breaking them.
Measuring cups and spoons — Standard stuff. I keep these on my counter because I measure the brown sugar and broth, just to be safe.
How to Make It: Step-by-Step
Alright, let’s get cooking! This is straightforward, but there are a few tricks to getting that perfect glaze without burning the sugar.
Step 1: Prep the Carrots (5 minutes)
Wash your carrots thoroughly. Peel them if you want (I do). Slice them into uniform pieces. I cut them into ½-inch rounds or batons on a bias. Uniformity is key here—if some pieces are thick and some are thin, the thin ones will turn to mush before the thick ones are cooked. Set them aside.
Step 2: Sauté the Aromatics (2 minutes)
Heat your large skillet over medium heat. Add the butter. Once it’s melted and foaming (but not brown), add the carrots. Toss them in the butter to coat. This step helps start the cooking process and adds flavor. If you skip this, the carrots will just sit in the liquid without getting any browning.
Step 3: Add Liquid and Sugar (1 minute)
Pour in the chicken broth and add the brown sugar. Stir to dissolve the sugar into the broth. You want a sweet, savory liquid base. The mixture will bubble up. Let it simmer for about 2 minutes. This starts to tenderize the carrots.
Step 4: Simmer Until Tender (8-10 minutes)
Reduce the heat to medium-low. Let the carrots simmer in the liquid. Stir them every couple of minutes to prevent sticking. You’re looking for the carrots to become fork-tender. Test one after 8 minutes. If it slides off the fork easily, you’re good. If it’s still crunchy, give it another 2-3 minutes. Don’t rush this step—undercooked carrots with sweet glaze are a weird texture combo.
Step 5: Glaze and Reduce (3-4 minutes)
Once the carrots are tender, increase the heat back to medium. The liquid will start to evaporate. Keep stirring! This is where the magic happens. As the water evaporates, the brown sugar concentration increases, and it starts to coat the carrots in a thick, glossy glaze. This takes about 3-4 minutes. Watch closely—sugar burns fast. When the liquid is almost gone and you see the carrots glistening in a thick syrup, you’re done.
Step 6: Add Herbs and Finish (1 minute)
Remove the skillet from the heat. Immediately add the fresh thyme leaves. The residual heat will release the oils from the thyme without burning them. Toss the carrots to distribute the herbs. Taste and add salt and pepper if needed. The brown sugar and broth already have some salt, so start with a little and add more if needed.
Step 7: Serve
Transfer to a serving dish. Garnish with a little extra thyme or parsley if you want. Serve hot. These carrots are best eaten right out of the pan, but they hold up well for about 30 minutes if you’re cooking other dishes first.
Total Time: About 20 minutes (5 minutes prep, 15 minutes cooking).
Expert Tips & Tricks
Here’s everything I’ve learned from making this dozens of times. These tips will save you from my mistakes.
Don’t Overcrowd the Pan
If you’re making a double batch, don’t do it in one pan. The carrots will steam instead of glaze. Cook in batches if you have a crowd. Single layer is best for that caramelized edge.
Watch the Heat
When you’re reducing the sauce, keep the heat at medium. If it’s too high, the sugar will burn before the carrots are tender. If it’s too low, it’ll take forever to reduce. Medium is the sweet spot.
Add Thyme Off Heat
I’ve tried adding thyme at the beginning, and the leaves turn black and bitter. Adding them at the end preserves that fresh, aromatic flavor. It’s a small detail, but it makes a big difference.
Use a Bias Cut
Slicing carrots on a bias increases surface area. More surface area means more glaze sticks to them. It also looks more professional. Plus, it cooks more evenly.
Reserve Some Liquid
If you’re serving this to a crowd, reserve a tablespoon of the glaze. If the carrots look dry after sitting for a bit, you can drizzle the extra glaze over them to bring back the shine.
Variations & Substitutions
Once you’ve nailed the basic version, here’s how you can mix it up. I’ve tried all of these.
Honey Glazed
Swap the brown sugar for honey. Honey caramelizes faster, so keep a close eye on the pan. It adds a floral note that’s great with roast chicken.
Maple Bourbon
Add 1 tablespoon of bourbon along with the broth. Let it simmer for 2 minutes to cook off the alcohol. Then proceed as normal. This is fancy but easy. Great for holidays.
Orange Glazed
Add the zest of one orange and 2 tablespoons of orange juice. It adds a citrusy brightness that cuts the sweetness. Perfect for spring.
Cinnamon Twist
Add ½ teaspoon of cinnamon with the brown sugar. This makes the carrots taste like dessert. My kids love this version. It’s basically carrot cake in vegetable form.
Vegan Version
Use olive oil instead of butter and vegetable broth. Everything else is the same. The glaze might be slightly thinner, but it’s still delicious.
Serving & Storage
How to Serve:
I usually serve these straight from the skillet. They look rustic and stay warm. But here are other ways I’ve enjoyed them:
- Side Dish: Pairs perfectly with roast chicken, grilled steak, or pork chops. Also great with fish, especially salmon.
- Toppings: I sometimes sprinkle chopped pecans or walnuts on top for crunch. It adds a nice texture contrast.
- Wine Pairing: Not a wine expert, but a crisp Sauvignon Blanc or a light Pinot Noir works well with these.
Storage Instructions:
Refrigerator: Store in an airtight container for up to 3 days. The glaze will harden in the fridge. This is normal.
Reheating: Best method: Add a splash of water or broth to a skillet and heat gently over low heat. Stir until the glaze melts and carrots are warm. Microwave works but can make carrots mushy. If you microwave, do it in short bursts and add a little liquid.
Freezing: I don’t recommend freezing these. The texture of the carrots changes, and the glaze can separate. It’s best fresh.
Nutrition Information
I’m not a nutritionist, but here’s the breakdown if you’re tracking.
Per Serving (based on 6 servings):
- Calories: 120
- Protein: 1g
- Carbs: 18g
- Fiber: 3g
- Sugar: 12g
- Fat: 5g
- Saturated Fat: 3g
- Sodium: 150mg
What’s Good:
- Carrots are high in Vitamin A and antioxidants.
- Good source of fiber.
- Lower calorie than roasted potatoes or corn.
What to Know:
- Higher in sugar from the brown sugar, but still a healthy veggie.
- Contains dairy (butter). Use olive oil for dairy-free.
- Low in protein.
My Take:
Look, these are carrots with sugar and butter. They’re not a diet food. But they’re way better than chips or candy, and you’re getting nutrients. When I want to make them lighter, I reduce the brown sugar to 2 tablespoons and use less butter. But usually? I just eat a reasonable portion and enjoy the flavor.
Final Thoughts
So that’s my go-to brown sugar glazed carrots with fresh thyme! I’ve probably talked your ear off at this point, but when you make a recipe this often, you have a lot to say about it.
This has saved weeknight dinners more times than I can count. It’s my answer to “what’s for dinner” when I’m tired, don’t want takeout, and still want something that tastes really good. My kids are happy, my husband’s happy, and I’m happy because I’m not stressed about cooking.
Make it yours! Try different add-ins, swap in your favorite herbs, adjust the sweetness to your liking. The best recipes are the ones you adapt to your family’s tastes.
If you make this, drop a comment and let me know what you think! I love hearing how recipes turn out in your kitchen. And if something doesn’t work, tell me that too—I’m here to help troubleshoot.
Happy cooking! And I hope your kitchen smells half as good as mine does right now.
Frequently Asked Questions
Can I use frozen carrots?
You can, but the texture will be softer. Frozen carrots are already partially cooked, so they’ll cook faster. Reduce the simmering time by a few minutes. They won’t hold their shape as well as fresh carrots, but they’ll still taste good. I prefer fresh for the better texture.
Why did my glaze burn?
Sugar burns quickly, especially at high heat. If you see the liquid turning dark brown or smelling like burnt sugar, you’ve gone too far. Next time, keep the heat at medium or lower during the reduction step. Stir constantly. If it burns, you’ll need to start over—burnt sugar is too bitter to save.
Can I make this ahead for a dinner party?
Sort of. You can prep the carrots and make the glaze up to 2 hours ahead. Store the carrots in the fridge. When you’re ready, reheat them gently in the skillet and add the thyme at the end. They won’t be as crisp-tender as fresh, but they’ll be close. I don’t recommend making them fully cooked and holding them warm for hours, as they’ll get mushy.
Why did my sauce separate?
This usually happens if you add cold ingredients to hot fat, or if you heat it too high. Make sure your broth is at room temperature or slightly warm. Also, keep the heat moderate. If the sauce separates, you can whisk in a little more butter to emulsify it, but prevention is better.
Can I use dried thyme?
You can, but the flavor will be different. Dried thyme is more concentrated and earthy. Use about 1 teaspoon of dried thyme instead of 2 tablespoons fresh. Add it earlier in the cooking process so it has time to rehydrate and release flavor. But fresh thyme is definitely better for this recipe.
How do I reheat leftovers without it getting dry?
Add a splash of water or broth to a skillet, add your leftover carrots, and heat gently over low heat, stirring frequently. The extra liquid brings back the glaze. Microwave sort of works but tends to dry it out. If you do microwave, definitely add a splash of liquid first and heat in short bursts, stirring between.
Can I double this recipe?
Absolutely! Double everything and use your biggest skillet. The cooking times stay roughly the same, but you might need to stir more often to prevent sticking. I do this when I’m meal-prepping or feeding a crowd. Just make sure your skillet is big enough for the carrots to fit in a single layer.
Pin This Recipe!
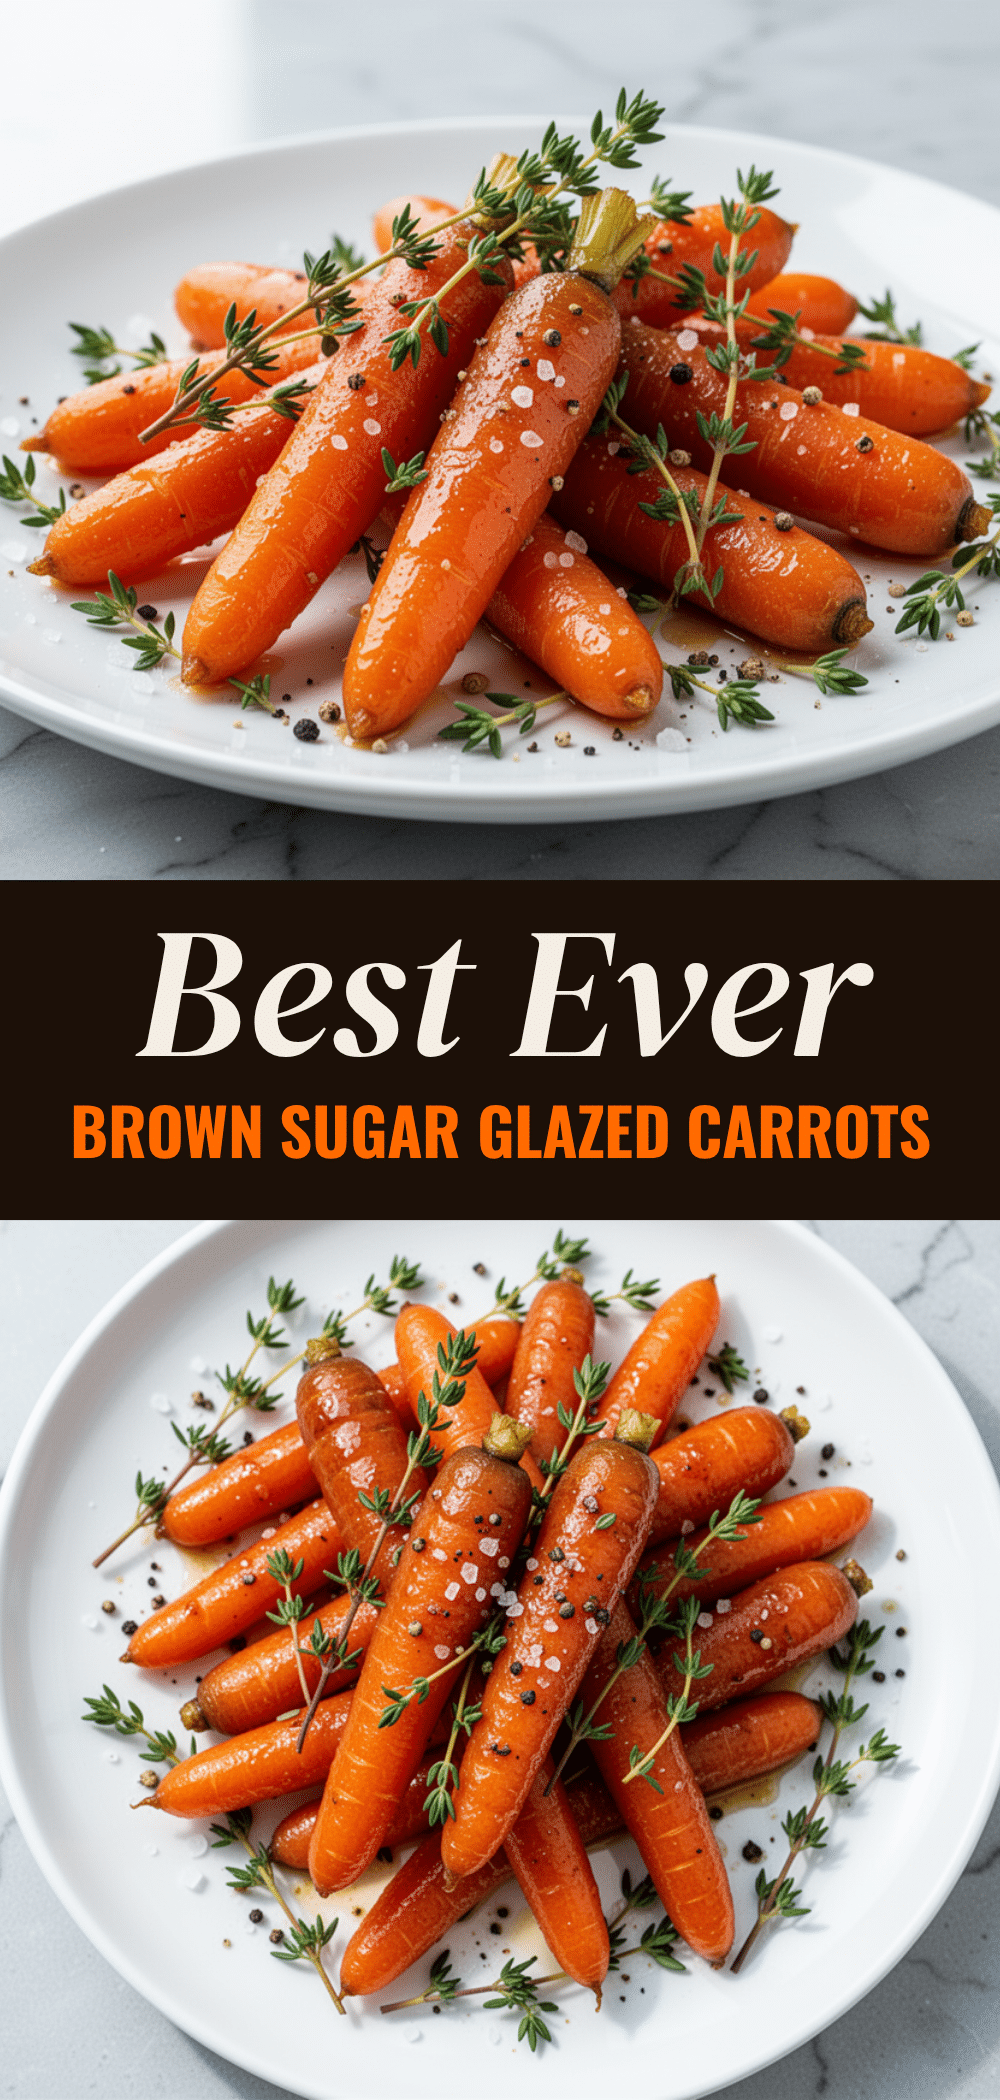
Brown Sugar Glazed Carrots with Fresh Thyme
- Total Time: 20 minutes
- Yield: 6 servings 1x
Description
A quick and easy side dish featuring tender carrots glazed in a sweet and savory mixture of brown sugar, butter, and fresh thyme. Perfect for weeknight dinners or holiday tables.
Ingredients
- 2 pounds large carrots, peeled and sliced into ½-inch rounds or batons on a bias
- 3 tablespoons unsalted butter
- 3 tablespoons packed brown sugar
- ¼ cup chicken broth or vegetable broth
- 2 tablespoons fresh thyme leaves, stripped from stems
- ½ teaspoon kosher salt
- Freshly cracked black pepper
- Optional: 1 teaspoon maple syrup
- Optional: 1 teaspoon lemon zest
- Optional: 1 tablespoon chopped parsley
Instructions
- Wash and peel carrots if desired. Slice into uniform ½-inch rounds or batons on a bias. Set aside.
- Heat a large skillet (10-12 inch) over medium heat. Add butter and melt until foaming but not brown.
- Add carrots to the skillet and toss to coat in butter. Sauté for about 2 minutes.
- Pour in chicken broth and add brown sugar. Stir to dissolve sugar into the liquid. Let simmer for 2 minutes.
- Reduce heat to medium-low. Simmer carrots in the liquid for 8-10 minutes, stirring occasionally, until fork-tender.
- Increase heat back to medium. Continue stirring as the liquid evaporates and reduces into a thick, glossy glaze (3-4 minutes). Watch closely to prevent burning.
- Remove skillet from heat. Immediately add fresh thyme leaves and toss to distribute.
- Season with salt and black pepper to taste. Serve hot.
Notes
Do not overcrowd the pan; cook in batches if making a double batch to ensure caramelization rather than steaming. Add thyme off heat to preserve flavor. If using dried thyme, use 1 teaspoon and add earlier in the cooking process. For a vegan version, substitute butter with olive oil and use vegetable broth.
- Prep Time: 5 minutes
- Cook Time: 15 minutes
- Category: Side Dish
- Cuisine: American
Nutrition
- Serving Size: Approximately 1 cup
- Calories: 120
- Sugar: 12
- Sodium: 150
- Fat: 5
- Saturated Fat: 3
- Carbohydrates: 18
- Fiber: 3
- Protein: 1
Keywords: brown sugar glazed carrots, thyme carrots, easy side dish, vegetable recipe, holiday sides, weeknight dinner



