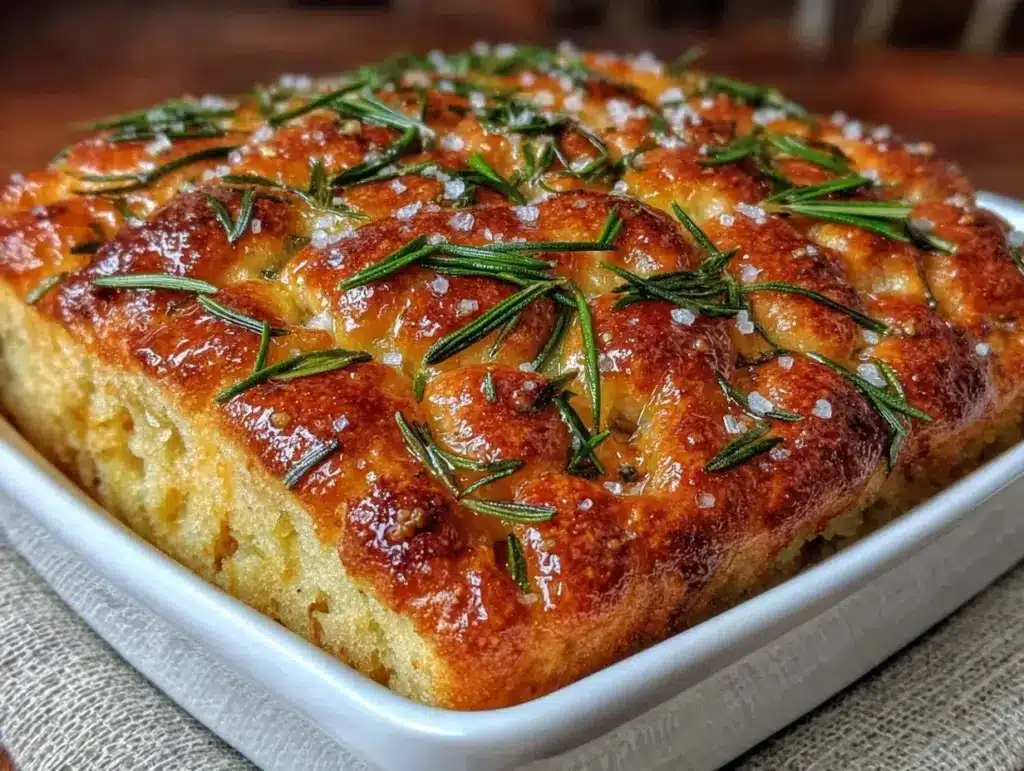
My Sunday evenings aren’t chaotic. They’re scheduled. There’s a reason my kitchen is the quietest it’s been all week at 7 PM on a Sunday night. It’s because I’ve already won the dinner battle. I’ve mapped out the meals, prepped the ingredients, and baked the bread that will carry me through Monday through Thursday.
Most people think sourdough is this intimidating, mystical art form reserved for people with three-day fermentation plans and PhDs in biology. It’s not. It’s just flour, water, salt, and time. And when you make a beginner sourdough focaccia with rosemary and olive oil, you’re not just making bread. You’re making a flexible, freezer-friendly foundation for four separate meals in one go. This is the loaf I make once, eat four times this week, and never stress about on a random Tuesday.
I’ve tested this specific ratio of starter to flour dozens of times. I needed a bread that didn’t require a 12-hour rise while I’m at work, but still had that tangy, open crumb I love. This recipe delivers. It’s forgiving. If you over-proof it slightly? It’s still good. If you under-proof it? It’s still edible. But if you nail it? It’s pillowy, crisp on the bottom, and soaked in enough olive oil to make you question your life choices (in the best way possible).
This isn’t a last-minute rescue recipe. This is a strategic move. You bake this loaf on Sunday, slice it, and you have a ready-to-eat carb source for lunches, dinners, and snacks. It’s efficient. It’s delicious. And once you taste it, you’ll be making it on repeat.
Why You’ll Love This Focaccia (And Why It Fits Your Meal Prep)
There are about ten reasons I keep this recipe pinned to my mental fridge, but here are the big ones that actually matter for your weekly sanity.
It’s a Meal Prep Powerhouse — Seriously, this bread freezes like a dream. I slice the whole loaf after baking, flash-freeze the slices, and then bag them. I pull out two slices for a Monday sandwich, two for a Tuesday dinner side, and freeze the rest. It thaws in minutes and reheats in seconds. No more buying stale store-bought bread.
Beginner-Friendly Technique — You don’t need to knead this. I mean that literally. You mix it, you stretch it into the pan, and you wait. If you can stretch dough with your fingers, you can make this. I’ve walked my teenage son through it over FaceTime while he was stuck in his dorm room. He made it without burning his house down.
Freezer-Smart — Unlike artisan loaves that go stale in 24 hours, this focaccia stays fresh for three days at room temperature and three months in the freezer. The high olive oil content acts as a preservative. It’s designed to last. I bake one loaf and it covers four meals. That’s efficiency.
Customizable Base — Once you have the basic rosemary and olive oil dough down, you can turn it into anything. Add cheese for a breakfast sandwich. Top with roasted veggies for a lunch wrap. It’s a blank canvas that doesn’t demand perfection.
Budget-Smart — Flour is cheap. Olive oil is an investment, but you use a moderate amount. This feeds 4-6 people for under $5. That’s less than a loaf of artisan bread at the grocery store, and it tastes infinitely better because you control the ingredients.
This is my go-to when I need dinner to just work. No complicated techniques, no weird ingredients, just reliable, delicious food that makes everyone happy and sets me up for the week ahead.
Ingredients You’ll Need
Here’s the best part: you probably have most of this already. This looks like a short list, but every ingredient plays a specific role in the texture and flavor.
For the Dough
Active Sourdough Starter (1 cup / 225g) — This needs to be bubbly and fed 4-12 hours before you start. If it’s sluggish, feed it and wait. I use my regular 100% hydration starter. It’s the engine of this bread.
Bread Flour (3.5 cups / 450g) — I prefer bread flour over all-purpose because of the higher protein content. It gives you that chewy, elastic structure. King Arthur is my go-to brand. If you use all-purpose, it’ll be softer, but bread flour is better for holding those air bubbles.
Warm Water (1.25 cups / 300ml) — Not hot, just warm to the touch. This helps activate the starter and hydrates the flour faster. If the water is too hot, you’ll kill the yeast.
Fine Sea Salt (2 teaspoons) — Don’t use iodized table salt. It has a metallic taste. Fine sea salt dissolves easier and tastes cleaner. I use Diamond Crystal if I can find it, but any kosher salt works.
Extra Virgin Olive Oil (For the pan and the dough) — You need good quality here. I use about 3-4 tablespoons total. The oil goes into the pan to create that crispy, fried bottom, and some gets folded into the dough for richness.
For the Topping
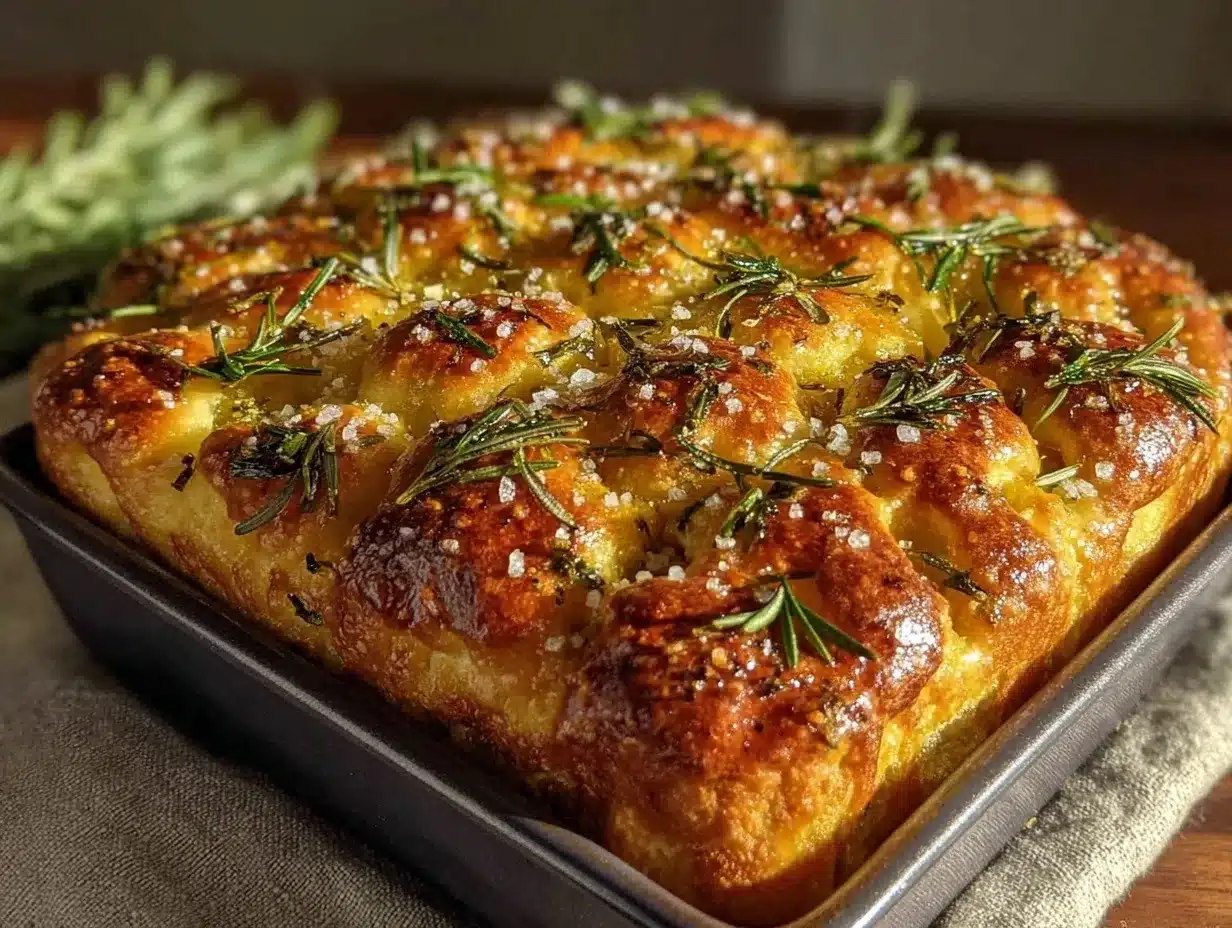
Fresh Rosemary (2 tablespoons, chopped) — Fresh is non-negotiable here. Dried rosemary is too woody and bitter for this delicate dough. I chop it fine so it distributes evenly.
Flaky Sea Salt (Like Maldon) — This is for the top. It gives you those crunchy, salty bursts. It’s the difference between “good bread” and “restaurant bread.”
Optional Add-ins — Cherry tomatoes (halved), sliced olives, or grated Parmesan. I keep it simple with just rosemary for the base batch, but I’ll show you how to modify it later.
Shopping Shortcuts
Pre-minced garlic? Skip it. Fresh is better. But if you’re being lazy, a teaspoon of garlic paste works in a pinch.
No bread flour? All-purpose will work, but add 1 tablespoon of vital wheat gluten if you have it. Otherwise, just accept it’ll be slightly softer.
Starter in a jar? If your starter is in the fridge, feed it, let it sit on the counter for 4-6 hours until it doubles, then use it. Don’t use a sluggish, sunken starter.
Equipment Needed
You don’t need fancy equipment for this. Here’s what I actually use.
9×13 Inch Baking Pan — I use a metal pan. Glass or ceramic pans heat up slower and can result in a soggy bottom. Metal conducts heat better for that crispy edge. I use a rimmed baking sheet or a standard 9×13 baking dish.
Large Mixing Bowl — Something big enough to let you stretch the dough. I use a 6-quart bowl. If it’s too small, you’ll make a mess.
Silicone Spatula — For folding the dough. Rubber scrapers work too, but silicone is easier to clean.
Cling Wrap or Plastic Wrap — To cover the bowl during rising. I use the reusable silicone lids if I’m being eco-conscious, but plastic works fine.
Pastry Brush — Optional, but nice for brushing the top with olive oil. I just use my fingers.
Sharp Knife or Bench Scraper — For slicing the cooled loaf. A serrated knife works best for crusty bread.
Freezer-Safe Bags — Quart-sized ziplocks for portioning out slices. I label them with the date so I know when they were baked.
Tool Tips — Don’t have a 9×13 pan? Two 8-inch round pans work, but you’ll need to adjust the baking time slightly. I’m obsessed with my bench scraper—it makes transferring the dough from bowl to pan so much easier.
How to Make It: Step-by-Step
Alright, let’s make this! I’m walking you through exactly how I do it, including the little tricks I’ve picked up from making this dozens of times.
Step 1: Activate Your Starter (Start 6-12 Hours Before)
Take your sourdough starter out of the fridge. If it’s been there for a few days, feed it with equal parts flour and water. Let it sit on the counter until it’s bubbly, domed, and has at least doubled in size. This usually takes 4-8 hours depending on your kitchen temperature. You know it’s ready when you can see bubbles breaking the surface. If you skip this step, your bread will be dense. Don’t skip it.
Step 2: Mix the Dough (10 Minutes)
In your large bowl, combine the active starter, warm water, and bread flour. Mix with a spatula or your hands until no dry flour remains. It’ll look shaggy and messy. That’s fine. Let it rest for 20 minutes. This autolyse step helps the gluten develop without kneading. After 20 minutes, add the salt and a tablespoon of olive oil. Mix again until incorporated. The dough will be sticky. Do not add more flour. Sticky dough = airy bread.
Step 3: Stretch and Fold (5 Minutes, Repeat 3 Times)
This is the “kneading” part, but easier. Cover the bowl. Every 30 minutes, wet your hands, grab one side of the dough, stretch it up, and fold it over the center. Do this for all four sides. You’ll do this three times over the next 1.5 hours. This builds strength. After the third fold, let the dough rest covered for another 30-60 minutes until it looks puffy and jiggly.
Step 4: Prep the Pan and Shape (5 Minutes)
Preheat your oven to 425°F (220°C). Generously oil your 9×13 pan with olive oil. Use enough that the bottom is coated. Dump the sticky dough into the pan. Don’t try to stretch it evenly yet. Just let it sit. Cover with plastic wrap or a damp towel. Let it rest for 15 minutes. This relaxes the gluten. After 15 minutes, wet your hands again and gently stretch the dough to the corners. It’s okay if it tears. Just pull it gently. If it snaps back, wait 5 minutes and try again.
Step 5: The First Rise (1-2 Hours)
Once the dough is in the pan, cover it loosely. Let it rise at room temperature until it’s puffy and fills the pan. This usually takes 1-2 hours. You’re looking for bubbles on the surface. If your kitchen is cold, it might take longer. Don’t rush this. If it doesn’t rise enough, the bread will be dense.
Step 6: Add Toppings and Bake (25-30 Minutes)
When the dough is puffy, take a wooden spoon handle and press dimples all over the surface. This is the classic focaccia look. Drizzle with another tablespoon of olive oil. Sprinkle chopped rosemary and flaky sea salt. Bake at 425°F for 25-30 minutes. The bread should be golden brown on top and the bottom should sound hollow when you tap it. If it’s not brown enough, broil for 1-2 minutes at the end, but watch it like a hawk.
Step 7: Cool and Slice (30 Minutes)
Let the bread cool in the pan for 10 minutes, then transfer to a wire rack. Let it cool completely before slicing. This is the hardest part. If you slice it hot, the steam escapes and the texture gets gummy. Wait at least 30 minutes. Once cooled, slice it into squares. This is your portioning moment.
Total Time: About 1.5 hours active, plus rising time. You’re mostly waiting.
Expert Tips & Tricks
Here’s everything I’ve learned from making this dozens of times. These tips will save you from my mistakes.
Don’t Fear the Stick
Focaccia dough is wetter than pizza dough. It will stick to your hands. Wet your hands with water or oil before handling. If you add flour to stop the stickiness, you’ll ruin the crumb. Trust the process.
The Dimple Technique
Press deep. You want those dimples to go almost to the bottom of the pan. This creates pockets for the olive oil to pool, which fries the bottom of the bread and keeps it moist. Shallow dimples? Dry bread. Deep dimples? Good bread.
Room Temperature Ingredients
Make sure your water and starter are room temp. Cold ingredients slow down the rise. If your kitchen is cold, put the pan in a turned-off oven with the light on to create a warm spot.
Cool Completely
I know you want to eat it now. Don’t. Slice it hot and it turns into a chewy mess. Let it cool. The structure sets as it cools. This is non-negotiable for proper texture.
Freeze Immediately
Once cooled, slice and freeze. Don’t leave it on the counter for days. It goes stale fast. Freeze in portions so you only thaw what you need.
Variations & Substitutions
Once you’ve nailed the basic version, here’s how you can mix it up. I’ve tried all of these.
Tomato and Basil
Add halved cherry tomatoes after dimpling. Bake as usual. Add fresh basil after baking. This is my favorite lunch version. The tomatoes burst and get jammy.
Roasted Garlic
Roast a head of garlic, squeeze out the cloves, and mash them into the olive oil before drizzling. Adds deep, sweet flavor.
Cheesy Version
Sprinkle grated Parmesan or mozzarella over the dimples before baking. Great for kids or cheesy cravings.
Gluten-Free
Use a 1:1 gluten-free flour blend with xanthan gum. The texture will be different—more cake-like—but it still works. I’ve used Bob’s Red Mill and it holds up well.
Dairy-Free
This recipe is naturally dairy-free. Just ensure your olive oil and salt are pure. No butter needed.
Vegetarian
Naturally vegetarian. Add spinach or artichoke hearts for extra veggies.
Serving & Storage
How to Serve:
I usually serve this straight from the pan at the dinner table. But for meal prep, I slice it into squares and store them.
Side Dishes:
Pairs perfectly with creamy white chicken chili or a simple green salad. I also love it with roasted butternut squash soup for a cozy fall meal.
Storage Instructions:
Refrigerator:
Store in an airtight container for up to 3 days. It will stiffen in the fridge. Reheat in a toaster oven or skillet to crisp it up.
Freezer:
Slice completely cooled bread. Flash-freeze slices on a baking sheet for 1 hour. Then bag them in freezer-safe bags. They last up to 3 months. Thaw at room temperature or toast from frozen.
Reheating:
Best method: Skillet over medium heat for 2 minutes per side. Or toaster oven at 350°F for 5 minutes. Microwave only if you’re in a rush—it’ll get chewy.
Pro Tip:
If you’re making this for a specific meal, like a sandwich, slice it that day. Don’t pre-slice everything at once if you’re eating it fresh. Freeze the rest.
Nutrition Information
I’m not a nutritionist, but here’s the breakdown if you’re tracking. This is per slice (based on 12 slices).
| Nutrient | Amount |
|---|---|
| Calories | 210 |
| Protein | 6g |
| Carbs | 28g |
| Fiber | 1g |
| Fat | 10g |
| Sodium | 280mg |
What’s Good:
It’s a decent source of carbs for energy. The olive oil provides healthy fats. It’s better than packaged bread because you control the sodium.
What to Know:
Higher in calories due to olive oil. If you’re watching calories, use less oil in the pan and skip the extra drizzle.
Final Thoughts
So that’s my beginner sourdough focaccia with rosemary and olive oil! I’ve talked your ear off at this point, but when you make a recipe this often, you have a lot to say about it.
This has saved my meal prep routine more times than I can count. It’s my answer to “what do I have for lunch?” when I’m tired of salads. It’s the bread I slice for sandwiches, the side I serve with chili, and the snack I grab when I need a quick carb boost. My family loves it, and I love that I can make it once and eat it four times this week.
Make it yours! Try different toppings, adjust the rosemary, or add some cheese. The best recipes are the ones you adapt to your life. If you make this, drop a comment and let me know what you think! I love hearing how recipes turn out in your kitchen.
Happy cooking! And I hope your kitchen smells half as good as mine does right now.
Frequently Asked Questions
Can I use store-bought sourdough starter?
You can, but it needs to be active. If you buy a dehydrated starter, rehydrate it according to the package and feed it for a few days before using. If you buy a jar from a bakery, feed it 4-6 hours before baking. Don’t use a starter that’s been in the fridge for a week without feeding.
Why did my focaccia turn out dense?
Usually means the starter wasn’t active enough, or the dough didn’t rise long enough. Make sure your starter is bubbly and doubled before you mix. Also, don’t skip the rise time. If the dough doesn’t look puffy and jiggly before baking, it needs more time.
Can I freeze the whole loaf?
You can, but I recommend slicing it first. It’s easier to thaw individual portions. If you freeze the whole loaf, wrap it tightly in plastic and foil. Thaw at room temperature for a few hours. It won’t be as crispy as fresh, but it’s still good.
Why did my focaccia stick to the pan?
Not enough oil in the pan. Use a generous amount of olive oil. If it sticks, let it sit for a minute, then use a spatula to loosen. Next time, use more oil. Metal pans also help prevent sticking compared to glass.
Can I make this ahead for a party?
Yes! Bake it the day before. Store it in an airtight container. Reheat in the oven at 350°F for 10 minutes before serving. It’ll be crispy again. This is great for parties because you can prep it days in advance.
What’s the difference between this and regular focaccia?
Regular focaccia often uses yeast. This uses sourdough starter, which gives it a tangy flavor and a chewier texture. The sourdough fermentation also makes it easier to digest for some people.
Can I add other herbs besides rosemary?
Absolutely. Thyme, oregano, or even everything bagel seasoning work great. Just don’t overload it. Too many toppings can weigh down the dough. Stick to 1-2 herbs max.
Pin This Recipe!
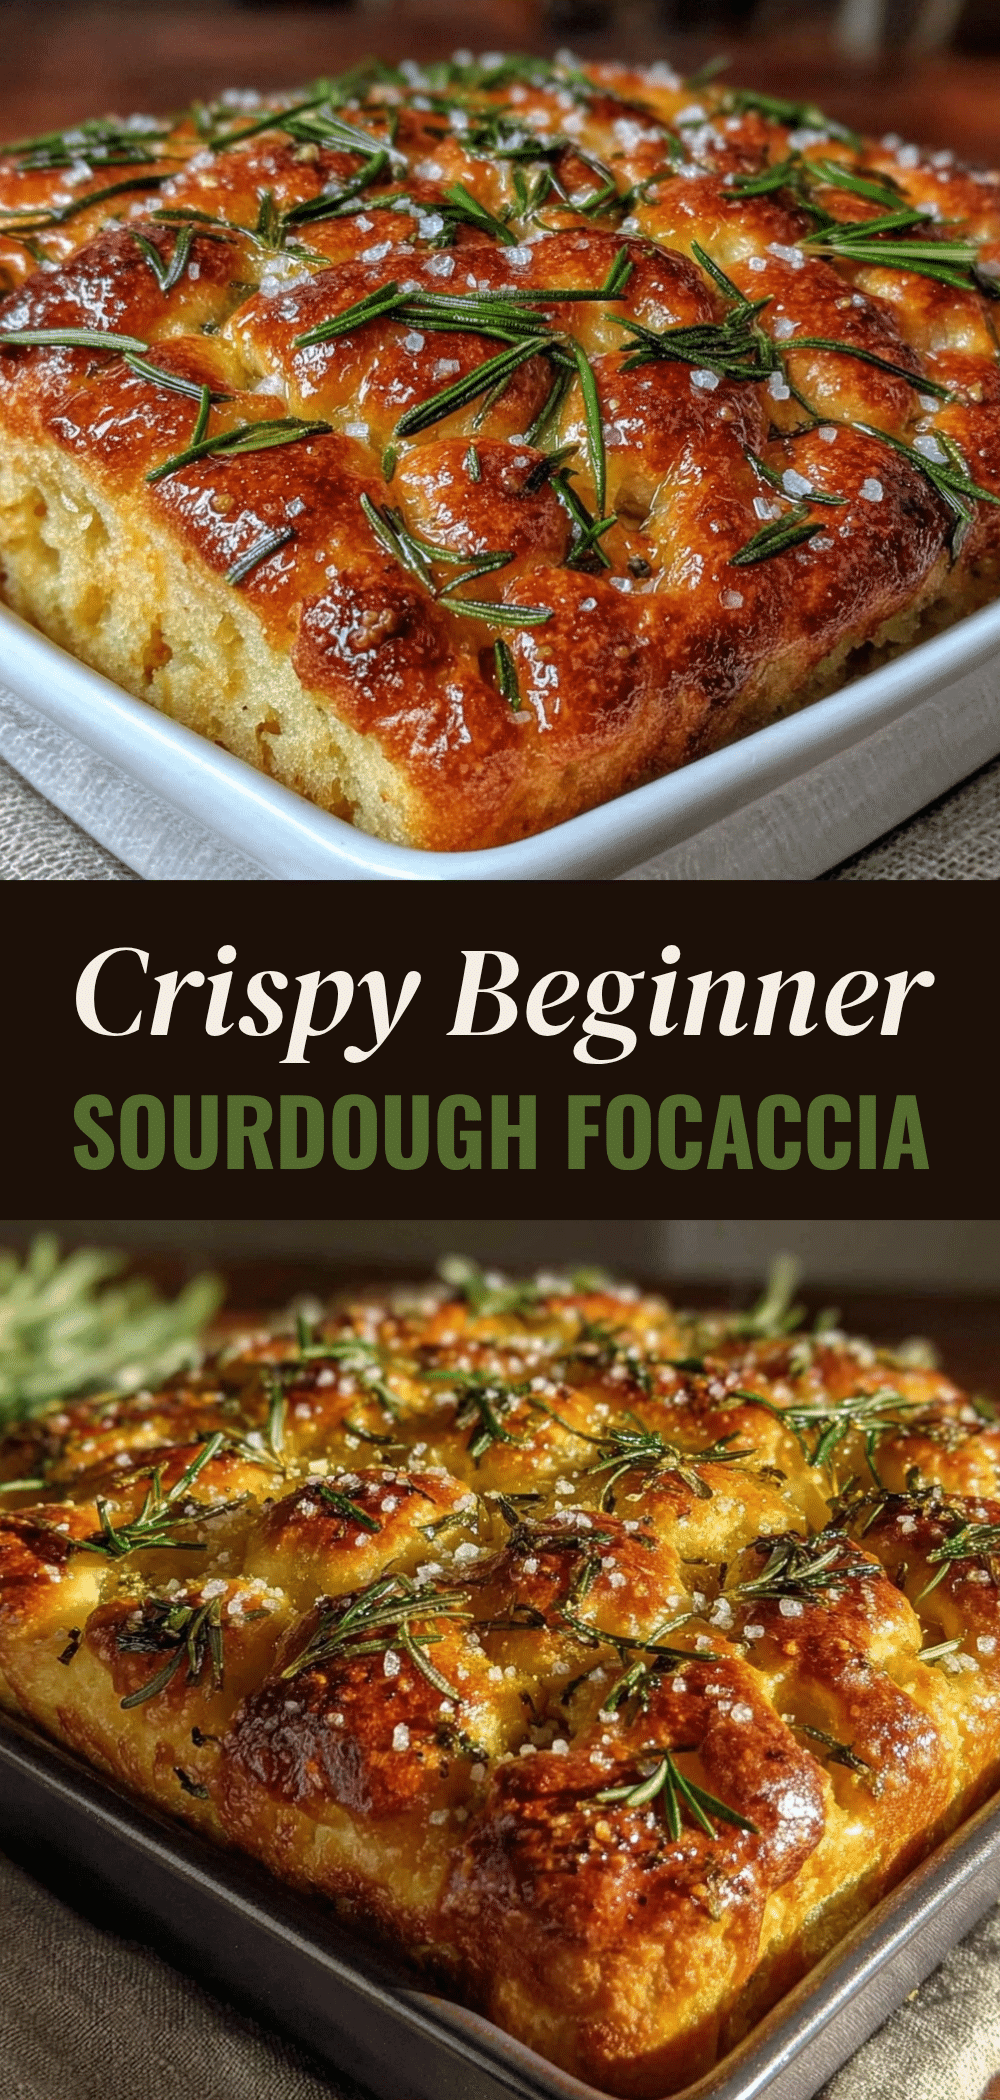
Beginner Sourdough Focaccia: Make Once, Eat 4x This Week
- Total Time: 4 hours (including starter activation and rising)
- Yield: 12 slices 1x
Description
A beginner-friendly, freezer-friendly sourdough focaccia with rosemary and olive oil. This strategic meal prep recipe requires no kneading and yields a pillowy, crispy loaf that serves as a flexible foundation for four separate meals throughout the week.
Ingredients
- 1 cup (225g) Active Sourdough Starter (bubbly and fed 4–12 hours prior)
- 3.5 cups (450g) Bread Flour (King Arthur recommended)
- 1.25 cups (300ml) Warm Water
- 2 teaspoons Fine Sea Salt
- 3–4 tablespoons Extra Virgin Olive Oil (divided for pan and dough)
- 2 tablespoons Fresh Rosemary, chopped
- Flaky Sea Salt (like Maldon) for topping
- Optional: Cherry tomatoes, sliced olives, or grated Parmesan
Instructions
- Activate your sourdough starter by feeding it equal parts flour and water 6-12 hours before baking. It should be bubbly, domed, and doubled in size.
- In a large mixing bowl, combine the active starter, warm water, and bread flour. Mix until no dry flour remains. Let the mixture rest for 20 minutes (autolyse).
- Add the fine sea salt and 1 tablespoon of olive oil to the dough. Mix until incorporated. The dough will be sticky; do not add more flour.
- Perform stretch and folds: Every 30 minutes for 1.5 hours, wet your hands, stretch the dough up, and fold it over the center. Repeat for all four sides. Do this three times total.
- After the final fold, let the dough rest covered for another 30-60 minutes until puffy and jiggly.
- Preheat oven to 425°F (220°C). Generously oil a 9×13 inch metal baking pan with olive oil.
- Transfer the sticky dough into the pan. Let it rest covered for 15 minutes to relax the gluten.
- Wet your hands and gently stretch the dough to the corners of the pan. If it snaps back, wait 5 minutes and try again.
- Let the dough rise in the pan for 1-2 hours until puffy and filling the pan.
- Press dimples into the dough with a wooden spoon handle. Drizzle with another tablespoon of olive oil.
- Sprinkle with chopped fresh rosemary and flaky sea salt.
- Bake at 425°F for 25-30 minutes until golden brown and the bottom sounds hollow when tapped.
- Cool in the pan for 10 minutes, then transfer to a wire rack. Cool completely (at least 30 minutes) before slicing to prevent gummy texture.
Notes
Ensure your starter is active and bubbly before mixing. Do not add extra flour if the dough is sticky, as this ensures an airy crumb. Cool the bread completely before slicing to maintain texture. For meal prep, slice and flash-freeze portions immediately after cooling.
- Prep Time: 1.5 hours active
- Cook Time: 30 minutes
- Category: Side Dish
- Cuisine: Italian
Nutrition
- Serving Size: 1 slice
- Calories: 210
- Sodium: 280
- Fat: 10
- Saturated Fat: 1.5
- Carbohydrates: 28
- Fiber: 1
- Protein: 6
Keywords: sourdough focaccia, beginner sourdough, meal prep bread, rosemary focaccia, freezer friendly bread, no knead bread, sourdough starter recipe



