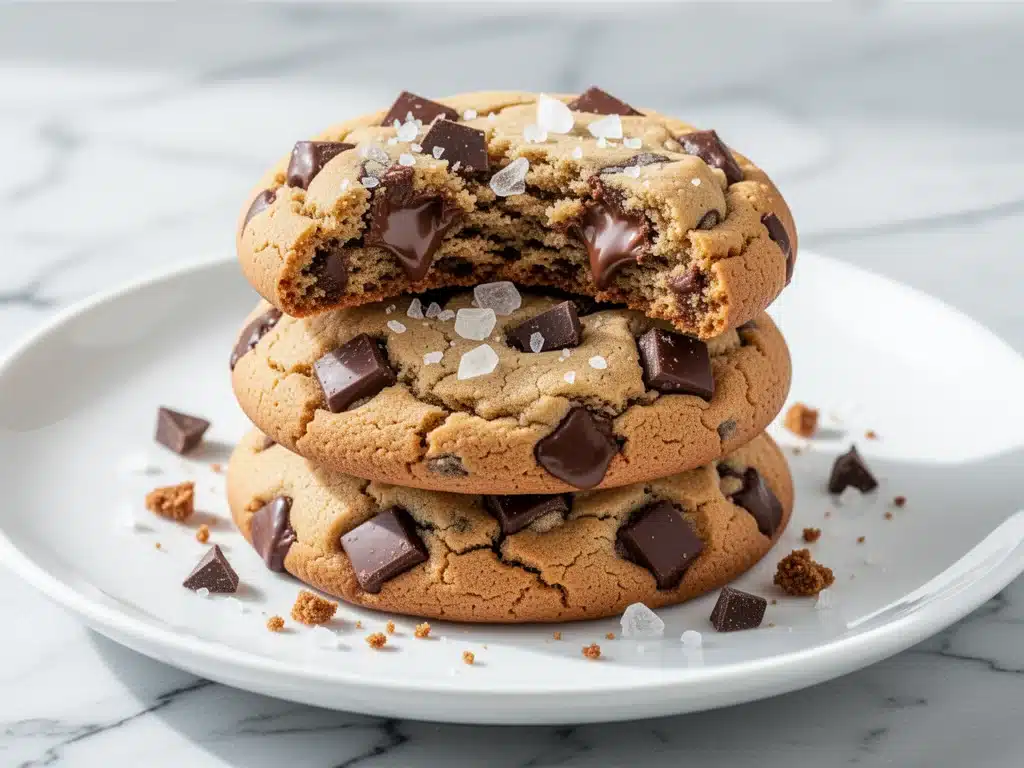
Last Saturday morning, I was standing in my kitchen at 9 AM, wearing pajamas that had seen better days, staring at a batch of cookies that looked… fine. Just fine. They were flat, they spread too much, and the chocolate chunks had melted into invisible puddles. I took a bite. Crisp edges, sure. But the center? Dry. Tough. It tasted like a generic grocery store cookie you buy out of necessity, not desire. I was ready to throw the whole tray in the trash and order pizza.
But then I remembered a note I’d scribbled on a napkin months ago from a baker friend who swears by “chilling the dough.” I looked at my bowl of cookie dough sitting on the counter. I’d forgotten to chill it. So, I put it in the fridge for four hours. When I pulled it out, scooped it onto the baking sheet, and hit bake, something changed. The cookies held their shape. They spread just enough. And when I pulled them out of the oven, golden brown and puffy, I sprinkled them with flaky sea salt.
I ate one warm. Then another. Then I had to physically stop myself from eating the entire batch before dinner. These aren’t just cookies. These are bakery-style chocolate chunk cookies with flaky sea salt. They’re thick, chewy, loaded with real chocolate chunks (not chips), and they have that addictive sweet-salty crunch on top that makes you close your eyes when you take a bite. I’ve tested this recipe at least a dozen times since that Saturday, tweaking the butter temperature and the flour ratio until it was perfect. This is the only chocolate cookie recipe you’ll ever need to make on repeat.
There’s something deeply satisfying about baking cookies from scratch. It’s not just about the taste (though the taste is incredible); it’s about the smell. That scent of browned butter and melting chocolate that fills your house and makes your neighbors wonder if you’re running a bakery. I’ve made these for potlucks, for last-minute guests, and just for myself on lazy Sundays. Every single time, they disappear. Fast. If you’ve been struggling with cookies that are too cakey, too thin, or just not “bakery-quality,” this is your fix. Let’s get baking.
Why You’ll Love This Recipe
I’ve tried dozens of chocolate cookie recipes over the years. Some were too sweet. Some were too hard. Some required ingredients I couldn’t pronounce. This bakery-style chocolate chunk cookie with flaky sea salt is different. It’s the one I keep coming back to because it actually works, every single time. Here’s why it’s become my go-to dessert:
- Thick and Chewy, Not Thin and Crispy — Most cookie recipes fail because they spread too much. These cookies stay puffy and thick in the center thanks to a simple trick: chilling the dough. The result is a cookie that’s crisp on the edges but soft and chewy in the middle, just like the ones from your favorite expensive bakery.
- Real Chocolate Chunks, Not Chips — I’m picky about my chocolate. Chips have stabilizers that keep them from melting properly. This recipe uses chopped chocolate bars, which create those beautiful, gooey pockets of melted chocolate that you get in a high-end bakery. It’s a game-changer.
- The Flaky Sea Salt Finish — This isn’t just decoration. Sprinkling Maldon sea salt (or any flaky salt) on top right after baking adds a crucial crunch and enhances the chocolate flavor. Sweet, salty, crunchy. It’s the trifecta.
- One-Bowl Simplicity — You don’t need a stand mixer. You don’t need fancy tools. Just one bowl, a whisk, and a spoon. I made these while helping my daughter with her homework, and they turned out perfect. It’s that easy.
- Make-Ahead Friendly — Cookie dough can be frozen for up to three months. I often make a double batch, freeze the scoops, and bake fresh cookies whenever the craving hits. It’s like having homemade cookies ready in 15 minutes.
This is the recipe I make when I want to impress guests without spending hours in the kitchen. It’s reliable, delicious, and consistently better than anything you’ll buy at a store. Trust me, once you try these, you’ll never go back to store-bought again.
Ingredients You’ll Need
Here’s the best part: you probably have most of these ingredients already. This isn’t a recipe that requires a special trip to a specialty store. Just good, simple ingredients. I’m particular about a few things here, and I’ll tell you exactly why.
For the Dough
Unsalted butter (1 cup / 226g) — You want unsalted so you can control the saltiness. Room temperature is key. It should be soft enough to leave an indent when you press it, but not melted. If you melt it, your cookies will spread too thin. I take my butter out of the fridge about an hour before baking.
Granulated sugar (¾ cup / 150g) — This helps create those crispy edges. Don’t skip it or reduce it too much, or you’ll lose that texture. I use regular white sugar, not organic or raw, for the cleanest taste.
Brown sugar (1 cup / 220g, packed) — This is where the chewiness comes from. The molasses in brown sugar keeps the cookies moist. I like to use light or dark brown sugar, depending on how deep I want the flavor. Dark brown gives a richer, toffee-like taste.
Large eggs (2 large) — Room temperature eggs mix better into the dough. If you forget to take them out, just drop them in a bowl of warm water for 5 minutes. Don’t use small eggs; stick to large for consistent results.
Vanilla extract (2 teaspoons) — Use real vanilla extract, not imitation. It makes a huge difference in flavor. I love using a good-quality Madagascar vanilla for this recipe.
All-purpose flour (2 ¼ cups / 280g) — Don’t use cake flour or bread flour. All-purpose is the sweet spot. Spoon and level your flour! Don’t scoop it directly from the bag, or you’ll pack it down and end up with dry cookies. I spoon it into the measuring cup and level it off with a knife.
Baking soda (1 teaspoon) — This helps the cookies spread and brown. Make sure it’s fresh; old baking soda won’t work properly. If your baking soda is more than 6 months old, replace it.
Salt (½ teaspoon) — Even though we’re using unsalted butter, a little salt in the dough balances the sweetness. I use fine sea salt for this.
For the Mix-Ins and Topping
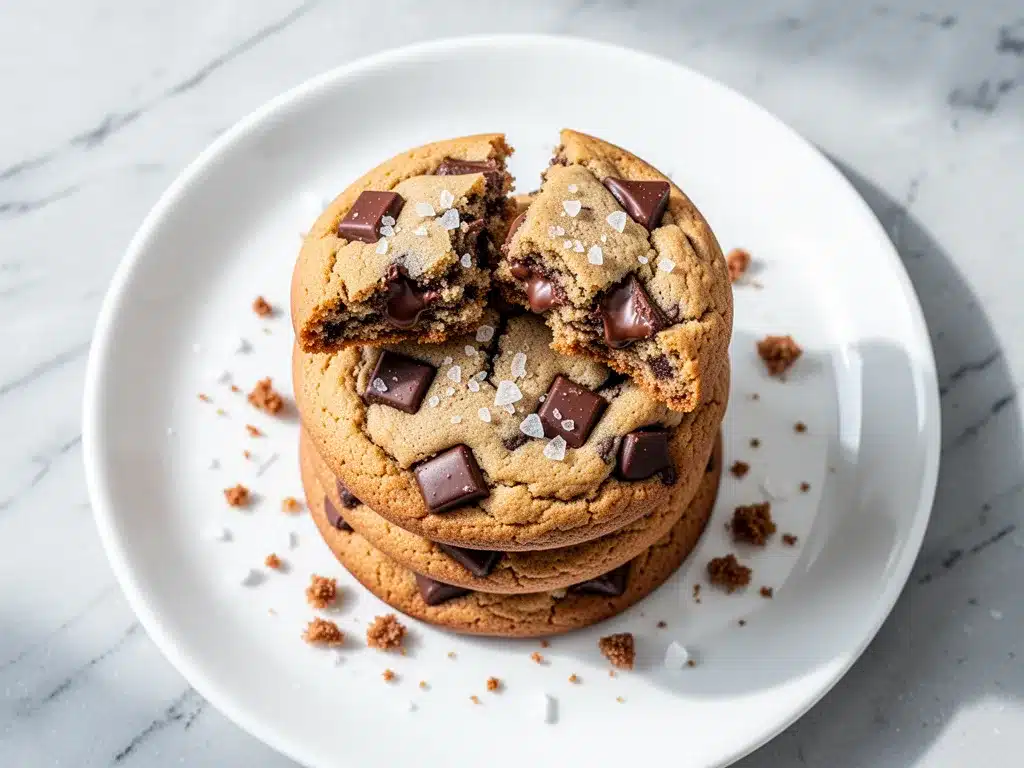
Dark chocolate chunks (8 ounces / 225g) — This is the star of the show. I chop up high-quality dark chocolate bars (like Ghirardelli or Lindt) into chunks. You want a mix of sizes—some big chunks, some smaller pieces. Chocolate chips work, but they don’t melt the same way. I prefer 60-70% dark chocolate for a richer taste.
Flaky sea salt (for sprinkling) — Maldon is the gold standard, but any flaky sea salt works. Sprinkle this on top of the cookies right after they come out of the oven. It melts slightly and creates those addictive salty spots.
Equipment Needed
You don’t need fancy equipment for this. Here’s what I actually use:
Large mixing bowl — I use a 5-quart bowl. It needs to be big enough to mix everything without making a mess. Glass or ceramic works well.
Whisk and wooden spoon — Start with a whisk to cream the butter and sugars, then switch to a wooden spoon to fold in the flour and chocolate. A stand mixer works too, but I prefer doing it by hand for this batch size—it’s less cleanup.
Baking sheets — I use half-sheet pans (18×13 inches). Light-colored aluminum pans are best because they prevent the bottoms from burning. Dark pans absorb more heat, which can lead to over-browned bottoms.
Parchment paper — Line your baking sheets with parchment paper. It prevents sticking and makes cleanup a breeze. I never bake cookies directly on the pan anymore. It’s just easier.
Cookie scoop — I use a 2-tablespoon cookie scoop. It ensures all your cookies are the same size, which means they bake evenly. If you don’t have a scoop, use two spoons to drop mound-sized portions.
Cooling rack — Essential for letting the cookies cool properly. If you leave them on the hot baking sheet, they’ll keep cooking and become tough.
How to Make It: Step-by-Step
Alright, let’s make this! I’m walking you through exactly how I do it, including the little tricks I’ve picked up over the years.
Step 1: Cream the Butter and Sugars (3 minutes)
In your large mixing bowl, combine the room-temperature unsalted butter, granulated sugar, and brown sugar. Using a wooden spoon or a hand mixer on medium speed, beat them together until the mixture is light, fluffy, and pale in color. This usually takes about 2-3 minutes. You’re incorporating air into the butter, which helps the cookies rise. Don’t rush this step—it makes a difference in texture.
Step 2: Add Eggs and Vanilla (1 minute)
Add the eggs one at a time, beating well after each addition. Then stir in the vanilla extract. The mixture might look a bit curdled at first—don’t panic. That’s normal. Just keep mixing until it’s smooth.
Step 3: Mix Dry Ingredients (1 minute)
In a separate small bowl, whisk together the flour, baking soda, and salt. Then, gradually add the dry ingredients to the wet ingredients. Mix on low speed or stir by hand until just combined. Be careful not to overmix! Once the flour disappears, stop. Overmixing develops gluten, which makes cookies tough instead of tender.
Step 4: Fold in Chocolate Chunks (2 minutes)
Add the chopped chocolate chunks to the dough. Fold them in gently with a spatula or wooden spoon. Make sure they’re evenly distributed. You want chocolate in every bite.
Step 5: Chill the Dough (At least 30 minutes, up to 3 days)
This is the most important step. Cover the bowl with plastic wrap and refrigerate for at least 30 minutes. If you have time, chill it for 24 hours. Chilling the dough solidifies the butter, which prevents the cookies from spreading too much in the oven. It also allows the flavors to meld, resulting in a deeper, richer taste. If you skip this, your cookies will be flat and crispy, not thick and chewy.
Step 6: Preheat and Scoop (5 minutes)
Preheat your oven to 350°F (175°C). Line your baking sheets with parchment paper. Scoop the dough into 2-tablespoon balls and place them on the baking sheets, spacing them about 2 inches apart. They need room to spread slightly.
Step 7: Bake (10-12 minutes)
Bake the cookies for 10-12 minutes. You want the edges to be golden brown and set, but the centers should still look slightly soft and underdone. They will firm up as they cool. Do not overbake them! If they look fully set in the oven, they’ll be dry once cooled. I take mine out when the edges are just turning gold.
Step 8: Add Salt and Cool (5 minutes)
As soon as you pull the baking sheets out of the oven, sprinkle a pinch of flaky sea salt over each cookie. The heat will slightly melt the salt, embedding it into the surface. Let the cookies cool on the baking sheet for 5 minutes, then transfer them to a wire rack to cool completely. They’ll continue to set as they cool.
Total Time: About 45 minutes active, plus chilling time.
Expert Tips & Tricks
Here’s everything I’ve learned from making these cookies dozens of times. These tips will save you from my mistakes.
Chill the Dough
I can’t stress this enough. Chilling the dough is what gives you that bakery-style thickness. If you’re impatient, chill it for at least 30 minutes. But if you can wait 24 hours, do it. The flavor improves dramatically. I often make the dough on Sunday and bake on Wednesday.
Use Real Chocolate Bars
Chop your own chocolate bars into chunks. It’s easier than you think. Just take a chef’s knife and chop away. You get irregular shapes that melt beautifully. Chocolate chips are uniform and often contain additives that prevent them from melting smoothly. I use Ghirardelli 60% Cacao squares, but any good baking chocolate works.
Don’t Overbake
This is the most common mistake. Cookies continue to cook on the hot baking sheet after you take them out of the oven. If you wait until they look fully done in the oven, they’ll be overdone by the time they cool. Aim for slightly soft centers. They’ll firm up as they cool.
Spoon and Level Your Flour
If you scoop flour directly from the bag, you’ll pack it down and use too much. Too much flour = dry, crumbly cookies. Always spoon flour into your measuring cup and level it off with a knife. It’s a small step that makes a big difference.
Use Parchment Paper
I’ve tried baking directly on the pan, and the bottoms always burn slightly. Parchment paper ensures even baking and easy cleanup. It’s worth the tiny bit of extra effort.
Freeze the Dough Balls
For easy fresh-baked cookies later, scoop the dough onto a baking sheet and freeze it for an hour. Then transfer the frozen dough balls to a freezer bag. Bake straight from frozen, adding 1-2 minutes to the bake time. It’s like having homemade cookies ready in minutes.
Variations & Substitutions
Once you’ve nailed the basic version, here’s how you can mix it up. I’ve tried all of these.
White Chocolate Macadamia Nut
Swap the dark chocolate chunks for white chocolate chunks and add 1 cup of toasted macadamia nuts. It’s a classic combination and incredibly rich.
Red Velvet
Add 1 tablespoon of cocoa powder and 1 teaspoon of red food coloring to the dough. Use white chocolate chunks instead of dark. It’s a fun twist for holidays.
Double Chocolate
Add 2 tablespoons of cocoa powder to the dry ingredients. Use semi-sweet chocolate chunks. For chocolate lovers, this is the way to go.
Gluten-Free
Use a 1:1 gluten-free flour blend (like Bob’s Red Mill or King Arthur). The texture might be slightly more crumbly, but it still tastes great. Add an extra 15 minutes of chilling time to help with spread.
Dairy-Free
Use dairy-free butter (like Miyoko’s or Earth Balance) and dairy-free chocolate chunks. Most dark chocolate is naturally dairy-free, but check the label. The cookies will be slightly less rich, but still delicious.
Lower Sugar
Reduce the granulated sugar by ¼ cup. You’ll lose some crispiness, but the cookies will still be sweet and chewy. I haven’t tested reducing brown sugar, as it affects moisture.
Serving & Storage
How to Serve:
These cookies are best served warm, right off the baking sheet. But they’re also great at room temperature. I often serve them with a cold glass of milk or a cup of coffee. They pair well with fall apple cider donut cake if you’re making a dessert spread.
Toppings:
If you want to get fancy, drizzle melted chocolate over the cooled cookies or add a dollop of whipped cream. But honestly, they’re perfect as is.
Storage:
Store cookies in an airtight container at room temperature for up to 5 days. They stay soft and chewy if you keep them sealed. If they start to dry out, add a slice of bread to the container—the cookies will absorb the moisture from the bread.
Freezing:
Dough: Freeze scooped dough balls for up to 3 months. Bake from frozen.
Baked Cookies: Freeze baked cookies for up to 2 months. Thaw at room temperature. They might lose a little texture, but they’re still good.
Reheating:
If you want that fresh-baked taste, microwave a cookie for 10-15 seconds. It’ll be soft and gooey again. Or bake a frozen dough ball at 350°F for 12-14 minutes.
Nutrition Information
I’m not a nutritionist, but here’s the breakdown if you’re tracking. This is a rich, indulgent treat, so portion control is key.
Per Cookie (makes about 24 cookies):
– Calories: 180
– Protein: 2g
– Carbs: 24g
– Fiber: 1g
– Sugar: 15g
– Fat: 10g
– Saturated Fat: 6g
– Cholesterol: 25mg
– Sodium: 120mg
What’s Good:
– Contains some protein from eggs and butter
– Real chocolate offers antioxidants
– Easy to portion control
What to Know:
– High in sugar and saturated fat
– Contains gluten and dairy
– Not suitable for vegan or dairy-free diets without modifications
My Take:
Look, these are cookies. They’re meant to be enjoyed. They’re better than store-bought, and you control the ingredients. I don’t stress about the calories when I make them. I just enjoy them in moderation. If you want to lighten them up, try the lower-sugar version or use dark chocolate with higher cocoa content.
Final Thoughts
So that’s my go-to bakery-style chocolate chunk cookie with flaky sea salt! I’ve probably talked your ear off at this point, but when you make a recipe this often, you have a lot to say about it. These cookies have saved my dessert game more times than I can count. They’re my answer to “what should I bring to the party?” or “how do I comfort my kids?” or just “I need chocolate right now.”
They’re thick, chewy, loaded with chocolate, and finished with that perfect salty crunch. I’ve made these for everyone from picky eaters to serious baking enthusiasts, and everyone loves them. It’s the kind of recipe that feels like a hug in cookie form.
Make it yours! Try different chocolate bars, add nuts, or play with the salt. The best recipes are the ones you adapt to your tastes. If you make these cookies, I’d love to hear how they turn out. Drop a comment and let me know! And if something doesn’t work, tell me that too—I’m here to help troubleshoot.
Happy baking! And I hope your kitchen smells half as good as mine does right now.
Frequently Asked Questions
Can I use chocolate chips instead of chunks?
You can, but I don’t recommend it. Chocolate chips have stabilizers that keep them from melting properly. They’ll stay intact, which means you won’t get those gooey pockets of chocolate. Chopped chocolate bars melt beautifully and create a much better texture. But if chips are all you have, they’ll still taste good—just not as “bakery-style.”
Why did my cookies spread too much?
This usually happens for three reasons: 1) The butter was too soft or melted. 2) You didn’t chill the dough. 3) Your oven wasn’t hot enough. Make sure your butter is room temperature (soft but not oily), chill the dough for at least 30 minutes, and preheat your oven fully before baking.
Can I freeze the cookie dough?
Yes! This is one of my favorite things to do. Scoop the dough into balls, freeze them on a baking sheet for an hour, then transfer to a freezer bag. They’ll last up to 3 months. Bake straight from frozen, adding 1-2 minutes to the bake time. It’s perfect for having fresh cookies on demand.
How do I keep my cookies soft?
Don’t overbake them! Take them out when the centers look slightly underdone. They’ll firm up as they cool. Also, store them in an airtight container with a slice of bread to maintain moisture. If you like them chewier, increase the brown sugar ratio slightly.
Can I make these gluten-free?
Yes! Use a 1:1 gluten-free flour blend. The texture might be slightly more crumbly, but the flavor will be the same. I recommend chilling the dough a bit longer (45 minutes) to help with spread. Some people find gluten-free cookies dry out faster, so store them in an airtight container.
What kind of salt should I use?
Flaky sea salt is best for sprinkling on top. Maldon is the most popular brand, but any flaky sea salt works. The flakes provide a nice crunch and visual appeal. Don’t use table salt or kosher salt for the topping—they’re too sharp and don’t have the same delicate crunch.
Can I double this recipe?
Absolutely! I often double this recipe when I’m baking for a crowd. Just use a larger bowl and mix in batches if needed. The baking time stays the same. I usually bake one sheet at a time to ensure even cooking, but you can bake two sheets if you rotate them halfway through.
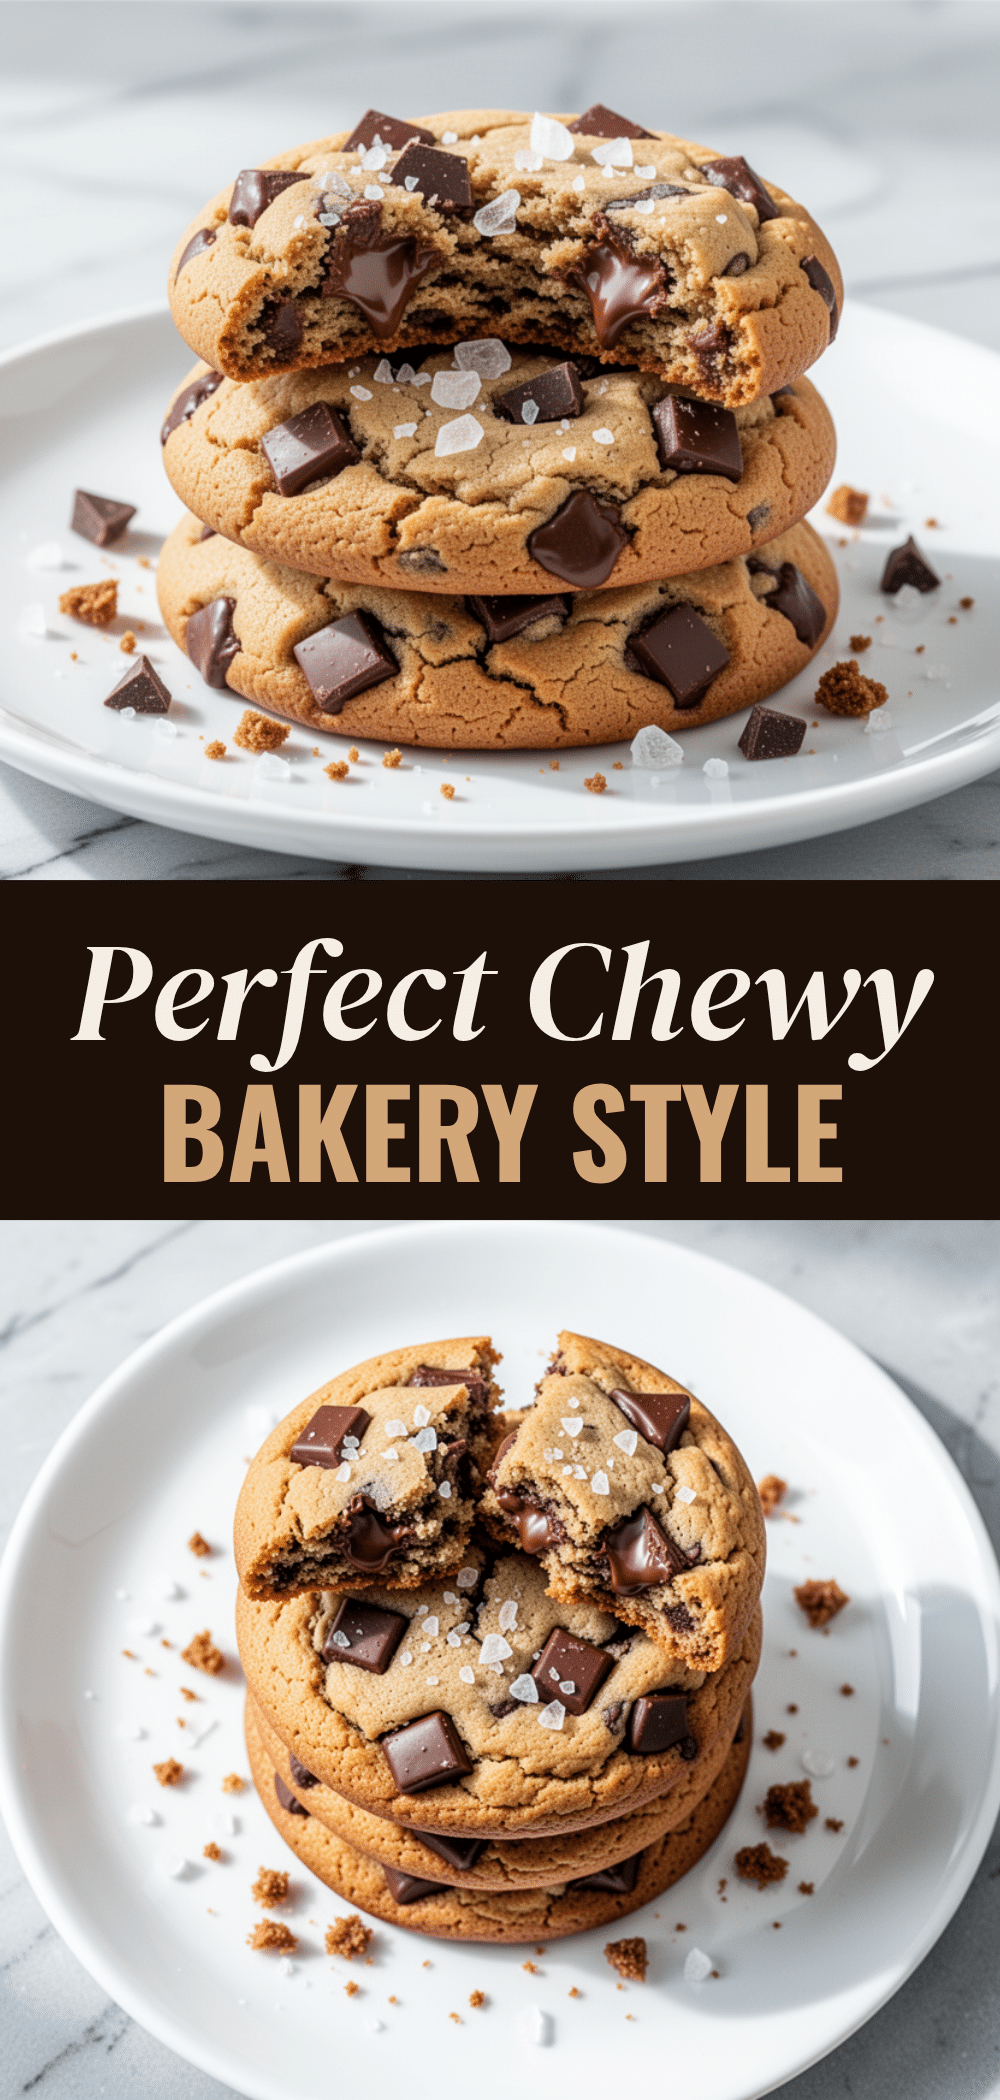
Pin This Recipe!
Bakery-Style Chocolate Chunk Cookies: Easy Soft Recipe
- Total Time: 45 minutes
- Yield: 24 cookies 1x
Description
Thick, chewy, bakery-style chocolate chunk cookies with flaky sea salt. This recipe uses chilled dough and real chocolate bars for a perfect texture that is crisp on the edges and soft in the middle.
Ingredients
- 1 cup (226g) unsalted butter, room temperature
- ¾ cup (150g) granulated sugar
- 1 cup (220g) packed brown sugar
- 2 large eggs, room temperature
- 2 teaspoons vanilla extract
- 2 ¼ cups (280g) all-purpose flour, spooned and leveled
- 1 teaspoon baking soda
- ½ teaspoon fine sea salt
- 8 ounces (225g) dark chocolate bars, chopped into chunks
- Flaky sea salt (such as Maldon) for sprinkling
Instructions
- In a large mixing bowl, cream the room-temperature unsalted butter, granulated sugar, and brown sugar together until light, fluffy, and pale in color (about 2-3 minutes).
- Add the eggs one at a time, beating well after each addition, then stir in the vanilla extract until smooth.
- In a separate small bowl, whisk together the flour, baking soda, and salt.
- Gradually add the dry ingredients to the wet ingredients and mix on low speed or stir by hand until just combined. Do not overmix.
- Fold in the chopped chocolate chunks gently with a spatula or wooden spoon until evenly distributed.
- Cover the bowl with plastic wrap and refrigerate the dough for at least 30 minutes (or up to 3 days).
- Preheat your oven to 350°F (175°C) and line baking sheets with parchment paper.
- Scoop the dough into 2-tablespoon balls and place them on the baking sheets, spacing them about 2 inches apart.
- Bake for 10-12 minutes, until the edges are golden brown but the centers still look slightly soft.
- Immediately upon removing from the oven, sprinkle each cookie with flaky sea salt.
- Let the cookies cool on the baking sheet for 5 minutes, then transfer to a wire rack to cool completely.
Notes
Chilling the dough is crucial for preventing excessive spreading and achieving a thick, chewy texture. Use real chocolate bars chopped into chunks rather than chips for better melting. Spoon and level flour to avoid dry cookies. Cookies continue to cook on the hot pan after removal, so slightly underbake for soft centers.
- Prep Time: 20 minutes
- Cook Time: 12 minutes
- Category: Dessert
- Cuisine: American
Nutrition
- Serving Size: 1 cookie
- Calories: 180
- Sugar: 15
- Sodium: 120
- Fat: 10
- Saturated Fat: 6
- Carbohydrates: 24
- Fiber: 1
- Protein: 2
Keywords: chocolate chunk cookies, bakery style cookies, soft cookies, flaky sea salt, chocolate cookies, easy cookie recipe, chilled dough cookies



