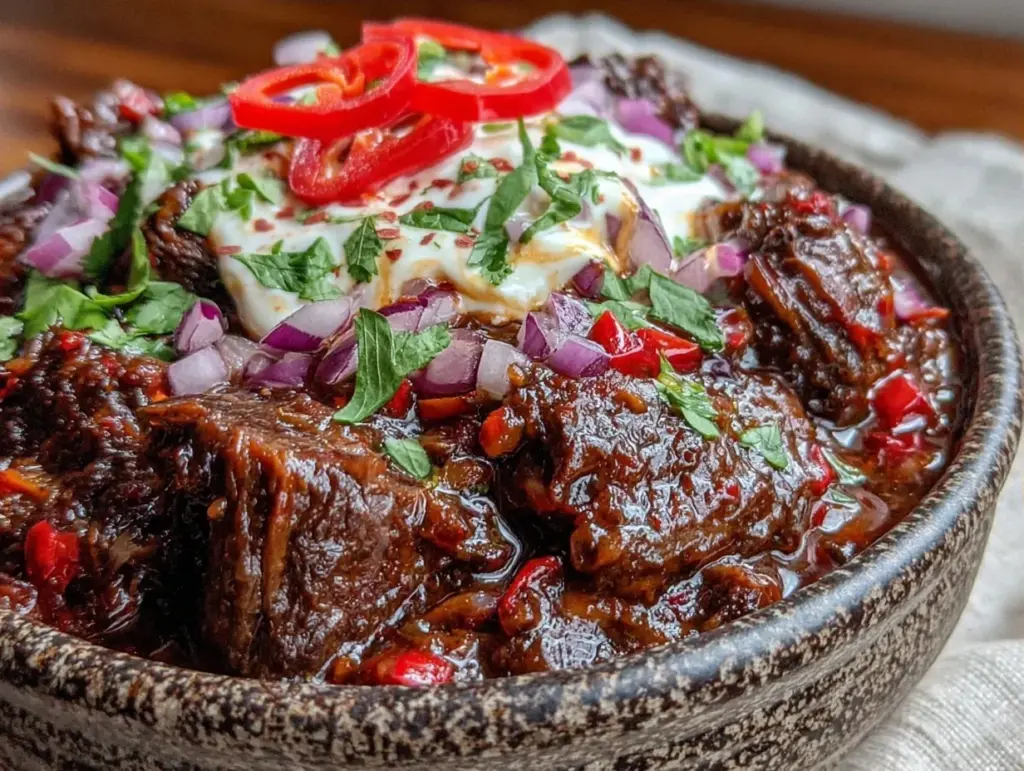
I still remember the first time I tried my uncle Ray’s chili. It was 1998, in a drafty community hall in San Antonio, and the air smelled like woodsmoke and cumin. I was ten years old, clutching a Styrofoam bowl that was too hot to hold, and I took a skeptical sip. I expected heat. I expected tang. What I got was something I couldn’t name. It was deep, rich, and strangely complex. There was a sweetness in the back that I couldn’t place, and a smokiness that lingered on my tongue for hours. I asked my mom, “What is in this? It’s magic.” She just laughed and told me, “It’s not magic, kiddo. It’s patience. And a little bit of chocolate.”
For years, I thought she was joking. Who puts chocolate in chili? It sounded like a culinary heresy. But that bowl of chili stayed with me. It haunted me. Every time I made chili at home, it tasted flat. It tasted like ground beef and canned tomatoes. It lacked that soulful depth I’d found in that community hall. So, I started experimenting. I tried adding coffee. I tried using different cuts of beef. I even tried adding an egg, because I’d heard a rumor about it somewhere. Nothing worked. It wasn’t until I accidentally knocked a square of dark chocolate into a pot of simmering beef while I was distracted by a phone call that everything changed.
I nearly threw the pot out. But curiosity won. I stirred it in, expecting a disaster. Instead, the chocolate melted into the rich, red broth, turning it glossy and velvety. It didn’t taste like dessert. It tasted like chili, but the chili I’d been chasing my whole life. The bitterness of the cocoa cut through the fat of the beef, and the sweetness balanced the acidity of the tomatoes. It was the missing link. That accidental discovery became the foundation of what I now call my award-winning beef chili with dark chocolate and chipotle. It’s not just a recipe; it’s a memory, refined over two decades of testing, tweaking, and perfecting. This is the real way my family makes it, and once you taste it, you’ll understand why it’s become our most cherished tradition.
Why You’ll Love This Recipe
There are a hundred ways to make chili, but most of them are missing something. They’re either too spicy, too thin, or just… boring. This recipe is different. It’s the kind of dish that makes your house smell like a warm hug. It’s the kind of meal that people remember years later. Here’s why this specific version has earned its spot as the king of my dinner table:
It’s Deeply Flavorful Without Being Overpowering — The secret is in the balance. The chipotle peppers bring a smoky heat that builds slowly, while the dark chocolate adds a savory richness that makes the beef taste even more like beef. It’s not sweet. I promise you, it doesn’t taste like chocolate. It tastes like a perfectly balanced, complex, hearty stew. My husband, who usually avoids anything “fancy,” asks for this every single week.
It Improves With Time (And That’s a Good Thing) — Chili is one of those dishes that actually tastes better the next day. The flavors meld together overnight, becoming more cohesive and intense. I often make this on Sunday so that by Wednesday, it’s reached its peak flavor. It’s perfect for meal prep, but honestly? I usually make extra just to have it for lunch four days in a row.
It Feels Special, But Isn’t Complicated — You don’t need to be a professional chef to make this. You need a large pot, some time, and the ingredients listed below. There are no tricky techniques. It’s mostly just simmering. But the result feels like something you’d get at a high-end restaurant, not a quick weeknight fix. It’s comfort food elevated by patience.
It’s a Crowd-Pleaser — I’ve served this at football parties, family reunions, and quiet Tuesday nights. Everyone loves it. The kids love the richness, and the adults appreciate the subtle sophistication. It’s versatile enough to be served with cornbread, over baked potatoes, or just straight out of the pot with a spoon. It’s the ultimate dinner party centerpiece because it’s always a hit.
Ingredients You’ll Need
I’m particular about a few things here. This isn’t a recipe where you can just throw whatever is in the back of the pantry into the pot and expect the same result. The quality of your ingredients matters, especially with something as simple as this. Here’s what I use, and why.
Chuck Roast (3 pounds / 1.36 kg) — I don’t use ground beef for this recipe. I use a whole chuck roast, cut into 1-inch cubes. Why? Because ground beef cooks too fast and loses its texture. A chuck roast has the perfect amount of fat and connective tissue that breaks down during the long simmer, making the meat incredibly tender and the sauce rich. You can find this at any butcher or grocery store. Ask for “chuck roll” if they have it.
Beef Stock (4 cups / 960ml) — Use a good quality, low-sodium beef stock. Since this recipe simmers for hours, the stock is the base of the flavor. If you use a watery, salty stock, the chili will be bland and too salty. I make my own stock when I have time, but store-bought works fine if it’s high quality. If you’re looking for other slow-simmered comfort foods, this mulled cider is a great winter companion.
Crushed Tomatoes (2 cans / 28 oz each) — Not diced tomatoes. Crushed tomatoes give you that thick, hearty texture without the chunks getting in the way. I prefer San Marzano tomatoes if I can find them, but any good crushed tomatoes work. Avoid tomato sauce; it’s too thin.
Chipotle Peppers in Adobo Sauce (4-6 peppers / approx. ¼ cup sauce) — This is the smoky heart of the chili. Buy a small can of chipotles in adobo. Mash them up with a fork and add them along with the sauce. Start with four if you’re sensitive to heat, and add more if you want it spicy. The adobo sauce is liquid gold—don’t throw it out.
Dark Chocolate (2 ounces / 56g) — Use high-quality dark chocolate, at least 70% cocoa. I use a bar of Lindt or Ghirardelli. Do not use chocolate chips, which have stabilizers that prevent them from melting smoothly. Break the bar into small pieces before adding it. This is the secret ingredient that ties everything together.
Yellow Onions (2 large / approx. 400g) — Diced. I use two large onions because I want the sweetness to caramelize into the base. Yellow onions are the standard for a reason—they have the best balance of sulfur and sugar.
Garlic (6 cloves / minced) — Fresh garlic only. No jarred stuff. Mince it finely so it disperses evenly. If you’re using a garlic press, go easy on the pressure so you don’t get bitter bits.
Ground Cumin (2 tablespoons) — Toast your cumin. Seriously. Heat a dry skillet for a minute, add the cumin, and toast it until it smells nutty. This releases the essential oils and makes a huge difference. Ground cumin is the backbone of chili flavor.
Smoked Paprika (1 tablespoon) — This adds another layer of smokiness to complement the chipotles. Make sure it’s smoked paprika, not sweet paprika. The color it adds is also beautiful.
Ground Coriander (1 teaspoon) — This is an underused spice in chili. It adds a subtle citrusy note that brightens up the heavy flavors. It’s optional, but I highly recommend it.
Olive Oil (3 tablespoons) — For browning the meat. Use a neutral oil like vegetable or canola if you prefer, but olive oil adds a nice fruitiness.
Salt and Black Pepper — To taste. I use kosher salt because it’s easier to control.
Optional Toppings — Sour cream, chopped cilantro, shredded cheddar cheese, diced avocado, and lime wedges. These add freshness and crunch to contrast the rich, soft chili.
Equipment Needed
You don’t need anything fancy. Here’s what I actually use:
Dutch Oven or Large Heavy-Bottomed Pot — I use a 7-quart Dutch oven. It needs to be heavy so it distributes heat evenly and doesn’t burn the bottom. A regular pot works, but you’ll need to watch it more closely. Cast iron is best.
Sharp Chef’s Knife — For dicing the onions and cutting the beef. A dull knife is dangerous and makes a mess.
Wooden Spoon or Silicone Spatula — For stirring. Metal spoons can scratch your pot.
Measuring Spoons — For the spices. Accuracy matters here.
Colander — For rinsing the canned tomatoes and beans (if using).
Microplane or Zester — Optional, for zesting a lime over the finished dish.
How to Make It: Step-by-Step
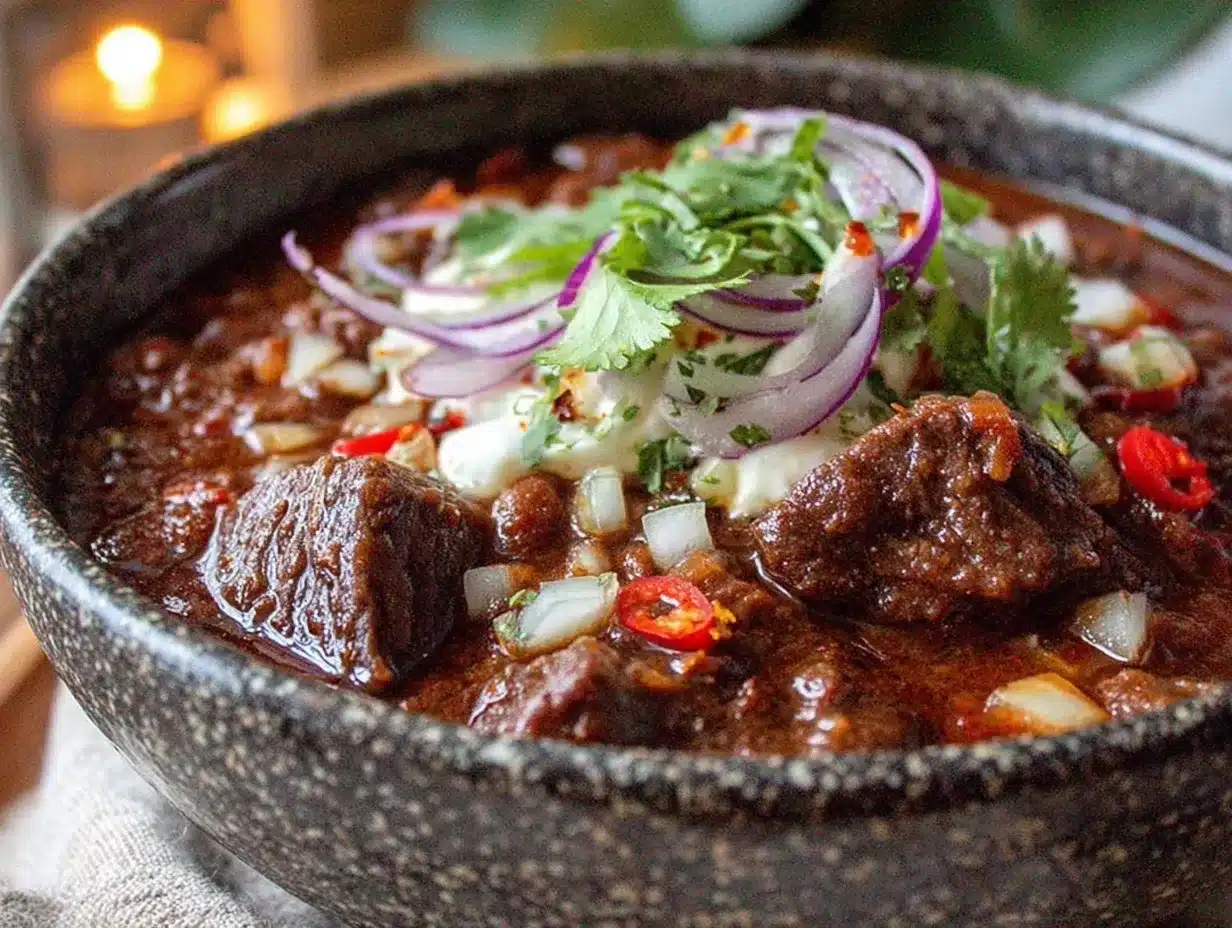
Alright, let’s make this. I’m walking you through exactly how I do it. It takes about 3 hours, but most of that is hands-off simmering.
Step 1: Prep the Beef (10 minutes)
Pat the cubed chuck roast dry with paper towels. This is crucial. Wet meat steams instead of browning. Season the beef generously with salt and black pepper. Set it aside.
Step 2: Sear the Meat (15 minutes)
Heat the olive oil in your Dutch oven over medium-high heat. Add the beef in batches. Do not overcrowd the pot. If you put all the meat in at once, it will steam and turn gray. You want a deep, brown crust. Sear each batch for 3-4 minutes, turning occasionally. Remove the browned beef to a plate and set aside. Repeat until all the beef is done. This step builds the flavor base.
Step 3: Sauté the Aromatics (5 minutes)
Reduce the heat to medium. Add the diced onions to the pot with the beef drippings. Cook for 5-7 minutes until soft and translucent. Add the minced garlic, cumin, smoked paprika, and coriander. Stir constantly for 1 minute until fragrant. The smell should fill your kitchen. If the pot looks dry, add a splash of water to deglaze and lift any browned bits from the bottom.
Step 4: Build the Base (5 minutes)
Return the browned beef and any juices to the pot. Pour in the crushed tomatoes and the beef stock. Stir well to combine. Add the mashed chipotle peppers and their adobo sauce. Bring the mixture to a boil, then reduce the heat to low. Cover the pot with a lid, leaving it slightly ajar to let steam escape.
Step 5: The Long Simmer (2 hours)
Let the chili simmer gently for 2 hours. Do not rush this. The low heat allows the collagen in the beef to break down, making it tender. Stir it every 30 minutes to prevent sticking. If the chili looks too thick, add a little more stock. If it looks too thin, leave the lid off for the last 30 minutes.
Step 6: Add the Chocolate (5 minutes)
After 2 hours, the beef should be fork-tender. Remove the pot from the heat. Stir in the broken pieces of dark chocolate. The residual heat will melt it smoothly. Stir until the chocolate is completely incorporated and the sauce is glossy and deep brown. Taste and adjust salt if needed.
Step 7: Rest and Serve
Let the chili sit for 15 minutes before serving. This allows the flavors to settle. Ladle into bowls and top with your favorite toppings. Serve with crusty bread or cornbread.
Expert Tips & Tricks
Here’s everything I’ve learned from making this dozens of times. These tips will save you from my mistakes.
Don’t Skip the Sear
I know it’s tempting to just throw the raw meat in the pot. Don’t. The Maillard reaction—the browning of the meat—creates hundreds of new flavor compounds. Skipping this step means your chili will taste flat. Take the time to sear the beef in batches.
Toast Your Spices
Spices lose their potency over time, but toasting them wakes them up. I toast my cumin and paprika in a dry pan for 30 seconds before adding them to the onions. It’s a small step that makes a big difference.
Use Good Chocolate
This is the most important tip. If you use cheap, sugary chocolate, your chili will taste weird. Use high-quality dark chocolate (70% or higher). It should be bitter and rich, not sweet. Think of it as a seasoning, not a dessert ingredient.
Let It Rest
Chili tastes better the next day. If you can, make it a day ahead. The flavors meld and deepen overnight. If you can’t wait, let it rest for at least 15 minutes after cooking before serving.
Control the Heat
Chipotles vary in heat. Start with 4 peppers and add more if needed. Remember, you can always add more heat, but you can’t take it away. If it’s too spicy, add a dollop of sour cream or a squeeze of lime.
Variations & Substitutions
Once you’ve nailed the basic version, here’s how you can mix it up. I’ve tried all of these.
Vegetarian Version
Replace the beef with a mix of mushrooms and walnuts. Sauté the mushrooms until they’re brown and dry, then proceed with the recipe. The chocolate and spices work beautifully with mushrooms. It’s surprisingly hearty.
Slow Cooker Method
You can make this in a slow cooker. Sear the beef and sauté the onions in a pan first, then transfer everything to the slow cooker. Cook on low for 8 hours or high for 4 hours. Add the chocolate in the last 30 minutes. It’s less hands-off than I prefer, but it works.
Bean-Loaded
Add 2 cans of kidney beans or black beans, drained and rinsed. Add them with the tomatoes. This makes it more filling and adds fiber. I usually skip beans because I love the meat, but my kids prefer it with beans.
Spicier Version
Add an extra chipotle pepper or a pinch of cayenne pepper. If you like heat, you can also add a diced jalapeño with the onions.
Lighter Version
Use leaner beef, like sirloin, and reduce the olive oil. The chocolate will still add richness, so it won’t taste as heavy. It’s not as tender as chuck roast, but it’s a good option if you’re watching your fat intake.
Serving & Storage
How to Serve:
I usually serve this straight from the pot with a big spoon. But here are other ways I’ve enjoyed it:
Side Dishes:
- Crusty sourdough bread (for dipping)
- Cornbread (classic pairing)
- Baked potatoes (top with chili and cheese)
- Simple green salad with vinaigrette (to cut the richness)
Toppings Bar:
When I have guests, I put out: sour cream, chopped cilantro, shredded cheddar, diced avocado, and lime wedges. Everyone customizes their bowl.
Storage Instructions:
Refrigerator: Store in an airtight container for up to 5 days. The chili will thicken in the fridge—this is normal.
Reheating: Reheat gently on the stove over low heat, adding a splash of water or stock if it’s too thick. Microwave works too, but stir frequently.
Freezing: This freezes well for up to 3 months. Thaw in the fridge overnight and reheat gently. The chocolate may separate slightly, but a good stir will bring it back together.
Nutrition Information
I’m not a nutritionist, but here’s the breakdown if you’re tracking. This is a rich, hearty meal, so portions matter.
Per Serving (based on 6 servings):
- Calories: 450
- Protein: 35g
- Carbs: 12g
- Fiber: 4g
- Fat: 28g
- Saturated Fat: 12g
- Sodium: 650mg
This is comfort food. It’s not a diet recipe. But it’s packed with protein and healthy fats from the beef and olive oil. If you want to lighten it up, use leaner beef and skip the sour cream toppings.
Final Thoughts
So that’s my award-winning beef chili with dark chocolate and chipotle. It’s a recipe that started with an accident and turned into a tradition. It’s the kind of dish that brings people together, whether it’s a cold winter night or a sunny autumn afternoon. It’s warm, it’s complex, and it’s deeply satisfying.
I hope you try it. I hope it becomes part of your family’s story, too. Make it yours. Add more chipotle if you like heat, or less chocolate if you’re cautious. The best recipes are the ones you adapt to your own tastes. And if you make it, let me know how it turns out. I love hearing about your kitchen adventures.
Happy cooking! And I hope your kitchen smells half as good as mine does right now.
Frequently Asked Questions
Why do you put chocolate in chili?
It sounds strange, but chocolate adds depth and richness without making the chili taste sweet. The bitterness of dark chocolate complements the savory beef and smoky chipotles. It’s a classic technique in Mexican cooking, used to balance acidity and add a velvety texture. Trust me, you won’t taste the chocolate, but you’ll taste the difference.
Can I use ground beef instead of chuck roast?
You can, but the texture won’t be the same. Chuck roast becomes incredibly tender after a long simmer, while ground beef can become mushy. If you must use ground beef, brown it well and drain the excess fat before adding the other ingredients. But I strongly recommend the chuck roast for the best results.
How spicy is this chili?
It’s moderately spicy. With 4 chipotle peppers, it has a gentle warmth that builds slowly. If you’re sensitive to heat, start with 2 peppers. If you love spice, add 6 or more. The chocolate helps mellow the heat, so it’s not overwhelming.
Can I make this in a slow cooker?
Yes. Sear the beef and sauté the onions first, then transfer everything to the slow cooker. Cook on low for 8 hours. Add the chocolate in the last 30 minutes. It’s less hands-off than stovetop, but it works well.
Why did my chili turn out too thick?
Chili continues to thicken as it sits. If it’s too thick, add a splash of beef stock or water while reheating. If you’re cooking it on the stove, leave the lid off for the last 30 minutes to let excess liquid evaporate.
Can I freeze this chili?
Yes, it freezes very well. Store it in an airtight container for up to 3 months. Thaw in the fridge overnight and reheat gently. The chocolate may separate slightly, but a good stir will bring it back together.
What toppings go best with this chili?
Classic toppings like sour cream, shredded cheddar, and chopped cilantro work well. I also love a squeeze of lime juice and diced avocado. The freshness of the toppings contrasts beautifully with the rich, heavy chili.
Pin This Recipe!
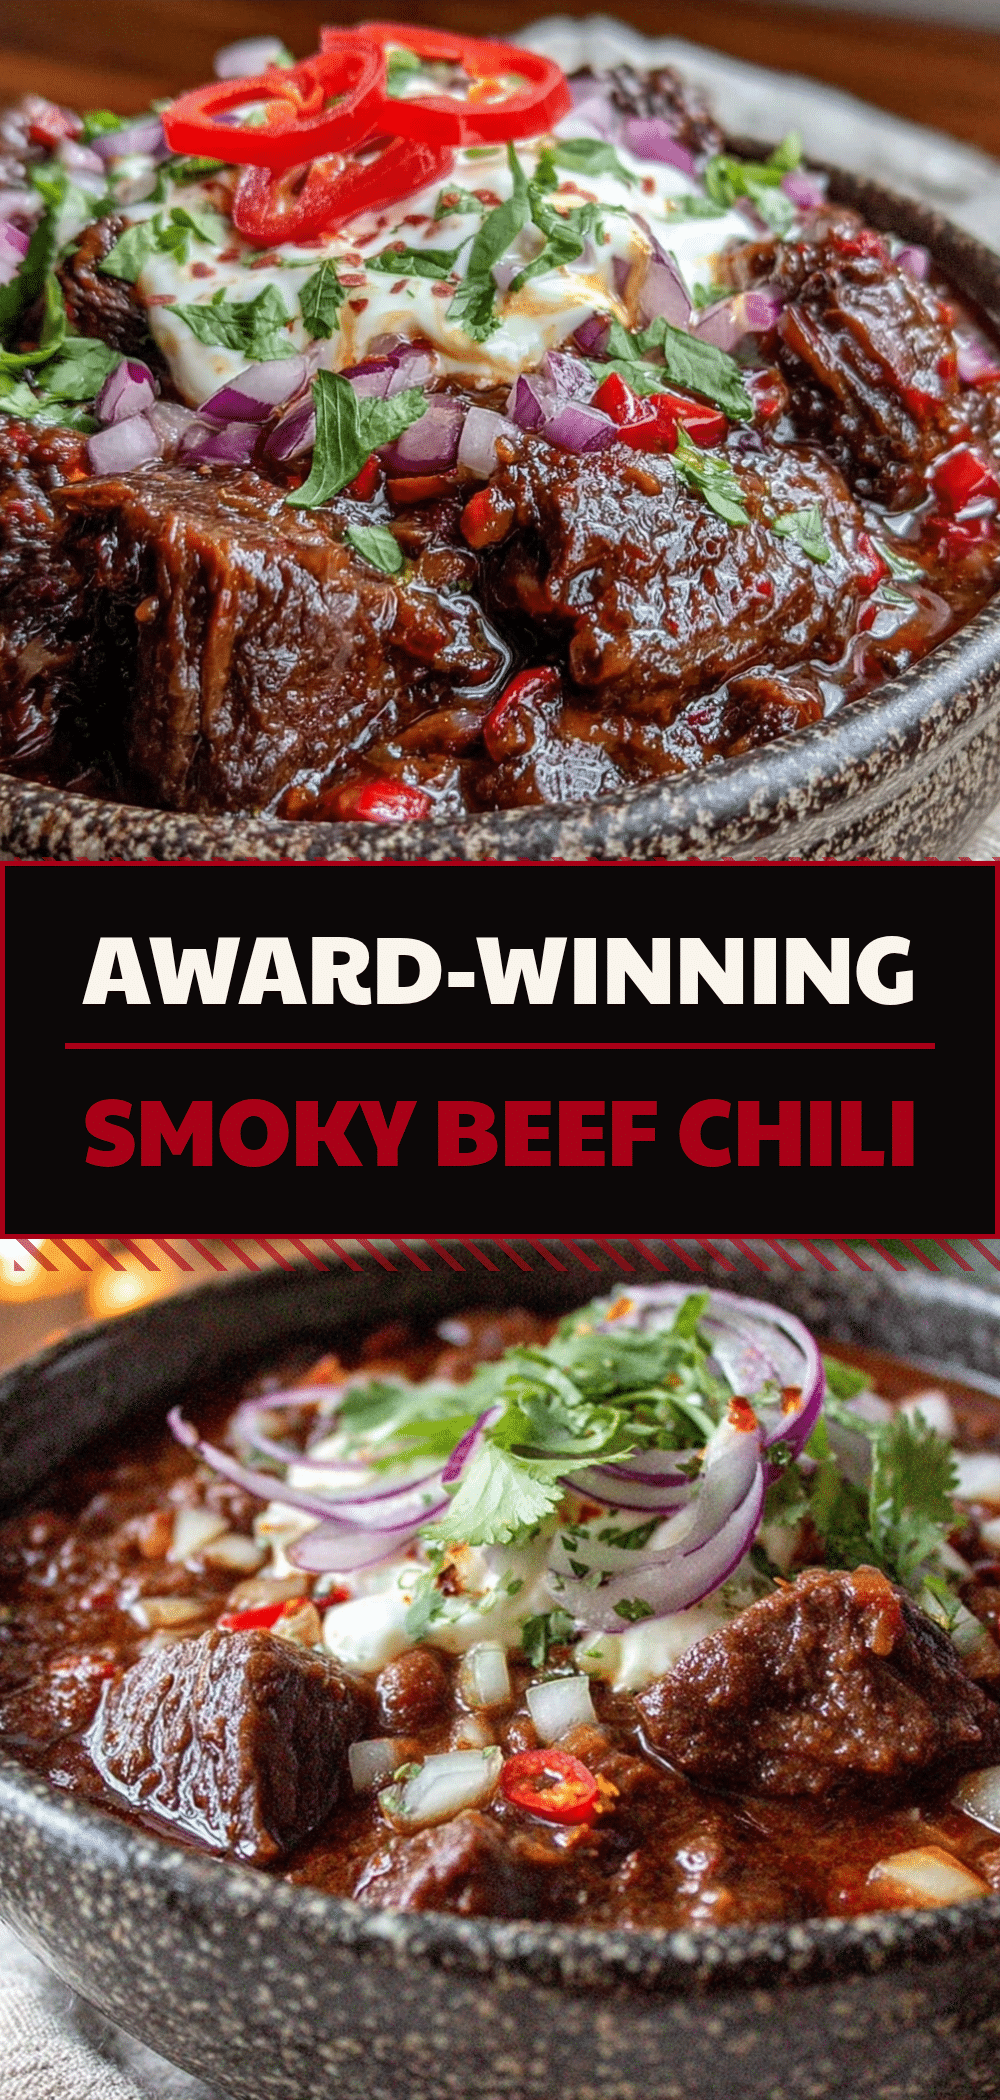
Award-Winning Beef Chili: The Real Way My Family Makes It
- Total Time: 2 hours 30 minutes
- Yield: 6 servings 1x
Description
A rich, complex beef chili made with chuck roast, chipotle peppers, and a secret ingredient of dark chocolate for depth and velvety texture. This slow-simmered dish improves with time and is a cherished family tradition.
Ingredients
- 3 pounds (1.36 kg) chuck roast, cut into 1-inch cubes
- 3 tablespoons olive oil
- 2 large yellow onions, diced
- 6 cloves garlic, minced
- 2 tablespoons ground cumin (toasted)
- 1 tablespoon smoked paprika
- 1 teaspoon ground coriander
- 4–6 chipotle peppers in adobo sauce, mashed (approx. ¼ cup sauce)
- 2 cans (28 oz each) crushed tomatoes
- 4 cups (960ml) low-sodium beef stock
- 2 ounces (56g) high-quality dark chocolate (at least 70% cocoa), broken into pieces
- Salt and black pepper to taste
- Optional toppings: sour cream, chopped cilantro, shredded cheddar cheese, diced avocado, lime wedges
Instructions
- Pat the cubed chuck roast dry with paper towels and season generously with salt and black pepper.
- Heat olive oil in a 7-quart Dutch oven over medium-high heat. Sear the beef in batches to avoid overcrowding, cooking for 3-4 minutes per side until deeply browned. Remove beef to a plate.
- Reduce heat to medium. Add diced onions to the pot and cook for 5-7 minutes until soft. Add garlic, toasted cumin, smoked paprika, and coriander; stir for 1 minute until fragrant.
- Return the browned beef and any juices to the pot. Add crushed tomatoes, beef stock, and mashed chipotle peppers with adobo sauce.
- Bring to a boil, then reduce heat to low. Cover with a lid slightly ajar and simmer gently for 2 hours, stirring every 30 minutes, until beef is fork-tender.
- Remove pot from heat. Stir in the dark chocolate pieces until completely melted and incorporated, creating a glossy sauce.
- Taste and adjust salt if needed. Let the chili rest for 15 minutes before serving.
- Ladle into bowls and serve with desired toppings such as sour cream, cilantro, cheese, or avocado.
Notes
The chili tastes better the next day as flavors meld. If using a slow cooker, sear beef and sauté onions first, then cook on low for 8 hours, adding chocolate in the last 30 minutes. For a vegetarian version, substitute beef with mushrooms and walnuts. Ensure you use high-quality dark chocolate (70%+) rather than chocolate chips to avoid stabilizers affecting the texture.
- Prep Time: 10 minutes
- Cook Time: 2 hours 20 minutes
- Category: Main Course
- Cuisine: American
Nutrition
- Serving Size: 1 bowl
- Calories: 450
- Sugar: 6
- Sodium: 650
- Fat: 28
- Saturated Fat: 12
- Carbohydrates: 12
- Fiber: 4
- Protein: 35
Keywords: beef chili, dark chocolate chili, chipotle chili, chuck roast recipe, slow simmered chili, comfort food, award-winning recipe



