I’ll confess something that might shock my family: I used to dread the holidays. Not because of the chaos or the cleaning, but because of the desserts. You know the ones. The heavy, dense cakes that leave you feeling sluggish. The overly sweet tarts that taste like artificial flavoring. The “fancy” pies that look beautiful but taste like cardboard. I spent years trying to recreate the perfect holiday spread, only to end up with a kitchen full of mess and a guest list full of polite smiles.
Then came the year of the Great Pumpkin Disaster of 2019. I tried to make a traditional pumpkin pie for my in-laws. It cracked. It wept. It looked like a sad, orange puddle on my counter. My mother-in-law was gracious, but I could see the disappointment in her eyes. That night, I sat on my kitchen floor, eating cold pizza, and decided enough was enough. I didn’t want to make another dessert that required a water bath, a springform pan that leaks, or three hours of anxiety-inducing waiting.
I wanted something that tasted like autumn in a bite. Something that had the creamy richness of a classic New York cheesecake but the comforting spice of a pumpkin pie, all in a format that didn’t require a degree in pastry arts to slice cleanly. I wanted bars. Easy bars. Portable bars. Bars that I could make on Tuesday, bring to the Thanksgiving dinner on Thursday, and have everyone ask for the recipe before the plates were even cleared.
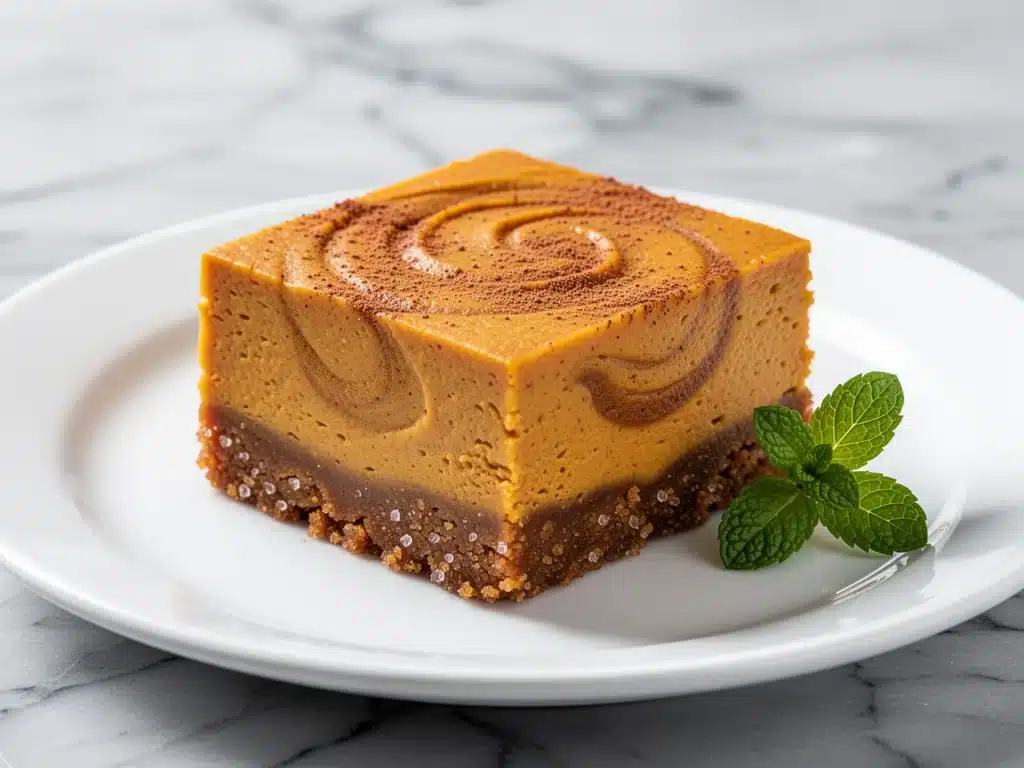
That experiment led to these pumpkin spice cheesecake bars with gingersnap crust. And let me tell you, they have saved my holiday sanity more times than I can count. They are my go-to when I need to impress without stressing. They are my answer to “what can I bring?” when I’m already cooking a turkey and three side dishes. They are creamy, spiced, crunchy, and absolutely addictive.
I’ve tested this recipe about a dozen times since that fateful pizza night. I’ve tweaked the spice ratios (too much cinnamon makes it taste like a candle, not a dessert). I’ve tested different crusts (graham cracker is fine, but gingersnap is superior). I’ve even tried making them gluten-free for my sister-in-law, and they still turned out incredible. This isn’t just a recipe; it’s my holiday peace treaty. And now, it’s yours.
Why You’ll Love This Pumpkin Spice Cheesecake Bars Recipe
There are a hundred reasons to add these bars to your baking rotation, but I’m going to give you the five that actually matter when you’re standing in front of a crowded oven at 6 PM.
Zero Water Bath Hassle — Seriously. Traditional cheesecakes require a water bath to prevent cracking. These bars? They’re dense enough to hold their structure without any of that foil-wrapping drama. You just mix, pour, and bake. It’s foolproof.
The Gingersnap Crust is a Game-Changer — Most pumpkin desserts use a standard graham cracker crust. It’s fine. But it’s boring. The gingersnap crust adds a spicy, molasses-rich crunch that cuts through the sweetness of the cheesecake. It’s the difference between a nice dinner and a memorable one. The ginger and pumpkin spices play together like best friends.
Make-Ahead Friendly — This is the most important feature for holiday cooking. These bars actually taste *better* after sitting in the fridge for 24 hours. The flavors meld and deepen. I make these on Wednesday for a Saturday party. They hold up perfectly in the fridge for up to five days. No dry edges, no sad texture.
Easy to Slice and Serve — Want to serve this at a potluck? No problem. They travel well. They don’t need a cake stand. You can cut them into squares, wrap them in plastic, and hand them out. Or serve them on a platter with a dusting of powdered sugar. They look elegant but are totally casual.
Uses Simple Ingredients — You probably have most of this in your pantry. Pumpkin puree (not pie filling!), cream cheese, sugar, eggs, and spices. If you have a box of gingersnap cookies, you’re halfway done. It’s budget-friendly and accessible.
This recipe is my secret weapon because it delivers high-end flavor with low-end effort. It’s the kind of dessert that makes people say, “Wait, you made this yourself?” Yes. Yes, I did. And it took me less time than it takes to order takeout.
Ingredients You’ll Need
Here’s the best part: you don’t need a trip to a specialty store for this. Just a quick run to the grocery store for a few fresh items. I’m particular about a couple of things here, so pay attention.
For the Gingersnap Crust:
Gingersnap cookies (3 cups / about 300g, crushed) — Don’t use ginger molasses cookies; they’re too soft. Traditional gingersnaps have that snap and spice we need. I usually buy a family-sized bag and crush them in a food processor. If you’re feeling lazy, put them in a ziplock bag and smash them with a rolling pin. It’s therapeutic.
Unsalted butter (6 tablespoons / 85g, melted) — This binds the crust. Use good quality butter here. I prefer European-style for richness, but regular salted butter works if you reduce the salt elsewhere. Melt it completely before mixing.
Granulated sugar (2 tablespoons / 25g) — Just a little to help the crust crisp up. Don’t skip it; it aids caramelization.
Pinch of salt — To balance the sweetness.
For the Pumpkin Cheesecake Filling:
Block-style cream cheese (24 ounces / 680g, softened) — This is non-negotiable. Do not use the tub “whipped” cream cheese. It has too much air and water. You need the dense, cold block. Let it sit on the counter for 30 minutes before you start. Cold cream cheese = lumpy batter = cracked bars.
Pumpkin puree (15 ounces / 425g, one can) — Make sure it says “100% pure pumpkin.” Do not use pumpkin pie filling, which is already sweetened and spiced. If you use pie filling, you’ll need to drastically reduce the sugar in this recipe. I make my own puree sometimes, but the canned stuff is consistent and easy.
Granulated sugar (1 ½ cups / 300g) — Yes, it’s a lot. But the spices and pumpkin need it. If you’re worried about sweetness, you can reduce to 1 cup, but the texture might suffer slightly.
Light brown sugar (½ cup / 100g, packed) — This adds moisture and a deeper molasses flavor that pairs perfectly with the gingersnap crust. It also helps keep the bars soft.
Large eggs (3 whole + 1 yolk) — Room temperature eggs are crucial. Cold eggs shock the cream cheese and create lumps. I take them out of the fridge while I prep the crust.
Heavy cream (2 tablespoons / 30ml) — Just a splash. It makes the filling extra silky and tender. You can use milk if you’re out of cream, but heavy cream is better for richness.
Pumpkin pie spice (2 teaspoons) — I buy it pre-mixed, but if you have the individual spices, use 1 tsp cinnamon, ½ tsp ginger, ¼ tsp nutmeg, and a pinch of cloves. The cloves are strong, so don’t overdo it.
Ground cinnamon (1 teaspoon) — For that warm, comforting base note.
Vanilla extract (1 teaspoon) — Pure vanilla, please. Imitation stuff tastes chemical in a delicate dessert like this.
Optional Topping:
Whipped cream — Homemade is best, but store-bought works in a pinch.
Crushed gingersnap cookies — For garnish and extra crunch.
Equipment Needed
You don’t need fancy gadgets for this. Here’s what I actually use in my home kitchen.
9×13 inch baking pan — This is the standard size for bars. Make sure it’s metal or dark non-stick; glass pans can cook unevenly. Line it with parchment paper leaving overhangs on the sides. This is the #1 tip for getting the bars out intact. I use two strips of parchment crossing like a crosshair.
Food processor or Ziplock bag + rolling pin — For crushing the cookies. A food processor takes 30 seconds. A rolling pin takes 5 minutes and gives you a workout. Both work.
Electric mixer — Hand mixer or stand mixer. You need to beat the cream cheese until it’s perfectly smooth. Doing this by hand is possible but tiring. I use my hand mixer because it’s faster to grab and clean.
Spatula — A sturdy silicone spatula for scraping the bowl. You want every bit of that creamy batter.
Measuring cups and spoons — Standard stuff. Dollar store versions work fine.
Cooling rack — Essential for cooling the bars completely before slicing. Cutting warm bars is a recipe for mush.
How to Make It: Step-by-Step
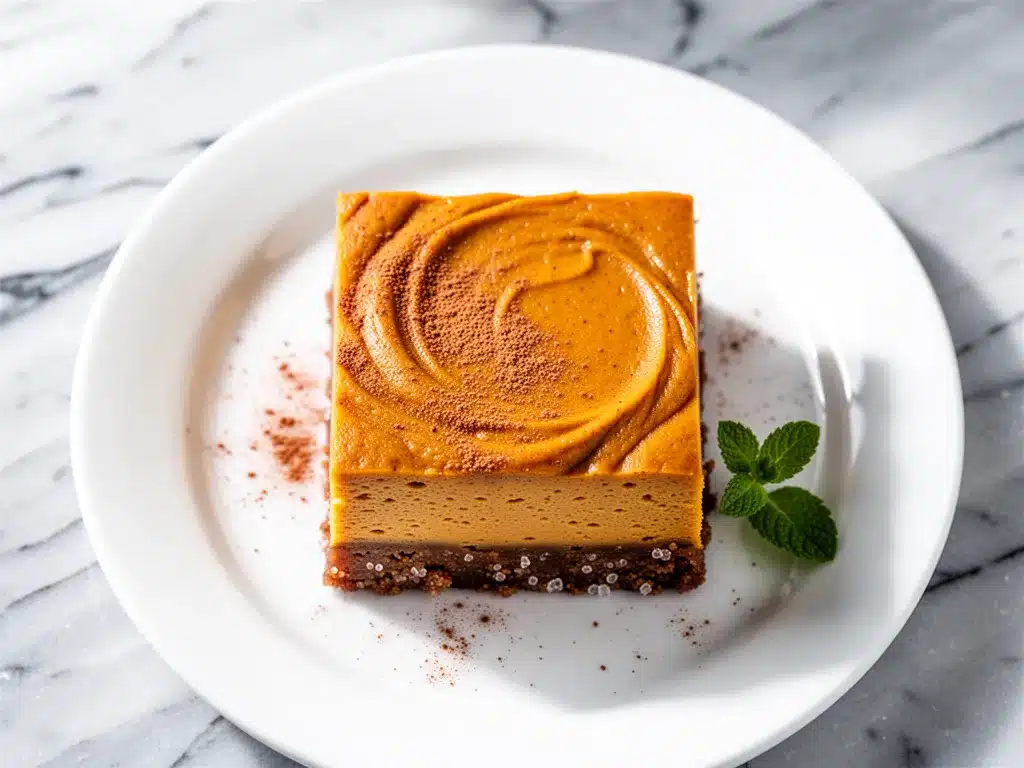
Alright, let’s get baking! I’m walking you through exactly how I do it, including the little tricks I’ve picked up over the years.
Step 1: Prep the Pan and Oven
Preheat your oven to 350°F (175°C). Line your 9×13 inch baking pan with parchment paper. Leave a generous overhang on the long sides—this is your handle for lifting the bars out later. Spray the parchment lightly with non-stick spray. It helps the crust stick to the paper.
Step 2: Make the Gingersnap Crust
Crush your gingersnap cookies into fine crumbs. You want them almost like sand, not chunky. If there are big pieces, your crust will be uneven. In a medium bowl, mix the crumbs with the melted butter, sugar, and salt. It should look like wet sand. Press this mixture firmly into the bottom of your prepared pan. Use the bottom of a measuring cup to pack it down tight. If the crust is loose, the bars will crumble when you cut them. Bake for 8-10 minutes until it smells fragrant. Let it cool while you make the filling.
Step 3: Beat the Cream Cheese
In a large bowl, beat the softened cream cheese with the electric mixer on medium-high speed for 2-3 minutes. You want it completely smooth and creamy. Scrape down the sides of the bowl. This step takes patience, but it prevents lumps in your final product. I usually do this while the crust is baking.
Step 4: Add Sugars and Spices
Reduce the mixer speed to medium. Add the granulated sugar and brown sugar. Beat until combined, about 1 minute. Add the pumpkin puree, pumpkin pie spice, cinnamon, and vanilla. Mix until just incorporated. Be careful not to overmix once you add the eggs, or you’ll incorporate too much air, which can cause cracking.
Step 5: Incorporate the Eggs
Add the eggs and egg yolk one at a time, mixing on low speed just until the yellow disappears. Do not overbeat. The batter should be thick, smooth, and glossy. Pour the batter over the cooled crust. Use your spatula to spread it evenly. Tap the pan gently on the counter a few times to release any air bubbles.
Step 6: Bake
Bake at 350°F for 35-40 minutes. The bars are done when the edges are set and slightly jiggly in the center, but not wobbly like jelly. They will firm up as they cool. Do not overbake, or they’ll become dry and crumbly.
Step 7: Cool Completely
Let the bars cool in the pan on a wire rack for 1 hour. Then, cover the pan with plastic wrap and refrigerate for at least 4 hours, preferably overnight. This chilling step is crucial for clean cuts. If you cut them warm, they’ll be a mess.
Step 8: Slice and Serve
Lift the bars out of the pan using the parchment overhang. Use a sharp knife to cut into squares. Wipe the knife clean between cuts for clean edges. Top with whipped cream and a sprinkle of crushed gingersnaps if you’re feeling fancy. Serve and enjoy.
Expert Tips & Tricks
Here’s everything I’ve learned from making these dozens of times. These tips will save you from my mistakes.
Room Temperature Everything
I can’t stress this enough. Cold cream cheese and cold eggs are the enemies of smooth cheesecake. If you forget to take the cream cheese out, microwave it for 15-second intervals until it’s soft but not melted. For eggs, drop them in a bowl of warm water for 5 minutes. It works.
Don’t Overmix the Batter
Once you add the eggs, mix on low speed just until combined. Overmixing incorporates air bubbles, which expand in the oven and then collapse, causing cracks. We want dense, creamy, not fluffy and airy.
The Parchment Paper Trick
Line your pan with two strips of parchment paper crossing in the middle. This creates a sling that lets you lift the entire block of bars out of the pan. Trying to cut and serve directly from the pan is stressful and messy. This trick makes cleanup and serving effortless.
Chill Before Cutting
I know it’s hard to wait. But if you cut these bars warm, they will smear. The fats need to solidify. I usually make them the night before. They taste better chilled anyway, as the spices settle.
Sharp Knife is Key
Use a sharp chef’s knife. Dull knives crush the bars instead of slicing them. Dip the knife in hot water and wipe it dry between cuts for the cleanest edges.
Variations & Substitutions
Once you’ve nailed the basic version, here’s how you can mix it up. I’ve tried all of these.
Gluten-Free Version
Use gluten-free gingersnap cookies (like Schär or King Arthur). The rest of the ingredients are naturally gluten-free. Make sure your pumpkin puree is certified GF if you have severe allergies, as some factories process wheat.
Dairy-Free Option
Replace cream cheese with a high-quality vegan block-style cream cheese (like Kite Hill or Miyoko’s). Use vegan butter for the crust. The texture will be slightly different but still delicious. My lactose-intolerant friend loves this version.
Maple Walnut Twist
Add ½ cup of chopped walnuts to the crust. It adds a nice crunch and earthiness. You can also swirl a little maple syrup into the batter before baking for a deeper flavor.
White Chocolate Swirl
Melt ½ cup of white chocolate chips with a teaspoon of coconut oil. Drizzle it over the pumpkin batter and swirl with a toothpick. It looks beautiful and adds a sweet contrast.
Mini Bars
This recipe doubles easily. You can make mini bars in a muffin tin for party appetizers or lunchbox treats. Reduce baking time to 15-18 minutes.
Serving & Storage
How to Serve:
I usually serve these straight from the fridge. They are best cold. Top with a dollop of whipped cream and a few crushed gingersnaps. They pair wonderfully with a hot cup of coffee or tea. If you’re hosting a dinner party, serve them alongside a soft batch snickerdoodle cookie platter for a cookie-and-bar combo that kids and adults both love.
Side Dishes:
These bars are rich, so they don’t need much else. But if you want to balance the sweetness, serve with a tart fruit compote, like spiced pear or cranberry sauce.
Storage Instructions:
Refrigerator: Store in an airtight container for up to 5 days. They actually improve in flavor after day 2. The spices continue to meld.
Freezing: Yes, you can freeze these! Wrap individual bars in plastic wrap, then place them in a freezer bag. They freeze well for up to 3 months. Thaw in the fridge overnight. Do not freeze the whole block; it’s hard to slice frozen bars.
Reheating: You don’t need to reheat these. They are best served chilled. If you prefer them slightly softer, let them sit on the counter for 10 minutes before eating.
Nutrition Information
I’m not a nutritionist, but here’s the breakdown if you’re tracking. Keep in mind, this is a rich dessert, so portion control is key.
Per Serving (based on 12 bars):
- Calories: 320
- Protein: 6g
- Carbs: 35g
- Fiber: 1g
- Sugar: 24g
- Fat: 18g
- Saturated Fat: 10g
- Cholesterol: 75mg
- Sodium: 180mg
What’s Good:
- Decent protein from the cream cheese and eggs.
- Calcium from the dairy.
- Pumpkin adds a bit of vitamin A.
What to Know:
- High in sugar and saturated fat due to cream cheese and butter.
- Contains dairy and gluten (unless modified).
- Calorie-dense, so a small square is satisfying.
My Take:
Look, this is a dessert. It’s meant to be indulgent. It’s not a health food. But it’s way better than store-bought bars because you control the ingredients. When I want to make it lighter, I use half-and-half instead of heavy cream and reduce the sugar slightly. But usually? I just eat one square and enjoy it guilt-free.
Final Thoughts
So that’s my go-to pumpkin spice cheesecake bars! I’ve probably talked your ear off at this point, but when you make a recipe this often, you have a lot to say about it. These bars have saved my holiday dinners more times than I can count. They are my answer to “what dessert can I bring that’s easy but impressive?”
They’ve turned me from a holiday stress-case into a confident host. My family asks for them every year. My friends steal the recipe. And I’m happy because I’m not stressed about cooking.
Make it yours! Try different toppings, swap in different spices, or add a caramel drizzle. The best recipes are the ones you adapt to your family’s tastes. If you make this, drop a comment and let me know what you think! I love hearing how recipes turn out in your kitchen. And if something doesn’t work, tell me that too—I’m here to help troubleshoot.
Happy baking! And I hope your kitchen smells half as good as mine does right now.
Frequently Asked Questions
Q: Can I use canned pumpkin pie filling instead of pure pumpkin?
A: You can, but you’ll need to adjust the sugar. Pumpkin pie filling already has sugar and spices in it. I recommend reducing the granulated sugar in this recipe by half and omitting the pumpkin pie spice if you use pie filling. However, pure pumpkin gives you better control over the flavor, so I strongly recommend sticking to puree.
Q: Why did my cheesecake bars crack on top?
A: Cracking usually happens from overmixing (too much air) or overbaking (too much heat). Make sure you mix the eggs on low speed and don’t overbeat. Also, check your oven temperature; if it’s too hot, the bars will rise too quickly and crack. They should be set but slightly jiggly in the center when you take them out.
Q: Can I make these bars ahead of time?
A: Absolutely! This is one of their best features. Make them up to 3 days ahead and store them in the fridge. They actually taste better after sitting for a day or two as the flavors meld. You can also freeze them for up to 3 months.
Q: How do I get clean cuts?
A: Chill the bars completely (at least 4 hours, preferably overnight). Use a sharp knife. Wipe the knife clean between cuts. For extra clean cuts, dip the knife in hot water and dry it before each slice. The heat helps the knife glide through the cold cheesecake.
Q: Can I make this in a springform pan instead?
A: Yes, you can. Use a 9-inch springform pan. The baking time might be slightly longer, around 45-50 minutes. Just be careful when removing the ring; if the bars aren’t fully set, they might stick. Parchment paper is essential here too.
Q: What if I don’t have gingersnap cookies?
A: You can use graham crackers, but the flavor will be different. Graham cracker crust is milder and sweeter. If you use graham crackers, add 1 teaspoon of cinnamon and a pinch of ginger to the crust to mimic the gingersnap flavor. But honestly, gingersnaps are worth the search.
Q: Can I double this recipe?
A: Yes, you can double it and bake in two 9×13 pans, or use a 9×13 and a smaller pan for extra bars. Just watch the baking time closely; smaller batches cook faster. I usually make a double batch for large holiday parties.
Pin This Recipe!
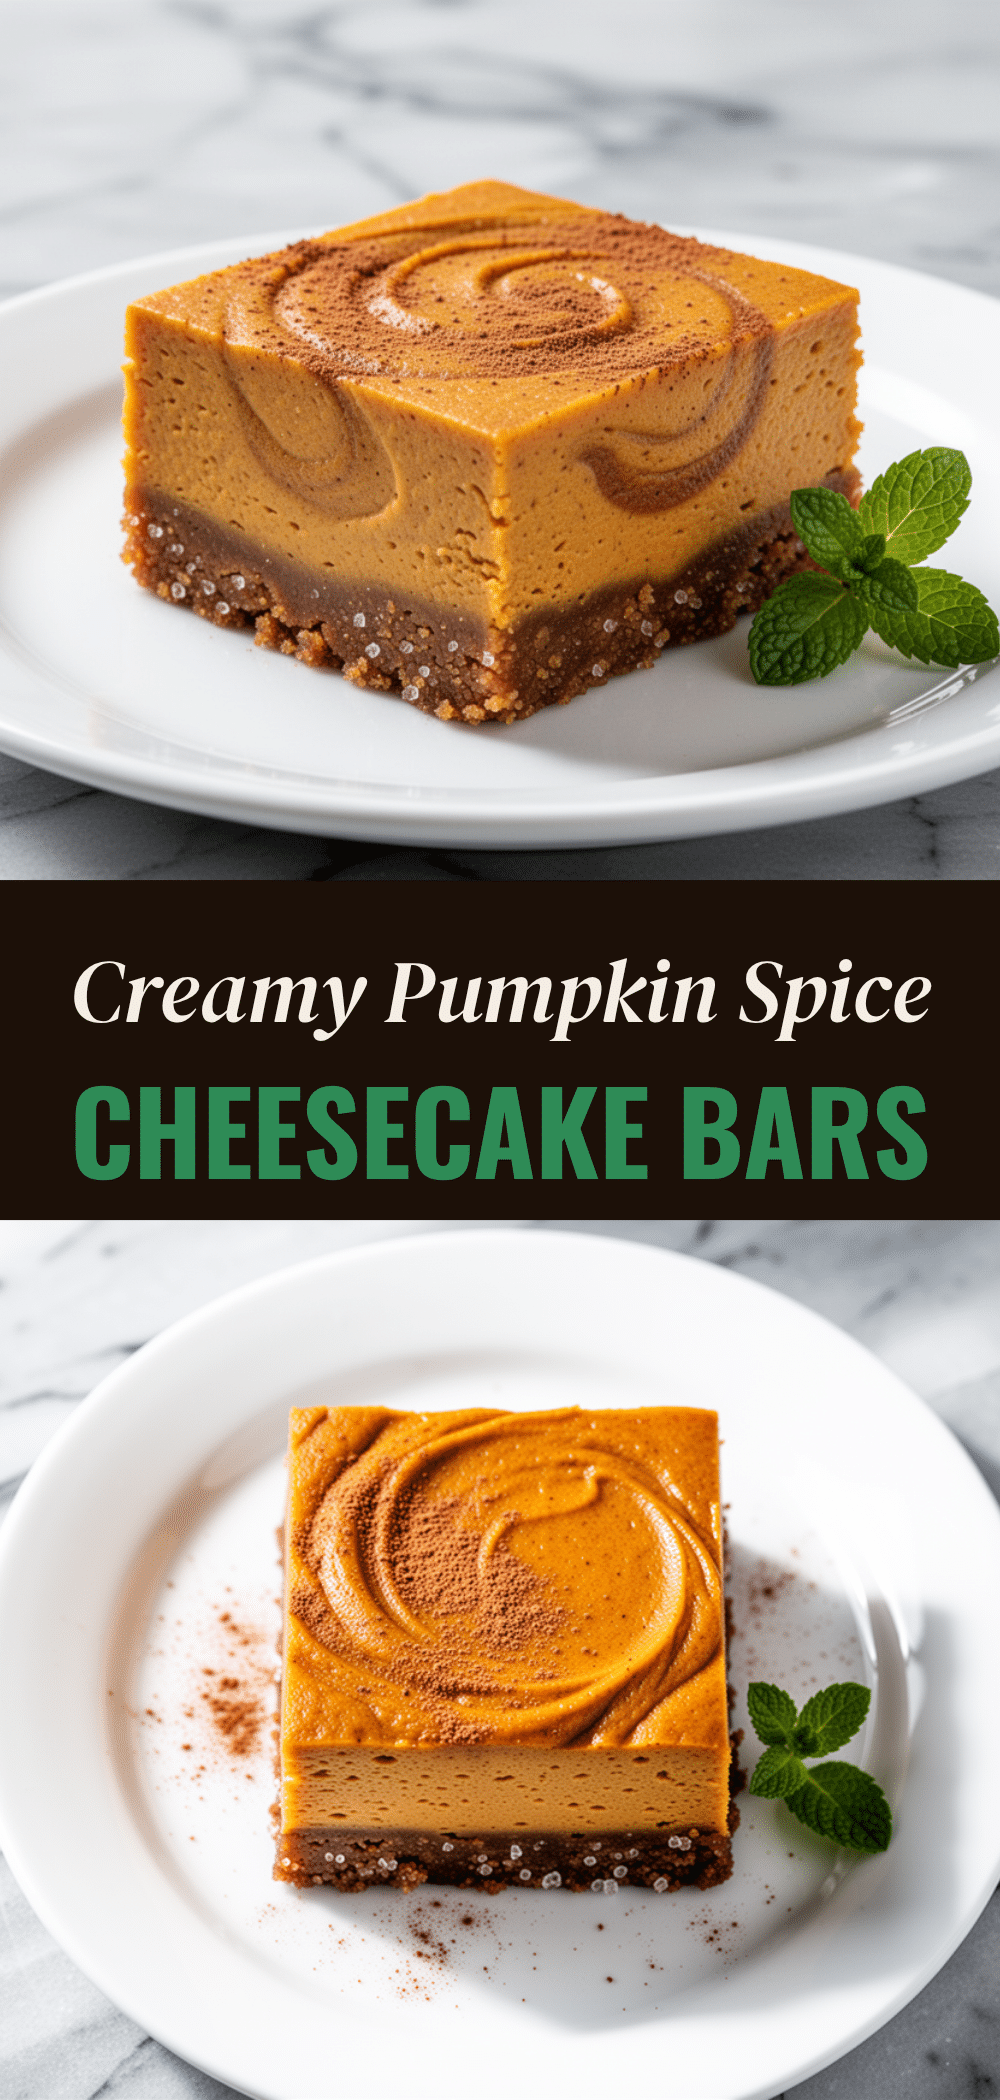
Pumpkin Spice Cheesecake Bars with Gingersnap Crust
- Total Time: 60 minutes
- Yield: 12 servings 1x
Description
Creamy, spiced pumpkin cheesecake bars with a crunchy gingersnap crust. These easy-to-make bars require no water bath, are make-ahead friendly, and deliver high-end holiday flavor with low effort.
Ingredients
- For the Gingersnap Crust:
- 3 cups (about 300g) gingersnap cookies, crushed
- 6 tablespoons (85g) unsalted butter, melted
- 2 tablespoons (25g) granulated sugar
- Pinch of salt
- For the Pumpkin Cheesecake Filling:
- 24 ounces (680g) block-style cream cheese, softened
- 15 ounces (425g) 100% pure pumpkin puree
- 1 ½ cups (300g) granulated sugar
- ½ cup (100g) light brown sugar, packed
- 3 large eggs + 1 egg yolk, room temperature
- 2 tablespoons (30ml) heavy cream
- 2 teaspoons pumpkin pie spice
- 1 teaspoon ground cinnamon
- 1 teaspoon vanilla extract
- Optional Topping:
- Whipped cream
- Crushed gingersnap cookies
Instructions
- Preheat oven to 350°F (175°C). Line a 9×13 inch baking pan with parchment paper, leaving overhangs on the long sides, and spray lightly with non-stick spray.
- Crush gingersnap cookies into fine crumbs. In a medium bowl, mix crumbs with melted butter, sugar, and salt until it resembles wet sand. Press firmly into the bottom of the prepared pan. Bake for 8-10 minutes until fragrant, then let cool.
- In a large bowl, beat softened cream cheese with an electric mixer on medium-high speed for 2-3 minutes until completely smooth. Scrape down the sides of the bowl.
- Reduce mixer speed to medium. Add granulated sugar and brown sugar; beat until combined (about 1 minute). Add pumpkin puree, pumpkin pie spice, cinnamon, and vanilla; mix until just incorporated.
- Add eggs and egg yolk one at a time, mixing on low speed just until the yellow disappears. Do not overmix. Pour batter over the cooled crust and spread evenly. Tap the pan gently to release air bubbles.
- Bake at 350°F for 35-40 minutes. The edges should be set and the center slightly jiggly but not wobbly.
- Let bars cool in the pan on a wire rack for 1 hour. Cover and refrigerate for at least 4 hours, preferably overnight, to set.
- Lift bars out using parchment overhang. Use a sharp knife to cut into squares, wiping the knife between cuts. Top with whipped cream and crushed gingersnaps if desired.
Notes
Ensure all ingredients, especially cream cheese and eggs, are at room temperature to prevent lumps and cracking. Do not overmix the batter after adding eggs to avoid incorporating too much air. For clean cuts, chill the bars completely and use a sharp knife dipped in hot water between slices. The bars taste better after sitting in the fridge for 24 hours as flavors meld.
- Prep Time: 20 minutes
- Cook Time: 40 minutes
- Category: Dessert
- Cuisine: American
Nutrition
- Serving Size: 1 bar
- Calories: 320
- Sugar: 24
- Sodium: 180
- Fat: 18
- Saturated Fat: 10
- Carbohydrates: 35
- Fiber: 1
- Protein: 6
Keywords: pumpkin spice cheesecake bars, gingersnap crust, holiday dessert, make-ahead dessert, easy pumpkin recipe, fall baking, no water bath cheesecake



