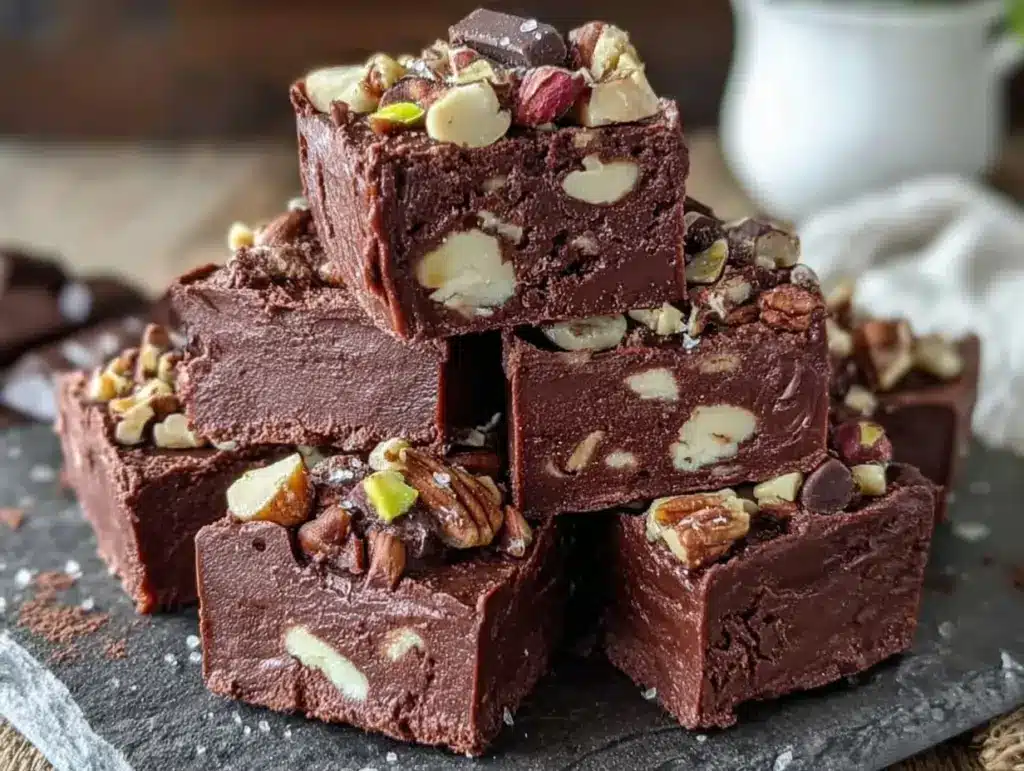
Last Tuesday, I was staring into the back of our pantry at 6:45 PM, trying to figure out how to keep my kids from raiding the cereal box while I finished up dinner prep. We had just come back from soccer practice, everyone was hangry, and the grocery store was still an hour away. I needed something sweet, something fast, and—crucially—something that wouldn’t spike my blood sugar and send me into a 3 PM coma later.
I found myself craving that specific chocolate-peanut butter combo that feels like a cheat day but is actually just… fat bombs. You know the type. I’d tried buying keto-friendly snacks from the store before, and let me tell you, they are expensive. Like, “half a bag costs more than a sandwich” expensive. So, I decided to make my own batch of keto chocolate peanut butter fat bombs. It took me about 15 minutes, used ingredients I already had, and saved me at least $15 compared to store-bought options.
My kids didn’t even know they were eating a “diet” snack. They just thought I’d pulled chocolate peanut butter cups out of thin air. That’s when I knew I had struck gold. These keto chocolate peanut butter fat bombs have become my secret weapon for busy weeknights. They’re sweet, they’re rich, and they keep the hunger pangs away without the guilt or the grocery bill. I’ve made them for soccer practice snacks, for after-school treats, and even as a quick dessert when I need to hide extra healthy fats in my husband’s diet.
If you’re tired of spending a fortune on specialty keto snacks or constantly fighting sugar cravings, you need to try this. It’s basically chocolate peanut butter cups in bite-sized form, but easier to prep and way cheaper. Let me show you how to make a big batch in under 20 minutes.
Why You’ll Love This Keto Chocolate Peanut Butter Fat Bombs Recipe
I’ve been making these little bites for months now, and they’ve completely changed how I handle afternoon slumps and evening cravings. Here’s why they’ve earned a permanent spot in my freezer:
Stupid Simple — Seriously, if you can melt chocolate chips and mix peanut butter, you can make this. I’ve had my 8-year-old help me stir the mixture, and he did a great job. No baking, no complicated techniques, just mixing and freezing.
Super Fast — From start to finish, it’s about 15 minutes of active time. The rest is just freezing. I can make these while the pasta boils or while I’m folding laundry. It’s the ultimate multitasker.
Budget-Friendly — Store-bought keto treats are pricey. Making these at home costs pennies per bite. I use basic ingredients like butter, coconut oil, and standard peanut butter. It’s a fraction of the cost of buying those fancy chocolate-covered snacks.
Meal Prep Magic — I make a big batch on Sunday, store them in the freezer, and grab a few each week. They’re perfect for packing in lunchboxes or keeping in the car for road trips. No more digging through the junk drawer for expired granola bars.
Kid-Approved — My kids think these are just “chocolate balls.” They don’t care that they’re low-carb or high-fat. They just love the taste. And as a parent, that’s the win. If they’re eating something sweet that keeps them full and doesn’t ruin their dinner appetite, I’m happy.
This is my go-to when I need a sweet treat that actually works with my keto lifestyle and my busy schedule. No stress, no mess, just delicious, satisfying bites.
Ingredients You’ll Need for Keto Chocolate Peanut Butter Fat Bombs
Here’s the best part: you probably have most of these ingredients already. I’m not asking you to buy anything exotic or hard to find. This recipe relies on pantry staples that are cheap and easy to swap.
For the Peanut Butter Center
Unsalted Butter (½ cup / 113g) — Softened to room temperature. This adds richness and helps bind the mixture. I use regular unsalted butter because it’s cheap and reliable. Salted works too, just reduce any added salt later.
Creamy Peanut Butter (½ cup / 130g) — Use natural or regular peanut butter. Avoid “no-stir” varieties with hydrogenated oils if possible, as they can make the texture grainy. I keep a jar of Jif or Skippy on hand because my kids recognize the taste, but pure natural peanut butter works great too. Just make sure it’s not separated if you’re using natural.
Heavy Cream (2 tablespoons / 30ml) — This keeps the center soft and creamy so it doesn’t freeze into a rock. Don’t skip this! It’s the secret to that nice, biteable texture.
Vanilla Extract (1 teaspoon) — Just a splash to round out the flavor. I use pure vanilla, not imitation, because it smells amazing.
Low-Carb Sweetener (½ cup / 100g) — I use erythritol or a monk fruit blend. Swerve is my go-to because it measures like sugar and doesn’t have that weird aftertaste some sweeteners have. Powdered sweetener works best here so you don’t get crunchy bits.
For the Chocolate Coating
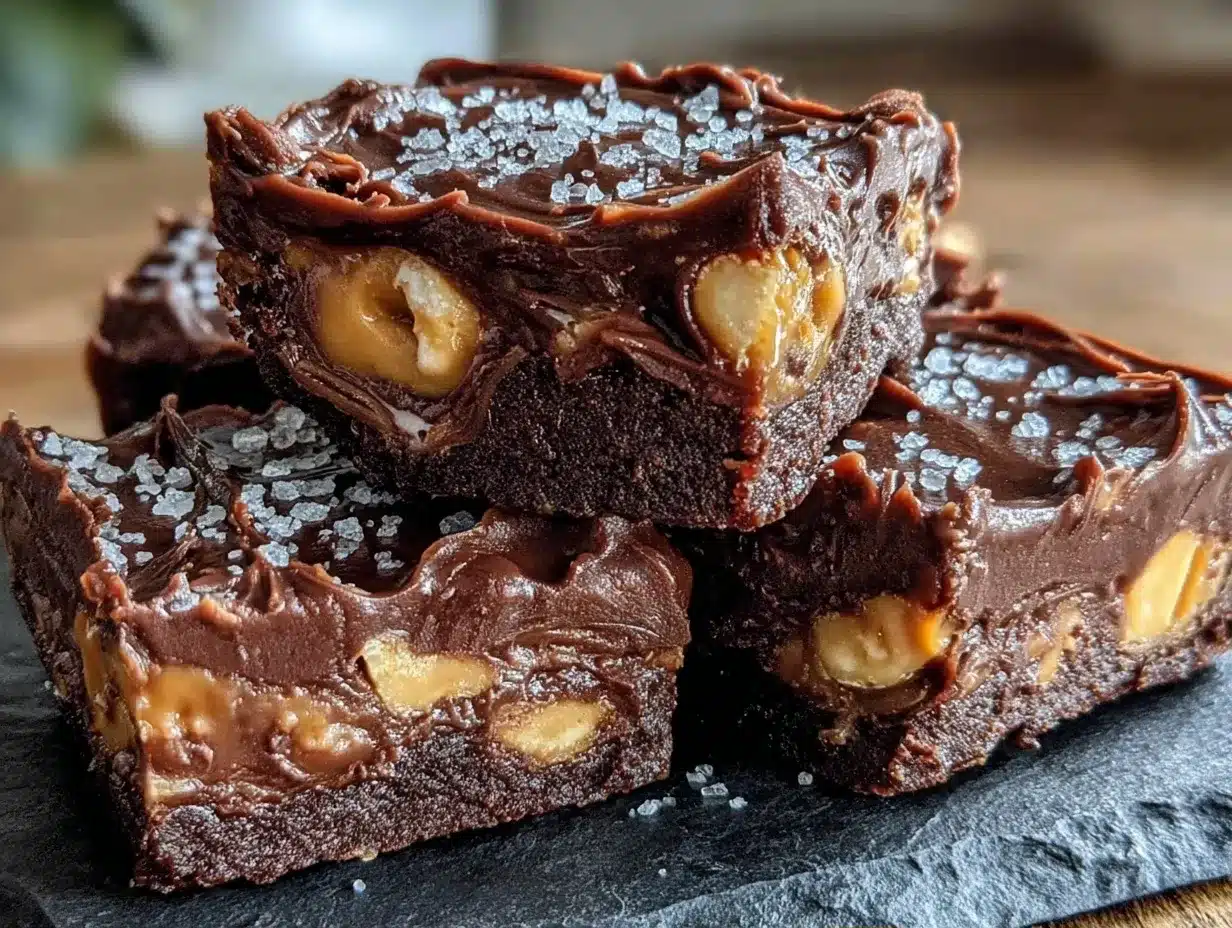
Dark Chocolate Chips (1 cup / 170g) — Look for 85% or higher cocoa, or any keto-friendly chocolate chips. Lindt makes a 90% bar that I chop up, or I use sugar-free chips like Lily’s. They melt smoothly and give that nice snap.
Coconut Oil (1 tablespoon / 15ml) — This helps the chocolate stay shiny and prevents it from cracking when you bite into it. It also makes it easier to dip. Use refined coconut oil if you don’t want a coconut flavor.
Optional Mix-Ins
Crushed Peanuts (¼ cup) — For extra crunch. I crush them with a rolling pin inside a bag. Adds a nice texture contrast.
Sea Salt Flakes — A tiny pinch on top before the chocolate sets. Sweet and salty is just better. Always.
Equipment Needed
You don’t need fancy gadgets for this. Here’s what I actually use:
Microwave-Safe Bowl — For melting the chocolate. Glass or ceramic works best. I use a large microwave-safe bowl because it’s easier to stir.
Small Mixing Bowl — For mixing the peanut butter center. Any medium-sized bowl works.
Silicone Molds — I use silicone candy molds or even mini muffin liners. Silicone is best because the fat bombs pop out easily. If you don’t have molds, you can roll them into balls and place them on parchment paper.
Freezer-Safe Container — An airtight container or zip-top bag to store the finished fat bombs. I use a plastic container so they don’t get squished.
Spatula — A small silicone spatula for stirring the mixture and scraping the bowl. Essential for getting every bit of chocolate.
Parchment Paper — If you’re rolling balls instead of using molds, parchment paper keeps things clean and prevents sticking.
How to Make It: Step-by-Step
Alright, let’s make these! I’m walking you through exactly how I do it, including the little tricks I’ve picked up to avoid common mistakes.
Step 1: Prep Your Workspace (2 minutes)
Before you start, make sure your silicone molds are clean and dry. If you’re using muffin liners, place them in a muffin tin. Set out your ingredients. I like to soften my butter in the microwave for 10 seconds just to make it easier to mix. Have your freezer ready to go.
Step 2: Make the Peanut Butter Center (5 minutes)
In a small mixing bowl, combine the softened butter, creamy peanut butter, heavy cream, vanilla extract, and powdered sweetener. Whisk everything together until it’s smooth and creamy. If the mixture looks too dry, add another teaspoon of heavy cream. If it’s too wet, add a little more powdered sweetener. You want a thick, spreadable consistency, like peanut butter frosting.
Step 3: Fill the Molds (5 minutes)
Using a small spoon or a piping bag, fill each silicone mold or muffin liner about halfway with the peanut butter mixture. Smooth the tops with the back of the spoon. Don’t fill them to the brim yet—we’ll add more chocolate later. Place the tray in the freezer for 10 minutes to firm up the center. This step is crucial; if the center is soft, it will mix with the chocolate and get messy.
Step 4: Melt the Chocolate (3 minutes)
While the centers are freezing, melt the dark chocolate chips and coconut oil in a microwave-safe bowl. Heat in 30-second intervals, stirring between each. Be careful not to overheat—chocolate burns easily. Stop stirring when there are still a few small lumps; the residual heat will melt them. You want a smooth, glossy mixture.
Step 5: Coat the Centers (5 minutes)
Remove the molds from the freezer. The peanut butter centers should be firm. Spoon or pipe the melted chocolate over the centers, covering them completely. Use the back of the spoon to smooth the top. If you’re using molds, you can also dip the tops of the centers into the chocolate. Sprinkle with sea salt flakes if you’re using them.
Step 6: Freeze Until Set (15-20 minutes)
Place the tray back in the freezer for at least 15-20 minutes, or until the chocolate is completely hard. You’ll know they’re ready when you can gently tap them and they make a slight clicking sound.
Step 7: Store and Serve
Pop the fat bombs out of the molds (or just lift them out of the liners). Store them in an airtight container in the freezer. They’ll keep for up to 3 months. Grab a few when you need a sweet fix.
Expert Tips & Tricks
Here’s everything I’ve learned from making these dozens of times. These tips will save you from my mistakes.
Don’t Overheat the Chocolate
Chocolate is sensitive. If you heat it too much, it seizes up and becomes grainy. Always use low power in the microwave and stir frequently. If it looks oily, it’s too hot. Let it cool for a minute before dipping.
Keep the Center Soft
The heavy cream is the key to texture. Without it, the peanut butter center will freeze hard as a rock. You want it to be soft enough to bite through, not crack your teeth. Don’t skip the cream.
Use Powdered Sweetener
Granulated sweeteners can leave a gritty texture in the chocolate coating. Powdered (confectioners-style) sweetener melts better and gives a smoother finish. If you only have granulated, pulse it in a blender for a few seconds.
Double the Batch
I always double this recipe. They go fast in our house, and it’s easier to make a big batch than to do it twice. Just use a larger mixing bowl and maybe two trays for freezing.
Storage Tip
Keep them in the freezer, not the fridge. The fridge can make the chocolate sweat and become dull. The freezer keeps them crisp and fresh.
Variations & Substitutions
Once you’ve nailed the basic version, here’s how you can mix it up. I’ve tried all of these.
Almond Butter Version
Swap peanut butter for almond butter. It’s a bit drier, so add an extra tablespoon of heavy cream. Still delicious and a nice change of pace.
Coconut Cream Center
For a dairy-free option, use coconut cream instead of heavy cream and coconut butter instead of peanut butter. It’s richer and has a tropical vibe.
Stuffed with Marshmallows
Add a mini marshmallow to the center before adding the chocolate. It’s like a keto s’more! Just be careful not to make the center too big.
Gluten-Free & Vegan
Use vegan chocolate chips and coconut oil instead of butter. The heavy cream can be swapped with coconut cream. Everything else is naturally vegan-friendly.
Protein-Packed
Add a scoop of unflavored protein powder to the peanut butter mixture. It might make it thicker, so add a bit more cream. Great for post-workout snacks.
Serving & Storage
How to Serve:
I usually serve these straight from the freezer. They’re best when they’re still a bit cold and firm. I keep a container in the freezer door for easy access. My kids love grabbing one after school.
Side Dishes:
Pair with a cup of hot coffee or tea. The bitterness of the coffee balances the sweetness of the fat bomb perfectly. It’s a classic combo.
Storage Instructions:
Store in an airtight container in the freezer for up to 3 months. If you don’t have freezer space, you can keep them in the fridge for up to 2 weeks, but they’ll be softer.
Reheating:
No need to reheat! Eat them straight from the freezer. If they get too hard, let them sit on the counter for 5 minutes.
Pro Tip:
If you’re meal prepping, label the container with the date. They taste best within the first month, but they’ll last longer. Just make sure the container is sealed well to prevent freezer burn.
Nutrition Information
I’m not a nutritionist, but here’s the breakdown if you’re tracking. These are estimates based on 12 fat bombs.
Per Serving (1 fat bomb):
- Calories: 150
- Protein: 3g
- Carbs: 2g (1g fiber, 1g net carbs)
- Fat: 14g
- Sugar: 1g
What’s Good:
High in healthy fats from peanut butter and coconut oil. Low in carbs, making it keto-friendly. Good source of vitamin E from peanuts.
What to Know:
Calorie-dense, so stick to 1-2 per serving. Contains nuts, so not suitable for nut allergies.
My Take:
Look, these are a treat. They’re sweet and rich. But they’re also functional, giving you energy without the sugar crash. I eat them when I need a quick boost, and I’m happy with the macros.
Final Thoughts
So that’s my go-to keto chocolate peanut butter fat bombs! I’ve probably talked your ear off at this point, but when you make a recipe this often, you have a lot to say about it.
This has saved weeknight snacks more times than I can count. It’s my answer to “what’s for dessert” when I’m tired, don’t want to cook, and still want something that tastes really good. My kids are happy, my husband’s happy, and I’m happy because I’m not spending a fortune on store-bought snacks.
Make it yours! Try different mix-ins, swap in your favorite nut butter, or add a pinch of cinnamon. The best recipes are the ones you adapt to your family’s tastes.
If you make this, drop a comment and let me know what you think! I love hearing how recipes turn out in your kitchen. And if something doesn’t work, tell me that too—I’m here to help troubleshoot.
Happy cooking! And I hope your kitchen smells half as good as mine does right now.
Frequently Asked Questions
Can I use natural peanut butter?
Yes, but make sure it’s well-stirred and not too oily. Natural peanut butter can separate, so mix it thoroughly before using. If it’s too runny, add a bit more powdered sweetener or freeze the centers longer.
Why did my chocolate crack?
This usually happens if the chocolate was too hot when you dipped the centers, or if the centers were too cold. Let the chocolate cool slightly before dipping, and make sure the centers are firm but not freezing cold.
Can I make these ahead for a party?
Absolutely! Make them up to 3 months ahead and store in the freezer. Just take them out 10 minutes before serving so they’re easy to eat. They’re perfect for potlucks because they’re individual and mess-free.
Why did my sauce get grainy?
Wait, this is a fat bomb recipe, not a sauce! But if your chocolate turned grainy, it’s likely because it was overheated or water got into it. Always keep your bowls and utensils completely dry.
Can I use milk chocolate?
You can, but it will have more carbs and sugar. For keto, stick to dark chocolate (70% or higher) or sugar-free chocolate chips. Milk chocolate won’t fit the low-carb profile.
How do I reheat leftovers?
Don’t reheat! Eat them straight from the freezer. If they’re too hard, let them sit on the counter for 5 minutes. Heating them will melt the chocolate and make them messy.
Can I double this recipe?
Yes! Just use a larger mixing bowl and maybe two trays for freezing. The process is the same, just scale up the ingredients.
Pin This Recipe!
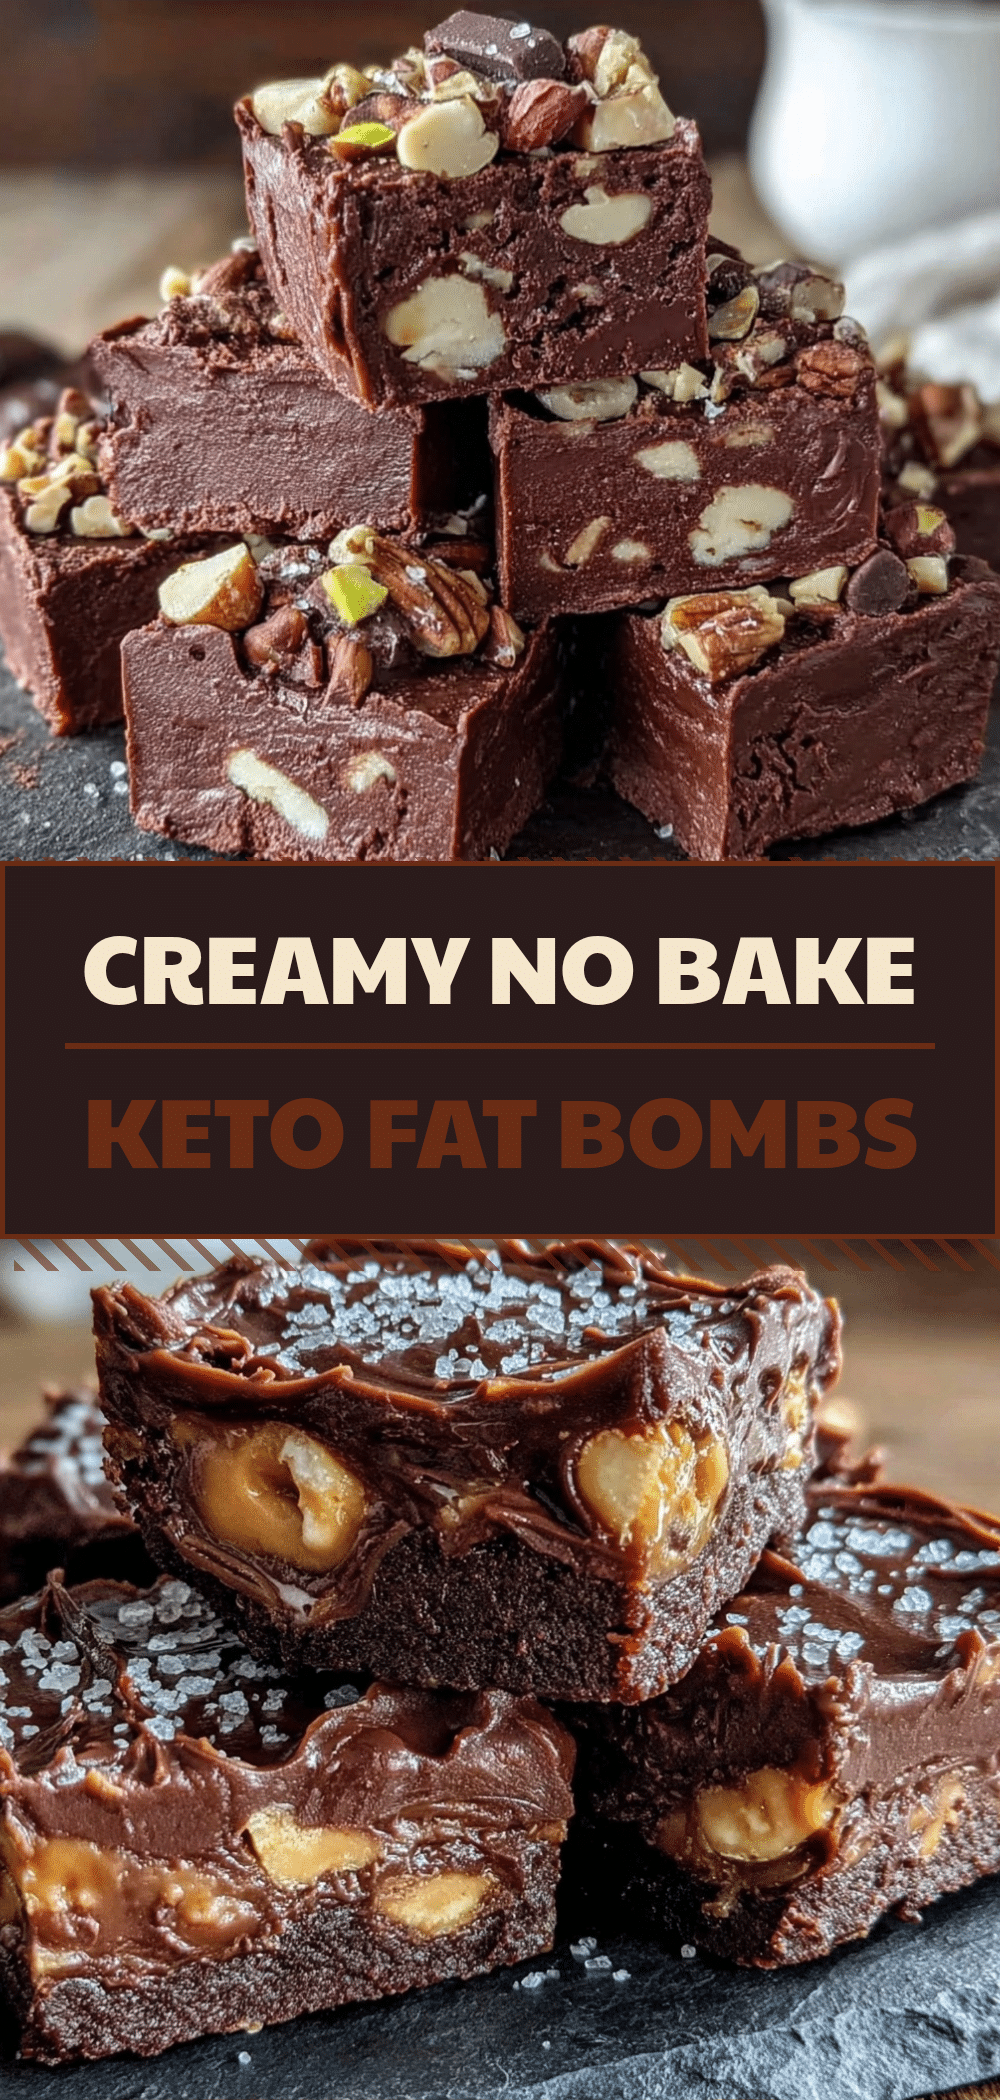
Keto Chocolate Peanut Butter Fat Bombs: 5-Ingredient Meal Prep
- Total Time: 35 minutes
- Yield: 12 servings 1x
Description
These keto chocolate peanut butter fat bombs are a quick, budget-friendly, and kid-approved low-carb snack that requires only 15 minutes of active prep time. They serve as a perfect sweet treat for meal prep, keeping hunger pangs away without spiking blood sugar.
Ingredients
- 1/2 cup unsalted butter (softened)
- 1/2 cup creamy peanut butter
- 2 tablespoons heavy cream
- 1 teaspoon vanilla extract
- 1/2 cup powdered low-carb sweetener (e.g., erythritol or monk fruit blend)
- 1 cup dark chocolate chips (85% cocoa or sugar-free)
- 1 tablespoon coconut oil
- 1/4 cup crushed peanuts (optional)
- Sea salt flakes (optional)
Instructions
- Prep workspace: Ensure silicone molds are clean and dry. Soften butter if needed.
- Make the center: In a small mixing bowl, whisk together softened butter, peanut butter, heavy cream, vanilla extract, and powdered sweetener until smooth and creamy.
- Fill molds: Spoon the peanut butter mixture into silicone molds or muffin liners, filling them halfway. Smooth the tops.
- Freeze center: Place the tray in the freezer for 10 minutes to firm up the peanut butter centers.
- Melt chocolate: While centers freeze, melt dark chocolate chips and coconut oil in a microwave-safe bowl in 30-second intervals, stirring between each, until smooth.
- Coat centers: Remove molds from freezer. Spoon melted chocolate over the firm centers to cover completely. Sprinkle with sea salt flakes if desired.
- Freeze until set: Return to freezer for 15-20 minutes until the chocolate is hard.
- Store: Pop fat bombs out of molds and store in an airtight container in the freezer for up to 3 months.
Notes
Use powdered sweetener to avoid grittiness. Do not overheat chocolate or it will seize. Keep centers soft with heavy cream. Store in freezer, not fridge, to prevent sweating. Can be made dairy-free by swapping butter/cream for coconut alternatives.
- Prep Time: 15 minutes
- Cook Time: 0 minutes
- Category: Dessert
- Cuisine: American
Nutrition
- Serving Size: 1 fat bomb
- Calories: 150
- Sugar: 1
- Sodium: 10
- Fat: 14
- Saturated Fat: 7
- Carbohydrates: 2
- Fiber: 1
- Protein: 3
Keywords: keto, low carb, fat bombs, peanut butter, chocolate, meal prep, sugar-free, gluten-free, vegan option, snack



