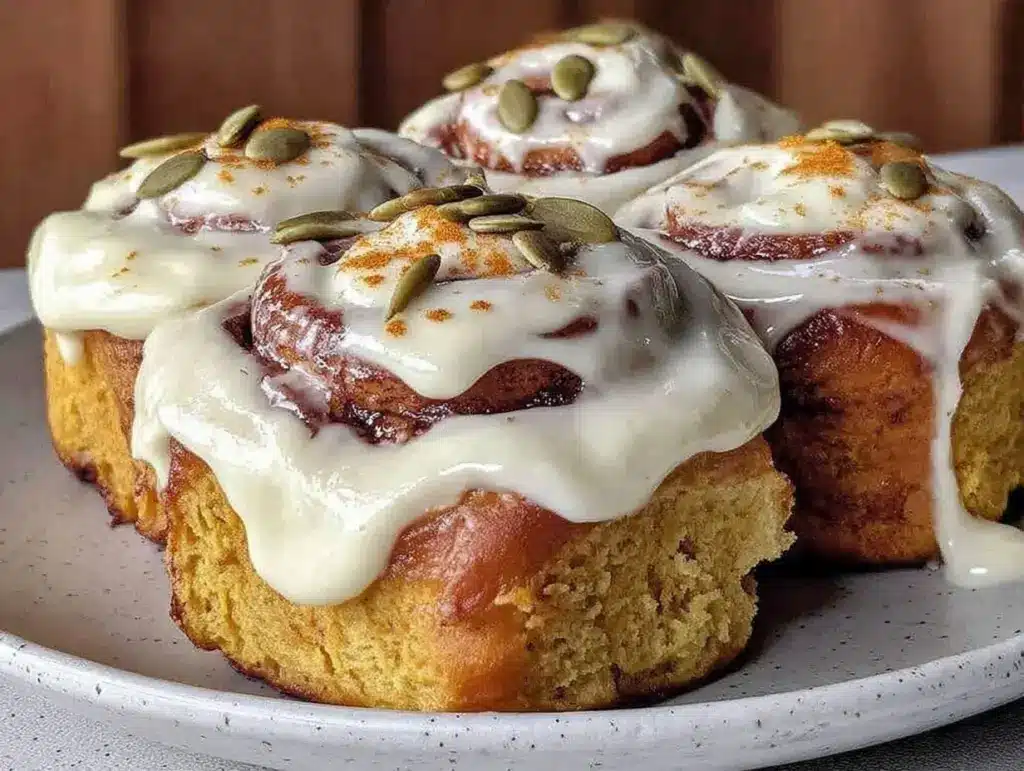
There is a very specific smell that hits your nose at 7 AM on a Saturday morning, and it usually means one of two things: either the neighbors are burning their toast, or I have successfully pulled a batch of pumpkin cinnamon rolls out of the oven. For the last three years, this has been my go-to “I need to feel like a good parent” move. It’s not just because they taste incredible (though they definitely do). It’s because for once, the house smells amazing, the kids are actually waking up voluntarily, and I didn’t have to spend a fortune at the bakery to make it happen.
I remember the first time I tried making pumpkin cinnamon rolls from scratch. I was stressed, running late for soccer practice, and convinced I’d fail. I ended up with a pan of dough that was too dense and a glaze that was too thin. But I kept at it. I tweaked the spice blend, figured out the perfect yeast ratio, and finally nailed a recipe that is soft, pillowy, and packed with real fall flavor without breaking the bank. These rolls are now a staple in our house. They’re budget-friendly, using ingredients you probably already have in your pantry, and they freeze beautifully for those mornings when you just need a win.
If you’ve been looking for a way to bring that cozy autumn vibe into your kitchen without the stress, you’re in the right place. This isn’t about fancy techniques or expensive ingredients. It’s about simple, comforting food that makes your whole family crave more. And honestly? The leftovers are just as good cold for breakfast the next day.
Why You’ll Love This Pumpkin Cinnamon Roll Recipe
Let’s be real for a second. Baking can be intimidating. But this recipe is designed for real life. It’s forgiving, it’s affordable, and it delivers maximum flavor with minimal fuss. Here’s why these rolls have earned a permanent spot in our weekly rotation:
They’re Stupidly Soft — Seriously. I’ve tested this dough with bread flour, all-purpose, and even some whole wheat blends. The sweet spot is all-purpose flour with a touch of pumpkin puree. The puree keeps the crumb incredibly moist, so these rolls don’t dry out by Tuesday. My kids fight over the last one, and I let them. It’s worth the chaos.
Pantry-Friendly Ingredients — You don’t need to go out and buy exotic spices. You likely have cinnamon, nutmeg, cloves, and pumpkin puree (canned works perfectly fine) already. I keep a can of pumpkin on hand specifically for this, along with other holiday baking projects. It’s one of those versatile staples that saves me from impulse grocery runs.
Budget-Friendly for Big Families — Feeding four or five people breakfast or brunch can get expensive fast. But this recipe makes 12 generous rolls for under $10 (depending on your local prices). That’s way cheaper than grabbing donuts or pastries at the coffee shop, and you know exactly what’s in them. No mystery fats or weird preservatives.
Freezer-Friendly — This is the game-changer for me. I often double the batch. I bake half, let them cool, and freeze the rest. On busy weekdays, I pop two or three in the microwave with a splash of milk to rehydrate them, and they taste fresh-baked. It’s my secret weapon for busy mornings.
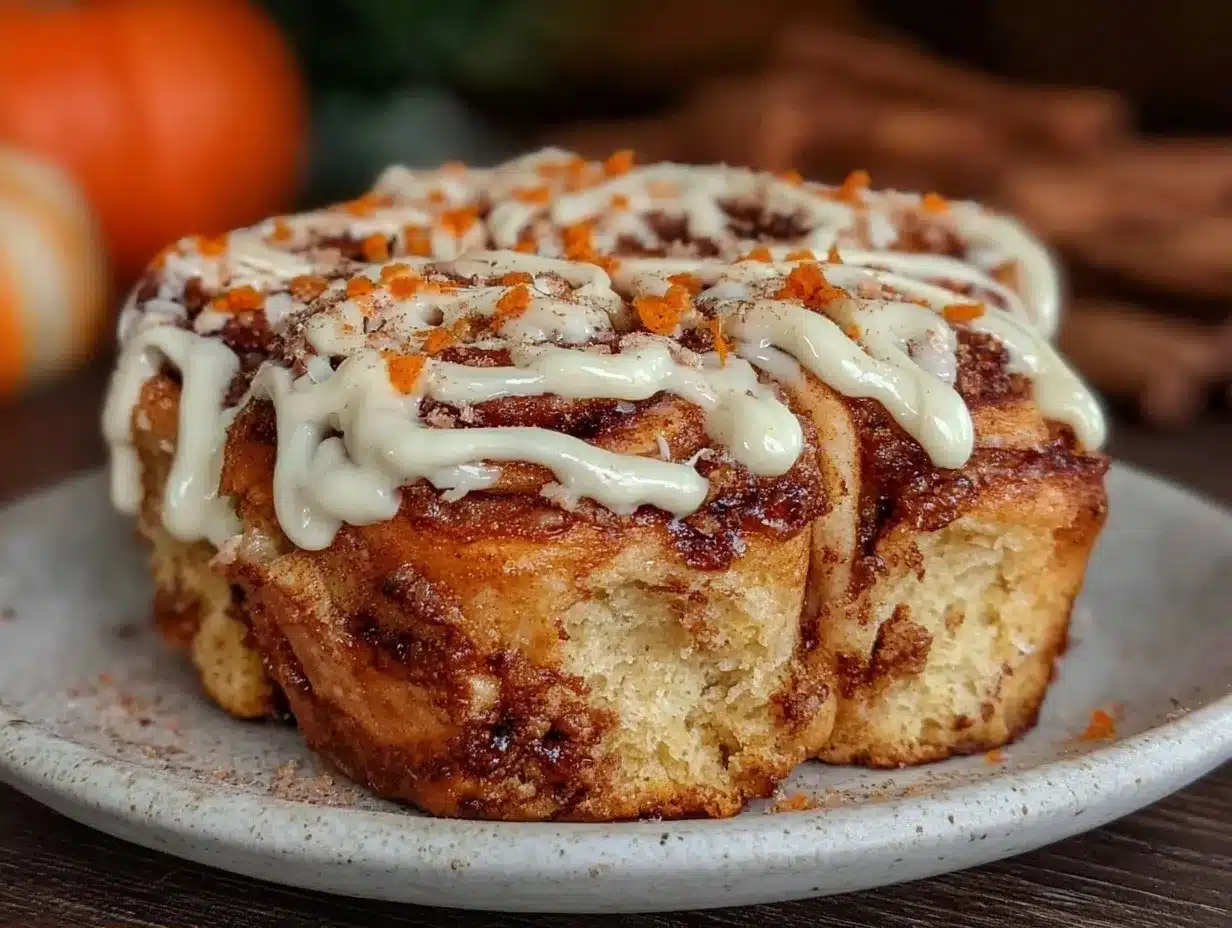
Glaze That Actually Sticks — So many cinnamon roll recipes have a glaze that just slides off. This cream cheese glaze is thick, tangy, and clings to every nook and cranny. It cuts through the sweetness of the dough and adds that classic tang that makes you crave more.
Ingredients You’ll Need
Here’s the best part: you probably have most of this already. I’m particular about a few things here, but for the most part, this is standard baking stuff. Let’s break it down.
For the Dough
Warm Milk (1 cup / 240ml) — Warm, not hot. Think bathwater temperature. If it’s too hot, you’ll kill the yeast. I use whole milk for richness, but 2% works too.
Active Dry Yeast (2 packets / 4.5 tsp) — I use standard packets because they’re easy to measure. You can use instant yeast, but you might need to adjust the liquid slightly. Don’t skip the yeast; it’s what makes them fluffy.
Sugar (¼ cup / 50g) — Granulated white sugar feeds the yeast and adds a little sweetness. Brown sugar in the filling will add the depth later.
Butter (4 tablespoons / 57g) — Melted. Unsalted is best so you control the salt. I use whatever is in my fridge, but stick to unsalted if you have it.
Egg (1 large) — Room temperature is ideal, but if you’re in a rush, just drop it in warm water for 5 minutes. It helps the dough rise better.
Pumpkin Puree (½ cup / 120g) — Important: Make sure this is 100% pure pumpkin, not pumpkin pie filling. Pie filling has sugar and spices already, which will throw off the recipe. I buy the small cans and freeze the rest in ice cube trays for future dessert projects.
All-Purpose Flour (3 to 3½ cups / 375-440g) — This is your workhorse. Start with 3 cups. Add more if needed. Don’t pack the flour into the cup; spoon it in and level it off. Too much flour makes dense rolls.
Salt (1 teaspoon) — Enhances all the flavors. Don’t skip it.
For the Filling
Butter (½ cup / 113g, softened) — Softened, not melted. This helps it spread evenly over the dough.
Brown Sugar (1 cup / 200g) — Light or dark brown sugar works. Dark adds a deeper molasses flavor, which I love for fall.
Cinnamon (2 tablespoons) — Yes, two full tablespoons. Cinnamon is the star here. Use fresh ground if you can, but pre-ground is fine.
Nutmeg & Cloves (½ teaspoon each) — Just a pinch of each. It gives that “pumpkin spice” vibe without being overpowering.
For the Cream Cheese Glaze
Cream Cheese (4 oz / 113g, softened) — Full-fat brick cream cheese. The tub stuff has too much water and won’t thicken properly.
Butter (2 tablespoons / 28g, softened) — Helps balance the tang.
Powdered Sugar (1 to 1½ cups / 120-180g) — Sifted if it’s lumpy. I start with 1 cup and add more if I want it thicker.
Milk or Cream (1-2 tablespoons) — Just enough to get the right consistency.
Vanilla Extract (1 teaspoon) — Real vanilla, not imitation. It makes a noticeable difference.
Equipment Needed
You don’t need fancy gear for this. Here’s what I actually use:
9×13 Inch Baking Dish — Standard glass or metal. I use glass because I can see the bottom browning.
Large Mixing Bowl — For the dough. A bowl with a spout is nice for pouring the glaze later.
Stand Mixer or Hand Mixer — Optional but helpful. I use my stand mixer for the dough because it’s a lot of kneading. If you’re doing it by hand, be prepared for some arm work.
Rolling Pin — To roll out the dough. A wooden one is classic.
Pastry Brush — For brushing the tops with butter before baking. Silicone works too.
Note: If you don’t have a stand mixer, a large wooden spoon and some elbow grease will work. Just take your time.
How to Make It: Step-by-Step
Alright, let’s make this! I’m walking you through exactly how I do it, including the little tricks I’ve picked up over the years.
Step 1: Activate the Yeast (5 minutes)
In the bowl of your stand mixer (or a large bowl), combine the warm milk, sugar, and yeast. Stir gently and let it sit for 5-10 minutes. You’ll see it get foamy and bubbly. If it doesn’t foam, your yeast might be dead. Start over with fresh yeast. This step ensures your rolls will actually rise.
Step 2: Mix the Dough (5 minutes)
Add the melted butter, egg, pumpkin puree, and salt to the yeast mixture. Mix on low speed until combined. Then, gradually add the flour, one cup at a time, switching to medium speed. Stop adding flour when the dough starts to pull away from the sides of the bowl and forms a soft ball. It should be slightly tacky but not sticky. If it’s too sticky, add a tablespoon more flour. If it’s too dry, add a tablespoon of milk. This usually takes about 3 to 3½ cups of flour.
Step 3: Knead and Rise (1 hour)
Knead the dough for 5-7 minutes until it’s smooth and elastic. If you’re using a stand mixer, use the dough hook. If by hand, turn it out onto a floured surface and push, fold, turn. Place the dough in a lightly greased bowl, cover with a towel or plastic wrap, and let it rise in a warm spot for about 1 hour, or until doubled in size. My kitchen is warm, so it usually takes 45 minutes. If your house is cold, put it in the oven with just the light on.
Step 4: Shape the Rolls (15 minutes)
Punch down the risen dough to release air. Turn it out onto a lightly floured surface. Roll it out into a large rectangle, about 12×18 inches. Spread the softened butter evenly over the entire surface, leaving a tiny border at the far edge. In a small bowl, mix the brown sugar, cinnamon, nutmeg, and cloves. Sprinkle this mixture evenly over the butter, pressing it in slightly with your hands so it sticks.
Starting from the long edge closest to you, tightly roll the dough up into a log. Pinch the seam to seal. Use a sharp knife or dental floss to cut the log into 12 equal rolls. I like to place them seam-side down in the greased 9×13 baking dish. Give them a little space to expand.
Step 5: Second Rise (30 minutes)
Cover the pan loosely with plastic wrap or a towel. Let the rolls rise again for 30 minutes. They should look puffy and touch each other. This step is crucial for soft, fluffy rolls. If you skip it, they’ll be dense.
Step 6: Bake (25-30 minutes)
Preheat your oven to 350°F (175°C). Bake the rolls for 25-30 minutes, or until they are golden brown on top. If they start browning too fast, tent them with foil for the last 10 minutes. The center should be cooked, but still soft.
Step 7: Glaze (5 minutes)
While the rolls bake, make the glaze. Beat the softened cream cheese and butter until smooth. Add the powdered sugar, vanilla, and a splash of milk. Beat until creamy and spreadable. If it’s too thick, add more milk. If too thin, add more sugar.
As soon as the rolls come out of the oven, spread the glaze over the hot rolls. The heat will melt the glaze slightly into the crevices. Let them cool for 10 minutes before serving. This helps the glaze set a bit so it doesn’t slide right off.
Expert Tips & Tricks
Here’s everything I’ve learned from making this dozens of times. These tips will save you from my mistakes.
Don’t Over-Knead — Once the dough is smooth and elastic, stop. Over-kneading can make the rolls tough. You want them tender.
Watch the Oven — Every oven is different. My oven runs hot, so I check at 25 minutes. Look for golden brown tops, not dark brown. Dark means burnt sugar.
Glaze While Hot — Don’t wait for the rolls to cool completely. The warmth helps the glaze absorb slightly, adding flavor to the dough itself.
Double the Batch — I always double this recipe. One batch is never enough for my family. Freeze the extra rolls (see storage below).
Use Room Temperature Ingredients — Cold butter and cream cheese make lumpy dough and glaze. Take them out of the fridge 30 minutes before you start.
Don’t Skip the Second Rise — This is the most common mistake. Rushing this step leads to dense, bread-like rolls instead of soft, fluffy ones. Be patient.
Variations & Substitutions
Once you’ve nailed the basic version, here’s how you can mix it up. I’ve tried all of these.
Maple Glaze — Swap the cream cheese glaze for a simple maple glaze. Mix powdered sugar with a little maple syrup and milk. It’s lighter and less tangy.
Walnut or Pecan Filling — Sprinkle chopped walnuts or pecans over the cinnamon sugar before rolling. Adds crunch and richness. I love this with the cream cheese glaze.
Chocolate Chip — Sprinkle mini chocolate chips over the cinnamon sugar. It’s like a dessert cinnamon roll. My kids go crazy for this.
Gluten-Free — Use a 1:1 gluten-free flour blend. You might need a bit more liquid since GF flour absorbs differently. The taste is surprisingly close to the original.
Dairy-Free — Use plant-based milk, vegan butter, and dairy-free cream cheese. The texture might be slightly different, but it’s still delicious.
Serving & Storage
How to Serve: I serve these warm, straight from the pan. They’re perfect with a cup of coffee or my favorite spiced chai latte. They’re also great for brunch with family.
Refrigerator: Store leftovers in an airtight container for up to 3 days. They might lose a bit of softness, but reheating brings them back.
Freezing: This is my favorite trick. Bake the rolls, let them cool completely, then wrap the pan tightly in plastic wrap and foil. They freeze well for up to 3 months. To reheat, thaw overnight in the fridge, then bake at 350°F for 15-20 minutes, or microwave individual rolls for 30 seconds.
Reheating: Microwave with a cup of water next to it to add moisture. Or bake in the oven at 350°F for 10 minutes. Avoid the toaster oven unless you’re only heating one or two.
Nutrition Information
I’m not a nutritionist, but here’s the breakdown if you’re tracking. This is per roll (1 of 12), including the glaze.
- Calories: 320
- Protein: 6g
- Carbs: 45g
- Fiber: 1g
- Sugar: 22g
- Fat: 12g
- Saturated Fat: 7g
- Cholesterol: 40mg
- Sodium: 280mg
Look, these are treats. They’re rich and sweet. But they’re also made with real ingredients, and you control the sugar. When I make them, I usually serve them with fresh fruit or yogurt to balance the meal. It’s about moderation and enjoyment.
Final Thoughts
So that’s my go-to fall spiced pumpkin cinnamon rolls! I’ve probably talked your ear off at this point, but when you make a recipe this often, you have a lot to say about it. These rolls have saved weekend mornings more times than I can count. They’re my answer to “what’s for breakfast” when I want something special but don’t want to stress. My kids are happy, my husband’s happy, and I’m happy because I’m not stressed about cooking.
Make it yours! Try different nuts, change the glaze, or add a dash more cinnamon. The best recipes are the ones you adapt to your family’s tastes. If you make this, drop a comment and let me know what you think! I love hearing how recipes turn out in your kitchen. And if something doesn’t work, tell me that too—I’m here to help troubleshoot.
Happy baking! And I hope your kitchen smells half as good as mine does right now.
Frequently Asked Questions
Can I make the dough ahead of time?
Yes! After the first rise, punch down the dough, cover it tightly, and refrigerate it overnight. In the morning, let it come to room temperature, then shape and let it rise again. This can actually improve the flavor.
Why are my rolls dense?
Usually, this means you used too much flour, or you didn’t let them rise enough. Make sure you’re spooning the flour, not scooping, and be patient with the rising times. The dough should be soft and puffy.
Can I use canned pumpkin pie filling?
No. Pumpkin pie filling has sugar and spices already, which will mess up the dough’s balance. Use 100% pure pumpkin puree.
How do I store leftovers?
Store in an airtight container at room temperature for up to 2 days, or in the fridge for up to 4 days. Reheat in the microwave or oven.
Can I freeze the raw dough?
It’s easier to freeze the baked rolls. If you freeze raw dough, it can lose its yeast activity. Stick to freezing baked rolls for best results.
What if my glaze is too thin?
Add more powdered sugar, a tablespoon at a time. If it’s too thick, add a teaspoon of milk.
Pin This Recipe!
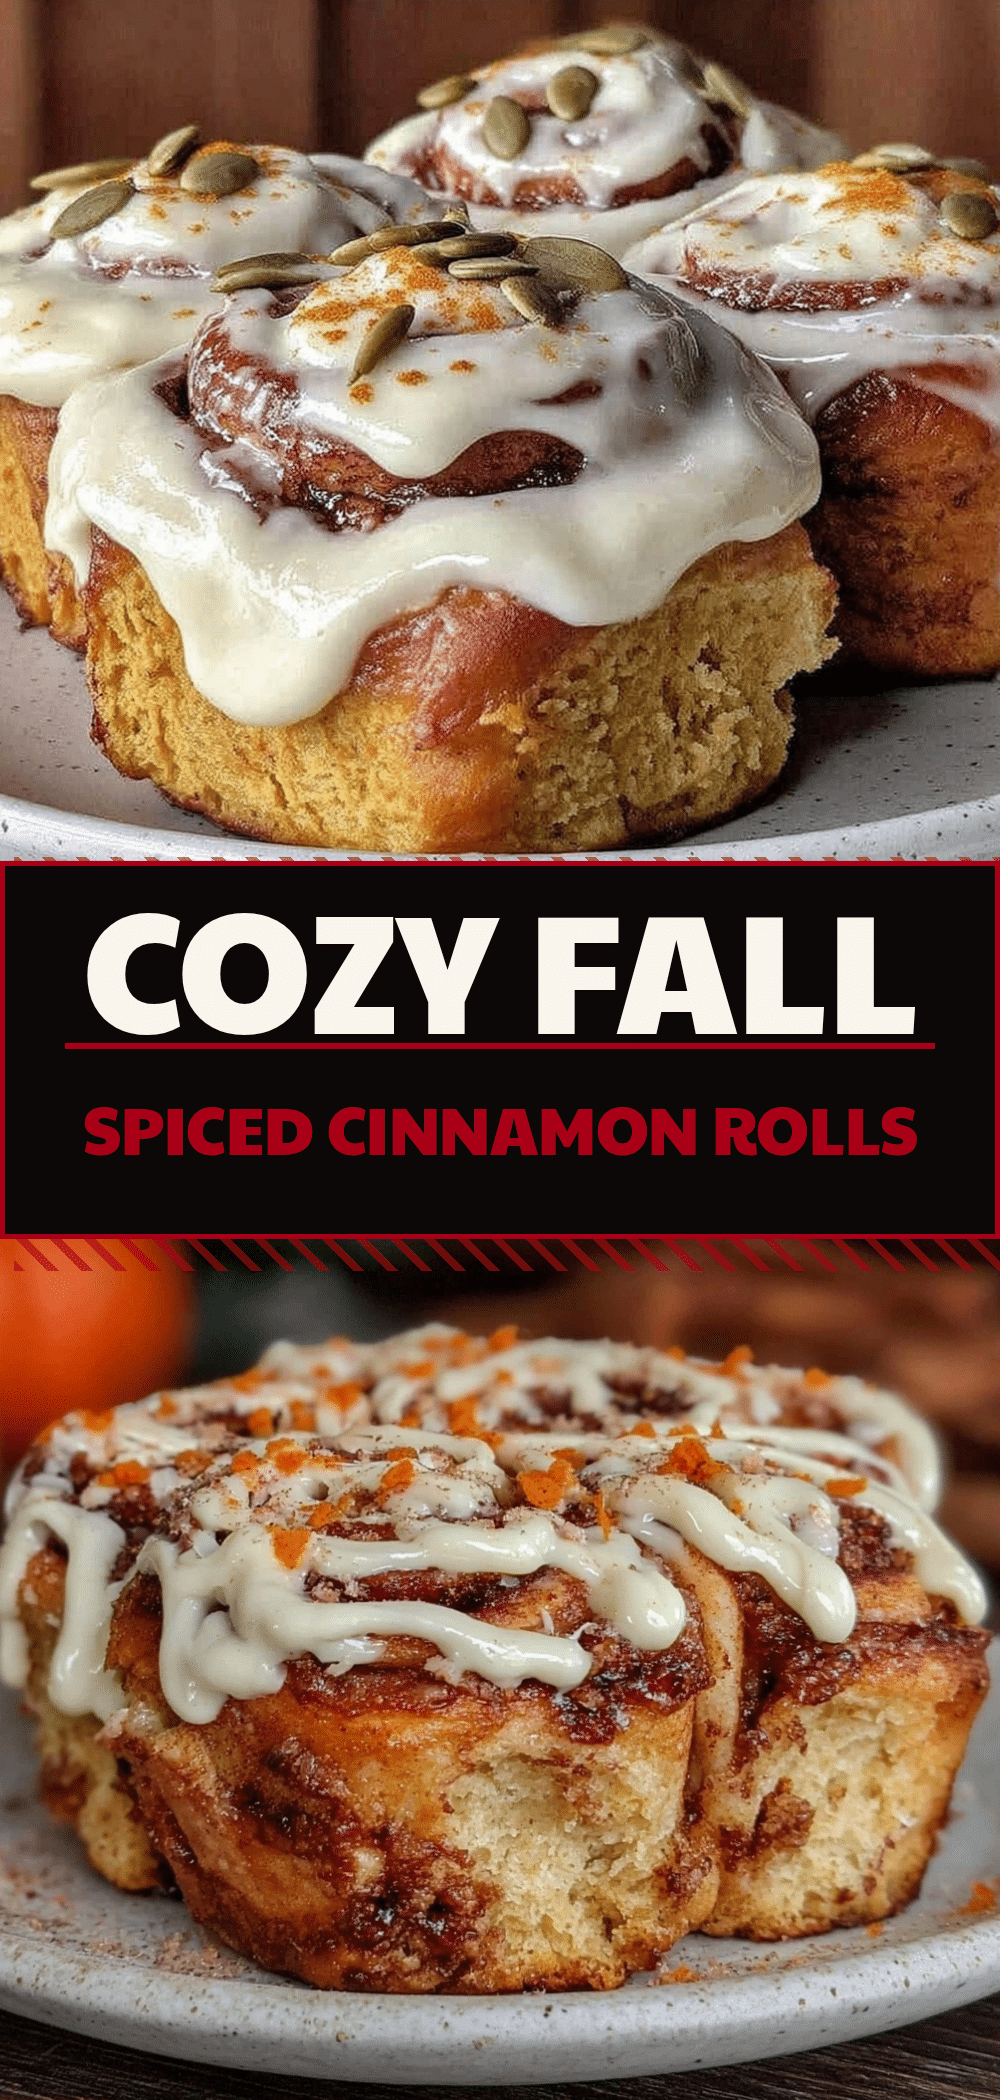
Fall Spiced Pumpkin Cinnamon Rolls: Easy & Budget-Friendly
- Total Time: 1 hour 45 minutes
- Yield: 12 servings 1x
Description
Soft, pillowy pumpkin cinnamon rolls with a tangy cream cheese glaze. This budget-friendly recipe uses pantry staples and freezes beautifully for easy weekend breakfasts.
Ingredients
- 1 cup warm milk
- 2 packets active dry yeast (4.5 tsp)
- ¼ cup granulated white sugar
- 4 tablespoons melted unsalted butter
- 1 large egg, room temperature
- ½ cup pure pumpkin puree
- 3 to 3½ cups all-purpose flour
- 1 teaspoon salt
- ½ cup softened unsalted butter (for filling)
- 1 cup brown sugar
- 2 tablespoons cinnamon
- ½ teaspoon nutmeg
- ½ teaspoon cloves
- 4 oz full-fat brick cream cheese, softened
- 2 tablespoons softened butter (for glaze)
- 1 to 1½ cups powdered sugar, sifted
- 1–2 tablespoons milk or cream
- 1 teaspoon vanilla extract
Instructions
- Activate the yeast: In a large bowl or stand mixer, combine warm milk, sugar, and yeast. Let sit for 5-10 minutes until foamy.
- Mix the dough: Add melted butter, egg, pumpkin puree, and salt to the yeast mixture. Mix on low. Gradually add flour, one cup at a time, switching to medium speed. Knead until the dough pulls away from the sides and forms a soft, slightly tacky ball.
- Knead and rise: Knead for 5-7 minutes until smooth and elastic. Place in a greased bowl, cover, and let rise in a warm spot for about 1 hour or until doubled in size.
- Shape the rolls: Punch down the dough and roll out into a 12×18 inch rectangle. Spread softened butter over the surface. Mix brown sugar, cinnamon, nutmeg, and cloves; sprinkle evenly over the butter. Roll the dough into a log, pinch the seam, and cut into 12 equal rolls. Place seam-side down in a greased 9×13 baking dish.
- Second rise: Cover the pan loosely and let rolls rise for 30 minutes until puffy.
- Bake: Preheat oven to 350°F (175°C). Bake for 25-30 minutes until golden brown. Tent with foil if browning too quickly.
- Make the glaze: While rolls bake, beat cream cheese and butter until smooth. Add powdered sugar, vanilla, and milk/cream. Beat until creamy and spreadable.
- Glaze and serve: Spread glaze over hot rolls immediately after removing from oven. Let cool for 10 minutes before serving.
Notes
Ensure pumpkin puree is 100% pure, not pie filling. Use room temperature ingredients for best texture. Do not skip the second rise to ensure fluffy rolls. Rolls can be frozen after baking for up to 3 months.
- Prep Time: 30 minutes
- Cook Time: 30 minutes
- Category: Breakfast
- Cuisine: American
Nutrition
- Serving Size: 1 roll
- Calories: 320
- Sugar: 22
- Sodium: 280
- Fat: 12
- Saturated Fat: 7
- Carbohydrates: 45
- Fiber: 1
- Protein: 6
Keywords: pumpkin cinnamon rolls, fall baking, budget-friendly breakfast, cream cheese glaze, yeast rolls, easy baking, freezer-friendly



