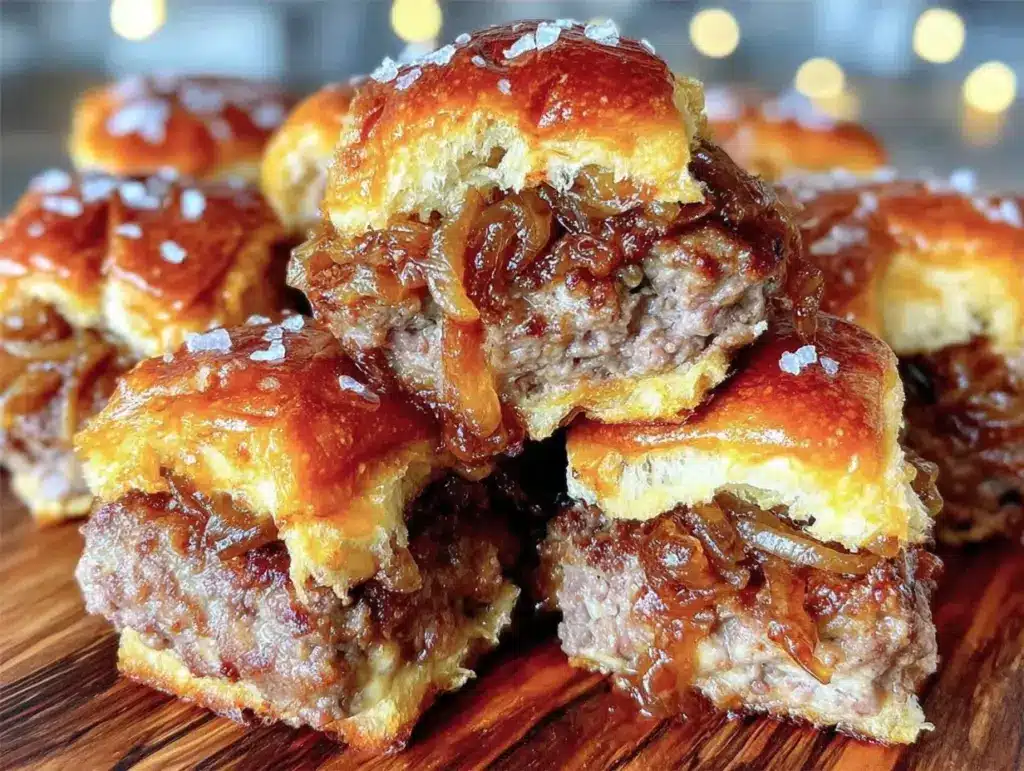
Let’s be honest for a second. Labor Day is the unofficial end of summer, and usually, that means one thing: grilling fatigue. I’ve spent the last three months standing over a hot grill, flipping steaks, worrying about flare-ups, and watching the sun go down while my burgers turn into charcoal discs. This year, I decided enough was enough. I wanted that crispy, juicy, burger-shop flavor without the hassle of managing a fire or spending a fortune at a crowded restaurant.
So, I did what any budget-conscious parent does: I looked at what I already had in the pantry and fridge, and I improvised. I pulled out my cast-iron skillet, some cheap ground beef, and a stack of soft slider buns. I figured, why bother with the grill when I can get better results on the stovetop? The result? These Labor Day smash burger sliders are hands-down the best thing I’ve made all season. They’re crispy on the edges, juicy in the middle, and cost a fraction of what I’d pay for takeout. Plus, no one has to stand outside in the humidity. It’s a win-win.
I’ve made these about a dozen times since the first of the month, tweaking the seasoning and testing different cheeses to find the perfect balance. My kids, who usually pick at everything, cleaned their plates so fast I barely had time to grab a napkin. And the best part? They’re ready in under 20 minutes. If you’re looking for a way to celebrate the long weekend without breaking the bank or stressing yourself out, this is it. It’s practical, it’s delicious, and it’s totally kid-approved.
Why You’ll Love This Recipe
I know, I know—burger sliders are nothing new. But there’s a specific magic to the “smash” technique that regular patties just can’t match. Here’s why these have replaced my usual weekend meal rotation:
- Insanely Crispy Edges — This is the game-changer. By smashing the meat thin against the hot skillet, you get that deep-fried, lacy crust that holds onto the seasoning. It’s texture heaven. I’ve tried thicker patties, and they just don’t compare.
- Budget-Friendly Feast — You can feed a crowd of 4-6 people for under $15. That’s less than the cost of two large pizzas or a single family meal at a burger joint. I use affordable ground beef and dollar-store slider buns, and it tastes gourmet.
- Lightning Fast — From raw meat to hot sliders in your mouth? About 15 minutes. I make these on weeknights when I get home exhausted and don’t want to think about dinner. It’s faster than waiting for a delivery driver.
- Kid-Proof — Sliders are the perfect size for little hands. No falling-apart mess. I’ve served these to my picky eater, and he actually asked for seconds. If you have kids, you know that’s a miracle.
- Customizable for Everyone — My husband wants extra cheese and pickles. My daughter wants just ketchup and cheese. My vegetarian friend can swap the beef for a plant-based patty (though I haven’t tested that combo yet, the method works for veggies too). Everyone gets what they want.
This recipe is my go-to when I need dinner to just work. It’s reliable, it’s cheap, and it makes everyone happy. No complicated techniques, no weird ingredients, just solid, honest food.
Ingredients You’ll Need
Here’s the best part: you probably have most of this already. I’m keeping this list short because simplicity is key. I don’t believe in buying a dozen spices for a one-time meal. Here’s what you need to make these labor day smash burger sliders.
For the Patties
Ground beef (1.5 lbs / 680g) — I use 80/20 fat ratio. Yes, it’s fatty. That’s the point. Lean beef dries out and doesn’t crisp up the same way. If you’re watching your fat intake, you can use 90/10, but the texture won’t be as juicy. I buy the family packs and freeze half for later.
Garlic powder (1 teaspoon) — Essential for that savory depth. I keep a jar in every cupboard. If you don’t have any, fresh minced garlic works, but it burns faster, so be careful.
Onion powder (1 teaspoon) — Adds sweetness without the crunch of raw onions. Regular onion powder is fine; granulated onion is too strong.
Smoked paprika (½ teaspoon) — This gives a subtle smoky flavor that mimics grill marks without the grill. It’s a secret weapon. If you don’t have it, regular paprika works, but it lacks that depth.
Salt (1 teaspoon, or to taste) — Kosher salt is best because it’s easier to control. Table salt is saltier by volume, so use less if that’s all you have.
Black pepper (½ teaspoon) — Freshly cracked is nice, but pre-ground is fine for this. We’re not being fancy here.
For the Assembly
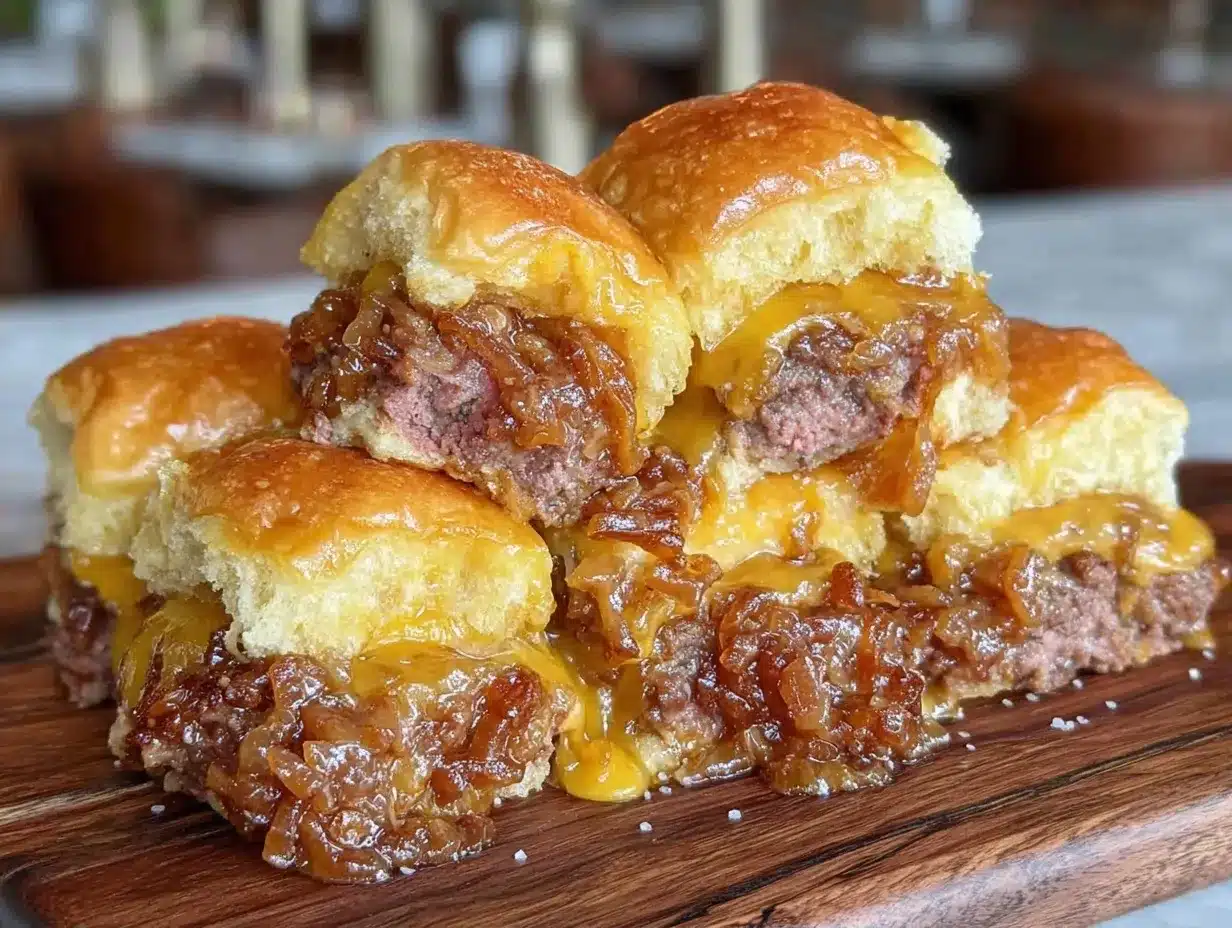
Slider buns (12-16 small buns) — I like the soft, white sandwich buns. They hold up well to the sauce and don’t get soggy instantly. Potato rolls are great too, but they’re a bit larger, so you might only get 8-10 sliders. Brioche buns are fancy but expensive and can get mushy if you over-sauce them.
Shredded cheddar cheese (2 cups) — Buy the block and shred it yourself. Pre-shredded cheese has cellulose in it that prevents it from melting smoothly. I want gooey, melty cheese, not grainy. It takes two minutes and makes a huge difference.
Butter (2 tablespoons) — For toasting the buns. Don’t skip this step. Toasted buns add a nutty flavor and structure that keeps the slider from falling apart.
Slaw sauce (½ cup) — I use a mix of mayo, ketchup, and a splash of pickle juice. It’s tangy and cuts through the richness of the beef. You can also just use your favorite burger sauce or even just ketchup and mustard.
Pickle slices (1 jar) — The crunch is non-negotiable for me. If you hate pickles, use caramelized onions or fresh tomato slices. I’ve tried it without pickles, and it feels incomplete.
Optional Add-ins — Fried onions (the crispy kind from the green can) add a great texture. Bacon bits are always a hit. I keep a bag of frozen diced onions in the freezer for quick additions.
Equipment Needed
You don’t need fancy equipment for this. Here’s what I actually use.
Cast-iron skillet or heavy-bottomed skillet — I use a 12-inch cast iron. It holds heat incredibly well, which is crucial for the smash. Stainless steel works too, but you need to make sure it’s hot. Non-stick? It’s okay, but you won’t get the same crust. I learned this the hard way with a cheap pan.
Burger press or spatula — You need something to flatten the meat. A heavy spatula works fine, or I use a specialized burger press if I’m feeling efficient. A small plate works in a pinch.
Small saucepan or skillet — For toasting the buns in butter.
Measuring spoons — Standard stuff. Dollar store versions work fine.
Cheese grater — Box grater. Or food processor if you’re grating lots of cheese. I do it by hand because I’m cheap and it’s fast.
Wooden spoon or silicone spatula — For stirring and flipping.
Sheet pan — To hold the finished sliders while you cook the next batch. Keeps them warm.
How to Make It: Step-by-Step
Alright, let’s make this! I’m walking you through exactly how I do it, including the little tricks I’ve picked up.
Step 1: Prep Your Meat (5 minutes)
Before you turn on the stove, take your ground beef and divide it into 12-16 small balls, about 2-3 ounces each. Roll them loosely in your hands. Don’t pack them tight! If you pack the meat too hard, the burgers will be tough and dense. We want them loose and tender. Season each ball lightly with salt, pepper, garlic powder, and smoked paprika. I usually do this in a large bowl to keep my hands clean.
Step 2: Heat the Skillet (5 minutes)
Place your cast-iron skillet over medium-high heat. Let it get hot. I wait about 3-4 minutes. You can test it by sprinkling a few drops of water on it—if they sizzle and evaporate instantly, it’s ready. Add a small amount of oil (about 1 teaspoon) to lightly grease the pan. You don’t need much because the beef has fat in it.
Step 3: The Smash (2 minutes per batch)
Place a meatball in the skillet. Immediately press down on it with your burger press or the back of a heavy spatula. Smash it thin! I mean thin. You want it to spread out to the edges of the press. This creates the crispy edges. Hold it for 10 seconds to ensure it sticks to the pan, then release. You should hear a loud sizzle. If it’s not sticking, your pan isn’t hot enough.
Step 4: Cook the First Side (2-3 minutes)
Let the patty cook undisturbed. You want a deep brown crust to form. Don’t peek too early! Wait until the edges look crisp and the top is no longer pink. You’ll see juices pooling on top. That’s when you know it’s ready to flip. Use a thin spatula to slide under the patty and flip it.
Step 5: Cook the Second Side & Cheese (1 minute)
Once flipped, immediately top with shredded cheddar. Cook for another 1-2 minutes until the cheese is melted and the bottom is also nicely browned. Remove from heat and place on your sheet pan.
Step 6: Toast the Buns (2 minutes)
In a small skillet, melt a tablespoon of butter over medium heat. Place your slider buns cut-side down in the butter. Toast until golden brown, about 30-60 seconds. This step is crucial for texture. It creates a barrier against the sauce and adds flavor.
Step 7: Assemble the Sliders
Spread a generous layer of slaw sauce on the bottom bun. Add the hot patty with melted cheese. Add pickle slices. Top with the other half of the bun. Serve immediately.
Expert Tips & Tricks
Here’s everything I’ve learned from making this dozens of times. These tips will save you from my mistakes.
Don’t Overwork the Meat — I’ve made the mistake of packing the meatballs too tight, and the burgers turned out like meatloaf. Keep them loose. Gentle handling = tender burgers.
High Heat is Non-Negotiable — If your pan isn’t hot enough, the meat will steam instead of sear. You’ll get a gray, sad patty. Wait until the pan is smoking slightly before adding the meat.
Smash Thin — The thinner you smash, the more surface area you have for the Maillard reaction (that’s the fancy word for browning). More browning = more flavor. I aim for about ¼ inch thick.
Batch Cooking — You can’t cook all 16 patties at once unless you have a huge griddle. Cook in batches of 4-5. Keep the finished ones warm in a 200°F oven on a sheet pan.
Toast the Buns — I can’t stress this enough. Soft buns on soft burgers is a textural nightmare. Toasted buns add crunch and stability.
Common Mistake: Soggy Buns — Fix: Don’t pile too much sauce on. Use a moderate amount. The bun should hold together, not dissolve.
Pro Trick: The Double Smash — For extra crispy edges, smash the meat, let it stick for 30 seconds, lift it slightly, and smash it again. This creates even more surface contact with the pan.
Variations & Substitutions
Once you’ve nailed the basic version, here’s how you can mix it up. I’ve tried all of these.
Cheeseburger Sliders — Obviously, use cheddar. But try pepper jack for a spicy kick, or American cheese for that classic diner melt. I love mixing cheddar and American for the best of both worlds.
Veggie Smash Sliders — Use black bean patties or store-bought veggie burgers. Smash them gently—they’re more fragile than beef. Cook for less time. I use this method for my vegetarian friend, and it works well.
Breakfast Sliders — Add a fried egg and bacon. The yolk acts as extra sauce. This is my favorite weekend breakfast idea.
Spicy Sliders — Add jalapeños to the slaw sauce or use pepper jack cheese. I make these for my husband who loves heat.
Gluten-Free — Use gluten-free slider buns. Most brands work fine for smash burgers because the meat is flat and doesn’t require a tall, fluffy bun. Just toast them well to avoid sogginess.
Dairy-Free — Skip the cheese or use a dairy-free alternative. Use oil instead of butter for toasting. The slaw sauce can be made with mayo and vinegar.
Serving & Storage
How to Serve: I usually serve these straight from the sheet pan at the dinner table. It’s casual and fun. Add some potato chips or coleslaw on the side. A simple green salad balances the richness.
Side Dishes: French fries are classic. Sweet potato fries are healthier-ish. Macaroni salad is a great cold contrast. I also love these with pickled jalapeños on the side.
Storage: Store leftover patties in an airtight container in the fridge for up to 3 days. The buns should be stored separately to stay fresh.
Reheating: Reheat patties in a skillet over medium heat for 1-2 minutes per side. This restores the crispiness. Microwave makes them rubbery. Toast the buns fresh.
Freezing: You can freeze the raw meatballs. Place them on a baking sheet, freeze solid, then transfer to a freezer bag. Cook from frozen, adding 1-2 minutes to the cook time. This is great for meal prep.
Pro Tip: If you have leftovers, pull apart the patty and mix it into scrambled eggs the next morning. It’s a great way to use up the meat.
Nutrition Information
I’m not a nutritionist, but here’s the breakdown if you’re tracking. This is per slider (assuming 12 sliders total).
- Calories: 280
- Protein: 18g
- Carbs: 22g
- Fat: 14g
- Sodium: 450mg
What’s Good: High protein from the beef. Good source of B vitamins. What to Know: Higher in calories and sodium due to the cheese and processed bun. Use lean beef and whole wheat buns to improve the profile. But honestly? This is comfort food. Enjoy it.
Final Thoughts
So that’s my Labor Day smash burger sliders! I’ve probably talked your ear off at this point, but when you make a recipe this often, you have a lot to say about it. These have saved my weekend dinners more times than I can count. They’re my answer to “what’s for dinner” when I’m tired, don’t want takeout, and still want something that tastes really good. My kids are happy, my husband’s happy, and I’m happy because I’m not stressed about cooking.
Make it yours! Try different add-ins, swap in your favorite vegetables, adjust the garlic (though more is always better in my opinion). The best recipes are the ones you adapt to your family’s tastes. If you make this, drop a comment and let me know what you think! I love hearing how recipes turn out in your kitchen. And if something doesn’t work, tell me that too—I’m here to help troubleshoot.
Happy cooking! And I hope your kitchen smells half as good as mine does right now.
Frequently Asked Questions
Can I use ground turkey instead of beef?
You can, but turkey is much leaner and drier. I recommend mixing it with a little olive oil or fat to keep it moist. Also, turkey doesn’t crisp up the same way, so you might miss that crunchy edge. I’ve tried it, and it’s okay, but beef is superior for this technique.
Why did my patties stick to the pan?
Your pan wasn’t hot enough. If the meat sticks, don’t force it! Wait another 30 seconds. The meat will release on its own when the crust forms. Also, make sure you’re using cast iron or stainless steel. Non-stick can work, but you need to be gentle.
Can I make these ahead for a party?
Sort of. Cook the patties ahead and store them in the fridge. Reheat them in a skillet right before serving. Toast the buns fresh. The assembly should happen just before eating to keep the buns crisp. I do this for parties to save time.
How do I keep the sliders from falling apart?
Don’t overpack the meat. Smash them thin but gently. Toast the buns well. And don’t overfill them with sauce. A little sauce goes a long way. If they’re too tall, they’ll collapse. Keep them flat and compact.
Can I freeze the cooked patties?
Yes, but they might lose some texture. Freeze them in a single layer, then transfer to a bag. Reheat in a skillet, not the microwave, to restore some crispiness. They’re best fresh, though.
What’s the best cheese for smash burgers?
American cheese is the classic for a reason—it melts perfectly. But cheddar adds more flavor. I like a mix. Avoid hard cheeses like Parmesan; they don’t melt well. Stick to soft, melty cheeses.
Can I make these in the oven?
Not really. The smash technique requires direct contact with a hot surface. You can bake patties, but you won’t get the crust. If you want oven-baked burgers, try my juicy stovetop smash burgers recipe, which is optimized for the skillet method.
Pin This Recipe!
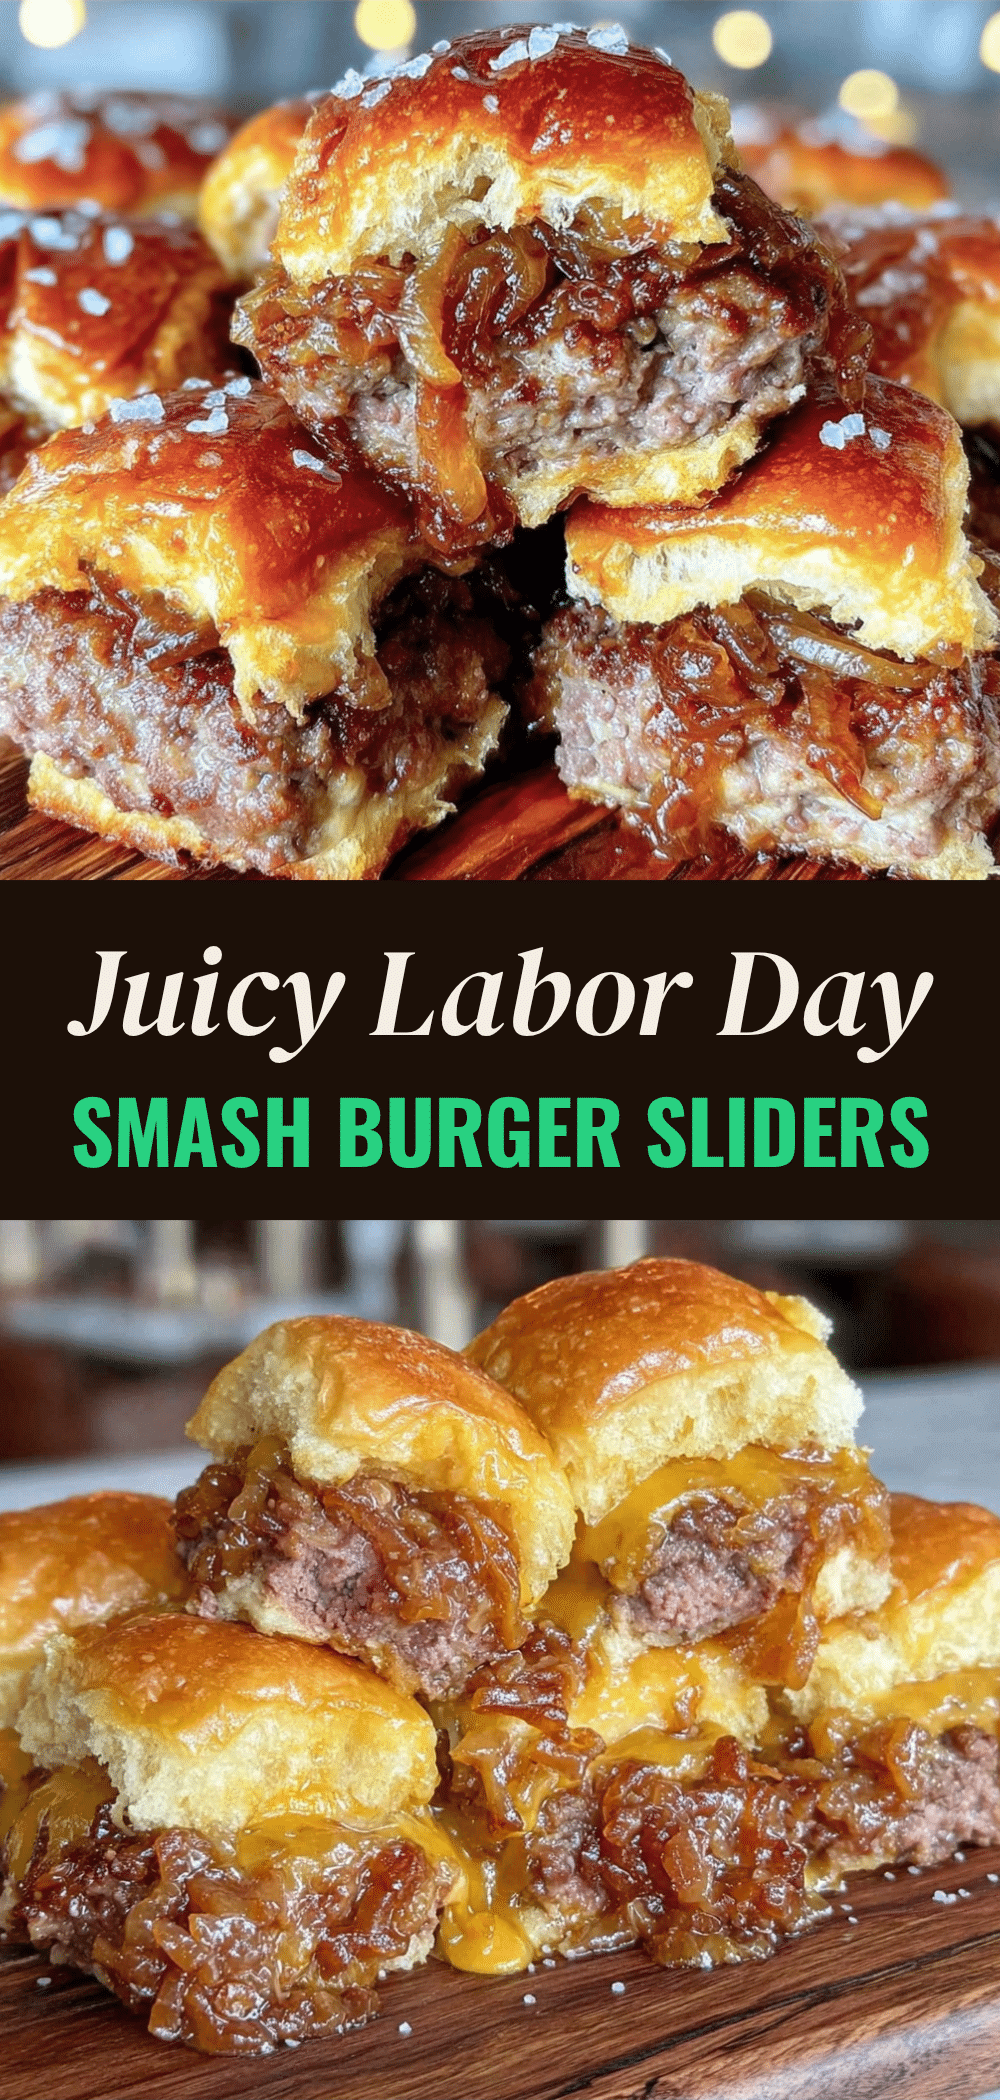
Labor Day Smash Burger Sliders: Easy & Budget-Friendly
- Total Time: 20 minutes
- Yield: 12 servings 1x
Description
These Labor Day smash burger sliders are crispy on the edges, juicy in the middle, and ready in under 20 minutes. Made on the stovetop with ground beef and cheddar, they offer a budget-friendly, kid-approved alternative to grilling.
Ingredients
- 1.5 lbs ground beef (80/20 fat ratio)
- 1 teaspoon garlic powder
- 1 teaspoon onion powder
- 1/2 teaspoon smoked paprika
- 1 teaspoon salt (kosher preferred)
- 1/2 teaspoon black pepper
- 12–16 slider buns
- 2 cups shredded cheddar cheese
- 2 tablespoons butter
- 1/2 cup slaw sauce (mayo, ketchup, pickle juice)
- 1 jar pickle slices
Instructions
- Divide ground beef into 12-16 loose balls (2-3 oz each). Season lightly with salt, pepper, garlic powder, and smoked paprika.
- Heat a cast-iron skillet over medium-high heat for 3-4 minutes until very hot. Lightly grease with 1 teaspoon oil.
- Place a meatball in the skillet and smash it thin with a burger press or heavy spatula. Hold for 10 seconds to ensure sticking.
- Cook undisturbed for 2-3 minutes until a deep brown crust forms and edges are crisp. Flip with a thin spatula.
- Top with shredded cheddar and cook for 1-2 minutes until cheese is melted and bottom is browned. Remove to a sheet pan.
- Melt butter in a small skillet over medium heat. Toast slider buns cut-side down for 30-60 seconds until golden.
- Assemble sliders by spreading slaw sauce on the bottom bun, adding the hot patty with melted cheese, adding pickle slices, and topping with the bun.
- Serve immediately.
Notes
Do not overwork the meat; keep meatballs loose for tender burgers. Ensure the pan is smoking slightly before adding meat to prevent steaming. Smash the meat thin for maximum crust. Cook in batches of 4-5 if necessary. Toast buns to prevent sogginess. For extra crispy edges, try the ‘double smash’ technique.
- Prep Time: 5 minutes
- Cook Time: 15 minutes
- Category: Main Course
- Cuisine: American
Nutrition
- Serving Size: 1 slider
- Calories: 280
- Sugar: 4
- Sodium: 450
- Fat: 14
- Saturated Fat: 7
- Carbohydrates: 22
- Fiber: 1
- Protein: 18
Keywords: smash burger, sliders, labor day recipes, budget friendly dinner, stovetop burgers, kid approved meals, quick dinner, ground beef recipes



