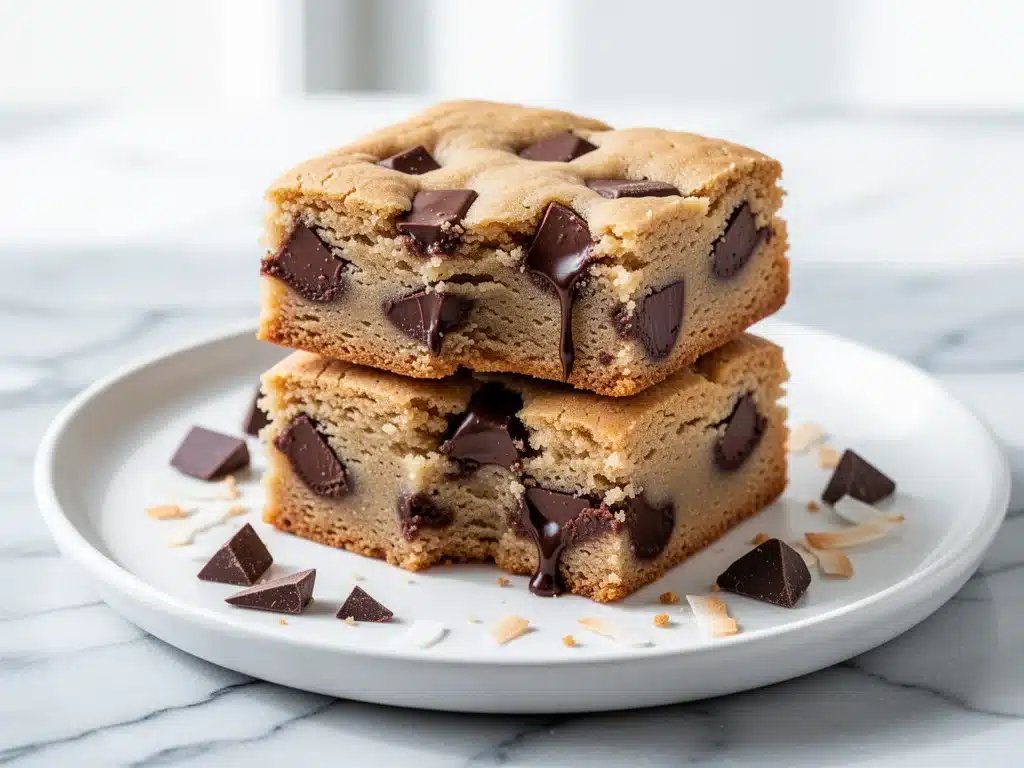
It started with a craving that hit me at 9 PM on a Tuesday. You know the kind. It’s not just hunger; it’s a specific, desperate need for something sweet, chewy, and warm. I wanted a blondie. Not a cake, not a bar, but that dense, buttery, gooey square of comfort that sits somewhere between a cookie and a brownie. The problem? I had no butter. And honestly, I didn’t want to make a trip to the store in my pajamas.
So, I did what any desperate baker does: I raided the pantry. I found a bottle of coconut oil that had been hiding behind the olive oil for months, a bag of dark chocolate chunks (because I refuse to use chips), and a bunch of brown sugar. I figured, why not? Coconut oil is basically butter’s tropical cousin, right? I mixed it up, threw it in the oven, and waited.
When those dairy-free chocolate chunk blondies with coconut oil came out of the oven, I was skeptical. Coconut oil has a distinct smell. Would they taste like a coconut vacation? Would they be greasy? Would they even set?
They were wrong. They were perfect.
They were chewy in the center, crisp at the edges, and packed with pockets of melted dark chocolate that looked like little lava bombs. And the best part? I couldn’t taste the coconut at all. Not really. Just a subtle, warm richness that made me question why I ever bothered with dairy butter for blondies in the first place. I’ve made this recipe for dairy-free chocolate chunk blondies with coconut oil at least fifteen times since that Tuesday night. My family thinks I’ve gone crazy with the baking, but I’m just too hooked to stop. If you’re gluten-free, vegan, or just trying to cut back on dairy, this is the recipe you need to save. Right now.
Why You’ll Love These Dairy-Free Chocolate Chunk Blondies
Look, I get it. Baking without butter feels like a compromise. You worry about texture, you worry about flavor, and you worry it just won’t be “real” baking. But these dairy-free chocolate chunk blondies with coconut oil shatter all those assumptions. Here’s why they’ve taken over my kitchen (and my heart):
- Zero Butter, Maximum Chew — Seriously. The texture is indistinguishable from traditional blondies. The coconut oil creates this incredible, dense crumb that stays moist for days. I’ve left them on the counter for three days, and they’re still soft. No dryness. No crumbing.
- It’s Actually Healthy(ish) — Okay, let’s be real, these are still a dessert. But swapping refined butter for coconut oil brings in some medium-chain triglycerides. Plus, using dark chocolate chunks instead of sweet chips cuts down the sugar spike. It’s a guilt-free indulgence that makes me feel slightly less like a bad person when I eat three in a row.
- Pantry Staples Only — You don’t need to order specialty flours or weird gums. This recipe uses all-purpose flour (or gluten-free blend if you need it), brown sugar, coconut oil, and eggs. If you can bake a cake mix, you can make these. I’ve made them for my nutty coworkers, my gluten-free sister, and my sugar-craving self. Everyone loves them.
- Rich, Complex Flavor — The dark chocolate adds a sophisticated bitterness that balances the sweetness of the brown sugar. It’s not just “sweet.” It’s nuanced. The coconut oil adds a warmth that butter just doesn’t have. It’s earthy, rich, and deeply satisfying.
- Super Fast — 15 minutes of prep, 25 minutes of baking. That’s it. I make these on weeknights when I need a win. No mixer required. No fancy equipment. Just a bowl, a whisk, and a baking pan.
This is my go-to when I need dessert to just work. No complicated techniques, no weird ingredients, just reliable, delicious food that makes everyone happy. And the fact that it’s dairy-free means I can share them with anyone, no apologies needed.
Ingredients You’ll Need
Here’s the best part: you probably have most of this already. I’m particular about three ingredients here, and I’ll tell you exactly why. For these dairy-free chocolate chunk blondies with coconut oil, the quality of your ingredients matters more than usual because there are fewer of them. Every ingredient has to pull its weight.
For the Base
Coconut Oil (½ cup / 115g) — This is the star. Use refined coconut oil if you don’t want any coconut flavor. Unrefined will taste like coconut, which some people love, but I prefer refined for a neutral background. Make sure it’s melted but not hot. We don’t want to scramble the eggs.
Brown Sugar (1 cup / 200g) — Dark brown sugar is best here. It has more molasses, which gives that deep, caramel-like flavor. Light brown sugar works, but the flavor is a bit milder. Pack it tightly when you measure.
Granulated Sugar (½ cup / 100g) — This helps with the crisp edges. It’s a classic blondie trick. Don’t skip it, even if you’re watching sugar. It’s what creates that crackly top.
Eggs (2 large) — Room temperature eggs incorporate better into the fat. If your eggs are cold, just run them under warm water for a minute. It’s a small step that makes a big difference in texture.
Vanilla Extract (2 teaspoons) — Use real vanilla. No imitation stuff. The vanilla ties all the flavors together and masks any potential “eggy” smell from the baking.
For the Structure
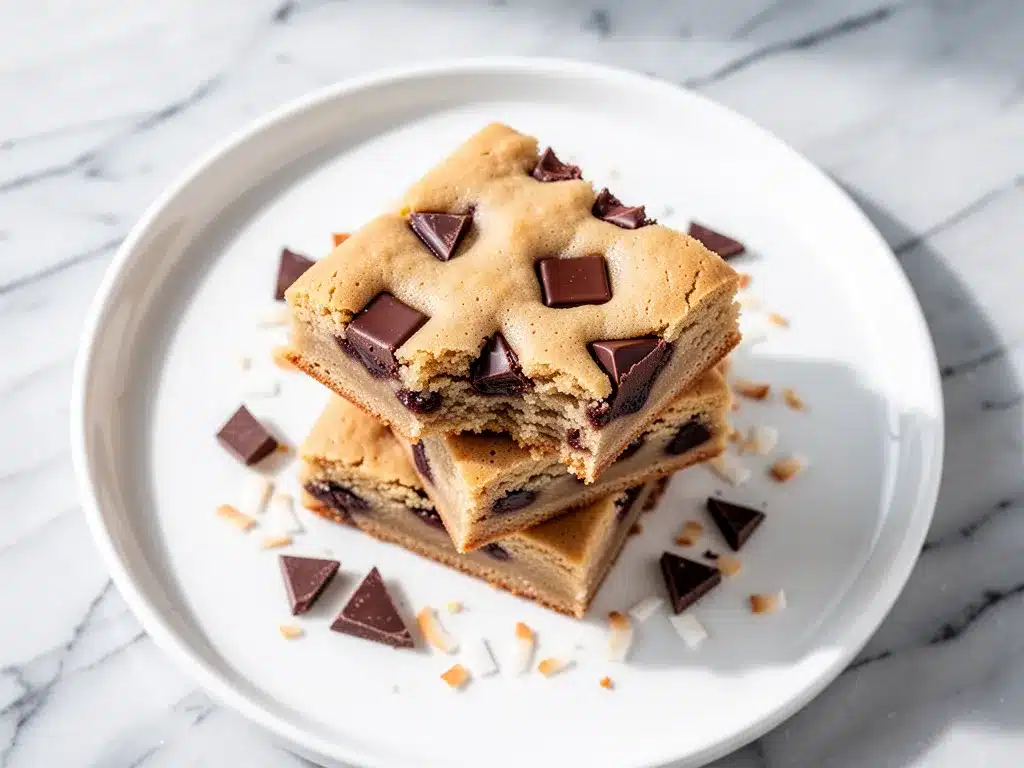
All-Purpose Flour (1 ½ cups / 190g) — I use regular AP flour. If you need gluten-free, use a 1:1 gluten-free blend. I’ve tested this with King Arthur Measure for Measure, and it works perfectly. Don’t use almond flour; the texture will be completely different.
Baking Powder (1 teaspoon) — Just a little bit to help them rise slightly. We want them dense, not fluffy like a cupcake.
Salt (½ teaspoon) — Essential. It balances the sweetness. Don’t skip it, even if you’re salty-sensitive. It’s not enough to make it salty, just enough to make the chocolate pop.
For the Good Stuff
Dark Chocolate Chunks (1 cup / 170g) — I buy a bar of 70% dark chocolate and chop it myself. Pre-chipped chunks are too small and melt into the batter too much. I want pockets of chocolate. If you can’t find chunks, chop a bar yourself. It’s worth the two minutes.
Optional: Toasted Pecans (½ cup) — I love the crunch of pecans in these. Toast them in a dry pan for 3 minutes before adding. It brings out the nutty flavor. If you’re allergic to nuts, skip it. The blondies are still amazing without them.
Personal Tips:
- Brand Recommendations: I always use Ghirardelli 60% Cacao Baking Bar for the chocolate. It melts beautifully and isn’t too bitter.
- Shopping Shortcuts: If you’re in a rush, buy pre-chopped dark chocolate, but know that the texture won’t be as chunky. I prefer chopping it myself.
- Substitutions: Can’t find refined coconut oil? Use unrefined, but know it will taste like coconut. Maple syrup can replace the brown sugar, but the texture will be cakeier.
Equipment Needed
You don’t need fancy equipment for this. Here’s what I actually use:
8×8 Inch Baking Pan — This is crucial. Don’t use a 9×13 pan, or they’ll be too thin and dry. Don’t use a square pan that’s smaller, or they’ll overflow. 8×8 is the sweet spot for that perfect chewy thickness.
Lining Paper — Parchment paper is non-negotiable. Line the pan with a sheet of parchment, leaving an overhang on two sides. This acts as “handles” to lift the blondies out of the pan once they cool. No more fighting with stuck edges.
Large Mixing Bowl — Any bowl works, just make sure it’s big enough to whisk the eggs and sugar without splattering. I use a glass bowl because I can see everything clearly.
Whisk — A simple wire whisk is all you need. No mixer required. In fact, I’d advise against a mixer. Overmixing makes blondies tough. A whisk lets you control the mixing by hand.
Spatula — A silicone spatula is great for folding in the chocolate chunks. It gets all the batter out of the bowl and ensures even distribution.
Cooling Rack — Let them cool in the pan for 10 minutes, then transfer to a rack. This prevents the bottom from getting soggy from trapped steam.
Optional but nice:
- Serrated Knife — For chopping the chocolate bar. It’s easier than a chef’s knife for this.
- Small Skillet — If you’re toasting nuts, a small skillet works best.
How to Make It: Step-by-Step
Alright, let’s make these dairy-free chocolate chunk blondies with coconut oil! I’m walking you through exactly how I do it, including the little tricks I’ve picked up over the years.
Step 1: Prep Your Pan and Oven (2 minutes)
Preheat your oven to 350°F (175°C). Line your 8×8 inch baking pan with parchment paper. Leave a little overhang on the short sides so you can lift the blondies out later. Lightly grease the parchment with a little coconut oil or spray. This ensures they don’t stick, even though the recipe is rich in fat.
Step 2: Mix the Wet Ingredients (3 minutes)
In your large bowl, combine the melted coconut oil, brown sugar, and granulated sugar. Whisk vigorously for about 1-2 minutes. You want the mixture to look glossy and slightly emulsified. This step is important because it helps dissolve the sugar slightly, which contributes to the chewy texture. Don’t rush this.
Add the eggs and vanilla extract. Whisk again until fully combined. The mixture should look smooth and uniform. Scrape down the sides of the bowl with your spatula to make sure everything is incorporated.
Step 3: Add the Dry Ingredients (2 minutes)
Sift the flour, baking powder, and salt into the wet mixture. Sifting helps remove lumps and aerates the flour, leading to a lighter texture. If you don’t have a sifter, just whisk the dry ingredients in a separate bowl first, then pour them in.
Use your spatula to fold the dry ingredients into the wet. Mix until *just* combined. You’ll still see streaks of flour at first. Keep folding gently. Stop as soon as the flour disappears. Overmixing develops gluten, which makes blondies tough. We want tender, chewy, not bouncy.
Step 4: Fold in the Chocolate (1 minute)
Add the dark chocolate chunks to the batter. Fold them in gently. Try to distribute them evenly, but don’t worry if some clump together. Those are the best bites. If you’re adding toasted nuts, add them now.
Pour the batter into your prepared pan. Use your spatula to spread it out evenly. Make sure it reaches all the corners. The top should be flat.
Step 5: Bake (25-30 minutes)
Place the pan in the center of the oven. Bake for 25-30 minutes. Here’s the trick: you want the edges to be golden brown, but the center to still look slightly underbaked. If you bake them until the center is firm, they’ll be dry. They continue to cook in the pan as they cool.
Check them at 25 minutes. Insert a toothpick into the center. It should come out with a few moist crumbs attached, not wet batter. If it’s wet, give it 2-3 more minutes. If it’s clean, pull them out immediately.
Step 6: Cool and Cut (1 hour)
Let the blondies cool in the pan on a wire rack for at least 10 minutes. This is the hardest part. Resist the urge to cut them immediately. They are molten lava inside and will fall apart. After 10 minutes, lift them out of the pan using the parchment overhang and transfer to the rack. Let them cool completely before cutting. This can take up to an hour, but it’s worth the wait.
Once cool, slice into squares. They should hold their shape perfectly.
Expert Tips & Tricks
Here’s everything I’ve learned from making these dairy-free chocolate chunk blondies with coconut oil dozens of times. These tips will save you from my mistakes.
Don’t Overbake Them
This is the #1 mistake people make. Blondies continue to cook after they come out of the oven. If you pull them when the center looks done, they’ll be overdone once cooled. Pull them when the center looks slightly jiggly and moist. The edges should be set and golden.
Use Refined Coconut Oil
Unless you love coconut flavor, use refined coconut oil. Unrefined has a strong coconut taste that can overpower the chocolate. Refined is neutral and lets the chocolate and vanilla shine. I always keep a bottle of refined coconut oil in my pantry specifically for baking.
Chop Your Own Chocolate
Pre-chipped chocolate is coated in potato starch to prevent clumping. This starch can interfere with the texture of your blondies. Chopping your own bar ensures pure chocolate chunks that melt beautifully. It’s a small step that makes a huge difference.
Room Temperature Eggs
Cold eggs can cause the melted coconut oil to solidify into little blobs, leading to an uneven batter. Let your eggs sit out for 30 minutes before baking, or run them under warm water for a minute. It ensures a smooth, uniform batter.
Common Mistakes (and how to avoid them)
- Mistake: Blondies are too cakey. Fix: You likely overmixed the batter or used too much flour. Measure your flour correctly (spoon and level, don’t scoop). Fold gently until just combined.
- Mistake: Blondies are greasy. Fix: You probably used too much coconut oil or didn’t let them cool properly. Coconut oil solidifies as it cools. If you cut them warm, they’ll feel greasy. Let them cool completely.
- Mistake: Blondies are dry. Fix: You overbaked them. Check them 5 minutes early. Remember, they cook in the pan.
Variations & Substitutions
Once you’ve nailed the basic version, here’s how you can mix it up. I’ve tried all of these.
Gluten-Free Version
Swap the all-purpose flour for a 1:1 gluten-free baking blend. I use King Arthur Measure for Measure or Bob’s Red Mill 1-to-1. The texture is identical. No one can tell the difference.
Vegan Version
Replace the eggs with two flax eggs (2 tablespoons ground flaxseed mixed with 6 tablespoons water, rested for 5 minutes). The blondies will be slightly denser, but still delicious. You can also use aquafaba (chickpea water) for a lighter texture.
White Chocolate Chip
Swap the dark chocolate chunks for dairy-free white chocolate chips. It’s sweeter and creamier. Great for kids who don’t like bitter chocolate.
Matcha Blondies
Add 1 tablespoon of culinary-grade matcha powder to the dry ingredients. The earthy green tea flavor pairs beautifully with the dark chocolate. It’s a sophisticated twist.
Lemon Poppy Seed
Add the zest of one lemon and 1 tablespoon of poppy seeds to the batter. The bright citrus cuts through the richness of the coconut oil. It’s refreshing and light.
Nutty Addition
Add ½ cup of toasted pecans, walnuts, or macadamia nuts. Toasting them first brings out their flavor. It adds a nice crunch and makes the blondies feel more like a bar cookie.
Serving & Storage
These dairy-free chocolate chunk blondies with coconut oil are best enjoyed warm, but they’re also perfect for snacking throughout the week.
How to Serve
I usually serve these straight from the pan, cut into squares. They’re great with a glass of cold milk (dairy or oat), a cup of black coffee, or a scoop of vanilla ice cream. The contrast of warm blondie and cold ice cream is divine.
Storage Instructions
Room Temperature
Store in an airtight container at room temperature for up to 5 days. They stay moist and chewy. If your kitchen is hot, the coconut oil might soften, so keep them in a cool spot.
Refrigerator
Store in an airtight container in the fridge for up to 1 week. The cold will firm them up, making them more like a fudge. Let them sit out for 10 minutes before eating to soften slightly.
Freezer
These freeze beautifully! Wrap individual squares in plastic wrap, then place them in a freezer-safe bag. They’ll last for up to 3 months. Thaw at room temperature or microwave for 10 seconds for a warm treat.
Reheating
For the best experience, microwave a square for 10-15 seconds. It melts the chocolate chunks and softens the center. It’s like a warm dessert straight from the oven.
Nutrition Information
I’m not a nutritionist, but here’s the breakdown if you’re tracking. Note that these are estimates based on standard ingredients.
Per Serving (based on 16 squares):
- Calories: 180
- Protein: 2g
- Carbs: 24g
- Fiber: 1g
- Sugar: 16g
- Fat: 10g
- Saturated Fat: 8g
- Cholesterol: 20mg
- Sodium: 80mg
What’s Good:
- Lower in saturated fat than traditional butter-based blondies
- Contains some antioxidants from dark chocolate
- Gluten-free option available
What to Know:
- Higher in sugar due to brown and granulated sugar
- Contains coconut oil, which is high in saturated fat
- Not suitable for vegans unless eggs are substituted
My Take:
Look, these are a treat. They’re rich, sweet, and indulgent. But they’re made with simpler ingredients than most store-bought bars. When I make them, I use less sugar if I want, or more chocolate if I’m feeling fancy. It’s your recipe. Enjoy it without guilt.
Final Thoughts
So that’s my go-to dairy-free chocolate chunk blondies with coconut oil! I’ve probably talked your ear off at this point, but when you make a recipe this often, you have a lot to say about it.
This has saved my dessert game more times than I can count. It’s my answer to “what’s for dessert” when I’m tired, don’t want to order takeout, and still want something that tastes really good. My family is happy, my friends are happy, and I’m happy because I’m not stressed about cooking.
Make it yours! Try different add-ins, swap in your favorite chocolate, adjust the sugar. The best recipes are the ones you adapt to your family’s tastes. If you make these dairy-free chocolate chunk blondies with coconut oil, drop a comment and let me know what you think! I love hearing how recipes turn out in your kitchen. And if something doesn’t work, tell me that too—I’m here to help troubleshoot.
Happy baking! And I hope your kitchen smells half as good as mine does right now.
Frequently Asked Questions
Can I use butter instead of coconut oil?
Yes, you can! If you use butter, melt it and let it cool slightly before mixing. The flavor will be more traditional, but the texture will be similar. Just know that these won’t be dairy-free if you use butter.
Why did my blondies fall apart when I cut them?
This usually happens if you cut them while they’re still warm. Coconut oil needs to solidify to hold the structure together. Let them cool completely in the pan, then in the fridge for an hour if you’re in a hurry. They’ll hold their shape perfectly.
Can I make these gluten-free?
Absolutely! Use a 1:1 gluten-free flour blend. I recommend King Arthur Measure for Measure or Bob’s Red Mill 1-to-1. The texture is identical to the original recipe.
Can I freeze the batter?
I haven’t tried freezing the batter, but I suspect it might separate because of the coconut oil. It’s better to bake them first, then freeze the finished blondies. They freeze beautifully.
Can I use maple syrup instead of sugar?
You can, but the texture will be different. Maple syrup adds moisture, so the blondies will be cakeier and less chewy. You’ll also need to reduce the other liquids slightly. I prefer the traditional sugar for that classic blondie texture.
How do I know when they’re done?
The edges should be golden brown and pulling away slightly from the sides of the pan. The center should still look slightly underbaked and jiggly. Insert a toothpick; it should come out with moist crumbs, not wet batter.
Can I add nuts?
Yes! Toasted pecans, walnuts, or macadamia nuts are delicious. Add ½ cup to the batter. Toasting them first brings out their flavor and adds a nice crunch.
Pin This Recipe!
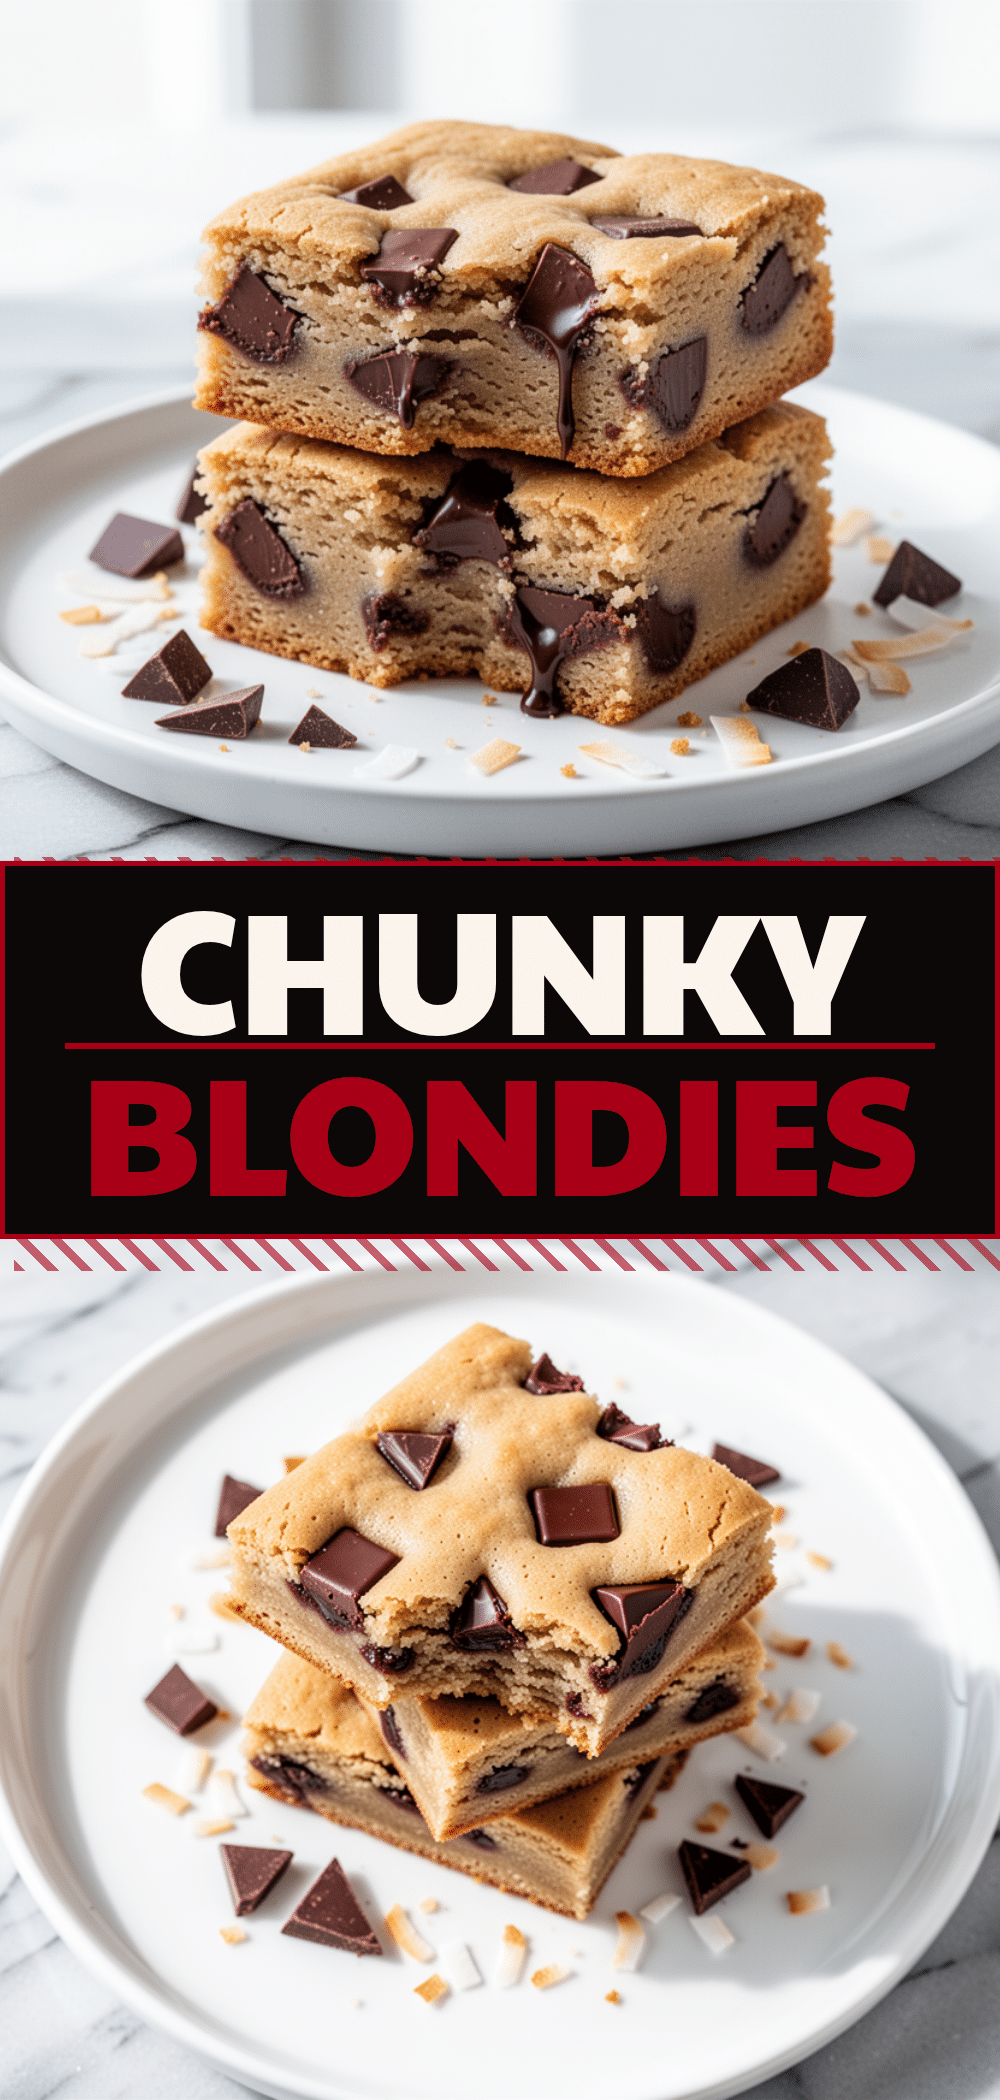
Dairy-Free Chocolate Chunk Blondies with Coconut Oil
- Total Time: 45-55 minutes
- Yield: 16 servings 1x
Description
Chewy, dense, and gooey blondies made with coconut oil instead of butter. These dairy-free treats are packed with dark chocolate chunks and require no mixer, making them a quick and easy weeknight dessert.
Ingredients
- 1/2 cup (115g) refined coconut oil, melted
- 1 cup (200g) dark brown sugar, packed
- 1/2 cup (100g) granulated sugar
- 2 large eggs, room temperature
- 2 teaspoons vanilla extract
- 1 1/2 cups (190g) all-purpose flour
- 1 teaspoon baking powder
- 1/2 teaspoon salt
- 1 cup (170g) dark chocolate chunks
- 1/2 cup toasted pecans (optional)
Instructions
- Preheat oven to 350°F (175°C). Line an 8×8 inch baking pan with parchment paper, leaving an overhang on two sides, and lightly grease with coconut oil.
- In a large bowl, whisk melted coconut oil, brown sugar, and granulated sugar vigorously for 1-2 minutes until glossy and emulsified.
- Add eggs and vanilla extract, whisking until smooth and uniform. Scrape down the sides of the bowl.
- Sift flour, baking powder, and salt into the wet mixture. Fold gently with a spatula until just combined; do not overmix.
- Fold in dark chocolate chunks (and toasted nuts if using) until evenly distributed.
- Pour batter into the prepared pan and spread evenly.
- Bake for 25-30 minutes until edges are golden brown but the center still looks slightly underbaked.
- Check with a toothpick; it should come out with moist crumbs, not wet batter.
- Cool in the pan on a wire rack for at least 10 minutes, then lift out using parchment overhang.
- Cool completely before slicing into squares.
Notes
Use refined coconut oil for a neutral flavor. Ensure eggs are at room temperature to prevent the coconut oil from solidifying. Do not overbake, as blondies continue to cook in the pan. Cool completely before cutting to ensure they hold their shape.
- Prep Time: 15 minutes
- Cook Time: 25-30 minutes
- Category: Dessert
- Cuisine: American
Nutrition
- Serving Size: 1 square
- Calories: 180
- Sugar: 16
- Sodium: 80
- Fat: 10
- Saturated Fat: 8
- Carbohydrates: 24
- Fiber: 1
- Protein: 2
Keywords: dairy-free, coconut oil, blondies, chocolate chunk, vegan option, gluten-free option, easy baking, weeknight dessert



