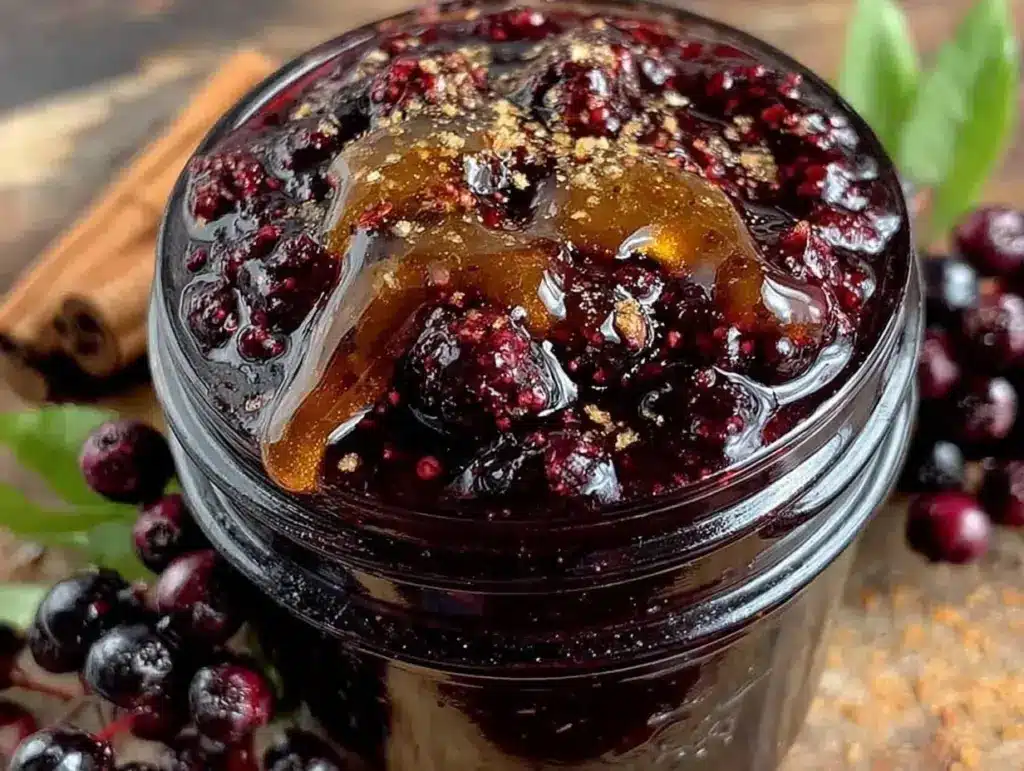
My grandmother didn’t just make elderberry syrup; she treated it like liquid gold. I have this vivid memory of her kitchen in late October, the air already smelling like woodsmoke and damp leaves, while a massive pot of deep purple berries bubbled on the stove. The smell was earthy, slightly floral, and unmistakably medicinal in the best way possible. She’d ladle the thick, dark syrup into small glass jars, sealing them with wax paper and string, handing them out like little potions of protection against the coming winter.
For years, I bought store-bought elderberry gummies. They were convenient, sure, but they tasted like sugar and regret. Then, three years ago, I decided to try making my own. I followed a generic recipe, boiled everything together, and ended up with a thin, watery mess that tasted faintly of berries and nothing else. I was ready to give up. I was ready to accept that homemade elderberry syrup was too much work.
Then I learned about the “one boil” trick.
It sounds simple, but it changes everything. By boiling the elderberries in water first, straining them out, and then reducing that liquid into a concentrated broth before adding the honey, you get a syrup that’s actually potent, shelf-stable, and deeply flavorful. It’s not just sweetened berry juice; it’s a condensed extract. The result is a syrup so rich and complex that it tastes like it took weeks to make, when it really only takes about an hour of active time. This homemade elderberry syrup with raw honey and cinnamon has become the cornerstone of my family’s cold and flu season routine. If you’re looking for a natural immune boost that actually tastes good, you need to make this. I’ve tested it enough times to know it works, and my kids now ask for it when they have a tickle in their throat.
Why You’ll Love This Elderberry Syrup Recipe
There are a dozen reasons I keep making this batch after batch, but let’s be real: it’s the balance of flavor and function that keeps me coming back. This isn’t just a health tonic; it’s a versatile pantry staple that I use in ways I never expected.
- Actually Tastes Good — Most elderberry syrups taste like medicine because they’re too bitter or too thin. The raw honey and cinnamon mask the earthiness perfectly. It tastes like a warm, spiced berry compote. My husband, who usually hates “health foods,” steals spoonfuls of this straight from the jar.
- Shelf-Stable Magic — Because of the high sugar content from the honey and the reduction process, this syrup keeps for months in the fridge without preservatives. I made a batch in October, and it’s still going strong in January. It’s way better than buying bottles of syrup that expire before you finish them.
- Super Versatile — I don’t just take it by the spoonful. I stir it into my morning oatmeal, mix it into my slow cooker mulled cider for a winter twist, or use it as a glaze for roasted vegetables. It adds depth to savory dishes too. It’s also great in tea, obviously, but try it in hot water with lemon for a quick, soothing drink.
- Cost-Effective — Dried elderberries are cheap, and honey is a pantry staple. A batch costs about $10-15 to make and yields enough for months of use. Compare that to $30+ bottles of organic elderberry syrup at the health food store, and this is a no-brainer.
- Immune Support You Can Trust — Elderberries are packed with antioxidants and vitamins C and E. When combined with the anti-inflammatory properties of cinnamon and the natural antimicrobial benefits of raw honey, you’re getting a powerhouse combo. It’s not a cure-all, but it’s a solid, natural way to support your body during peak cold season.
This syrup has saved me from buying over-the-counter cold remedies more times than I can count. It’s my go-to when I feel that first tingle in my throat. It’s comforting, it’s easy to make, and it makes your kitchen smell incredible.
Ingredients You’ll Need for Homemade Elderberry Syrup
This recipe uses simple, whole-food ingredients. You don’t need anything fancy, but the quality of these few items matters a lot. Here’s what I use and why.
For the Elderberry Base
Dried elderberries (1 cup / 150g) — Do not use fresh elderberries unless you know exactly what you’re doing (they can be toxic if not prepared correctly). Dried elderberries are safe, concentrated, and easier to find. I buy mine in bulk from reputable health food stores or online. Look for plump, dark berries. Avoid dusty or shriveled ones.
Water (4 cups / 950ml) — Use filtered water if possible. The water is the extraction medium, so clean water means a cleaner flavor.
Cinnamon sticks (2 large sticks / or 1 tsp ground) — Whole sticks infuse flavor slowly and evenly without making the syrup gritty. Ground cinnamon can work in a pinch, but it’s harder to strain out. I prefer sticks for their aromatic quality.
Whole cloves (5-6 cloves) — Just a few. They add a warm, spicy depth that pairs beautifully with elderberry. Don’t overdo it, or it’ll taste like a pumpkin spice latte.
Star anise (1 pod) — Optional, but I love it. It adds a subtle licorice note that makes the syrup feel fancy. Skip it if you don’t have it.
For the Sweetener & Finish
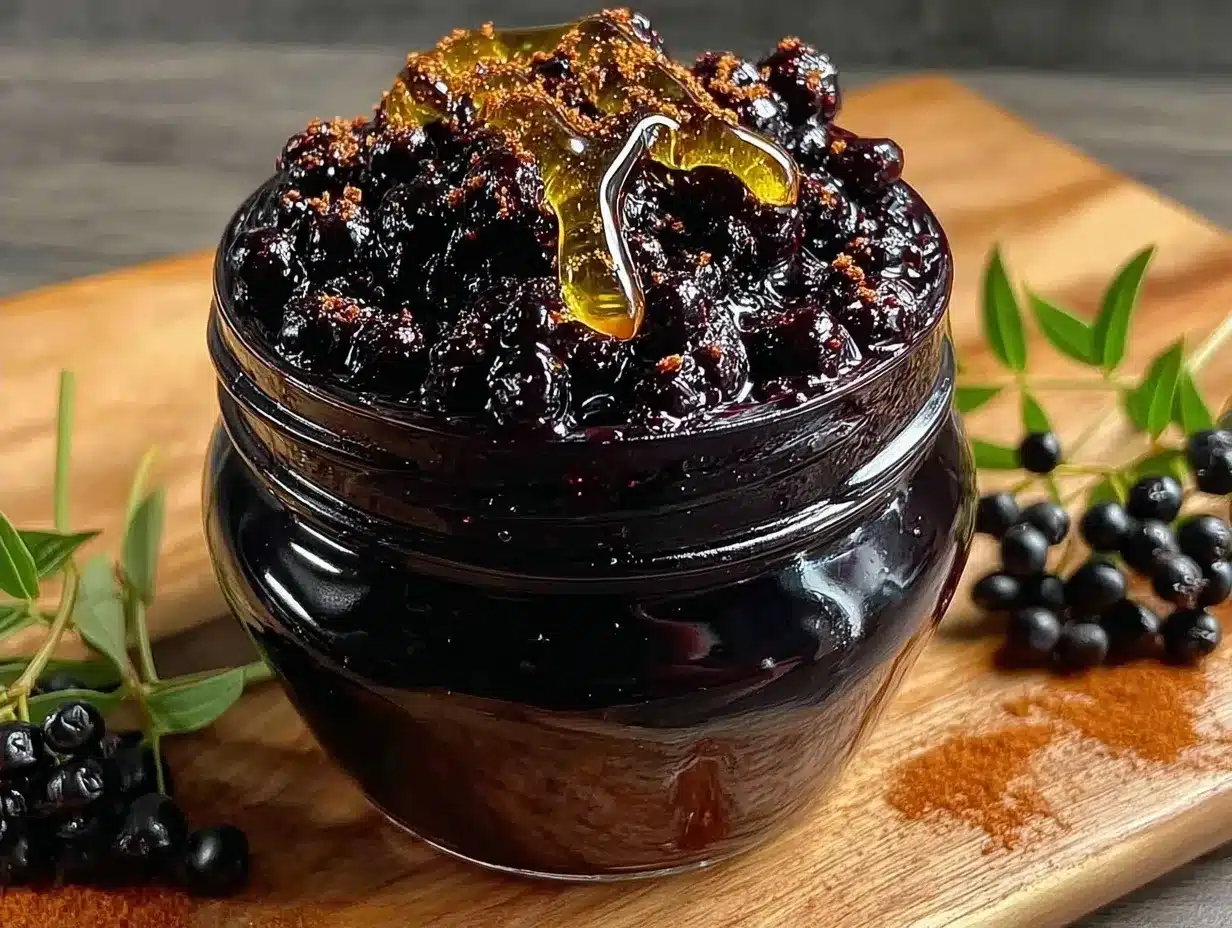
Raw honey (1 cup / 340g) — This is non-negotiable. Use raw, unfiltered honey. It has more enzymes and antioxidants than processed honey. Also, raw honey has a thicker consistency that helps the syrup preserve well. Manuka honey is amazing but expensive; a good local raw honey works perfectly.
Fresh ginger (1-inch piece, sliced) — Optional, but highly recommended. Ginger adds a zesty kick and extra anti-inflammatory benefits. Slice it thinly so it infuses well.
Lemon juice (1 tablespoon) — A splash of lemon brightens the flavor and adds a bit of acidity, which helps with preservation. It balances the sweetness of the honey.
Substitutions & Notes
Maple syrup? You can use pure maple syrup instead of honey, but note that it has a stronger flavor that will dominate the elderberry taste. It also doesn’t preserve quite as long as honey. Use it if you’re vegan.
Ground cinnamon? If you don’t have sticks, use 1 teaspoon of ground cinnamon. You’ll need to strain the syrup through a finer mesh strainer or cheesecloth to get the particles out.
More spice? Feel free to add a bay leaf or a pinch of black pepper. I once added a pinch of cayenne, and it was surprisingly good for a stuffy nose.
Equipment Needed
You don’t need any special gadgets for this. Here’s what I actually use in my kitchen.
Medium saucepan — A 3-4 quart pot is perfect. It needs to be big enough to hold the water and berries without boiling over, but not so big that the liquid spreads out too thin.
Mesh strainer or cheesecloth — This is the most important tool. Elderberries have tiny seeds and skins that you want to remove. A fine-mesh strainer works, but for a clearer syrup, line it with cheesecloth. It takes a little more effort but is worth it.
Spatula — You’ll need this to press the berries against the strainer to extract every drop of juice. A silicone spatula is best because it’s flexible.
Glass jars for storage — Use clean, sterilized glass jars with tight-fitting lids. Mason jars are classic and work great. Avoid plastic containers, as the acidity and sugars can interact with plastic over time.
Measuring cups and spoons — Standard stuff. Accuracy matters here, especially with the honey, for preservation reasons.
How to Make It: Step-by-Step
Alright, let’s make this! The “one boil” method is key. We’re extracting the flavor and nutrients from the berries first, then reducing the liquid, and finally adding the honey. This ensures a potent, shelf-stable syrup.
Step 1: Combine and Boil (15 minutes)
In your medium saucepan, combine the dried elderberries, water, cinnamon sticks, cloves, star anise, and sliced ginger. Bring the mixture to a boil over high heat. Once it boils, reduce the heat to low, cover the pot, and let it simmer for 45 minutes. The liquid will turn a deep, dark purple. The berries will puff up and break down. This long simmer is what extracts the maximum nutrients and flavor. Don’t rush this step.
Step 2: Strain and Press (10 minutes)
Remove the pot from the heat and let it cool for about 10 minutes. Set a fine-mesh strainer lined with cheesecloth (or just a fine strainer) over a clean bowl or jug. Pour the berry mixture into the strainer. You’ll see a lot of liquid, but also a lot of pulp. Use your spatula to press down firmly on the berries and pulp. You want to squeeze out every last drop of that dark purple liquid. This is tedious but crucial. The more you press, the stronger your syrup will be.
Step 3: Reduce the Liquid (10-15 minutes)
Measure the strained liquid. You should have about 2-3 cups. If you have less than 2 cups, add a little water to make up the difference. If you have more than 3 cups, you can skip this step, but reducing it concentrates the flavor. Pour the liquid back into the saucepan and bring it to a gentle simmer. Let it reduce by about half, or until it coats the back of a spoon. This might take 10-15 minutes. You’re looking for a syrupy consistency, not a watery broth. Remove from heat.
Step 4: Add the Honey (2 minutes)
Let the reduced berry liquid cool until it’s just warm to the touch (room temperature or slightly warm). If it’s too hot, you’ll kill the beneficial enzymes in the raw honey. Stir in the raw honey until it’s completely dissolved. Add the lemon juice and stir again. The mixture will thicken slightly as it cools.
Step 5: Bottle and Store
Use a funnel to pour the syrup into clean glass jars. Seal tightly. Label with the date. Store in the refrigerator.
Total Time: About 1 hour 30 minutes (mostly hands-off simmering)
Expert Tips & Tricks
Here’s everything I’ve learned from making this dozens of times. These tips will save you from my mistakes.
The “One Boil” is Key
Many recipes just dump everything in at once. But if you add honey to the boiling water, you can’t reduce the liquid effectively, and the honey doesn’t preserve as well. By boiling the berries first, you get a concentrated extract. Then you add honey at the end. This is the trick that makes the difference between a weak tea and a potent syrup.
Press Harder Than You Think
When straining, don’t be gentle. Squeeze that pulp. The nutrients and flavor are in the skins and seeds. If you don’t press enough, you’re wasting money and effort. It’s messy, but worth it.
Don’t Heat the Honey
Raw honey has amazing health benefits, but heat destroys those enzymes. Wait until the berry liquid is cool before adding honey. If you’re in a rush, spread the liquid in a shallow dish to cool it down faster.
Check for Mold
Even with honey, mold can grow if water gets in the jar. Always use clean, dry spoons to scoop it out. If you see any fuzz or smell off odors, toss it. Better safe than sorry.
Make a Double Batch
This recipe scales up easily. I often make two batches in October so I have enough for the whole winter. Just double the ingredients and use a larger pot.
Variations & Substitutions
Once you’ve nailed the basic version, here’s how you can mix it up. I’ve tried all of these.
Ginger Bomb
Double the ginger. Use 2 inches of fresh ginger, sliced thick. This version is great for nausea or upset stomachs.
Spiced Apple
Add 1 cup of apple cider to the water when boiling. It adds a fruity sweetness that pairs well with the elderberry. This is similar to the flavors in my honeycrisp apple crisp.
Chai Spiced
Add cardamom pods, black peppercorns, and a cinnamon stick. It tastes like a liquid chai latte. Great for cold mornings.
Vegan Version
Use pure maple syrup instead of honey. Note that it has a stronger flavor and doesn’t preserve quite as long. Use within 3 months.
Low-Sugar Option
Reduce the honey to ½ cup. This will make it less preservative, so use it within 2 weeks. It’s still good, but less sweet.
Serving & Storage
How to Serve:
The standard dose is 1-2 tablespoons per day for adults, and 1 teaspoon for children (ages 1+). Stir it into warm water with lemon for a soothing drink. Mix it into yogurt, oatmeal, or smoothies. It’s also delicious drizzled over pancakes or waffles.
Side Dishes:
Pair it with toast, crackers, or cheese. It’s a great condiment for savory dishes too. Try it with roasted pork or chicken.
Storage Instructions:
Store in the refrigerator in airtight glass jars. It will keep for up to 6 months. The honey acts as a preservative, so it lasts a long time. If it crystallizes, just warm the jar in a bowl of hot water to liquefy it again.
Reheating:
You don’t need to reheat it. It’s best served at room temperature or slightly warmed. Heating it too much can degrade the honey’s enzymes.
Freezing:
Yes, you can freeze it! Pour it into ice cube trays, then transfer the cubes to a freezer bag. This is great for portion control. Just thaw a cube in warm water when you need a dose.
Nutrition Information
I’m not a nutritionist, but here’s the breakdown if you’re tracking. Keep in mind that elderberries are nutrient-dense, but this is still a sweet syrup.
Per Serving (1 tablespoon):
- Calories: 60
- Carbs: 15g
- Sugar: 14g (from honey)
- Protein: 0g
- Fat: 0g
What’s Good:
Rich in antioxidants from elderberries. Contains anti-inflammatory compounds from cinnamon and ginger. Raw honey provides trace enzymes and antimicrobial properties.
What to Know:
High in natural sugars due to the honey. Not suitable for infants under 1 year old (honey risk). Moderate glycemic impact.
My Take:
Look, this is a sweet syrup. It’s not a diet food. But it’s packed with nutrients and supports your immune system. When I’m feeling under the weather, the benefits outweigh the sugar. I stick to the recommended dose to keep it balanced.
Final Thoughts
So that’s my homemade elderberry syrup! I know I’ve talked a lot about the “one boil” trick, but it really is the game-changer. Once you make it this way, you’ll never go back to weak, watery syrups again. It’s saved me from countless colds, and it’s become a ritual in my home every fall. My kids love the taste, and I love knowing what’s in it.
Make it yours! Add more ginger if you like spice, or swap the cinnamon for cardamom. The best recipes are the ones you adapt to your tastes. If you make this, drop a comment and let me know what you think! I love hearing how recipes turn out in your kitchen. And if something doesn’t work, tell me that too—I’m here to help troubleshoot.
Happy cooking! And I hope your kitchen smells half as good as mine does right now.
Frequently Asked Questions
Can I use fresh elderberries?
No, not unless you’re experienced. Fresh elderberries contain cyanogenic glycosides, which can be toxic if not prepared correctly. Dried elderberries are safe and recommended for home cooks. If you forage fresh berries, you must cook them thoroughly, but dried is much safer and easier.
Why did my syrup turn out watery?
You probably didn’t reduce the liquid enough in Step 3. The reduction step is crucial for concentration. Make sure you simmer the strained liquid until it coats the back of a spoon. If it’s still too thin, simmer it longer.
Can I make this in a slow cooker?
Yes! Combine berries, water, and spices in the slow cooker. Cook on low for 6-8 hours. Strain, reduce the liquid on the stove if needed, then add honey. It’s easier but takes longer.
How long does this syrup last?
In the fridge, it lasts up to 6 months. If you freeze it, it lasts up to a year. Always check for mold or off smells before using.
Can I give this to my kids?
Yes, for children over 1 year old. Use 1 teaspoon per day for prevention, and up to 1 tablespoon for treatment. Never give honey to infants under 1 year due to botulism risk.
Does the honey lose its benefits if I heat it?
Yes, high heat destroys the enzymes and antioxidants in raw honey. That’s why you add it after the berry liquid has cooled. If you’re using pasteurized honey, it doesn’t matter as much, but raw is better.
Can I add other fruits?
Absolutely. I’ve added chopped apples or pears to the boil for extra sweetness and pectin. It works well, especially in autumn. Just adjust the water amount if you add watery fruits.
Pin This Recipe!
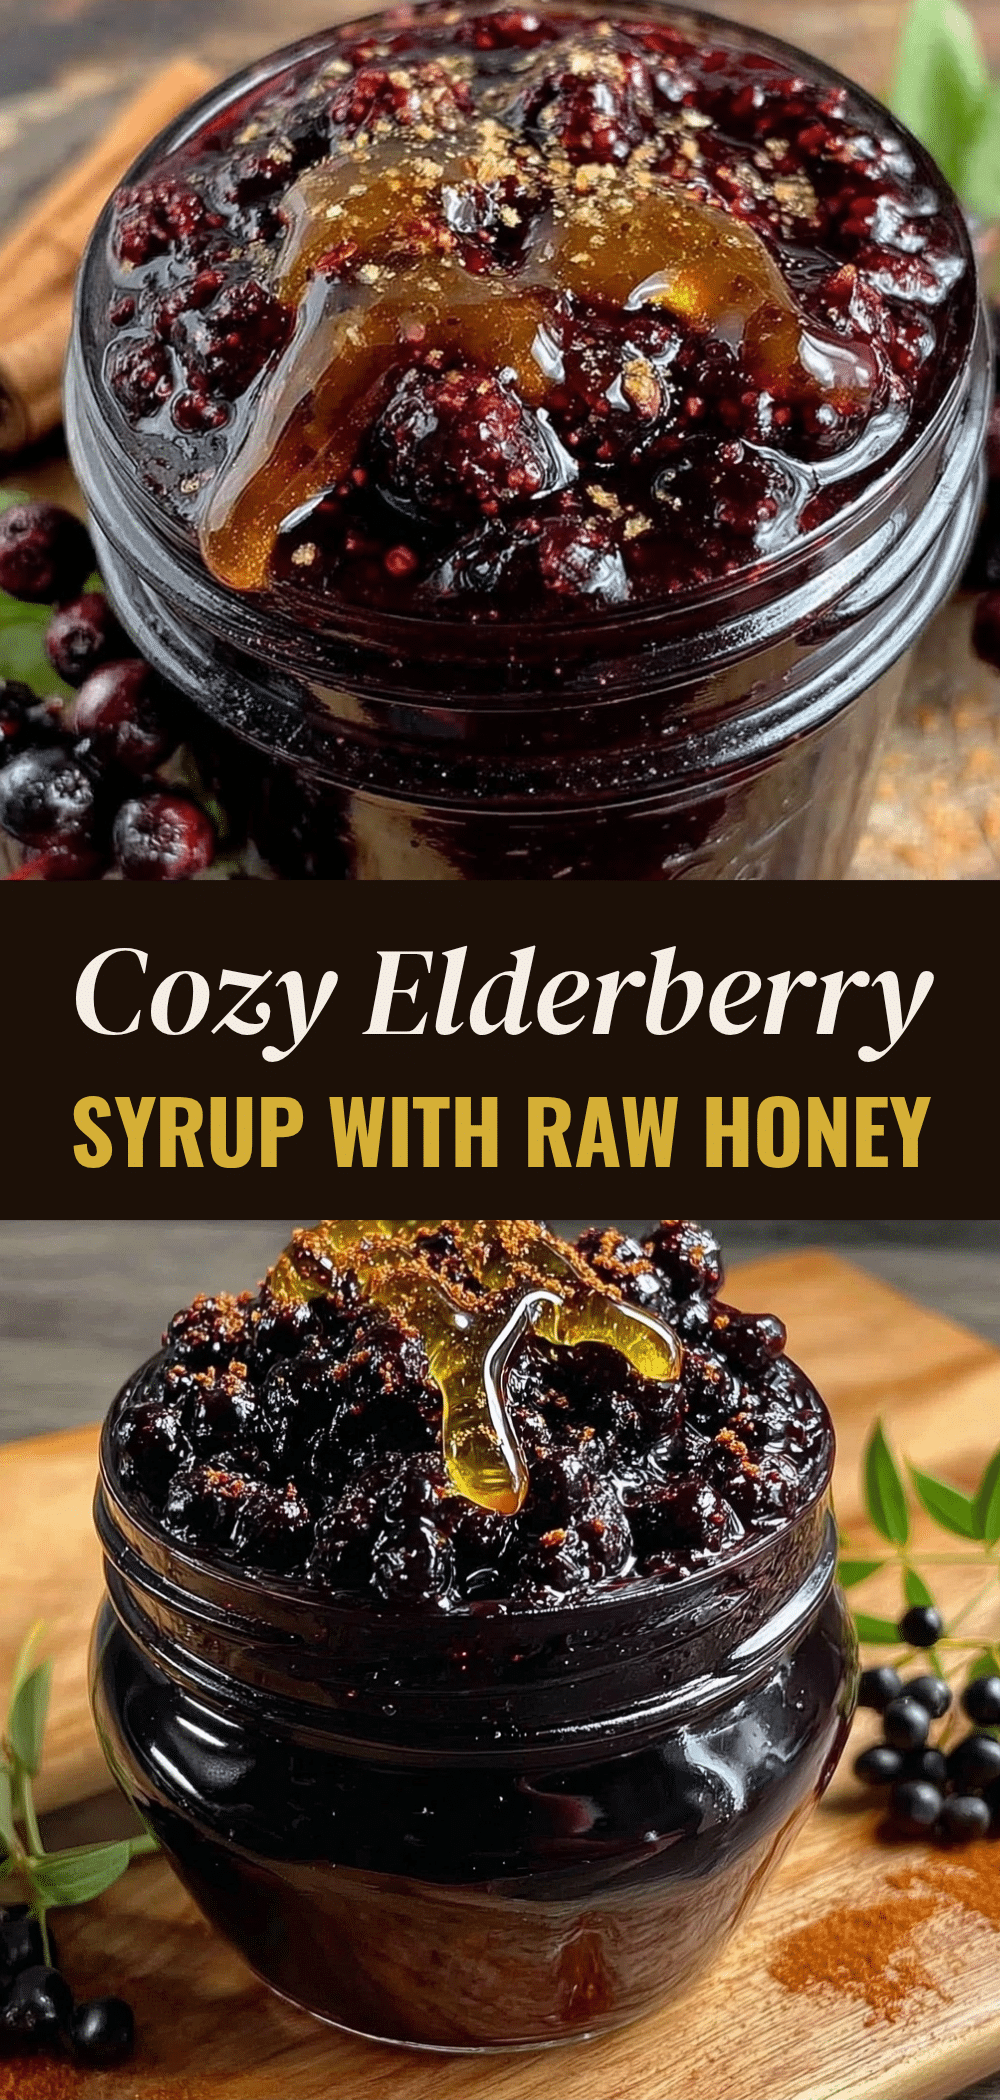
Homemade Elderberry Syrup: The 1 Boil Trick
- Total Time: 1 hour 30 minutes
- Yield: Approximately 2-3 cups (yields enough for months of use) 1x
Description
A potent, shelf-stable homemade elderberry syrup made using the ‘one boil’ method to extract maximum flavor and nutrients. This natural immune booster combines dried elderberries, spices, and raw honey for a delicious and effective cold and flu season remedy.
Ingredients
- 1 cup dried elderberries (150g)
- 4 cups water (950ml)
- 2 large cinnamon sticks (or 1 tsp ground)
- 5–6 whole cloves
- 1 star anise pod (optional)
- 1-inch piece fresh ginger, sliced (optional)
- 1 cup raw honey (340g)
- 1 tablespoon lemon juice
Instructions
- In a medium saucepan, combine dried elderberries, water, cinnamon sticks, cloves, star anise, and sliced ginger.
- Bring the mixture to a boil over high heat, then reduce heat to low, cover, and simmer for 45 minutes until the liquid is deep purple and berries have broken down.
- Remove from heat and let cool for 10 minutes.
- Set a fine-mesh strainer lined with cheesecloth over a clean bowl. Pour the mixture into the strainer.
- Press firmly on the berries and pulp with a spatula to extract every drop of liquid.
- Measure the strained liquid; aim for 2-3 cups. If more than 3 cups, return to the saucepan and simmer until reduced by half or until it coats the back of a spoon (10-15 minutes).
- Let the reduced liquid cool until warm to the touch (not hot) to preserve honey enzymes.
- Stir in raw honey until completely dissolved, then add lemon juice and stir again.
- Pour into clean, sterilized glass jars, seal tightly, label with the date, and store in the refrigerator.
Notes
Do not use fresh elderberries unless you are experienced, as they can be toxic if not prepared correctly. Always use dried elderberries for safety. Do not heat the honey directly, as high temperatures destroy beneficial enzymes. Store in the refrigerator for up to 6 months. Can be frozen in ice cube trays for long-term storage. Not suitable for infants under 1 year old due to honey content.
- Prep Time: 15 minutes
- Cook Time: 1 hour 15 minutes
- Category: Condiment
- Cuisine: American
Nutrition
- Serving Size: 1 tablespoon
- Calories: 60
- Sugar: 14
- Carbohydrates: 15
Keywords: elderberry syrup, homemade elderberry syrup, immune boost, natural cold remedy, elderberry recipe, honey syrup, winter wellness, one boil trick



