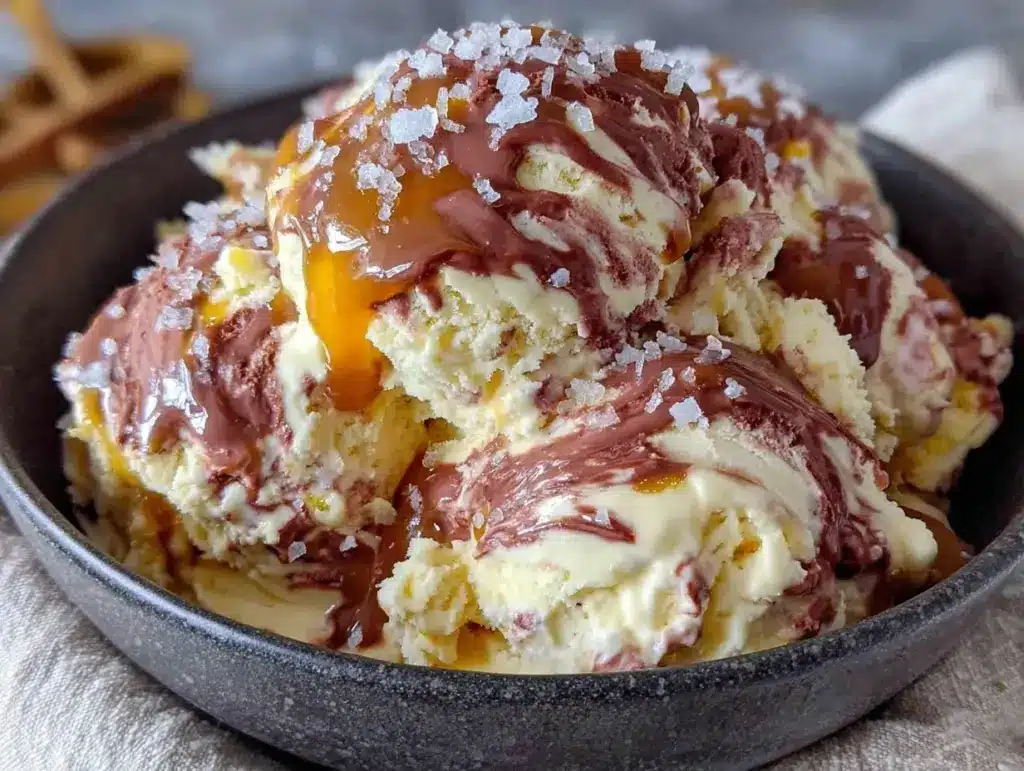
Last July, I was standing in my kitchen at 9:30 PM, staring into the freezer like it owed me money. It was 94 degrees outside, the grill was still warm from dinner, and my family was begging for something cold. I had zero ice cream in the freezer because, well, I don’t keep ice cream in the freezer. That’s for people who plan ahead. I’m the guy who decides he wants dessert five minutes before he needs it.
So I did what any desperate home cook does: I raided the pantry. I found a can of sweetened condensed milk, a carton of heavy cream, and a jar of salted caramel sauce I’d been hoarding since Thanksgiving. I didn’t have an ice cream maker. I didn’t have time to churn. But I had a whisk, a loaf pan, and a serious craving for something sweet.
That accidental 3-ingredient mix turned into the best thing I’ve tasted all summer. It’s creamy, it’s salty, it’s sweet, and it’s ridiculously easy. I’ve made this no-churn salted caramel ice cream at least eight times since that night. Sometimes I add crushed pretzels. Sometimes I swirl in some chocolate. But honestly? The plain version is the king. It’s the one my kids ask for when they think I’m not looking.
This isn’t just “good for no-churn.” It’s genuinely better than most store-bought pints because you control the salt and the sweetness. And the best part? It doesn’t require any special equipment or hours of waiting. Just 15 minutes of prep, an hour in the freezer, and you’re in business. If you’re looking for a summer dessert that actually works on busy weeknights (or lazy weekends), this is it. It’s basically magic in a loaf pan.
Why You’ll Love This No-Churn Salted Caramel Ice Cream
Look, I know there are a thousand ice cream recipes out there. Most of them require an ice cream maker, which takes up space and is a pain to clean. This one? It’s different. Here’s why this no-churn salted caramel ice cream has earned a permanent spot in my summer rotation:
- Zero Special Equipment Needed — Seriously. If you can whisk and pour, you can make this. No ice cream machine, no thermometer, no fancy gadgets. Just a whisk, a bowl, and a loaf pan. I’ve made this while watching football with one hand.
- 30 Minutes or Less Total Active Time — You spend maybe 10 minutes mixing it up, then just toss it in the freezer. It’s the perfect last-minute dessert when guests show up unexpectedly. I’ve pulled this out of the freezer at the last minute more times than I care to admit, and it always saves the day.
- That Perfect Sweet-Salty Balance — Store-bought ice cream is often too sweet. This one lets you choose your caramel. I like a generous drizzle so every spoonful has that salty kick. It’s addictive. Like, “stop eating it straight from the bowl” addictive.
- Super Creamy Texture — I know, no-churn ice cream is usually icy or grainy. Not this. The heavy cream whipped to stiff peaks creates air pockets that keep it light and smooth. The condensed milk adds sugar that prevents ice crystals. It’s science, but it tastes like heaven.
- Budget-Friendly — You probably have most of these ingredients already. Three ingredients is cheaper than a single scoop of artisanal ice cream from the shop. Plus, you’re making a whole pint or loaf at once for pennies.
- Customizable AF — Once you get the base down, you can add anything. Crushed cookies, fresh berries, nuts, pretzels. I’ve made a version with chopped pecans that reminds me of my fall honeycrisp apple crisp, just colder. The possibilities are endless.
It’s my go-to when I want to impress without actually trying hard. It tastes like you spent hours in the kitchen, but really, you just spent 10 minutes mixing and then went back to watching TV.
Ingredients You’ll Need
This recipe is famous for its simplicity, but “simple” doesn’t mean “lazy.” The quality of your ingredients matters more here than in complicated recipes because there’s nowhere to hide. Here’s exactly what you need:
The Base
Heavy whipping cream (2 cups / 480ml) — This is non-negotiable. You need high-fat cream (at least 35%) to whip it properly. If you use light cream or half-and-half, it won’t hold its shape, and your ice cream will be dense and icy. I buy the heavy stuff in a carton, not the small cans, because it’s more versatile. Cold cream whips better, so keep it in the fridge until the last second.
Sweetened condensed milk (14 oz / 397g can) — Not evaporated milk. Condensed milk is thick, sweet, and syrupy. It’s the backbone of no-churn ice cream. It adds the sugar that prevents freezing into a solid brick. I always buy the standard can, but if you’re feeling fancy, some brands have a slightly richer taste. Just don’t substitute with milk or cream—it won’t work.
Vanilla extract (1 teaspoon) — Pure vanilla, please. I know it’s pricey, but the fake stuff tastes chemical in a delicate dessert like this. A little bit goes a long way. It balances the salt in the caramel.
The Star: Salted Caramel
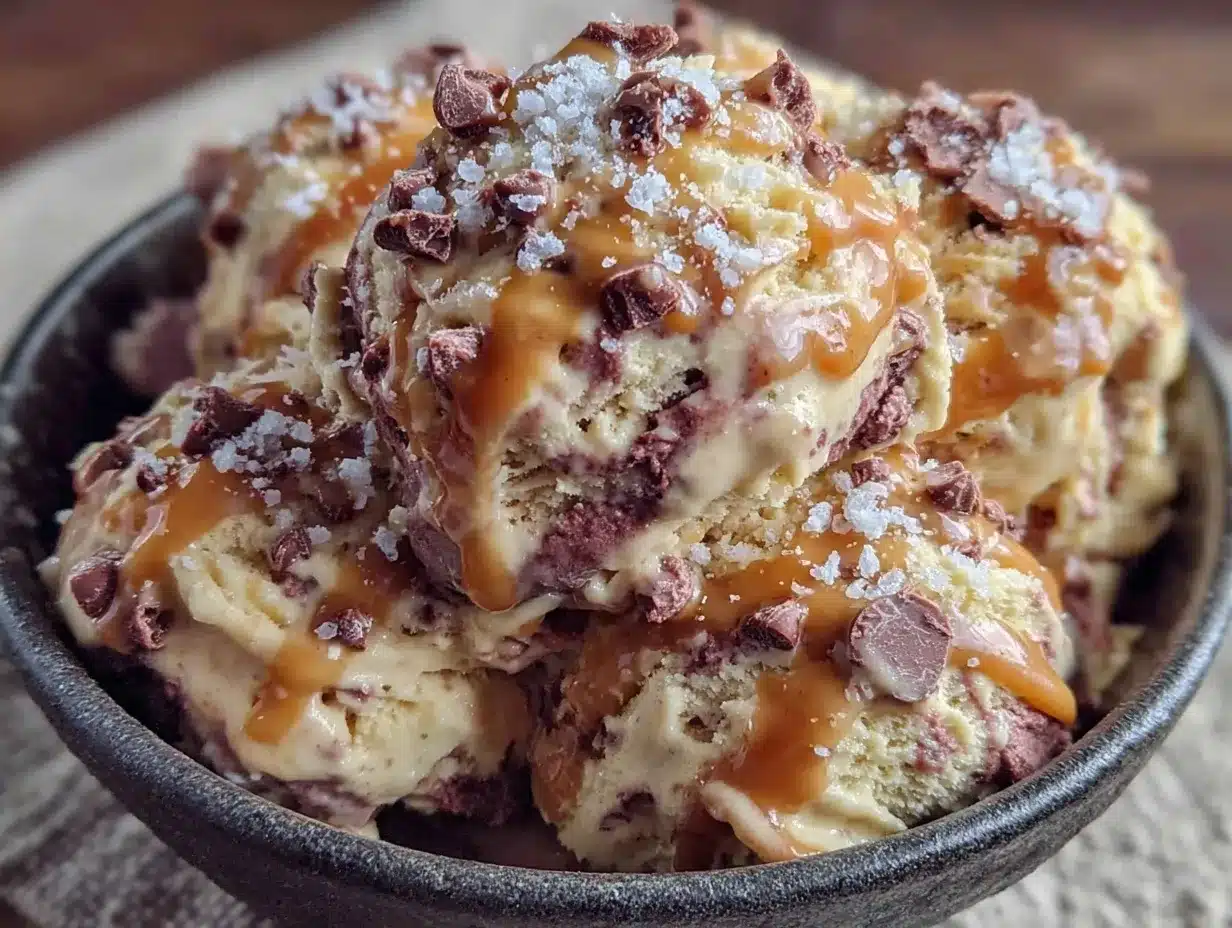
Salted caramel sauce (½ to ¾ cup) — This is where you get to make choices. You can buy it or make it. I’m not going to lie to you: store-bought is easier, but homemade is better. If you buy it, look for a brand with real sea salt on the ingredient list. If you make it, use my caramel apple cider float recipe as a guide for getting that perfect, thick consistency. You want a sauce that’s pourable but not runny like water.
Flaky sea salt (optional, for topping) — A pinch of Maldon or similar flaky salt on top before serving makes it look pro and adds that final salty punch. It’s the difference between “homemade” and “bakery-quality.”
Optional Add-Ins
Chester’s Pretzels (1 cup, crushed) — If you want that extra crunch, crush up some pretzels and fold them in. The salty crunch pairs perfectly with the sweet caramel. It’s like a pretzel rod in ice cream form.
Chocolate chips (½ cup) — For the chocolate lovers in the family. I usually use semi-sweet. Just sprinkle them in after the caramel swirl.
Fresh berries (1 cup, sliced) — Strawberries or raspberries work great. Just make sure they’re dry so they don’t make the ice cream watery. I love this version in the summer when berries are cheap and delicious.
Equipment Needed
You don’t need a fancy kitchen to make this. Here’s what I actually use:
Large mixing bowl — A glass or metal bowl works best. It needs to be big enough to hold the whipped cream and the condensed milk without spilling. I use a 4-quart bowl. If your bowl is too small, you’ll end up with cream on your counter.
Electric hand mixer or stand mixer — You *can* whisk by hand, but I’ve tried, and it takes forever. A hand mixer makes it 2 minutes instead of 10. I use my KitchenAid with the whisk attachment. If you’re doing it by hand, you’ll need strong arms.
9×5 inch loaf pan — This is the standard size for no-churn ice cream. It fits in most freezers. Line it with parchment paper or plastic wrap, leaving an overhang on the sides. This is crucial for getting the ice cream out later. If you don’t line it, you’ll be digging for hours.
Spatula — A silicone spatula is best for folding. You need to be gentle so you don’t deflate the whipped cream. I use a big, flexible one that gets into the corners.
Measuring cups and spoons — Standard stuff. Accuracy doesn’t matter too much here since it’s forgiving, but good to have.
Freezer — Obviously. Make sure you have space in your freezer. If your freezer is packed, this might take an extra hour to set.
How to Make It: Step-by-Step
Alright, let’s make this! It’s so simple that you might think I’m tricking you. But trust me, the result is worth the tiny effort. I’m walking you through exactly how I do it, including the little tricks I’ve picked up.
Step 1: Prep Your Pan (2 minutes)
Line your 9×5 loaf pan with parchment paper or plastic wrap. I prefer parchment because it’s easier to lift out later. Leave a few inches of overhang on the long sides. This is your handle. You’ll thank me later when you’re trying to get the frozen block out without smashing your fingers.
Step 2: Whip the Cream (3-5 minutes)
Pour the cold heavy cream into your large mixing bowl. Using an electric mixer on medium-high speed, whip the cream until it forms stiff peaks. This means when you lift the whisk, the cream stands up straight and doesn’t droop. It should look like thick whipped topping. Don’t over-whip it into butter! Stop as soon as you see stiff peaks. This takes about 3-5 minutes with a hand mixer.
Step 3: Fold in the Condensed Milk (2 minutes)
Add the vanilla extract to the sweetened condensed milk. Stir it briefly to combine. Then, gently fold the condensed milk into the whipped cream. Use your spatula and cut down through the middle, scoop up from the bottom, and fold over. Rotate the bowl and repeat. You want to keep as much air in the cream as possible. If you stir too vigorously, you’ll deflate it, and your ice cream will be dense. Just be gentle. It should look uniform and fluffy.
Step 4: The Caramel Swirl (3 minutes)
This is the fun part. Take about half of your caramel sauce and fold it gently into the ice cream base. Don’t mix it completely—you want marbled swirls. Then, pour the mixture into your prepared loaf pan. Smooth the top with your spatula. Drizzle the remaining caramel sauce over the top in a zigzag pattern. Take a knife and gently swirl it through the caramel to create a marbled effect. Don’t overdo it; you want visible ribbons of caramel.
Step 5: Add-In Time (Optional, 1 minute)
If you’re adding pretzels, chocolate chips, or nuts, sprinkle them on top now and press them gently into the surface. If you’re using fresh berries, you can fold them in now or layer them in. I like layering berries so they don’t get mushy.
Step 6: Freeze (6 hours or overnight)
Cover the loaf pan tightly with plastic wrap or aluminum foil. Place it in the freezer for at least 6 hours, but overnight is best. This gives it time to set completely. If you try to eat it after 4 hours, it’ll be soft and scoopable but not firm. Patience is key here. I usually make it the night before I want to eat it.
Step 7: Serve
When you’re ready to eat, lift the ice cream out of the pan using the parchment paper overhang. Let it sit on the counter for 5-10 minutes to soften slightly. This makes it much easier to scoop. Serve with extra caramel drizzle and a sprinkle of flaky salt. Enjoy!
Total Time: About 15 minutes active, plus 6+ hours freezing.
Expert Tips & Tricks
Here’s everything I’ve learned from making this dozens of times. These tips will save you from my mistakes.
Keep Everything Cold
Your cream must be ice cold. If your kitchen is warm, put your bowl and whisk in the fridge for 15 minutes before starting. Cold cream whips faster and holds more air. If the cream is warm, it’ll take forever and might not stiffen properly.
Don’t Over-Mix the Caramel
When swirling the caramel, less is more. If you mix it too much, you’ll just get brown ice cream. You want distinct swirls. The visual appeal is half the fun. Plus, people love finding pockets of pure caramel.
Use Quality Caramel
Since caramel is the star, don’t cheap out. If you buy store-bought, avoid the cheap syrup stuff. Look for a thick, rich sauce. If you make your own, make sure it’s cooled to room temperature before using. Hot caramel will melt the whipped cream.
Softening Before Serving
No-churn ice cream freezes hard. If you take it straight out of the freezer, you’ll break a spoon. Let it sit on the counter for 10 minutes before scooping. This makes a huge difference in texture.
Storage Life
This ice cream stays good in the freezer for up to 2 weeks. After that, it might start to get icy. Make sure it’s covered tightly to prevent freezer burn. I usually eat it within a week because it’s too good to last.
Variations & Substitutions
Once you’ve nailed the basic version, here’s how you can mix it up. I’ve tried all of these.
Peanut Butter Cup
Swap the caramel for peanut butter swirl. Add a handful of chopped peanuts. It’s like a Reese’s Cup in ice cream form. My husband loves this version.
Strawberry Shortcake
Fold in chopped fresh strawberries and a swirl of strawberry jam. It’s like my classic strawberry shortcake, but colder. Perfect for summer picnics.
Chocolate Chip Cookie Dough
Add mini chocolate chips and a swirl of cookie dough batter. Or just buy store-bought cookie dough chunks and fold them in. It’s indulgent and fun.
Mint Chocolate Chip
Add 1 teaspoon of peppermint extract to the cream. Drizzle with chocolate sauce instead of caramel. It’s a classic for a reason.
Gluten-Free
This recipe is naturally gluten-free if you use gluten-free caramel and add-ins. Just check your labels. Most caramel sauces are GF, but some might have wheat-based thickeners.
Dairy-Free
Use coconut cream instead of heavy cream and dairy-free condensed milk. It’s not exactly the same texture, but it’s creamy and delicious. I’ve made this for my lactose-intolerant friend, and she loved it.
Serving & Storage
How to Serve: I usually serve this straight from the loaf pan at the dinner table. It looks rustic and homemade. But here are other ways I’ve enjoyed it:
- Waffle Cones — Scoop it into warm waffle cones. The contrast of hot and cold is amazing.
- With Pie — Serve a scoop on the side of my southern peach cobbler. It’s the perfect warm-weather combo.
- On Top of Brownies — Put a scoop on top of a warm small batch fudgy brownie. It’s like a sundae.
Toppings Bar: When I have guests, I put out: extra caramel, crushed pretzels, chocolate chips, and flaky salt. Everyone customizes their bowl.
Storage Instructions:
Refrigerator: This doesn’t go in the fridge. It belongs in the freezer.
Freezer: Store in an airtight container or the loaf pan (tightly covered) for up to 2 weeks. It will harden, so let it soften before serving.
Reheating: Let it sit on the counter for 10 minutes. Do not microwave it—it will melt unevenly.
Nutrition Information
I’m not a nutritionist, but here’s the breakdown if you’re tracking. This is a rich, creamy dessert, so portion control is key.
Per Serving (based on 8 servings):
| Nutrient | Amount |
|---|---|
| Calories | 380 |
| Protein | 4g |
| Carbs | 42g |
| Fiber | 0g |
| Sugar | 38g |
| Fat | 22g |
| Saturated Fat | 14g |
| Cholesterol | 70mg |
| Sodium | 120mg |
What’s Good: It’s made with real ingredients, no artificial colors or flavors. You control the sugar level by choosing your caramel.
What to Know: It’s high in sugar and fat because it’s ice cream. Enjoy it as a treat, not a health food. If you want to lighten it up, use less caramel and add fruit.
Final Thoughts
So that’s my no-churn salted caramel ice cream! I’ve probably talked your ear off at this point, but when you make a recipe this often, you have a lot to say about it.
This has saved summer nights more times than I can count. It’s my answer to “what’s for dessert” when I’m tired, don’t want to cook, and still want something that tastes really good. My kids are happy, my husband’s happy, and I’m happy because I’m not stressed about making something complicated.
Make it yours! Try different add-ins, swap in your favorite sauces, adjust the salt. The best recipes are the ones you adapt to your family’s tastes. If you make this, drop a comment and let me know what you think! I love hearing how recipes turn out in your kitchen. And if something doesn’t work, tell me that too—I’m here to help troubleshoot.
Happy cooking! And I hope your kitchen smells half as good as mine does right now.
Frequently Asked Questions
Can I use light cream instead of heavy cream?
No, you can’t. Light cream doesn’t have enough fat to whip into stiff peaks. If you use it, your ice cream will be dense and icy. You need heavy whipping cream (at least 35% fat). It’s worth buying the real stuff.
Why is my ice cream icy?
This usually happens if you over-whipped the cream (deflating it) or if you didn’t freeze it long enough. Make sure you whip to stiff peaks and freeze for at least 6 hours. Also, make sure your pan is covered tightly to prevent freezer burn.
Can I make this ahead for a party?
Absolutely! This is great for make-ahead. Make it 1-2 days before your party. Let it soften for 10 minutes before serving. It actually tastes better after sitting for a day because the flavors meld together.
Can I use homemade caramel sauce?
Yes! Homemade caramel is delicious. Just make sure it’s cooled to room temperature before using. Hot caramel will melt the whipped cream and ruin the texture. If your caramel is too thick, warm it slightly so it’s pourable.
How do I get the ice cream out of the pan?
That’s why I line the pan with parchment paper! Lift the overhang to pull the ice cream out. If you didn’t line it, run a knife around the edges and dip the bottom of the pan in hot water for 10 seconds to loosen it.
Can I freeze this for longer than 2 weeks?
I wouldn’t recommend it. After 2 weeks, the texture starts to degrade, and it might get icy. It’s best eaten fresh. If you need to store it longer, wrap it tightly in plastic and foil, but expect some texture changes.
What if I don’t have a loaf pan?
You can use any freezer-safe container. A 9×9 square pan works too, but the ice cream will be thinner and freeze faster. Just adjust your serving size accordingly. The key is to have a tight-fitting lid or cover.
Pin This Recipe!
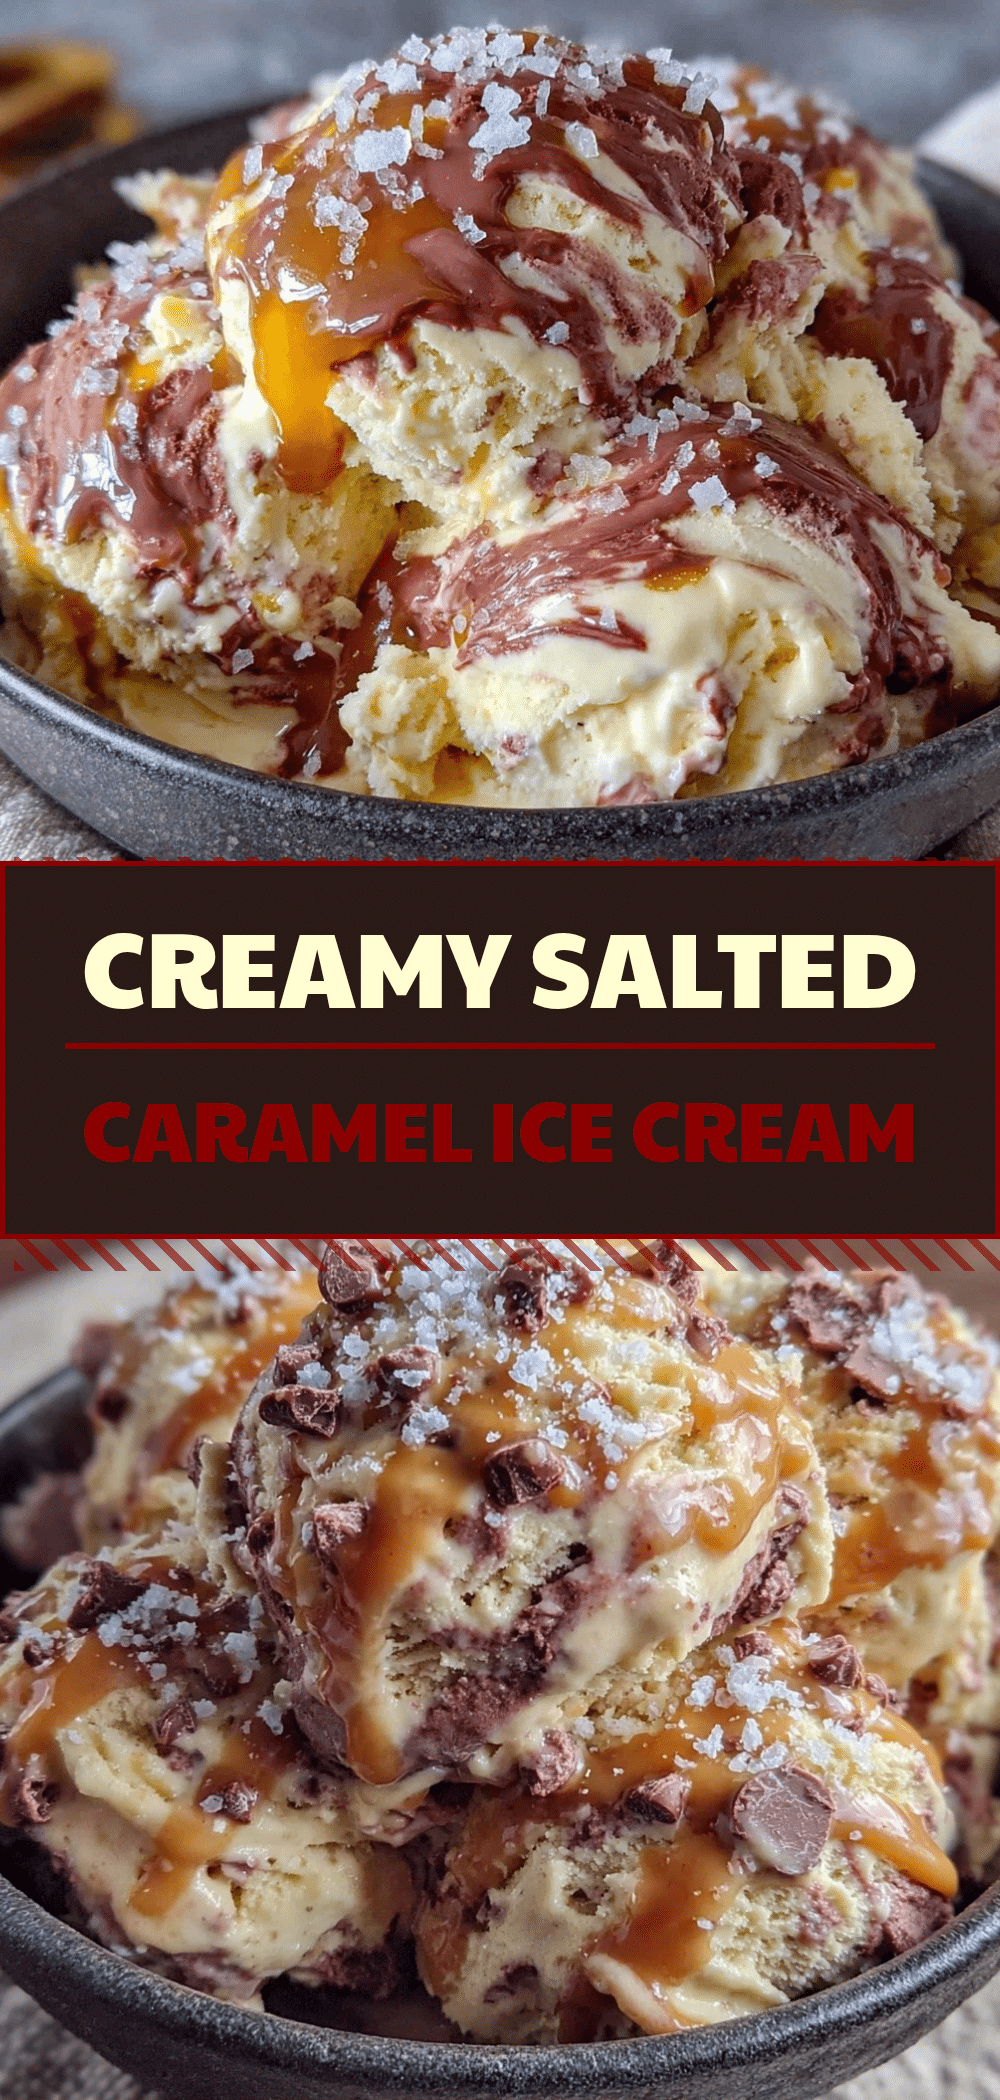
No-Churn Salted Caramel Ice Cream: 3-Ingredient Summer Dessert
- Total Time: 6 hours 15 minutes
- Yield: 8 servings 1x
Description
A creamy, salty-sweet no-churn ice cream made with just heavy cream, sweetened condensed milk, and salted caramel sauce. It requires no ice cream maker and is ready in minutes of prep time.
Ingredients
- 2 cups heavy whipping cream (cold)
- 14 oz can sweetened condensed milk
- 1 teaspoon vanilla extract
- 1/2 to 3/4 cup salted caramel sauce
- Flaky sea salt (optional, for topping)
- 1 cup crushed pretzels (optional add-in)
- 1/2 cup chocolate chips (optional add-in)
- 1 cup fresh berries, sliced (optional add-in)
Instructions
- Line a 9×5 inch loaf pan with parchment paper or plastic wrap, leaving an overhang on the sides for easy removal.
- Pour cold heavy cream into a large mixing bowl. Using an electric mixer on medium-high speed, whip until stiff peaks form (about 3-5 minutes). Do not over-whip.
- Stir vanilla extract into the sweetened condensed milk.
- Gently fold the condensed milk mixture into the whipped cream using a spatula. Cut down through the middle, scoop from the bottom, and fold over to maintain airiness.
- Fold half of the salted caramel sauce into the ice cream base for marbled swirls.
- Pour the mixture into the prepared loaf pan and smooth the top.
- Drizzle the remaining caramel sauce over the top and swirl gently with a knife for a marbled effect.
- If using add-ins like pretzels or chocolate chips, sprinkle them on top and press gently into the surface.
- Cover the pan tightly with plastic wrap or foil and freeze for at least 6 hours, preferably overnight.
- To serve, lift the ice cream out using the parchment overhang. Let it sit on the counter for 5-10 minutes to soften slightly before scooping.
Notes
Ensure the heavy cream is very cold for best whipping results. Do not over-mix the caramel to keep distinct swirls. Let the ice cream soften for 10 minutes before serving for easier scooping. Store in the freezer for up to 2 weeks.
- Prep Time: 15 minutes
- Cook Time: 0 minutes
- Category: Dessert
- Cuisine: American
Nutrition
- Serving Size: 1 slice (approx. 1/8
- Calories: 380
- Sugar: 38
- Sodium: 120
- Fat: 22
- Saturated Fat: 14
- Carbohydrates: 42
- Protein: 4
Keywords: no-churn ice cream, salted caramel ice cream, summer dessert, easy ice cream recipe, 3 ingredient dessert, frozen dessert, homemade ice cream



