I still remember the sound. It wasn’t the sizzle of oil in a pan—that was reserved for weekends when my grandma felt fancy. No, this was the hum of the old electric fryer in her kitchen, a bulky, chrome beast that took up half the counter. She’d pull the basket out, and the smell would hit you first: warm, toasted breadcrumbs, garlic powder, and that deep, savory comfort of fried chicken, but lighter. Less greasy. Safer for the kids who were always running around with scraped knees.
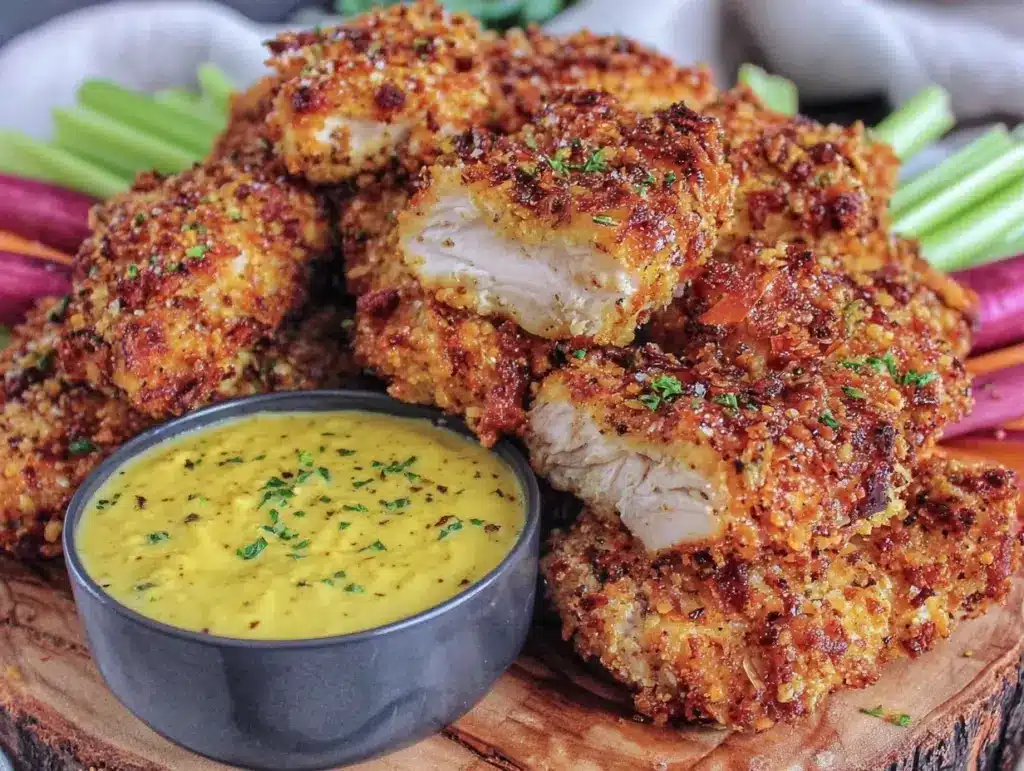
My grandma didn’t trust these modern gadgets. When I first showed her my air fryer, she squinted at it like it was a alien spacecraft. “It doesn’t fry,” she said. “It just blows hot air.” But she was curious. So, I made her a batch of chicken tenders. Not the frozen ones from the box, but the real deal—the ones with the thick, shaggy coating that cracks when you bite into it and reveals juicy, tender meat underneath.
She took one bite, chewed slowly, and nodded. “Crispy,” she said. “Like the old days.” And just like that, I knew I had something special. These extra-crispy air fryer chicken tenders aren’t just a quick weeknight hack. They’re a tribute to that specific crunch my grandma perfected over forty years of cooking. They’re the kind of meal that makes your whole family crowd around the table, begging for the last one.
I’ve tested this recipe dozens of times. I’ve tried different flours, different spices, different air fryer brands. And while there are a million ways to cook chicken, this one—the one that mimics that deep-fried texture without the mess or the guilt—is the winner. It’s simple, it’s reliable, and it tastes like home.
Why You’ll Love This Recipe
There are about ten reasons I keep making these chicken tenders, but here are the big ones. This isn’t just another chicken recipe; it’s a solution to the nightly “what’s for dinner” panic that hits harder than a hangover.
Stupid Simple — Seriously, if you can dip chicken in milk and roll it in crumbs, you can make this. I’ve walked my teenage son through it over FaceTime while he was at college. He nailed it on the first try.
Lightning Fast — 20 minutes from start to finish. That includes prep, cooking, and resting. I make this on weeknights when I get home at 7pm and have zero energy for anything complicated.
Actually Crispy — Most air fryer chicken recipes promise crispiness but deliver soggy disappointment. This one works because of the double-dip method I learned from my grandma. It creates that shaggy, crunchy exterior that stays crispy even as you eat it.
Family-Friendly — My picky eater nephew, who usually only eats white bread and cheese, asks for these. That’s the ultimate test. If the kids love it, you know it’s good.
Makes Amazing Leftovers — They’re great cold or reheated. I pack them for lunch most days because they don’t get soggy in the fridge like other fried foods do.
This is my go-to when I need dinner to just work. No complicated techniques, no weird ingredients, just reliable, delicious food that makes everyone happy. And honestly? It’s way healthier than ordering takeout, which is a bonus for my wallet and my waistline.
Ingredients You’ll Need
Here’s the best part: you probably have most of this already. I’m particular about three ingredients here, and I’ll tell you exactly why. The rest is pantry basics.
Chicken Breast (1.5 pounds / 680g) — I buy boneless, skinless breasts. Look for ones that are relatively uniform in size so they cook evenly. If they’re too thin, they’ll dry out. If they’re too thick, they’ll be raw in the middle. Cut them into strips about 1-inch thick and 3-4 inches long.
Eggs (2 large) — These act as the glue. I beat them with a splash of milk or buttermilk. Buttermilk is traditional, but I usually just use regular milk because it’s what I always have. The fat in the milk helps the crumbs stick better.
Panko Breadcrumbs (1.5 cups / 120g) — This is non-negotiable. Regular breadcrumbs are too fine; they turn into mush. Panko are those light, flaky Japanese crumbs that create that incredible shaggy crust. I buy the big bags because I use them for everything from football sunday sheet pan nachos to these tenders.
All-Purpose Flour (1 cup / 120g) — This is the first layer of defense. It dries the chicken surface so the egg wash can actually grip. Don’t skip it.
Garlic Powder (1 tablespoon) — Yes, a whole tablespoon. Don’t be shy. Garlic is the backbone of the flavor here. I use the cheap stuff from the spice rack; it’s potent and consistent.
Smoked Paprika (1 teaspoon) — This gives it that subtle smokiness that mimics deep frying. It adds color, too, making them look golden and appetizing.
Onion Powder (1 teaspoon) — Adds depth without the sharp bite of raw onion.
Salt and Black Pepper (to taste) — Season everything. Season the flour, season the egg, season the crumbs. I usually add a pinch of salt to each bowl.
Cooking Spray — Olive oil or canola oil spray. You need this to get the browning right. The air fryer needs a little help to crisp up the crumbs.
Optional Add-ins: Cayenne pepper (½ teaspoon) if you like a little kick. Dried parsley for a pop of green color. Grated Parmesan (¼ cup) mixed into the panko for extra savory flavor.
Equipment Needed
You don’t need fancy equipment for this. Here’s what I actually use.
Air Fryer — Obviously. I use a 5.8-quart basket style. It’s big enough to fit a batch of tenders in a single layer. If you have a smaller one, you might need to cook in two batches. Do not overcrowd the basket, or they’ll steam instead of crisp.
Three Shallow Bowls — You need three for the dredging station: one for flour, one for egg wash, one for crumbs. I use pie dishes or shallow cereal bowls. They’re perfect for dipping.
Whisk — For beating the eggs. A fork works too, but a whisk is faster.
Cutting Board — For slicing the chicken. I use plastic for easier cleanup.
Chef’s Knife — Sharp knife for even slicing. Dull knives make you cry more—learned this the hard way.
Pastry Brush or Spray Bottle — For applying oil. I prefer spray for even coverage, but a brush works if you’re being lazy.
Tongs — For flipping the tenders halfway through. Tongs are better than a fork because you don’t pierce the chicken and lose the juices.
How to Make It: Step-by-Step
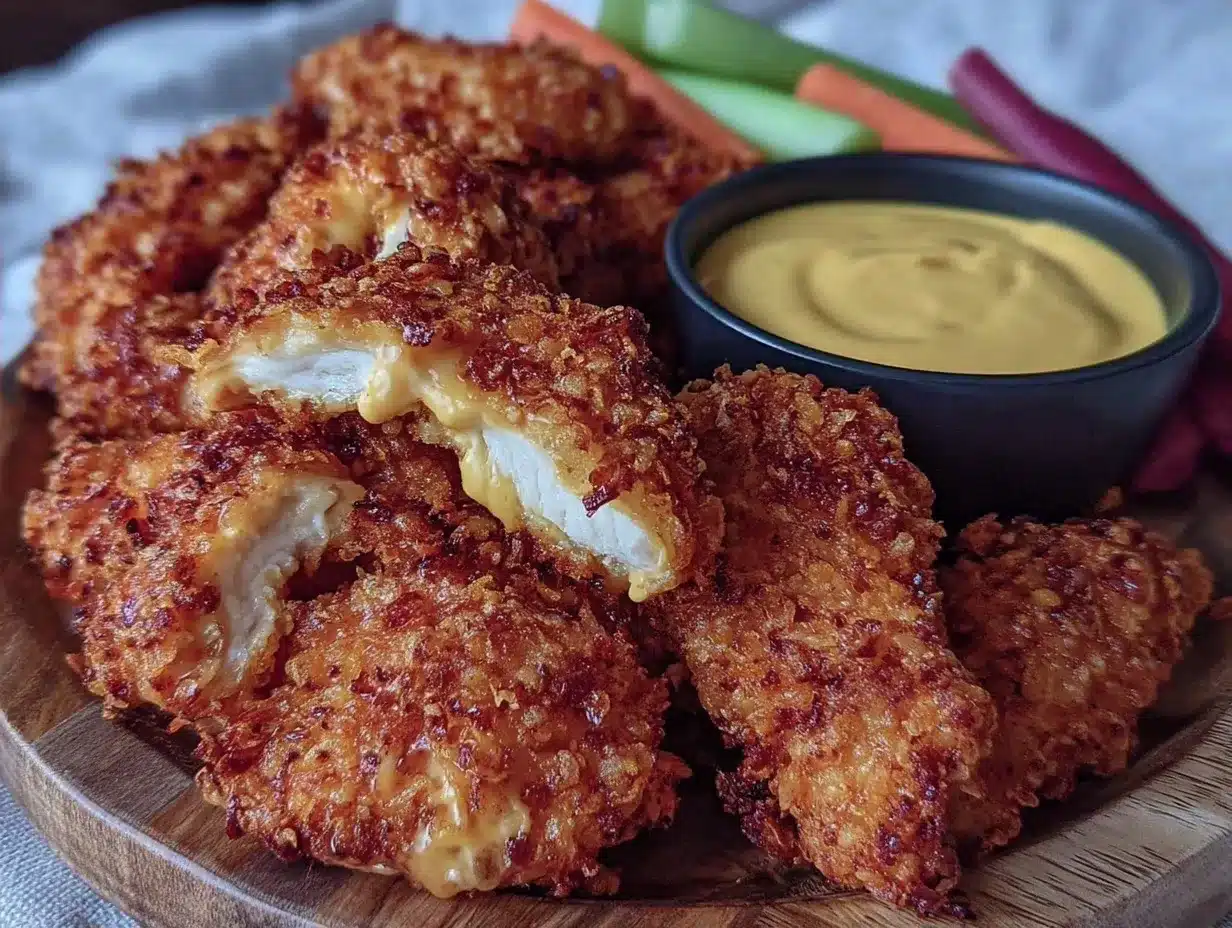
Alright, let’s make this! I’m walking you through exactly how I do it, including the little tricks I’ve picked up.
Step 1: Prep the Chicken (5 minutes)
Pat your chicken breasts dry with paper towels. This is crucial. If they’re wet, the flour won’t stick. Slice them into strips about 1-inch thick. Try to keep them uniform so they cook evenly. Season the strips lightly with salt and pepper.
Step 2: Set Up Your Dredging Station (5 minutes)
Get your three bowls ready.
Bowl 1: Flour, garlic powder, onion powder, smoked paprika, salt, and pepper. Whisk it all together.
Bowl 2: Eggs beaten with milk (or buttermilk) and a pinch of salt.
Bowl 3: Panko breadcrumbs mixed with a little extra garlic powder and salt.
Step 3: Dredge the Chicken (10 minutes)
This is the most important step. Take a chicken strip and dredge it in the flour mixture. Shake off the excess. Then, dip it into the egg wash, making sure it’s fully coated. Finally, press it firmly into the panko breadcrumbs. I like to press the crumbs onto the chicken with my fingers to ensure a thick, shaggy coating. Place the coated tenders on a plate or wire rack. Repeat with all the chicken.
Pro Tip: If you have time, let the coated tenders sit on the rack for 10-15 minutes before cooking. This helps the coating set and prevents it from falling off in the air fryer.
Step 4: Preheat the Air Fryer (3 minutes)
Preheat your air fryer to 400°F (200°C). This ensures the chicken starts cooking immediately and gets that initial crunch. If your air fryer doesn’t have a preheat function, just run it empty for 3 minutes.
Step 5: Cook the Tenders (12-15 minutes)
Lightly spray the basket with cooking oil. Place the chicken tenders in the basket in a single layer. Do not overlap them! Air needs to circulate. If you have a small air fryer, cook in batches.
Spray the tops of the tenders generously with cooking oil. This is what makes them golden brown.
Cook at 400°F (200°C) for 12-15 minutes, flipping halfway through. Spray the other side with oil after flipping.
The tenders are done when the coating is deep golden brown and the internal temperature reaches 165°F (74°C).
Step 6: Rest and Serve (5 minutes)
Transfer the tenders to a wire rack or a plate lined with paper towels. Let them rest for 3-5 minutes. This allows the juices to redistribute so they stay moist. Serve immediately with your favorite dipping sauces.
Expert Tips & Tricks
Here’s everything I’ve learned from making this dozens of times. These tips will save you from my mistakes.
The Double Dip Method
For extra-crispy tenders, I sometimes dip the chicken in the egg wash, then the panko, then back into the egg, then back into the panko again. It creates a thick, armor-like crust. My grandma always said, “If it looks like a rock, it tastes like heaven.”
Don’t Skip the Oil Spray
Air fryers work by circulating hot air, but crumbs need a little fat to brown. If you don’t spray them, they’ll come out pale and dusty. A light mist is all you need.
Use a Wire Rack
If your air fryer has a rack accessory, use it. It allows air to circulate under the chicken, preventing soggy bottoms. If not, just make sure you flip them halfway through.
Temperature Check
Chicken tenders cook fast. Keep an eye on them after 10 minutes. If they’re getting too dark, lower the temperature to 375°F (190°C) for the remaining time.
Flavor Variations
Mix different spices into the panko. Try adding crushed cornflakes for extra crunch, or mix in some grated parmesan for a cheesy crust. I also love adding a pinch of cayenne for a spicy kick.
Variations & Substitutions
Once you’ve nailed the basic version, here’s how you can mix it up. I’ve tried all of these.
Spicy Buffalo
Mix 2 tablespoons of hot sauce into the egg wash. After cooking, toss the hot tenders in a little more hot sauce and a tablespoon of melted butter. Serve with blue cheese dressing.
Honey Garlic
Mix 2 tablespoons of honey with 1 tablespoon of soy sauce and 1 clove of minced garlic. Brush this over the cooked tenders for the last 2 minutes of cooking.
Gluten-Free
Use gluten-free flour and gluten-free panko breadcrumbs. There are many good brands now, like Bob’s Red Mill. The texture is slightly different but still very good.
Baked Instead of Air Fried
You can bake these in the oven at 400°F (200°C) for 20-25 minutes, flipping halfway. They won’t be as crispy as the air fryer version, but they’re still delicious. Use a wire rack on a baking sheet for best results.
Vegetarian Option
Use thick slices of portobello mushrooms or large zucchini sticks instead of chicken. The breading process is the same.
Serving & Storage
How to Serve:
I usually serve these with a side of football tailgate bourbon apple cider punch for a fun, autumnal vibe. They go great with fall sweet potato sausage breakfast hash if you’re making them for brunch, or with coleslaw and fries for dinner.
Dipping Sauces:
Classic ranch, honey mustard, BBQ sauce, and spicy mayo are all winners. My grandma’s secret was a mix of ketchup and a little bit of pickle juice.
Storage:
Store leftovers in an airtight container in the fridge for up to 4 days. The coating will soften slightly, but the flavor remains great.
Reheating:
Reheat in the air fryer at 375°F (190°C) for 3-4 minutes to restore crispiness. Do not microwave, or they’ll become chewy and sad.
Freezing:
You can freeze uncooked, breaded tenders on a baking sheet, then transfer to a freezer bag. Cook from frozen, adding 2-3 minutes to the cook time. Cooked tenders can be frozen, but the texture suffers upon thawing.
Nutrition Information
I’m not a nutritionist, but here’s the breakdown if you’re tracking.
Per Serving (based on 6 servings):
- Calories: 280
- Protein: 25g
- Carbs: 20g
- Fiber: 1g
- Sugar: 2g
- Fat: 12g
- Saturated Fat: 2g
- Cholesterol: 75mg
- Sodium: 350mg
What’s Good: High protein, lower in fat than deep-fried versions.
What to Know: Contains gluten and dairy. Sodium can be reduced by using low-sodium broth or less salt.
Final Thoughts
So that’s my extra-crispy air fryer chicken tenders! I’ve probably talked your ear off at this point, but when you make a recipe this often, you have a lot to say about it. This has saved weeknight dinners more times than I can count. It’s my answer to “what’s for dinner” when I’m tired, don’t want takeout, and still want something that tastes really good.
My kids are happy, my husband’s happy, and I’m happy because I’m not stressed about cooking. Make it yours! Try different add-ins, swap in your favorite vegetables, adjust the garlic (though more is always better in my opinion). The best recipes are the ones you adapt to your family’s tastes.
If you make this, drop a comment and let me know what you think! I love hearing how recipes turn out in your kitchen. And if something doesn’t work, tell me that too—I’m here to help troubleshoot.
Happy cooking! And I hope your kitchen smells half as good as mine does right now.
Frequently Asked Questions
Can I use frozen chicken tenders?
You can, but they won’t be as crispy or flavorful as fresh ones. If you use frozen, follow the package instructions, but keep in mind they often come pre-breaded, so you might not need to dip them in egg and crumbs.
Why did my chicken tenders come out soggy?
Usually, this means the basket was overcrowded, or you didn’t spray them with oil. Make sure to cook in a single layer and give them a good mist of oil on both sides.
Can I make this ahead for a dinner party?
Yes! Prep the tenders and coat them, then store them on a wire rack in the fridge for up to 24 hours. Cook them right before serving. This saves you time during the party.
What temperature should the chicken be?
Chicken is safe to eat when it reaches an internal temperature of 165°F (74°C). Use a meat thermometer to check the thickest part of the tender.
Can I use almond flour instead of panko?
Almond flour works, but it browns faster than panko. Keep a close eye on them to prevent burning. The texture will be more like a crust than a shaggy coating.
How do I reheat leftovers without it getting dry?
Reheat in the air fryer at 375°F (190°C) for 3-4 minutes. This restores the crispiness better than a microwave or oven.
Pin This Recipe!
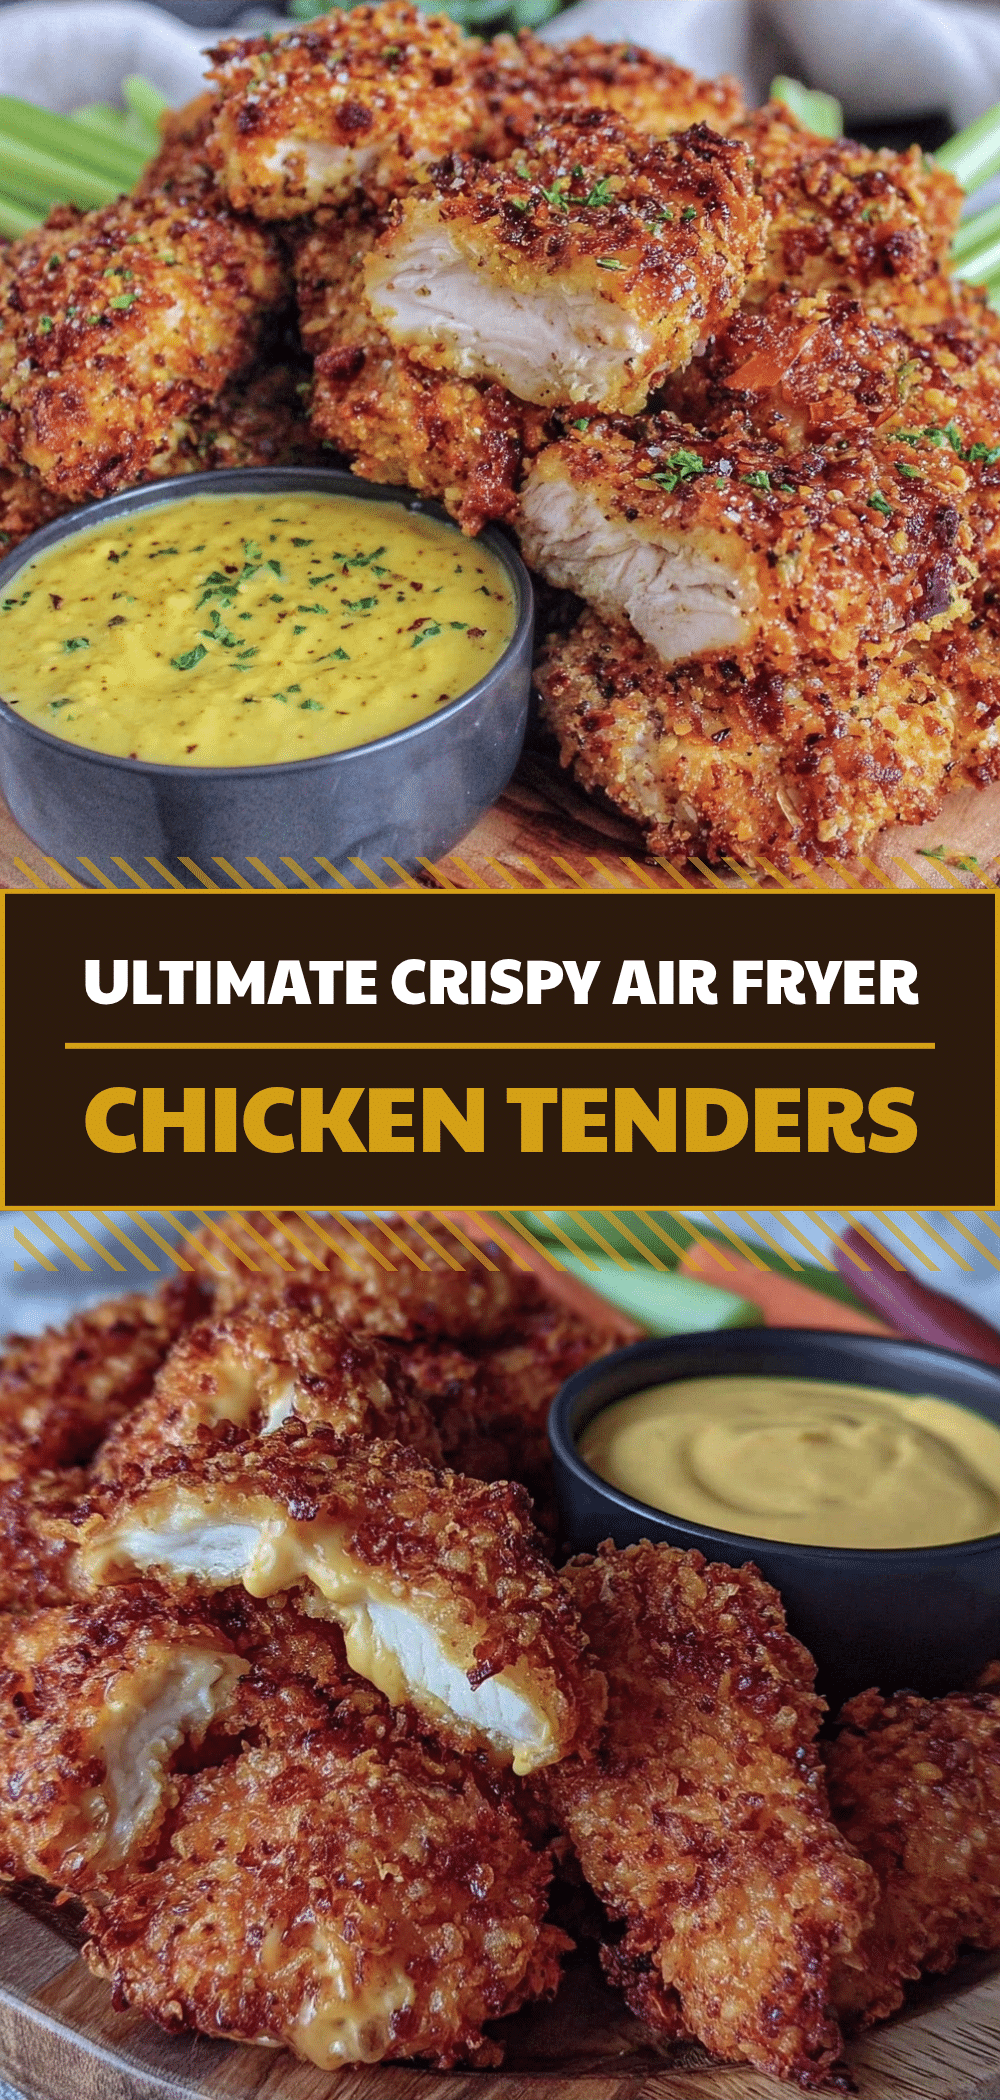
Extra-Crispy Air Fryer Chicken Tenders: Grandma’s Way
- Total Time: 20 minutes
- Yield: 6 servings 1x
Description
These extra-crispy air fryer chicken tenders mimic the texture of deep-fried chicken without the mess or guilt. Using a double-dip dredging method and panko breadcrumbs, they deliver a shaggy, crunchy exterior and juicy interior in just 20 minutes.
Ingredients
- 1.5 pounds boneless, skinless chicken breasts
- 1 cup all-purpose flour
- 1 tablespoon garlic powder
- 1 teaspoon smoked paprika
- 1 teaspoon onion powder
- Salt and black pepper to taste
- 2 large eggs
- Splash of milk or buttermilk
- 1.5 cups panko breadcrumbs
- Cooking spray (olive oil or canola oil)
Instructions
- Pat chicken breasts dry and slice into 1-inch thick, 3-4 inch long strips. Season lightly with salt and pepper.
- Set up three shallow bowls: Bowl 1 with flour, garlic powder, onion powder, smoked paprika, salt, and pepper; Bowl 2 with beaten eggs and milk; Bowl 3 with panko breadcrumbs, extra garlic powder, and salt.
- Dredge each chicken strip in the flour mixture, shaking off excess. Dip into the egg wash, then press firmly into the panko breadcrumbs to create a thick coating.
- Place coated tenders on a plate or wire rack. For extra crispiness, let them sit for 10-15 minutes to set the coating.
- Preheat air fryer to 400°F (200°C).
- Lightly spray the air fryer basket with oil. Place tenders in a single layer without overlapping.
- Spray the tops of the tenders generously with cooking oil.
- Cook at 400°F (200°C) for 12-15 minutes, flipping halfway through and spraying the other side with oil.
- Cook until the coating is deep golden brown and internal temperature reaches 165°F (74°C).
- Transfer to a wire rack or plate and let rest for 3-5 minutes before serving.
Notes
Do not overcrowd the air fryer basket to ensure proper air circulation and crispiness. For extra crunch, use the double-dip method (egg, panko, egg, panko). Ensure chicken reaches an internal temperature of 165°F. Reheat leftovers in the air fryer at 375°F for 3-4 minutes to restore crispiness.
- Prep Time: 15 minutes
- Cook Time: 12-15 minutes
- Category: Main Course
- Cuisine: American
Nutrition
- Serving Size: 1-2 tenders per serv
- Calories: 280
- Sugar: 2
- Sodium: 350
- Fat: 12
- Saturated Fat: 2
- Carbohydrates: 20
- Fiber: 1
- Protein: 25
Keywords: air fryer chicken tenders, crispy chicken, healthy fried chicken, quick dinner, family friendly recipes, panko chicken



